I seriously love me some macramé. I remember my mom decorating with the stuff when I was child in the 80’s (a throwback to the 70’s, I’m sure). And even then, I thought it was so fun and trendy, completely unlike how my friends’ parents used to decorate. Recently I spotted a couple of macramé plant hangers at West Elm and I fell in love. They weren’t super expensive but they looked easy (and really fun) to make, so I decided to take a stab at making my own.
Even if you don’t have any experience with macramé, these babies will only take a couple hours to whip up. And because they’re so simple, they won’t leave you feeling completely lost like a lot of other macramé projects out there.
Here’s how to make your own.
DIY Macrame Plant Hanger
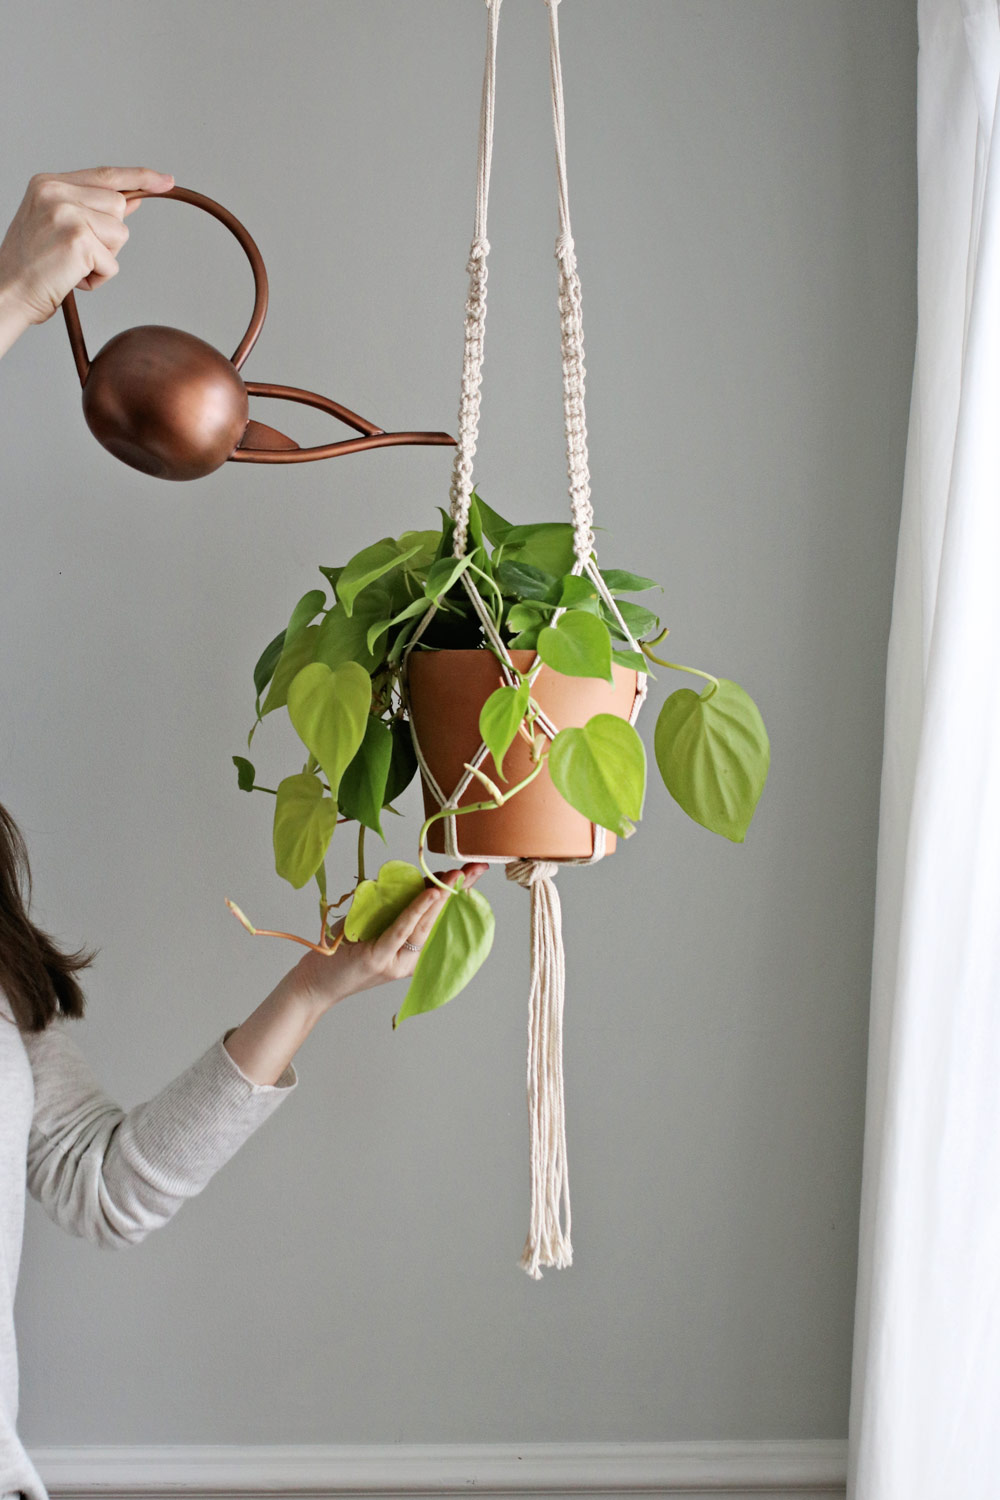
Hanging planters are one of my favorite ways to add greenery to a space. They look so peaceful swaying in the breeze. Plus they free up floor space and keep the more toxic plants away from little hands and curious pets. But I love that these macramé plant hangers take it a step further and add a little earthy cheekiness to your greens.
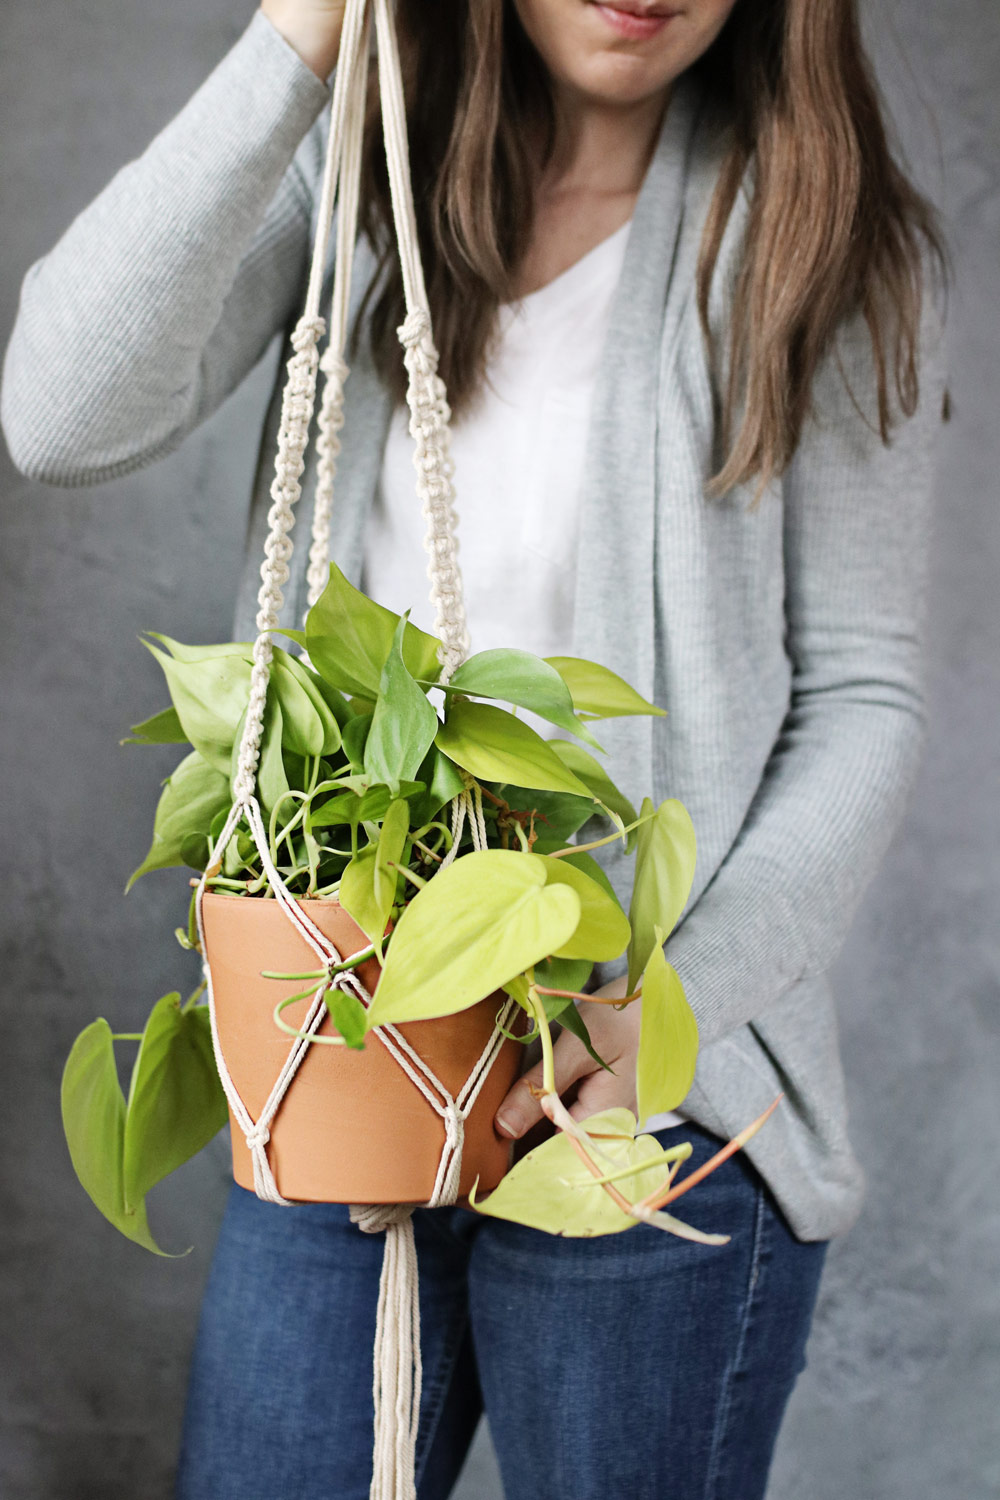
I mean, if you’re going to be a crazy plant lady, you can at least look stylish while doing it, no?
To make my hanging planters as hands-off as possible, I always choose hardy greenery with long, hanging leaves that can grow somewhat “wild” with minimal care. Spider plants and ivy are great options because they’re resilient, meaning you don’t have to water them as often as some other plants. And they don’t need much pruning. Just water them every few of weeks and trim once a year, if needed. That’s it!
When it comes to the macramé, if you’re a complete beginner you might want to take a stab at making a simple wall hanging or some other project to start. I’m sure there are some complicated knots out there, but I only have one basic knot (the square knot) under my belt and it’s served me well. Once you get the hang of that one knot, you can make practically anything, even this plant hanger.
And don’t feel boxed in by these directions. If you’re going to make multiple plant hangers, use these knots to come up with your own patterns and designs. Simply adjust the order, length and spacing of the knots to make planters that all look slightly different.
Supplies
- 3 mm macramé cord
- Scissors
- Ruler or measuring tape
- Tape
- Potted plant
Directions
We’ll be using just 3 knots to make our hangers: larks head /vertical larks head (see: covering a ring), spiral stitch, and square knot. The spiral stitch and square knot are variations on the same basic knot, so in practice it’s more like 2 knots. It helps to get a feel for each of the knots before moving on to the directions below.
And rather than photograph each step, I made you a quick video demonstrating how to put it all together. It’ moves quickly! But as long as you review the instructions linked above, you should get it without a problem.
- Cut 8 pieces of macramé cord 200 inches each.
- Lay the 8 cords together and fold the bundle in half so you have 16 cords with a loop. Measure 3 inches from the folded loop and secure the cords together with tape.
- To cover the ring, cut a piece of cord 75 inches long. Fold the cord in half and tie a larks head knot at the top of the loop.
- Pick up the string on the right, and tie it in a vertical larks head knot (see: covering a ring) around the looped cords. Do the same with the string on the left until you’ve completely covered the loop.
- Cut a 40 inch piece of cord. Secure the loop by removing the tape and wrapping it around the base of the loop. Tie a knot and tuck it under the wrapped cords. Trim the loose ends.
Now we’ll start the actual macramé…
- Separate the 16 strings into 4 groups of 4. Using a spiral stitch, knot a 10 inch long section. Do this for the other 3 groups of cord as well.
- Skip 5 inches, then tie just a regular knot.
- Next, knot a 5 inch length of square knots. Repeat for the other 3 groups.
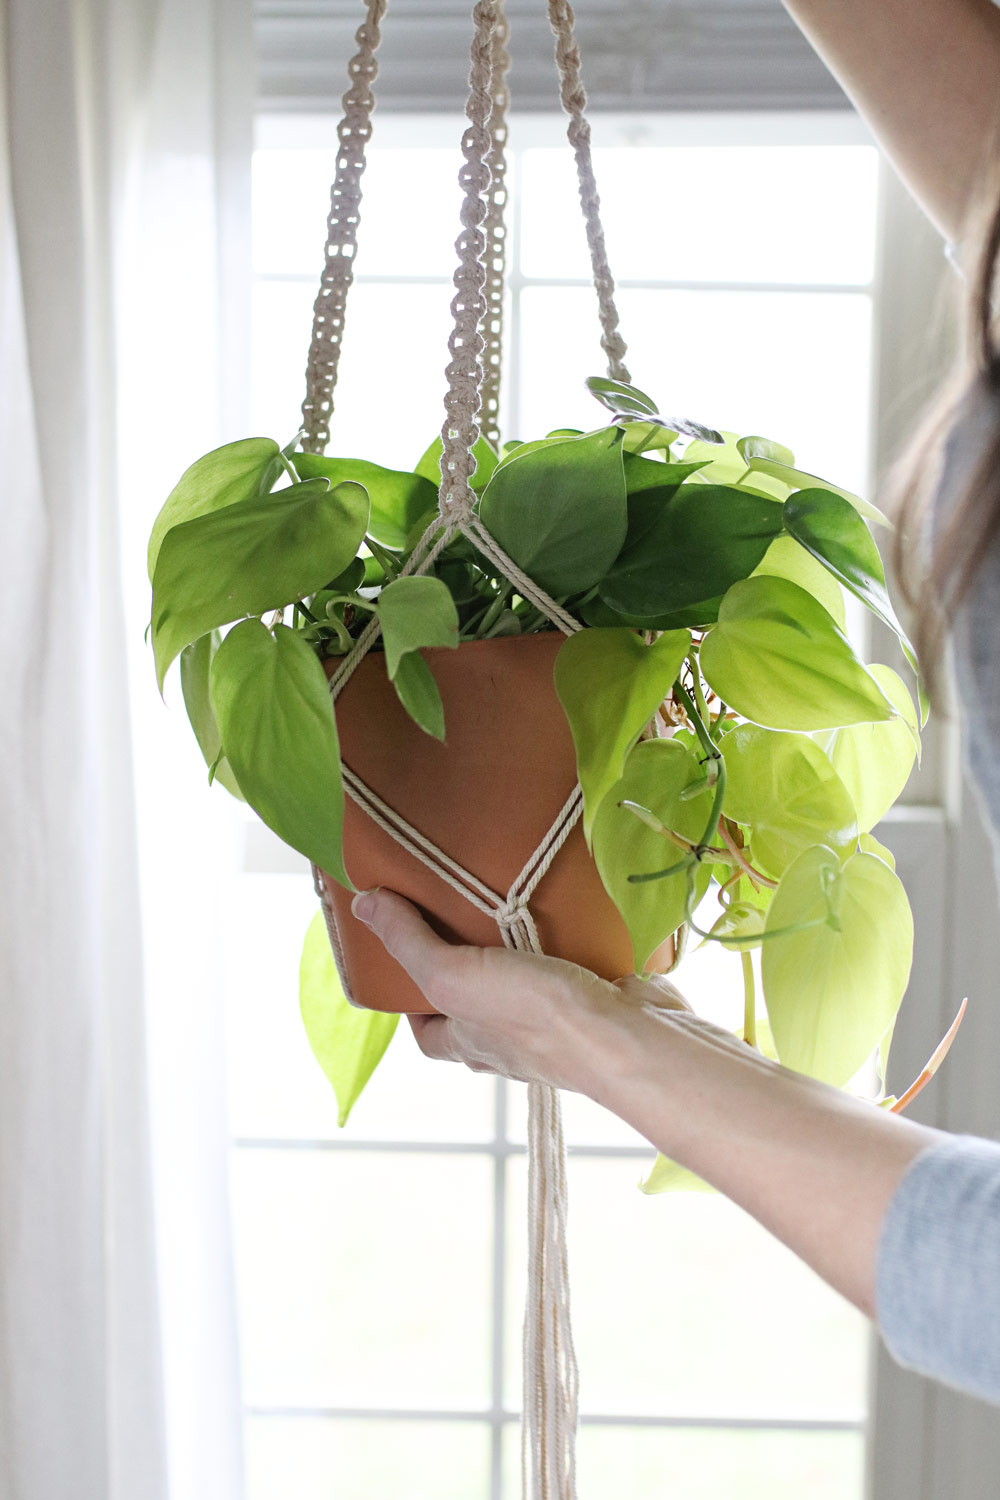
- Skip 4 inches and knot two square knots, BUT with two strings from one group and two strings from the adjacent group. This will bind your groups of cord together in sort of a “net” to hold your potted plant. Repeat for the other 3 groups, making sure that only adjacent strings are knotted together.
- Skip 3 inches again, and do the same thing using square knots to secure adjacent threads. If you have a smaller pot, skip this second row altogether.
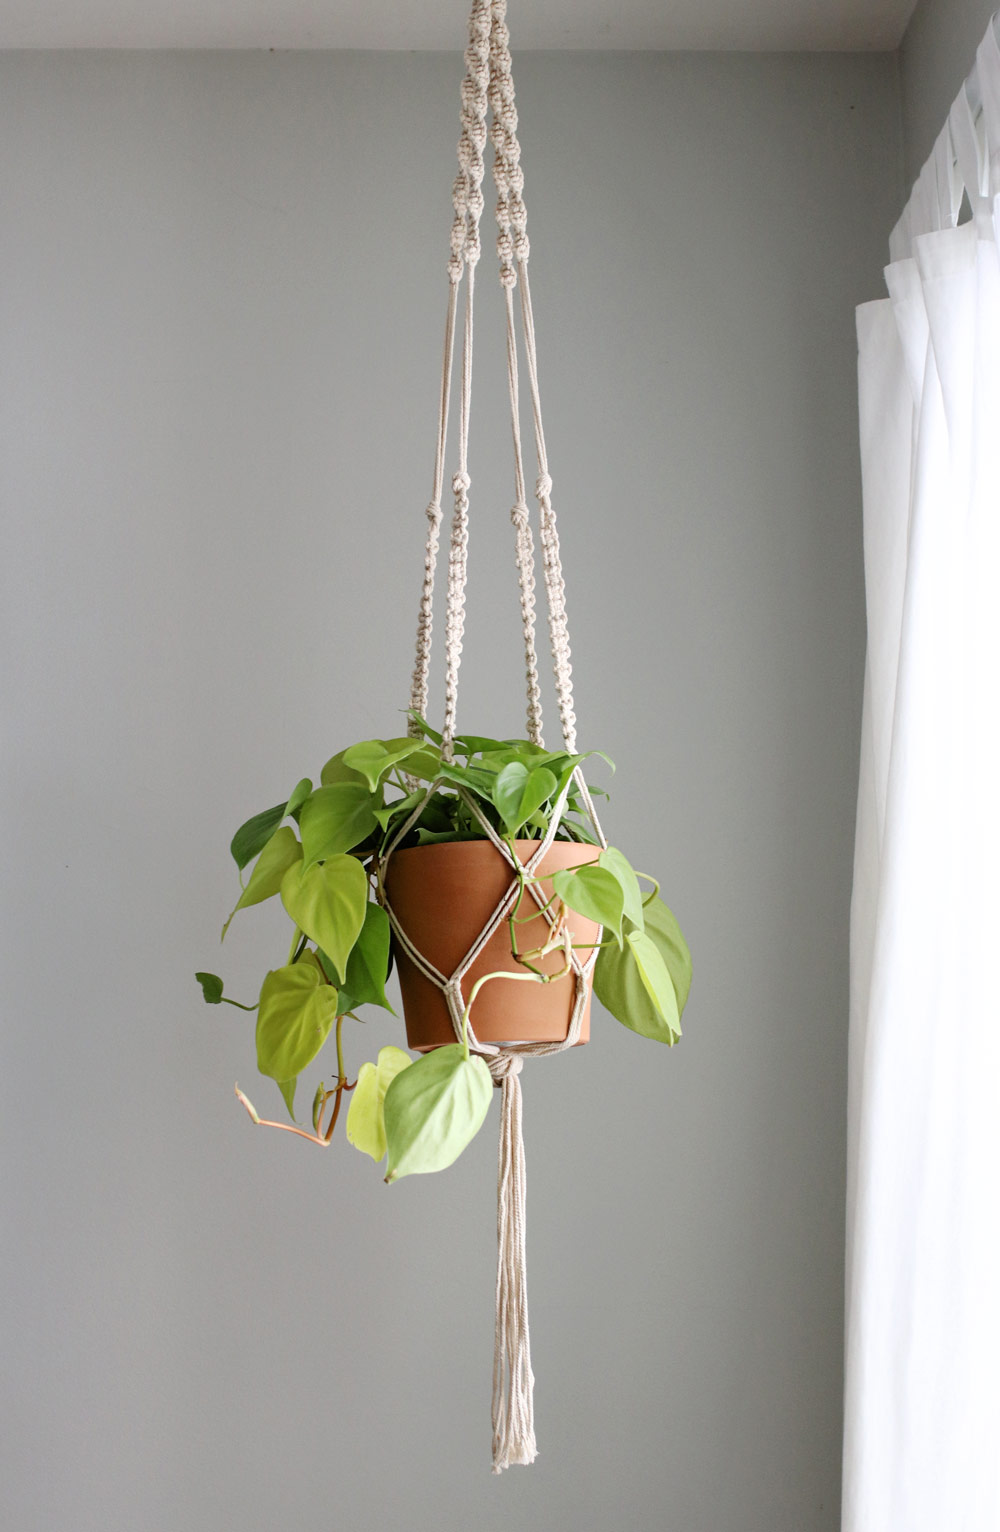
- To finish off your planter, skip one more 3-inch section, gather up all the strings and use a regular knot to tie everything together.
- Trim the strings at the bottom so they’re all the same length.
soundcloud converter says
Love it! Going to make a couple of these on this beautiful sunny day. Thanks for inspiring me to hang my plants!
soundcloud converter says
I have made a few of these now and love the way they’ve turned out. Awesome post, thank you for sharing!