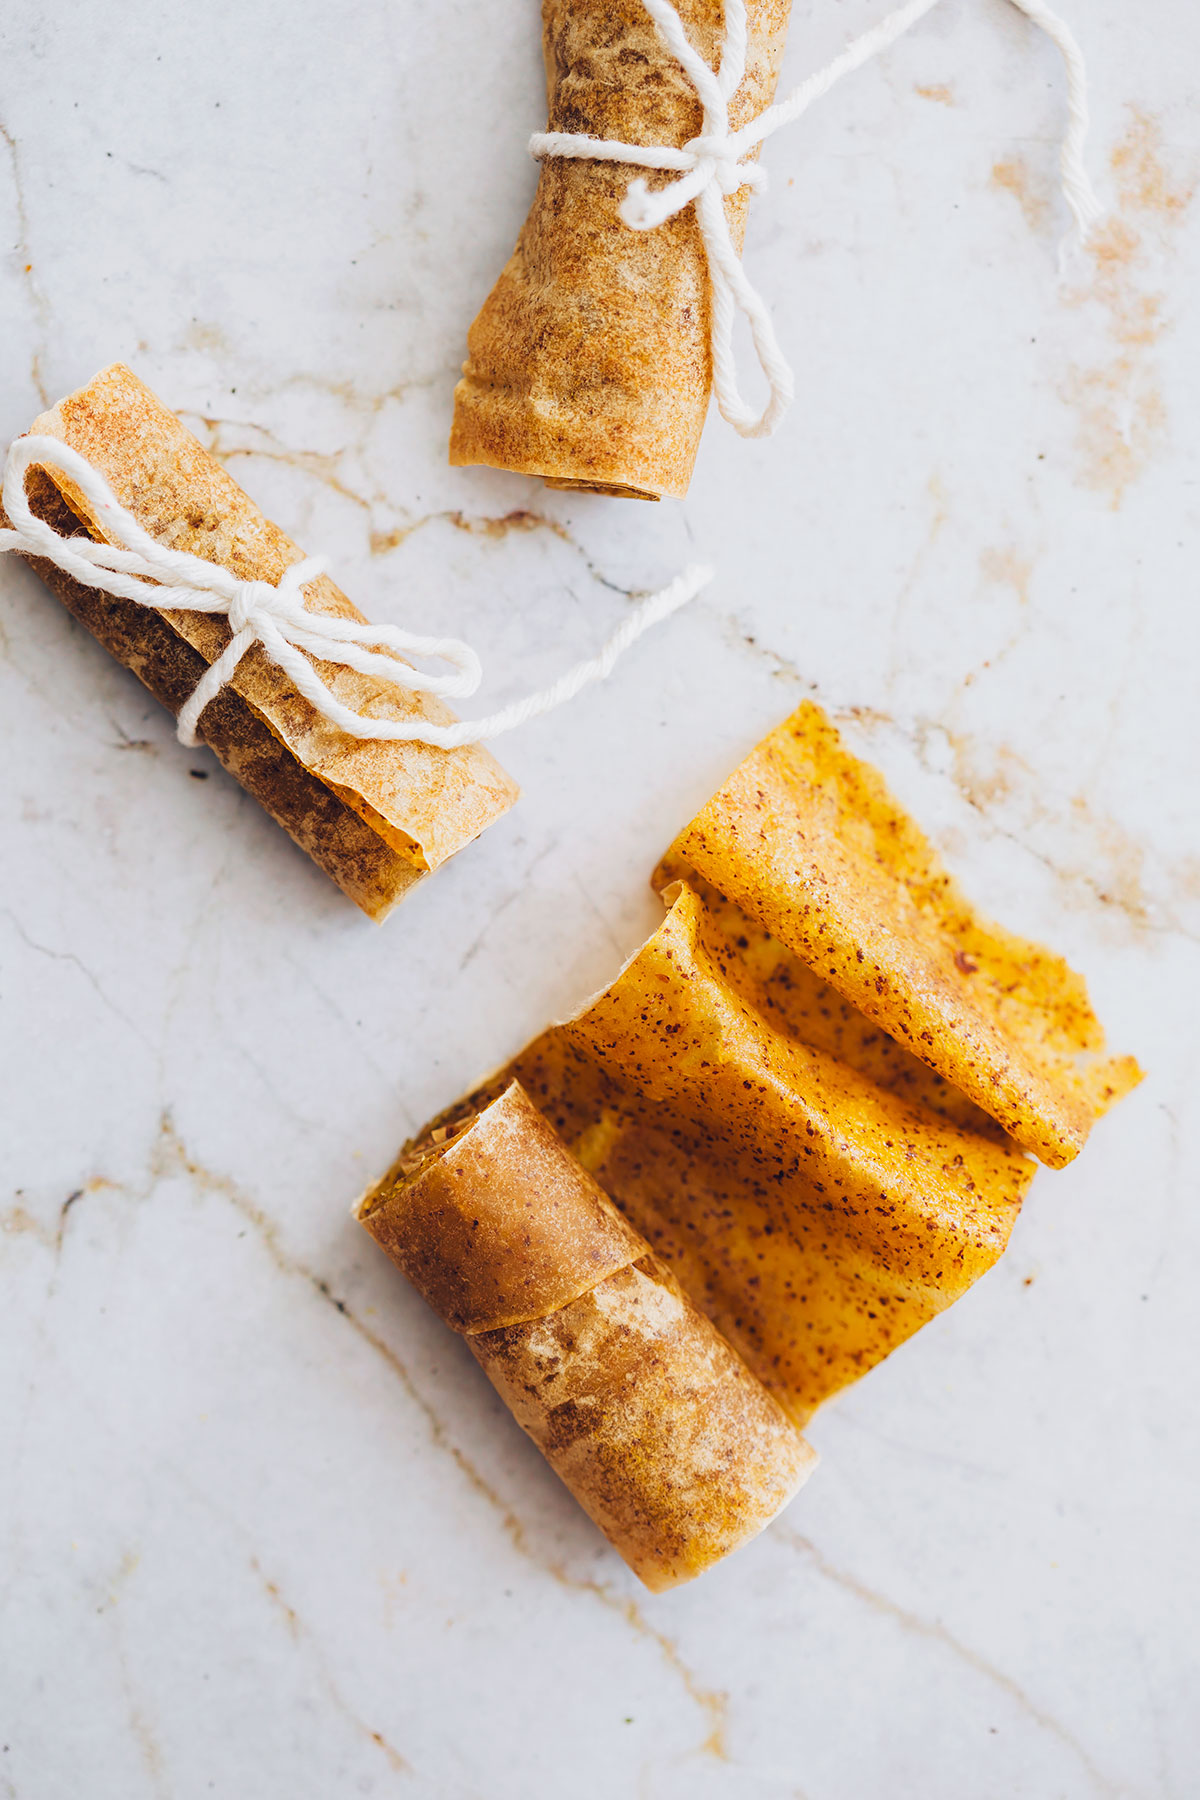
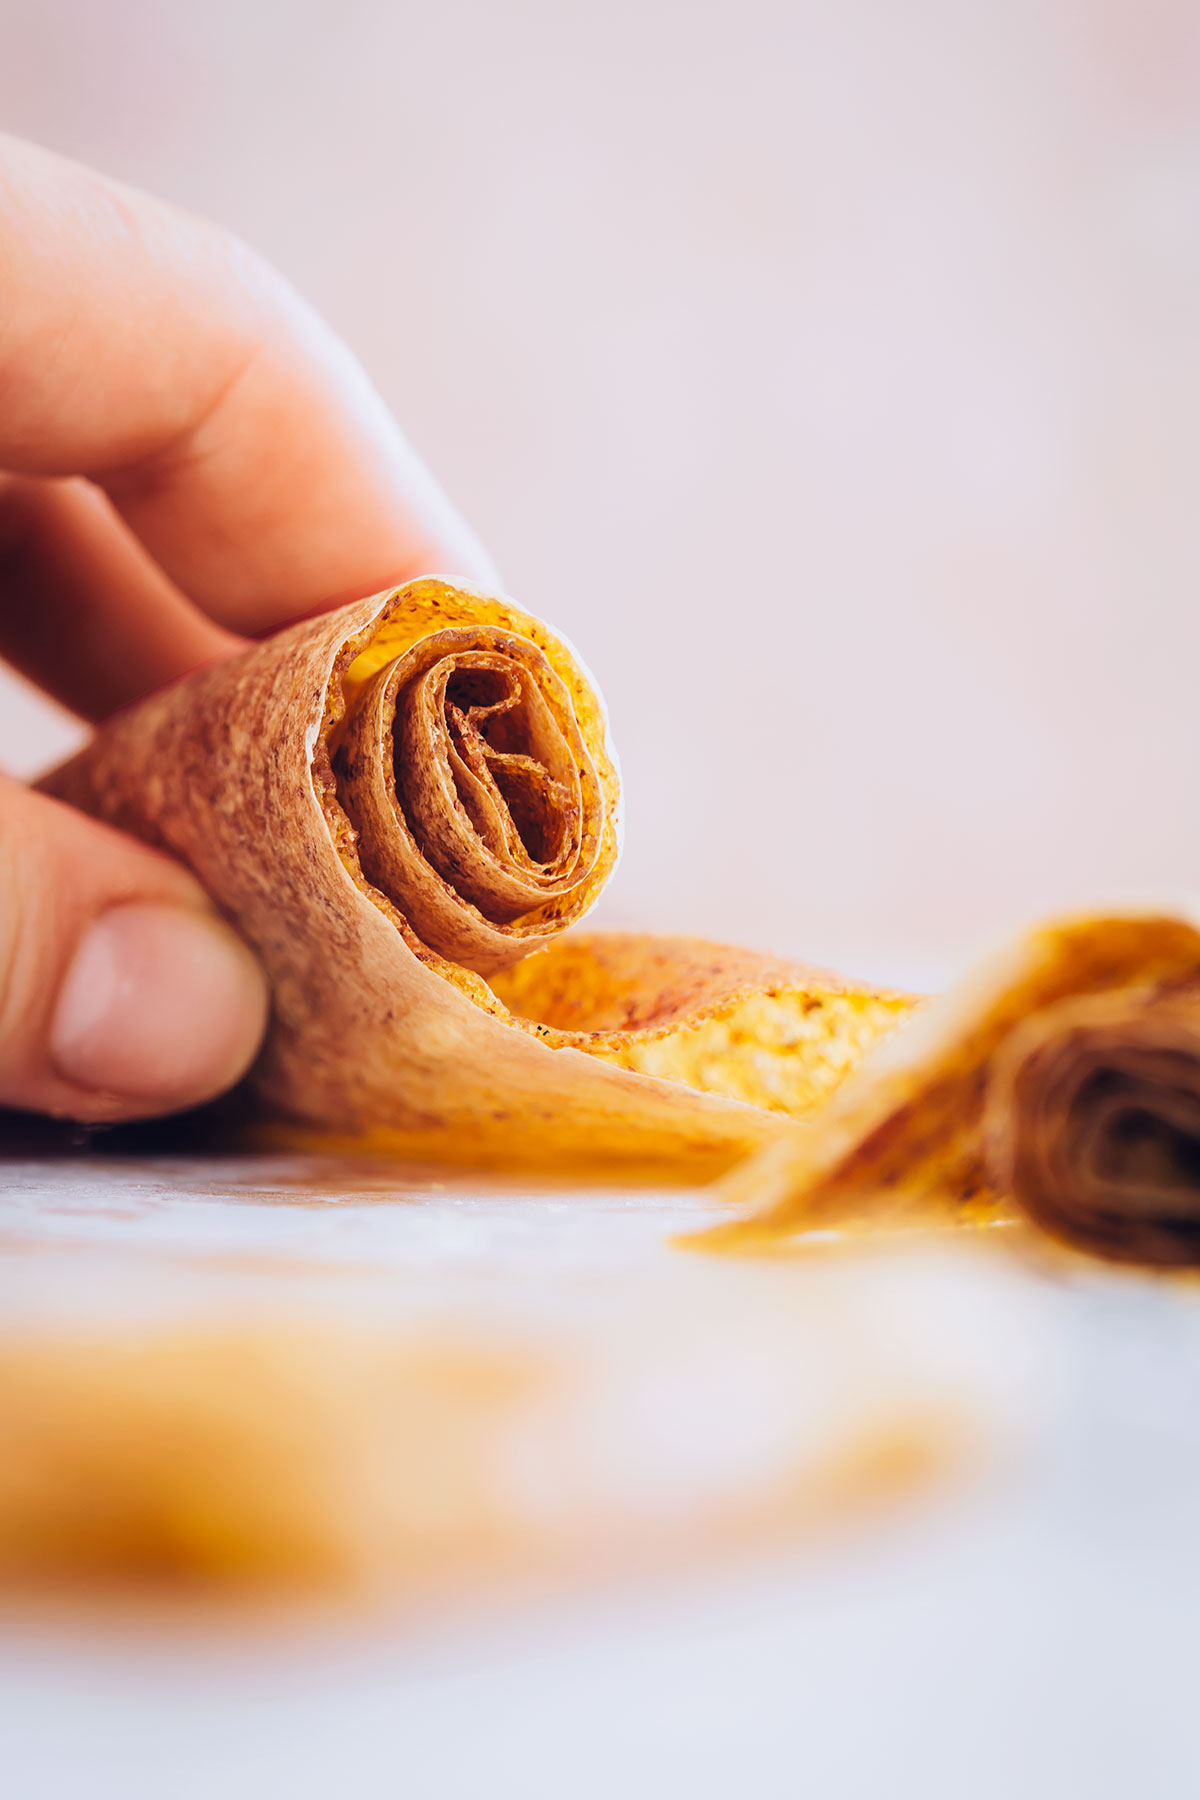
Homemade mango-kiwi fruit rolls are perfect for packed lunches, road trip treats, or as a quick snack on your way back from the gym. Fresh fruit and a bit of patience are just about the only things you need to make these healthy snacks.
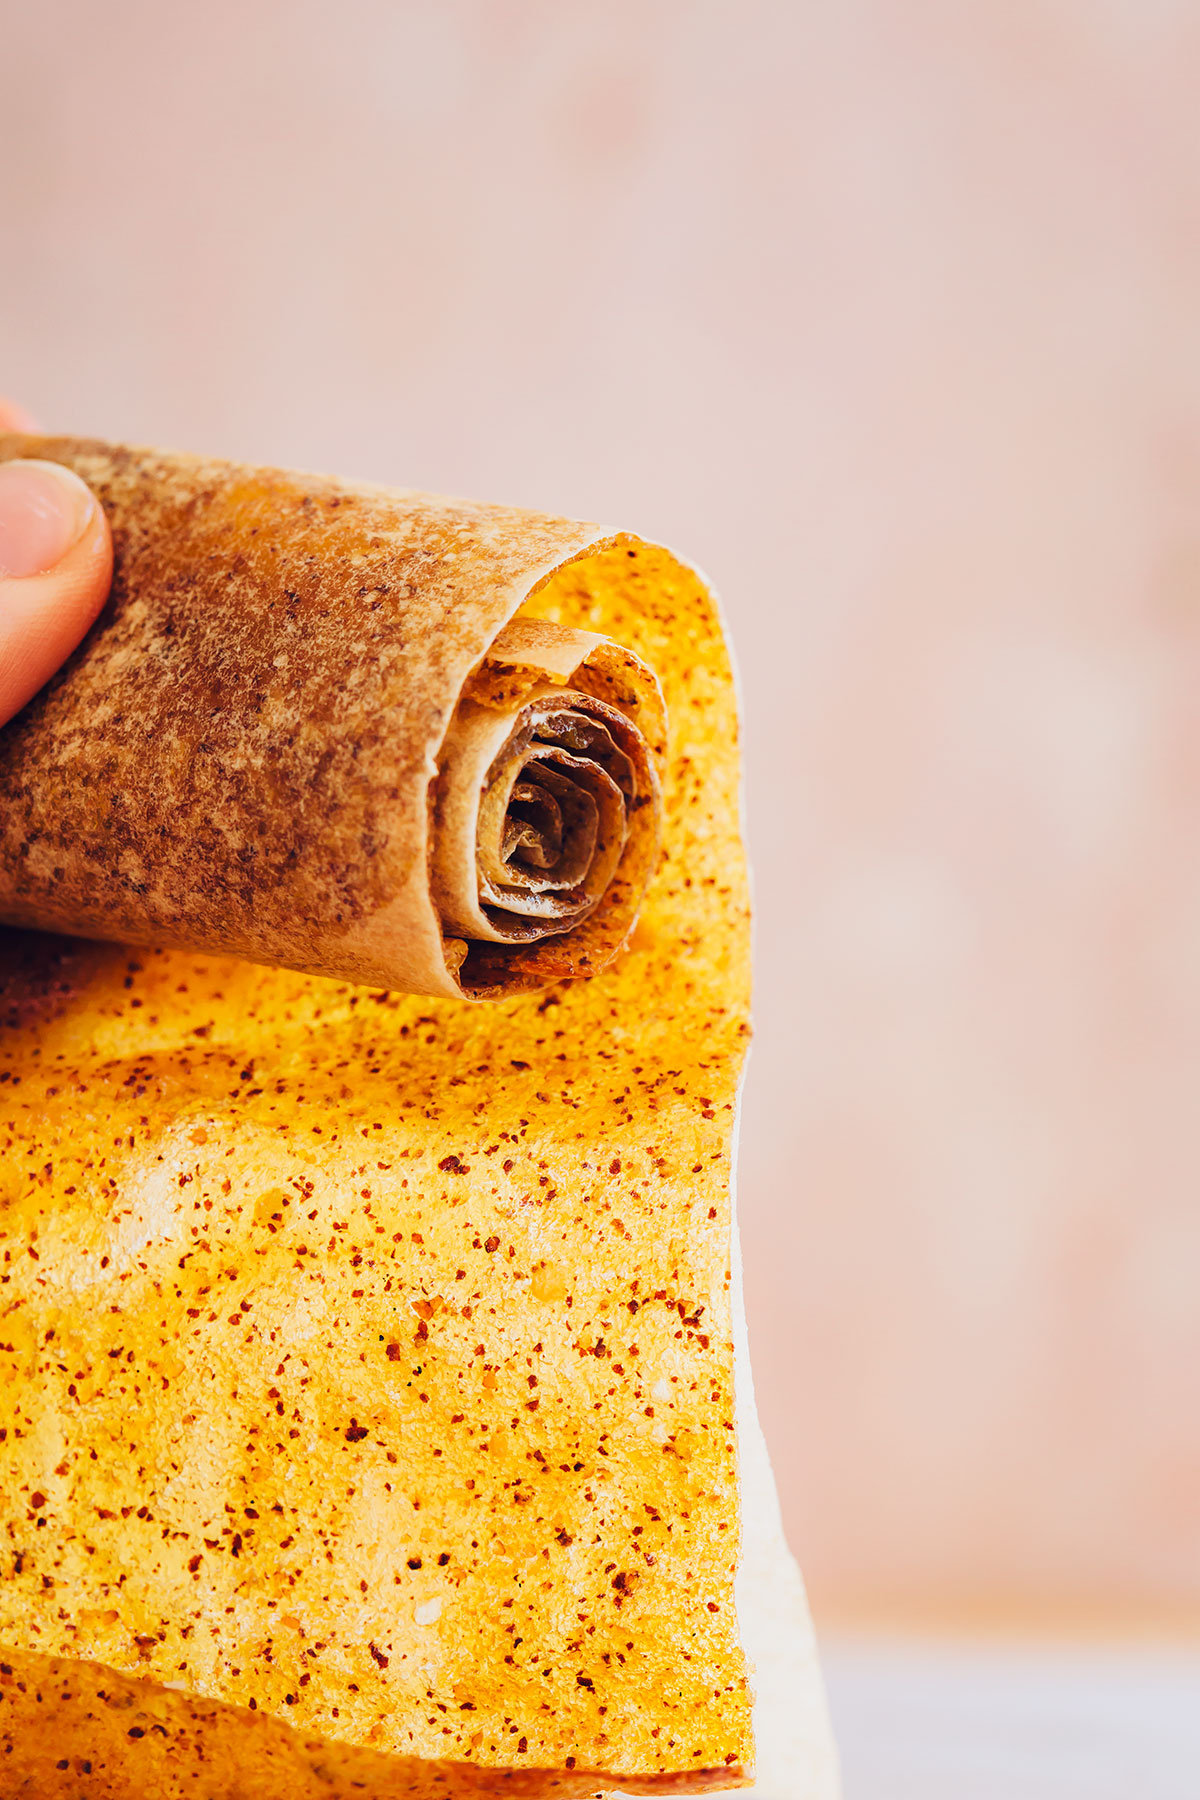
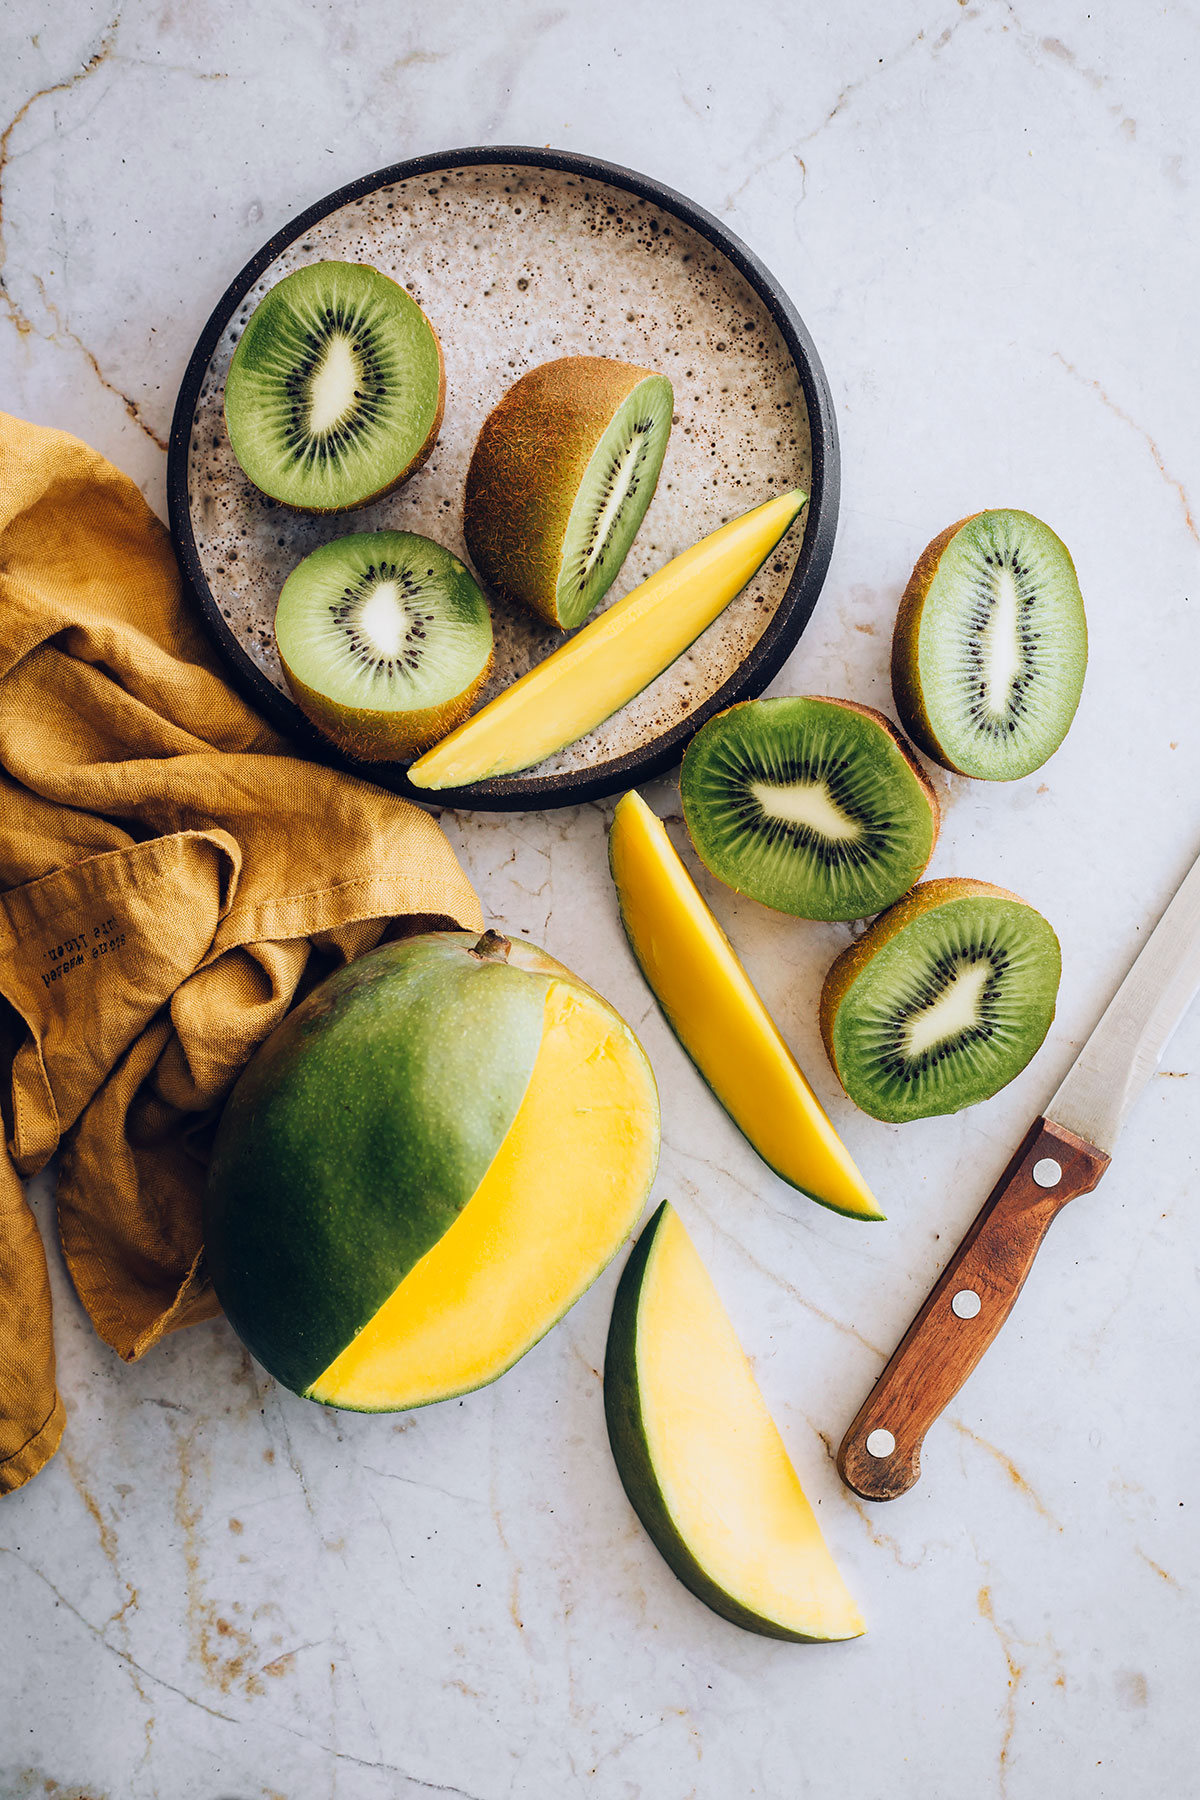
I decided to use sweet, seasonal mangoes and a little kiwi for this recipe, but just about any fruit works well. If you decide to use fruit with seeds (think strawberries, raspberries, etc.), I would definitely use a fine mesh strainer to separate the seeds from the fruit after you puree it.
If you use fruit with a thin skin (peaches, apricots, etc.), peel it before pureeing it. The key to this recipe is ripe fruit, but if your fruit isn’t as sweet as it could be, consider adding a little more than 1 teaspoon of sugar to the mix.
How do homemade mango-kiwi fruit rolls compare to the packaged ones you pick up at the store? They’re better, in my opinion! How could they not be? You won’t find any artificial colors added to them, there’s practically no extra sugar included, and you won’t find any weird ingredients in them, either.
Keep these fruit rolls in a storage container with a lid. They should keep for several days…but they probably won’t last that long!

Mango-kiwi homemade fruit rolls
- 2 cups diced mango (2 large mangoes)
- 1 kiwi, diced
- 1 teaspoon sugar
- 1 teaspoon lemon juice
- waxed paper
Preheat your oven to its lowest setting (my setting was 170 degrees F.). Line a baking sheet with a Silpat or silicone baking mat.
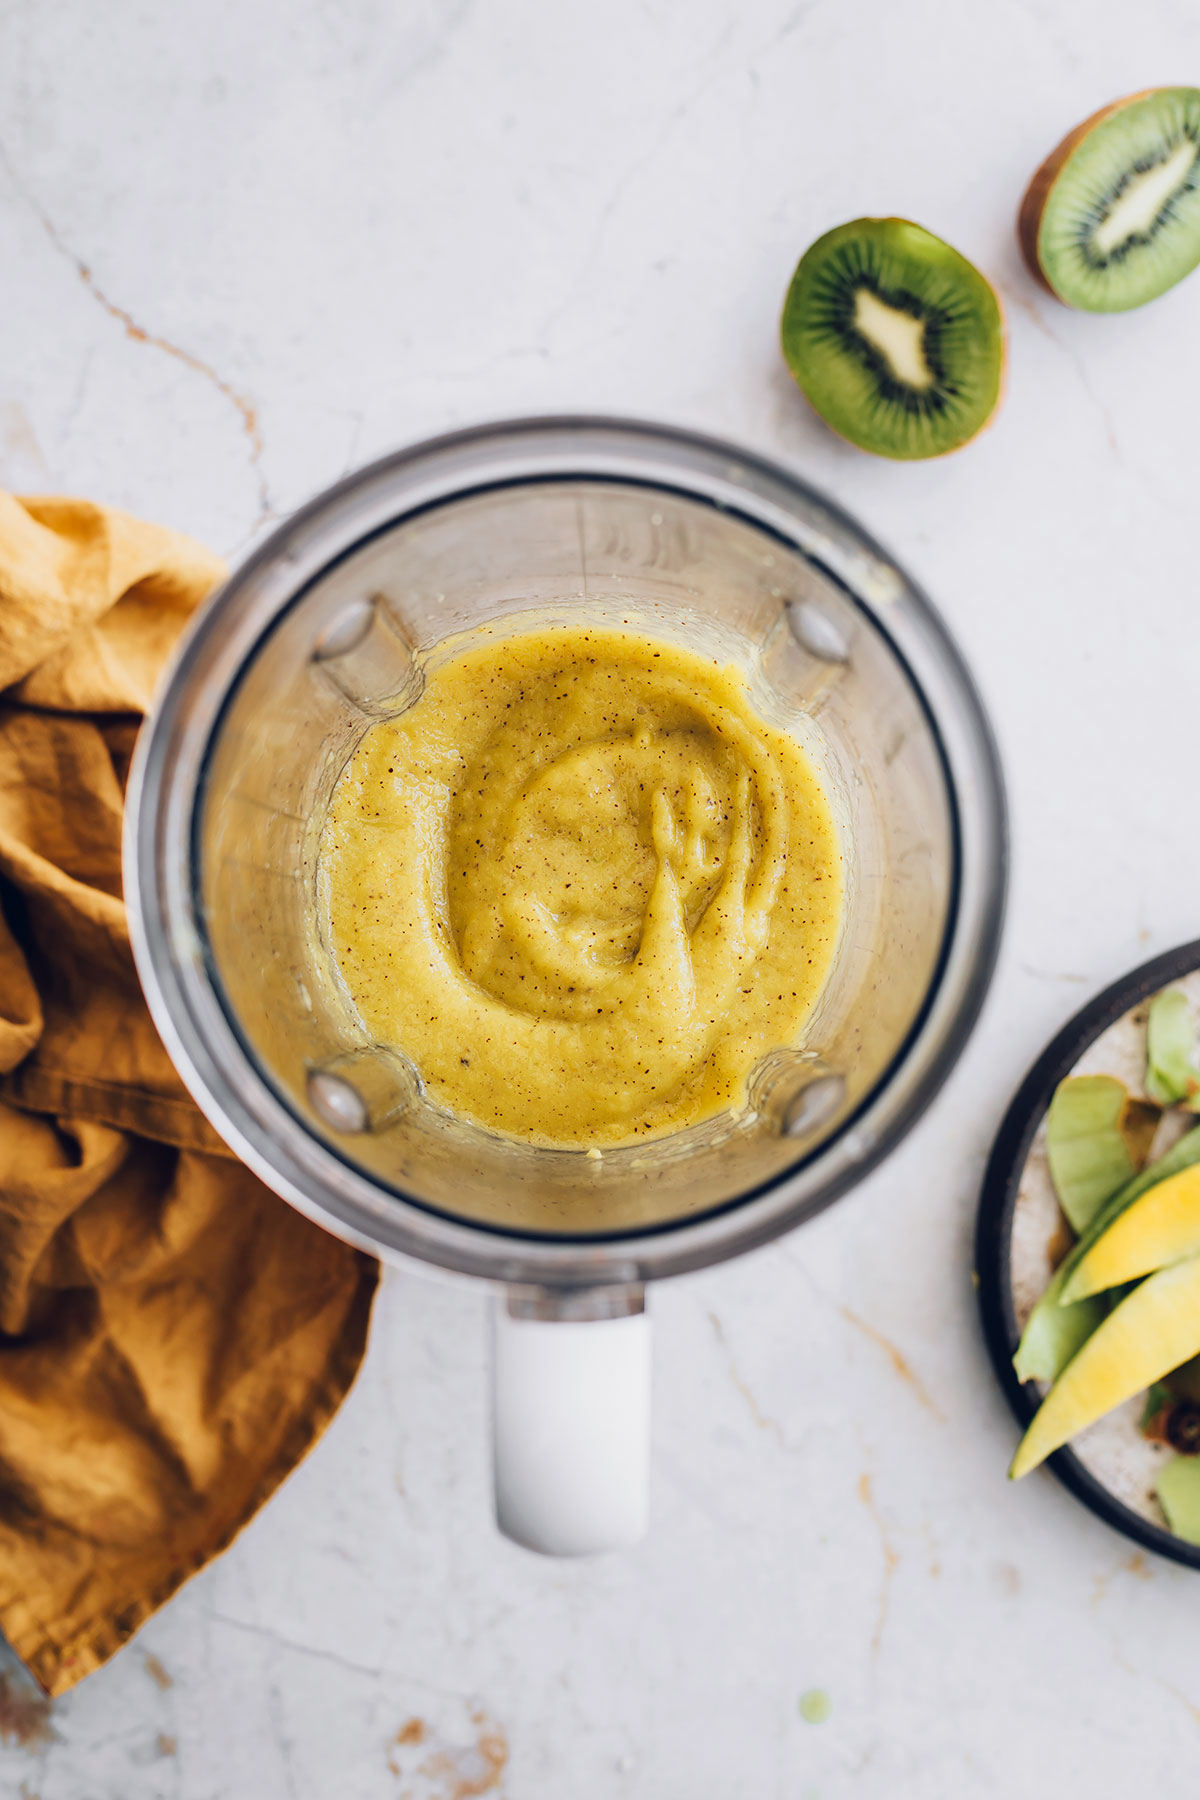
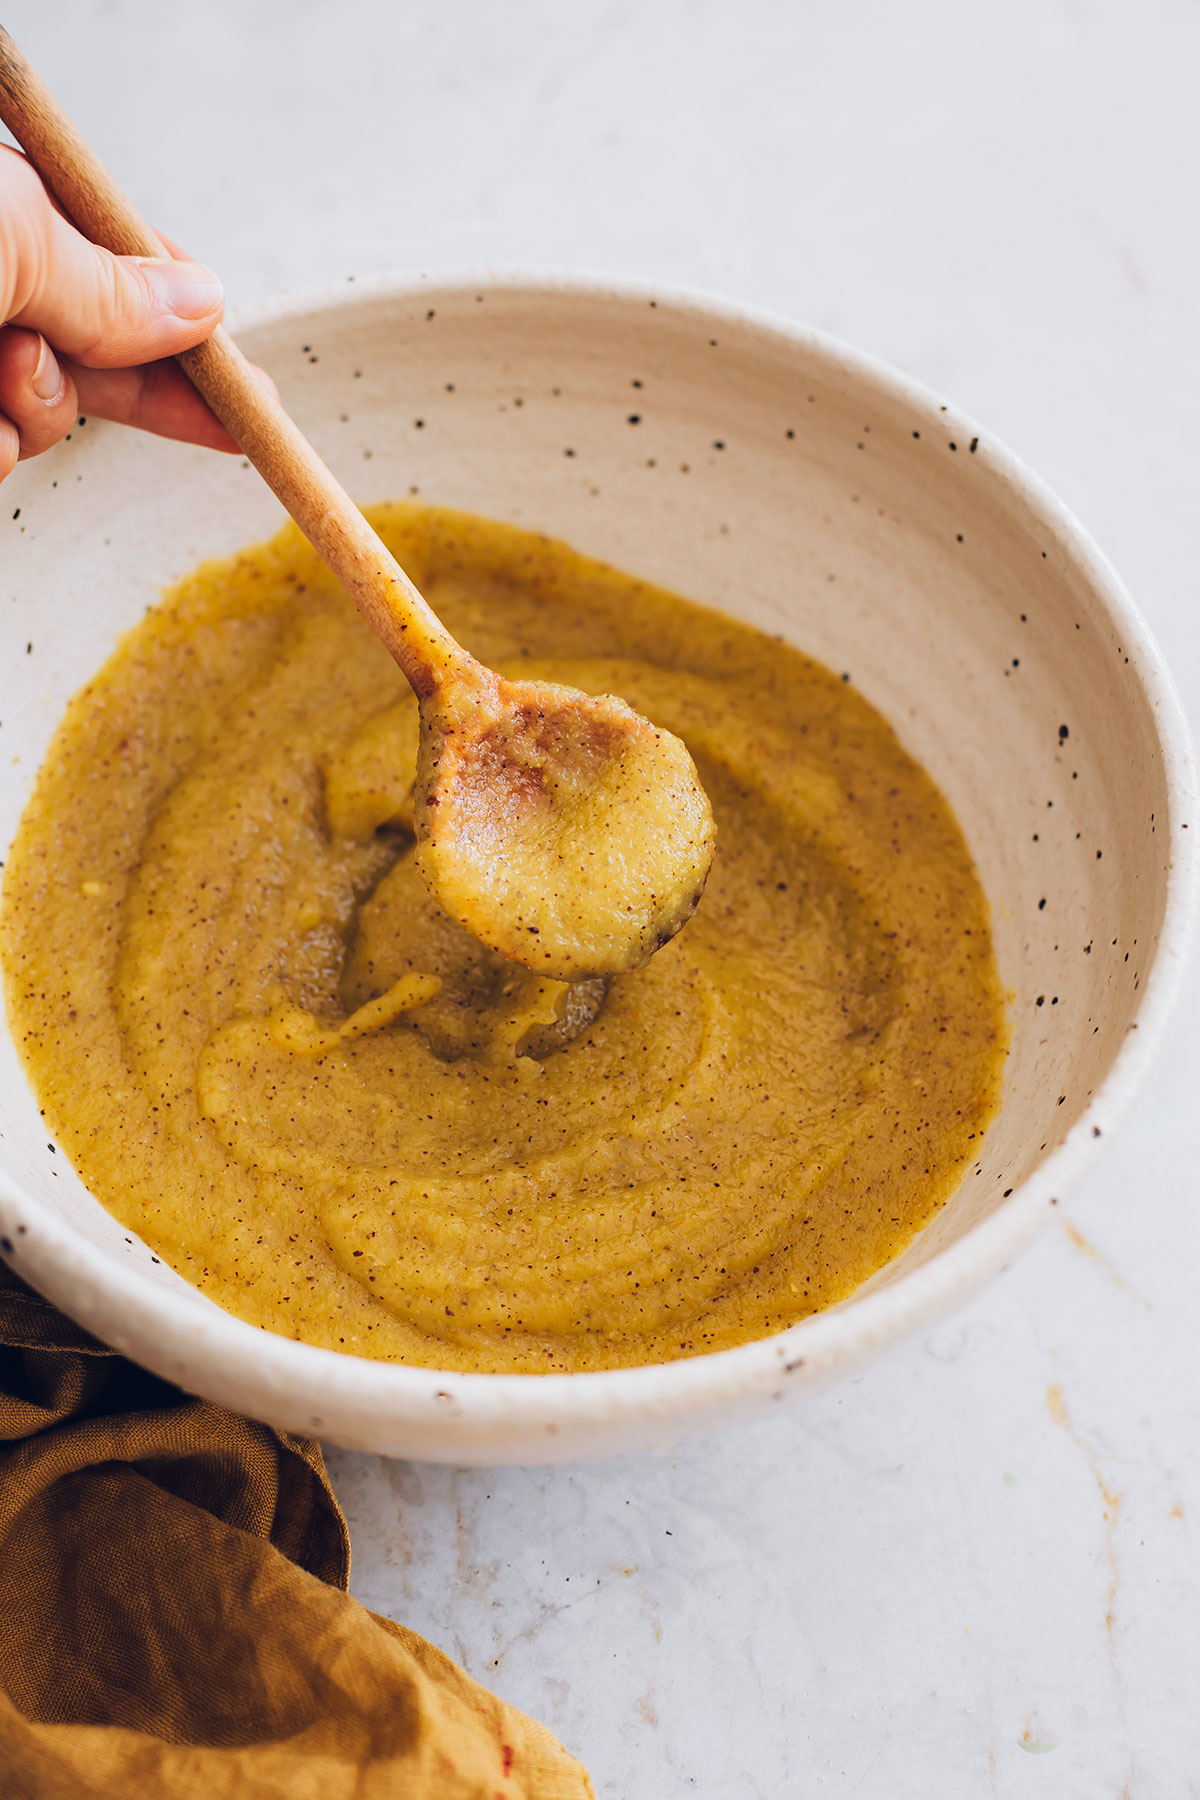
Puree the mango and kiwi using a blender or food processor.
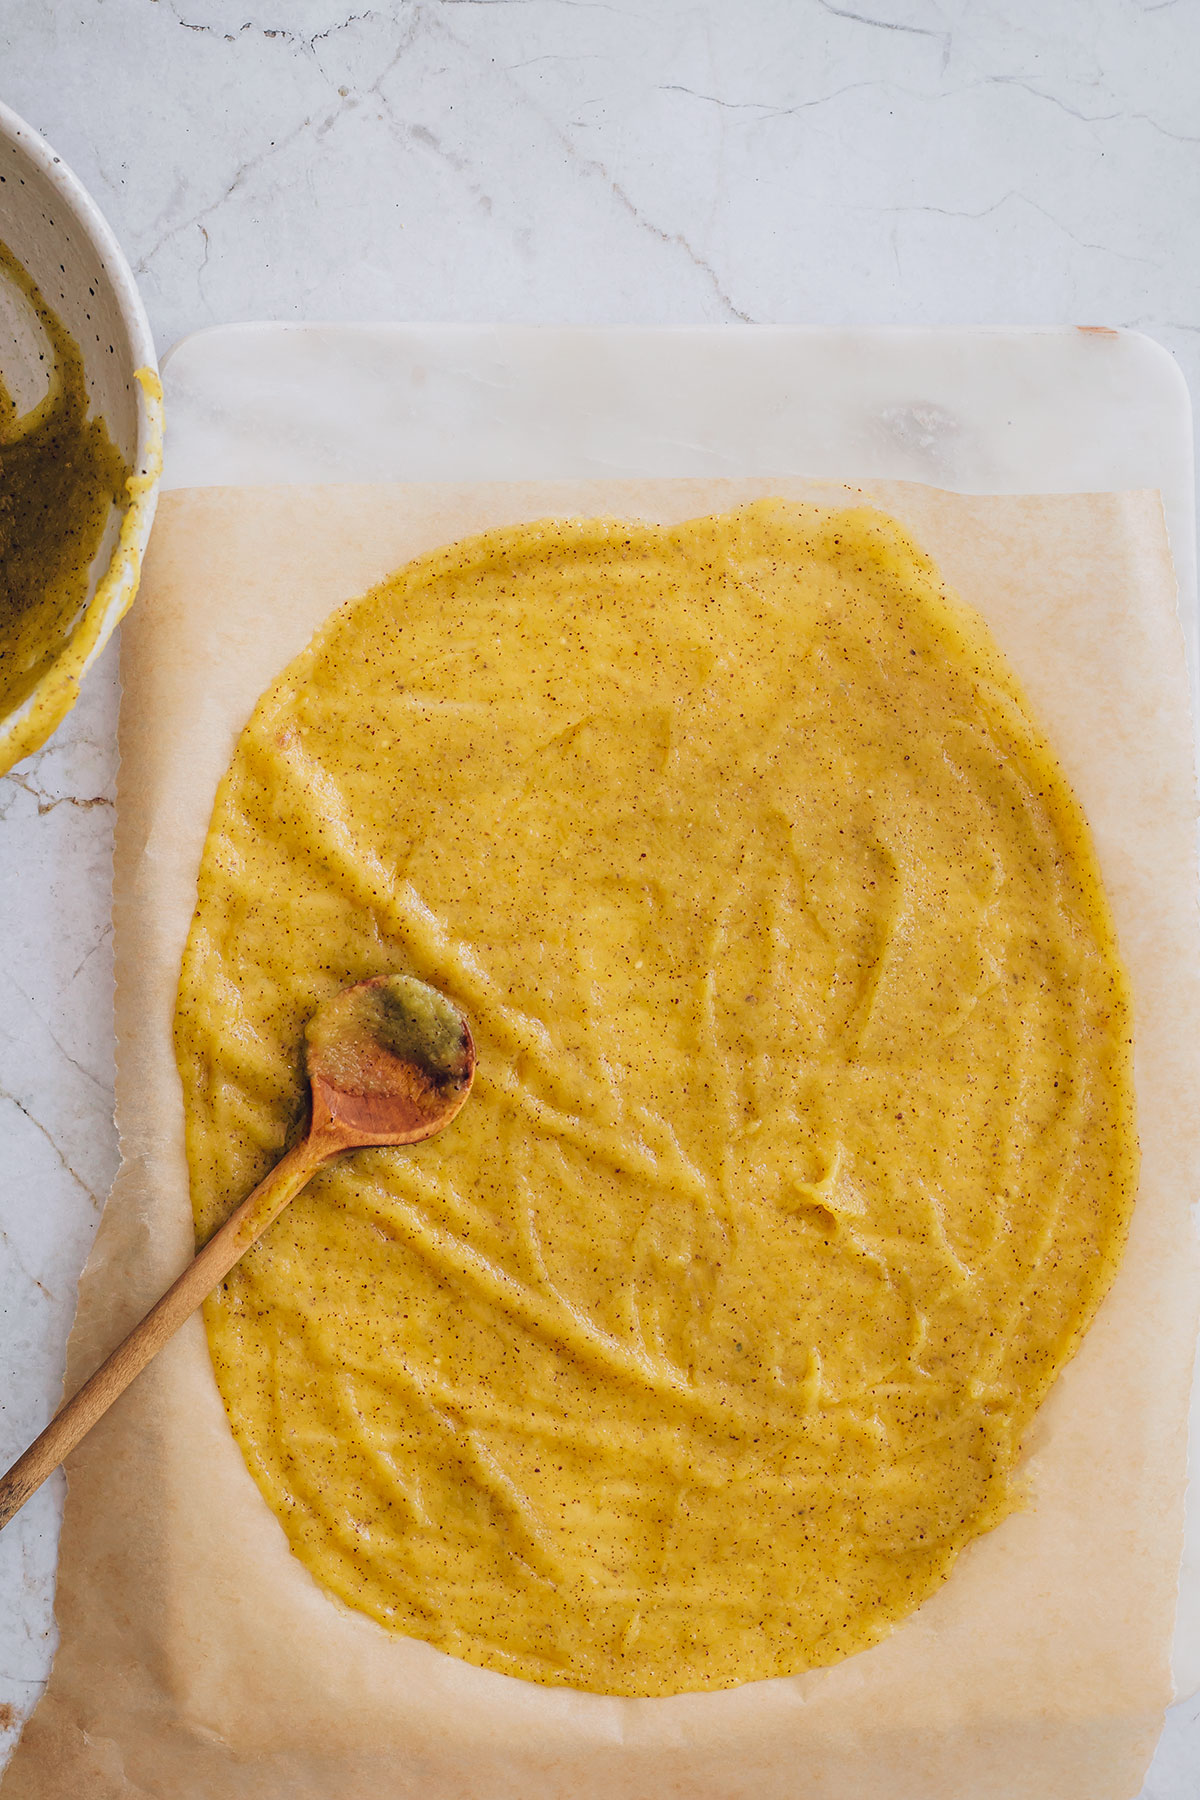
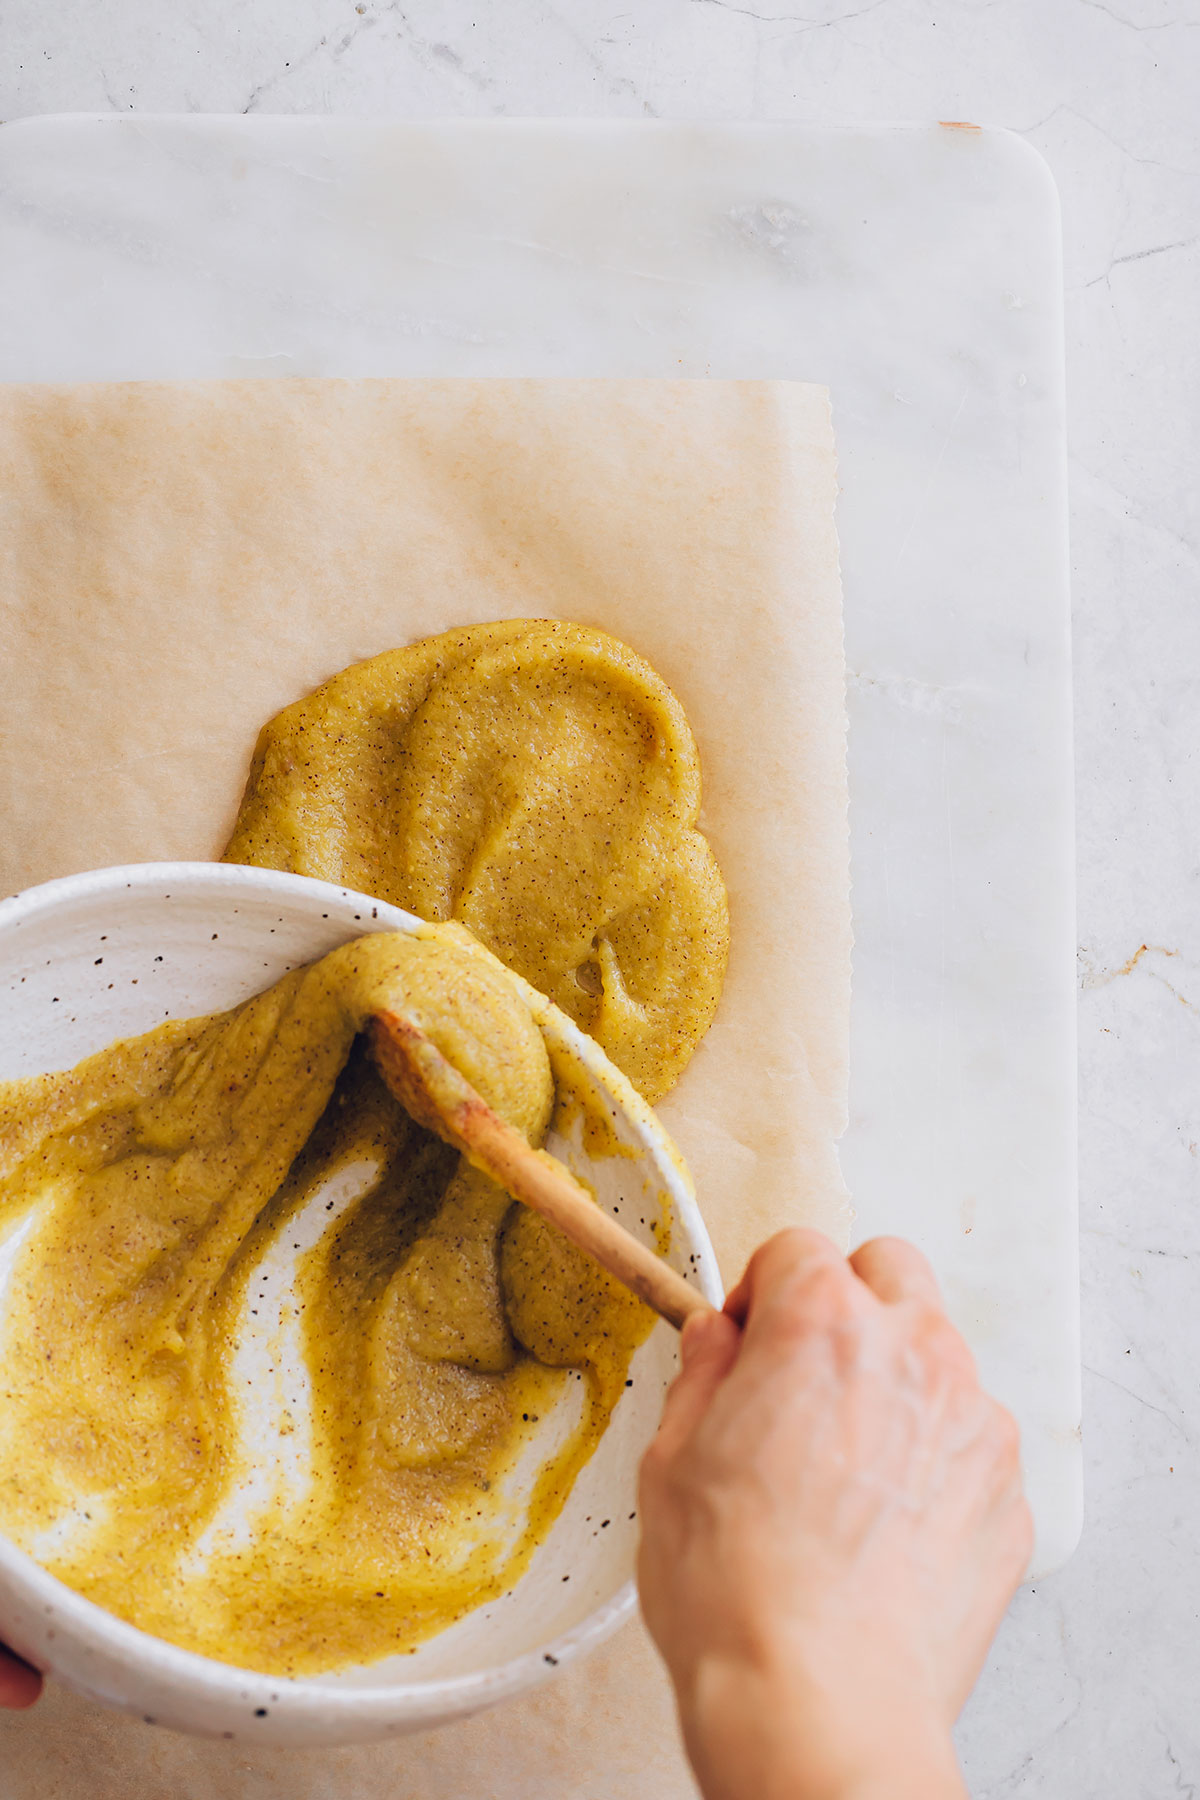
Use an offset spatula (the kind used for frosting cakes) to spread the fruit mixture as evenly as possible over the baking mat, to about 1/4-inch-thick.
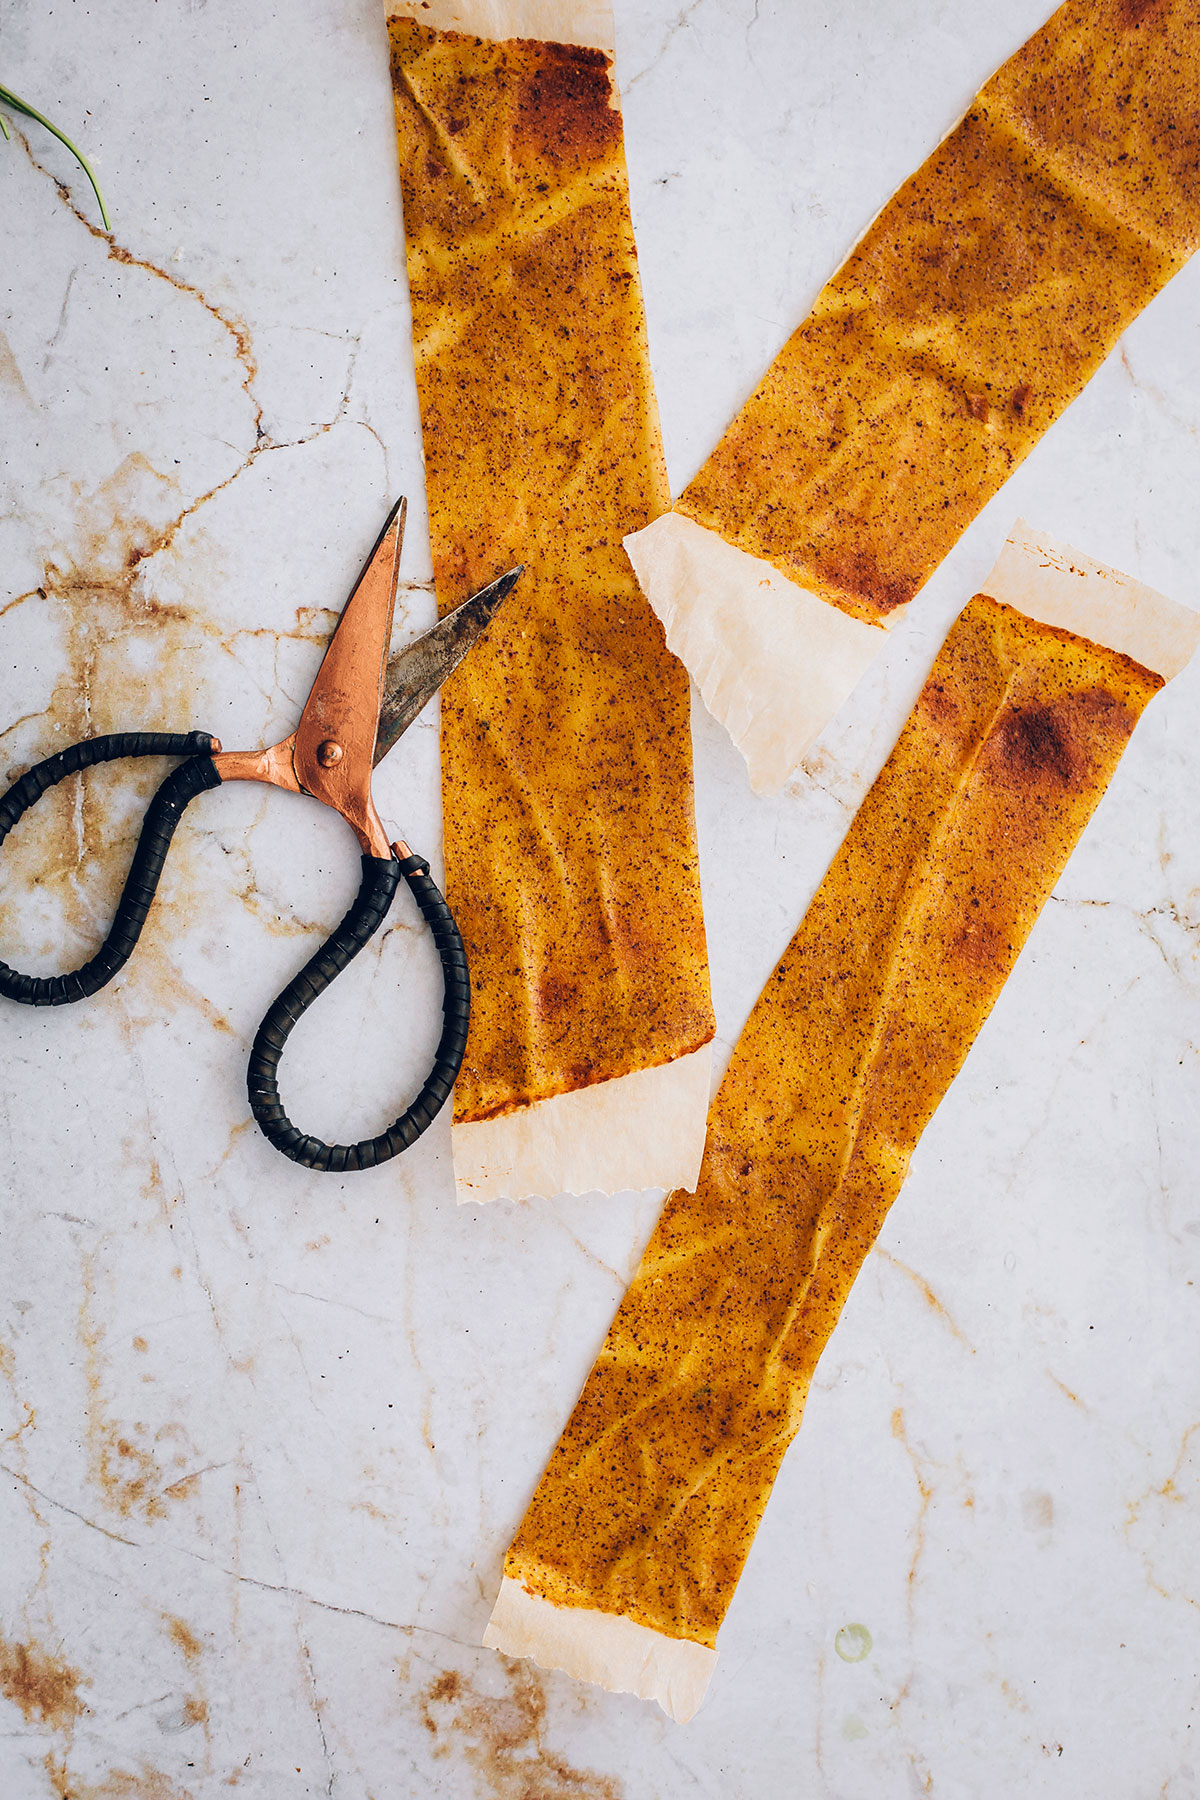
Roll up the fruit with the waxed paper as backing, and secure with kitchen string.
Laura says
I have the mango and I have the kiwi. Could you tell me why you cook it? Can it be done without cooking?
Susanna says
these look yummy!
emilie says
this looks amazing !
Kiersten @ Oh My Veggies says
Ooh, I make fruit leather all the time, but never with kiwi! I’m going to have to throw that into my next batch.
icakepops says
I’ve wanted to learn how to make these . . . and now I do! Can’t wait to make!
Angie@Angie's Recipes says
Love the flavour combo of this fruit leather!
Anne @ Domesblissity says
I’ve always wanted to try these Stephanie. Yours look delicious. Great flavour combo too.
Anne xx