• Skip to primary navigation
  • Skip to main content
  • Skip to primary sidebar

Hello Nest

The Art of Making a Home

  • Green Cleaning
    • Air Fresheners
    • Bathroom
    • Bedroom
    • Kitchen
    • Laundry
  • Natural Living
    • Homemade Recipes
    • Essential Oils
    • Plants & Flowers
    • Zero Waste
    • Organizing & Simplifying
  • DIY & Decor
    • Candle Projects
    • Holiday Projects
    • Sewing Projects
  • About
    • Contact
    • Privacy Policy
  • Nav Social Menu

    • Facebook
    • Instagram
    • Pinterest
    • YouTube

DIY: Crystal Embellished Sandals

0 · Jul 9, 2014 · Stephanie Gerber · 1 Comment

DIY Crystal Embellished Sandals | HelloGlow.co
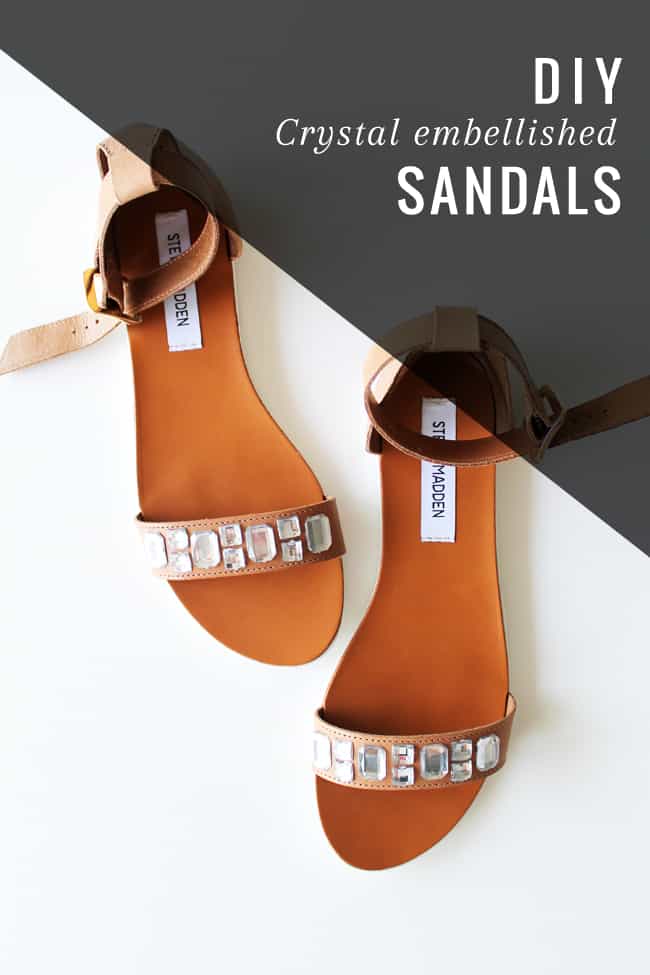
Don’t you love easy projects that take your staples from regular to glam in no time? This super-easy DIY is sure to add some serious flair to an old (or new) pair of leather sandals!

You have probably seen the jeweled or crystal embellished sandals trend around; personally I love how a little sparkle can take a simple pair of leather sandals up a notch , but spending a ton of money on something that takes little time and (trust me) no crafty  hands or talent to do, makes no sense! This is the kind of project that doesn’t require lots of money or expertise, yet the result is amazing. Judge for yourself!

DIY Crystal Embellished Sandals | HelloGlow.coSUPPLIES NEEDED

  • Acrylic crystals
  • Strong glue (I used leather grip adhesive)
  • A pair of sandals. I used these in tan, but these and these would also be great for this project

HOW TO MAKE YOUR JEWELED SANDALS

How to embellish sandals with crystals - Hello Glow

STEP 1

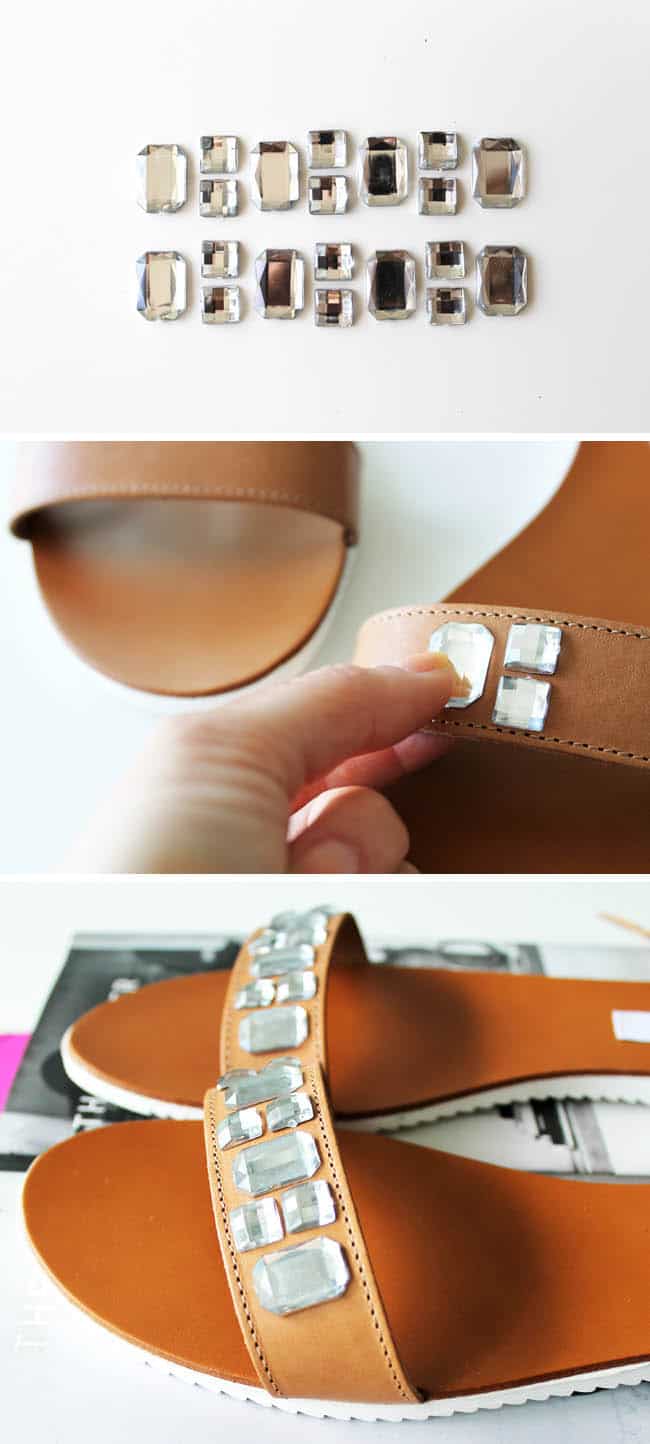
Play around with the crystals until you come up with a pattern or design you like. Just make sure you have enough for both sandals. Use a tiny tiny bit of glue stick to temporarily place them before you use the strong glue. Why? This way you can re-arrange them or move them around in case you make a mistake.

STEP 2

Start with the center of the design. Apply a bit of glue to the crystal, press down and hold firmly for 10-15 seconds.

STEP 3

Keep adding crystals, working your way out from the center. Let the glue dry for a couple of hours before hitting the street (or the beach!)
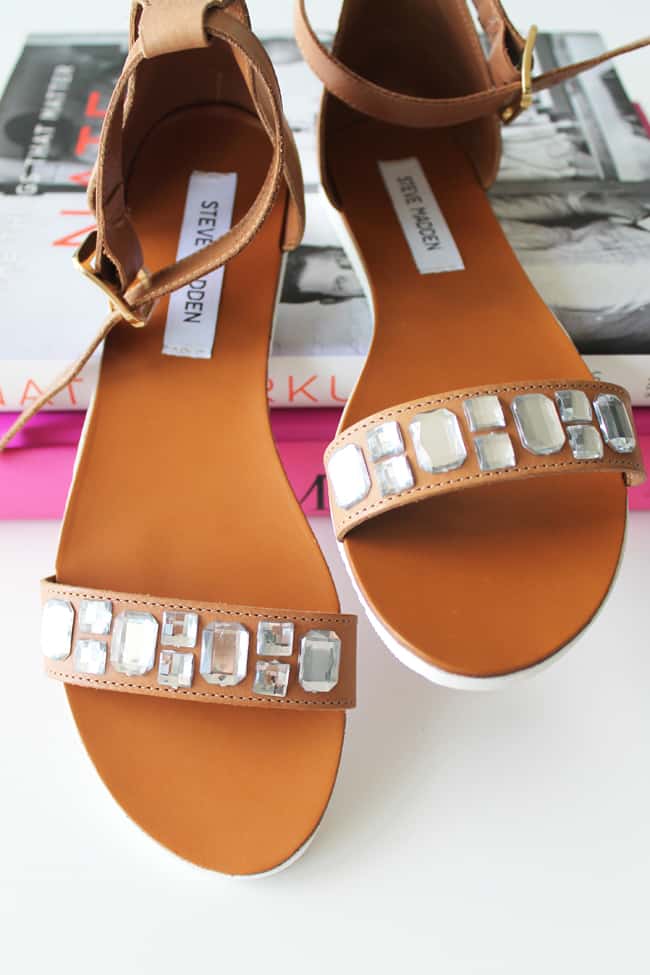
DIY Crystal Embellished Sandals | HelloGlow.coHow easy was that?!

0

DIY Crafts & Decor crystal embellished sandals, DIY, diy jeweled sandals, DIY sandals, embellished, feature, Gaby Burger, sparkle

More Posts from DIY Crafts & Decor

  • 10 DIY projects for when you want to try a new craft

    10 DIY Projects for When You Want to Try a New Craft

  • Citrus FLower arrangement How To

    How To Make a Citrus Flower Arrangement

  • 11 simple DIYs to refresh your home

    11 Simple DIYs to Refresh Your Space

  • Mini succulent pots

    We’re Completely Obsessed With These DIY Mini Succulent Pots

  • Use eucalyptus at home

    13 Creative Ways to Use Eucalyptus in Your Home

  • Car Air Fresheners 1

    46 DIY Aromatherapy Crafts for At Home + On The Go


Reader Interactions

Comments

    Leave a Reply Cancel reply

    Your email address will not be published. Required fields are marked *

  1. Leslie says

    July 9, 2014 at 2:19 pm

    These are so cute! I love Steve! I’ve got a couple pairs of shoes he’s made. Love them.

    Reply

Primary Sidebar

Featured DIY

How to clean Birks

How to Clean Birkenstocks (Because They Deserve Better)

The Best essential oils for dryer balls

The Best Essential Oils for Dryer Balls

DIY Before-You-Go Spray

How to Clean an Air Fryer

DIY refrigerator tabs

DIY Refrigerator Deodorizer Tabs Made with Essential Oils

More

We are a participant in the Amazon Services LLC Associates Program, an affiliate advertising program designed to provide a means for us to earn fees by linking to Amazon.com and affiliated sites.
  • Contact
  • Privacy Policy
  • Hello Glow
  • Hello Veggie

Copyright © 2026 · Hello Nest