This small jewelry box is a great project that almost anyone at any age can make. It’s practical, easy to construct, and makes a great gift box when giving jewelry as a present! The simple felt folding technique can easily be adapted to a box you might already have at home -try it on an old cigar box, recipe box, or fun box from the Container Store!
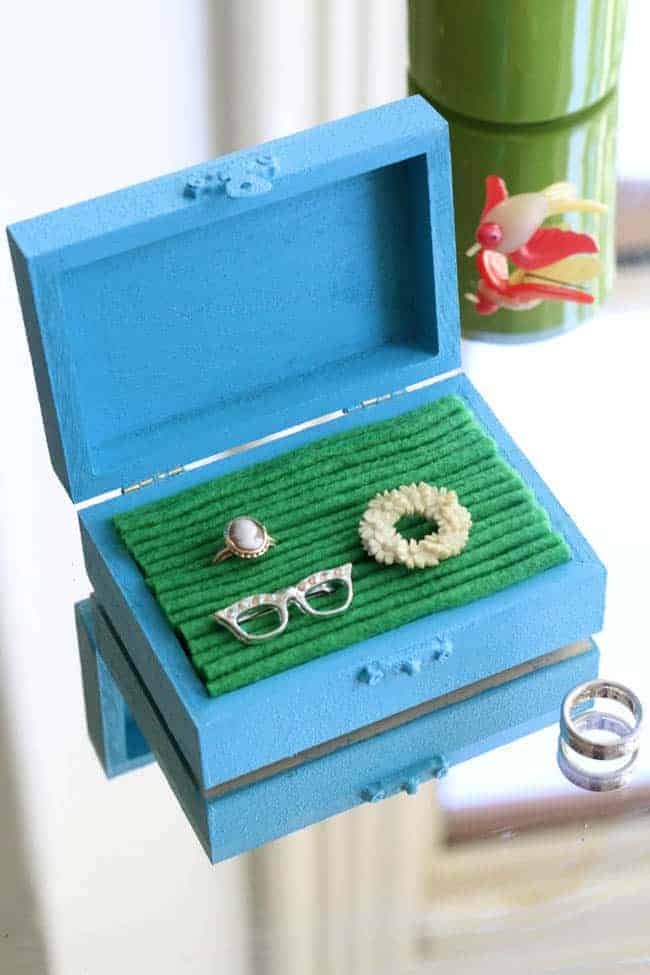 Here’s how to make your own:
DIY Jewelry Box Supplies
- 2 pieces of felt
- Needle and thread
- Small jewelry box (we found ours at Joann’s)
- Craft paint + high gloss acrylic protective spray
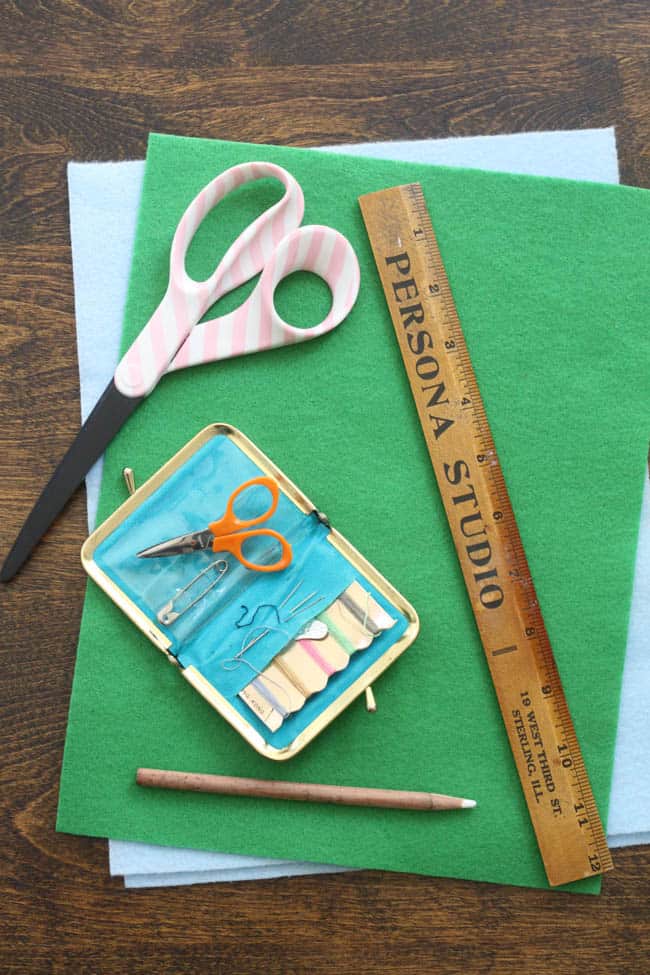
DIY Jewelry Box Instructions
Step 1
Measure the depth and width of the inside of your box.
Step 2
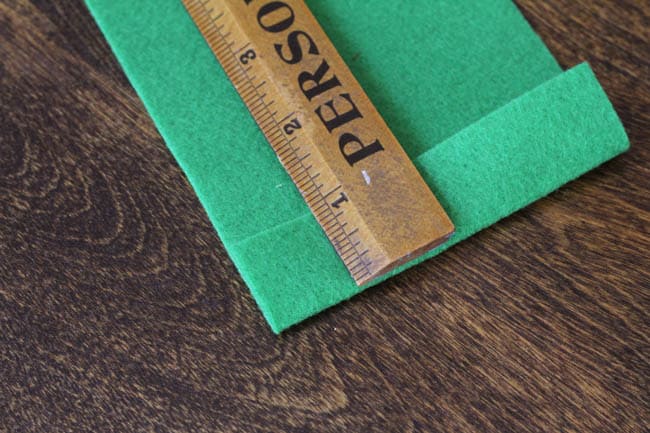
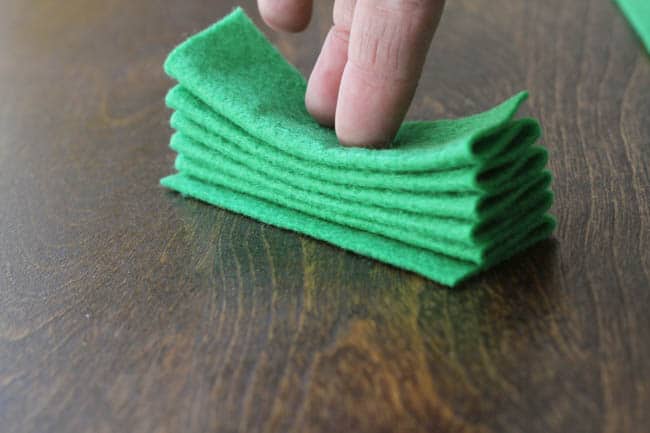
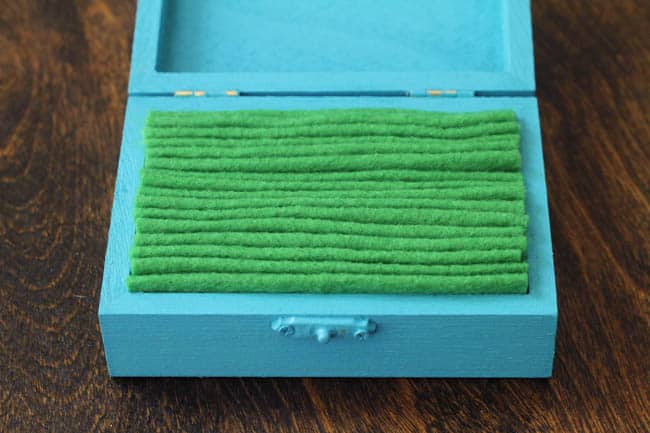
Cut your felt into strips that are the width of your box. Accordion fold your felt to fit the depth of the inside of the box. My box was 1-inch deep, so I folded my felt in 1-inch lengths.
Step 3
Once you’ve folded your strip of felt as many times as you can, trim off excess felt including half folds.
Step 4
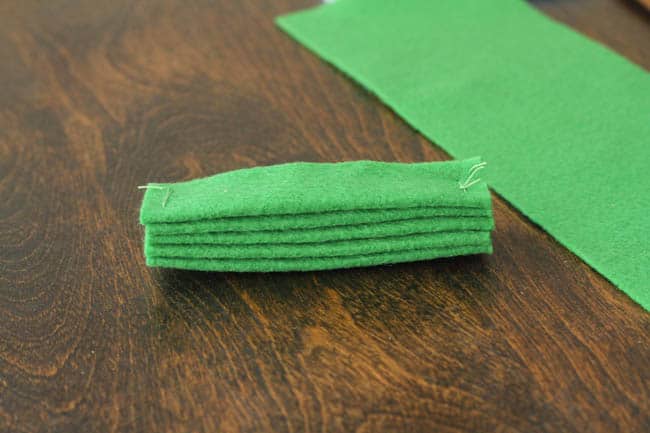
Loosely stitch the ends the ends together. Be careful not to pull the stitches too tight -you want the folds to stay as flat and uniform as possible. Continue folding your felt strips until you have made enough to fit snugly in your box (It took me three sections of felt).
Step 5
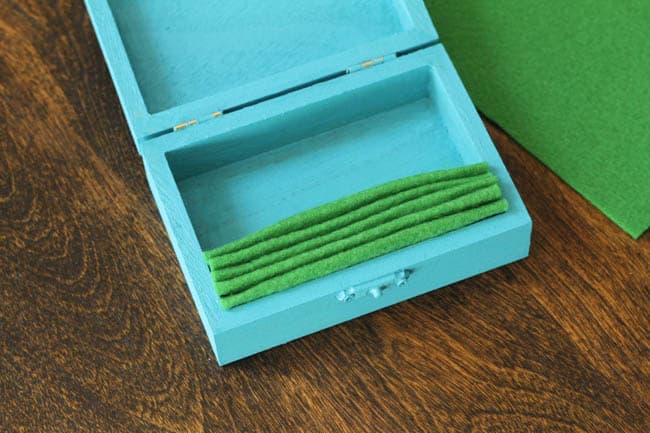
Place the folded felt sections in your box as you go to be sure they will fit correctly.
Step 6
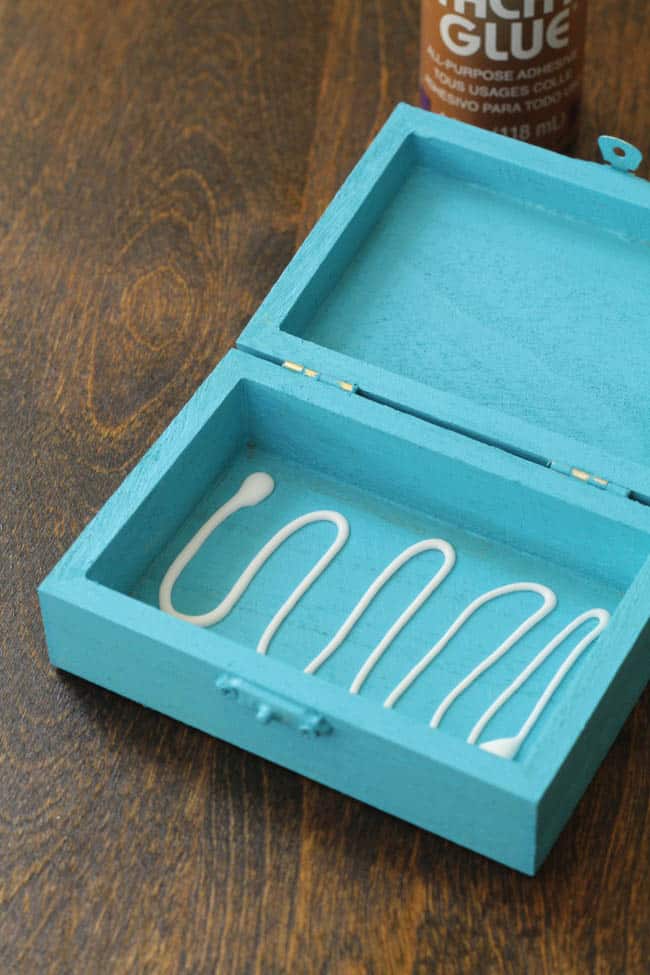
Once you’ve got the felt situated in your box, remove it and add a bit of craft glue to the bottom of the box to secure the sections in place.
Step 7
Place the felt sections back inside the box and let the glue dry.
Step 8
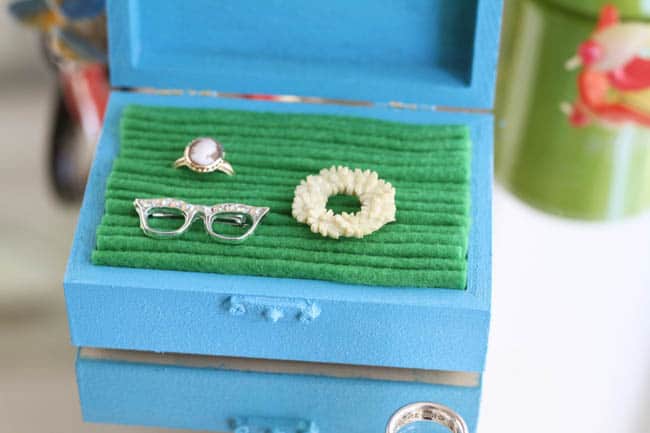
Place your baubles and shiny things in the box and marvel at your creation!
1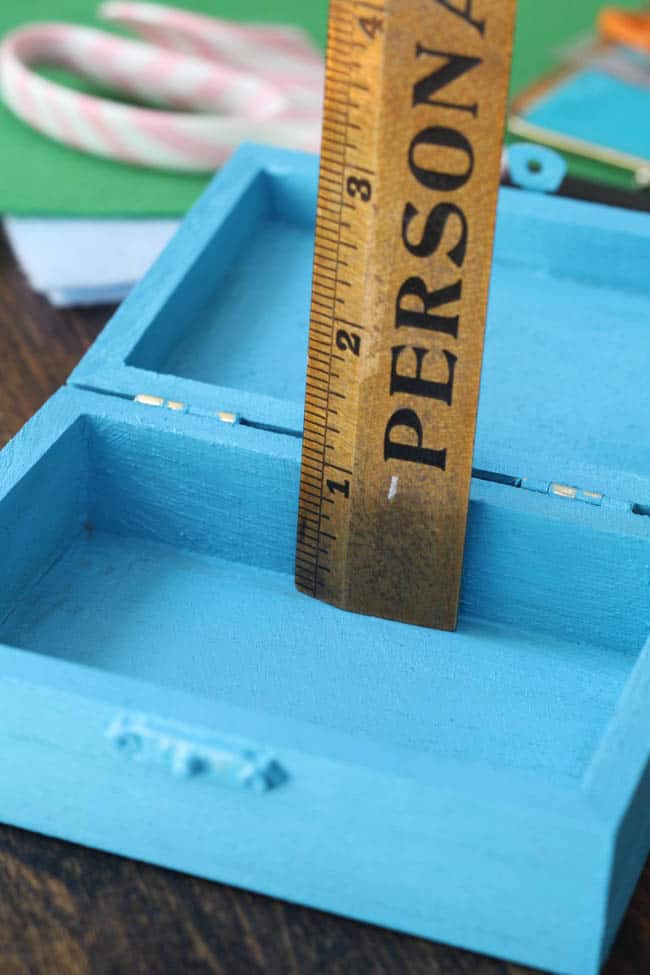
Elsa says
For keep jewelry safe, no alternative to keep it in a safe place. Who doesn’t buy jewelry box, easily can create custom box following these tips.
Taylor says
Does this work on costume jewelry?