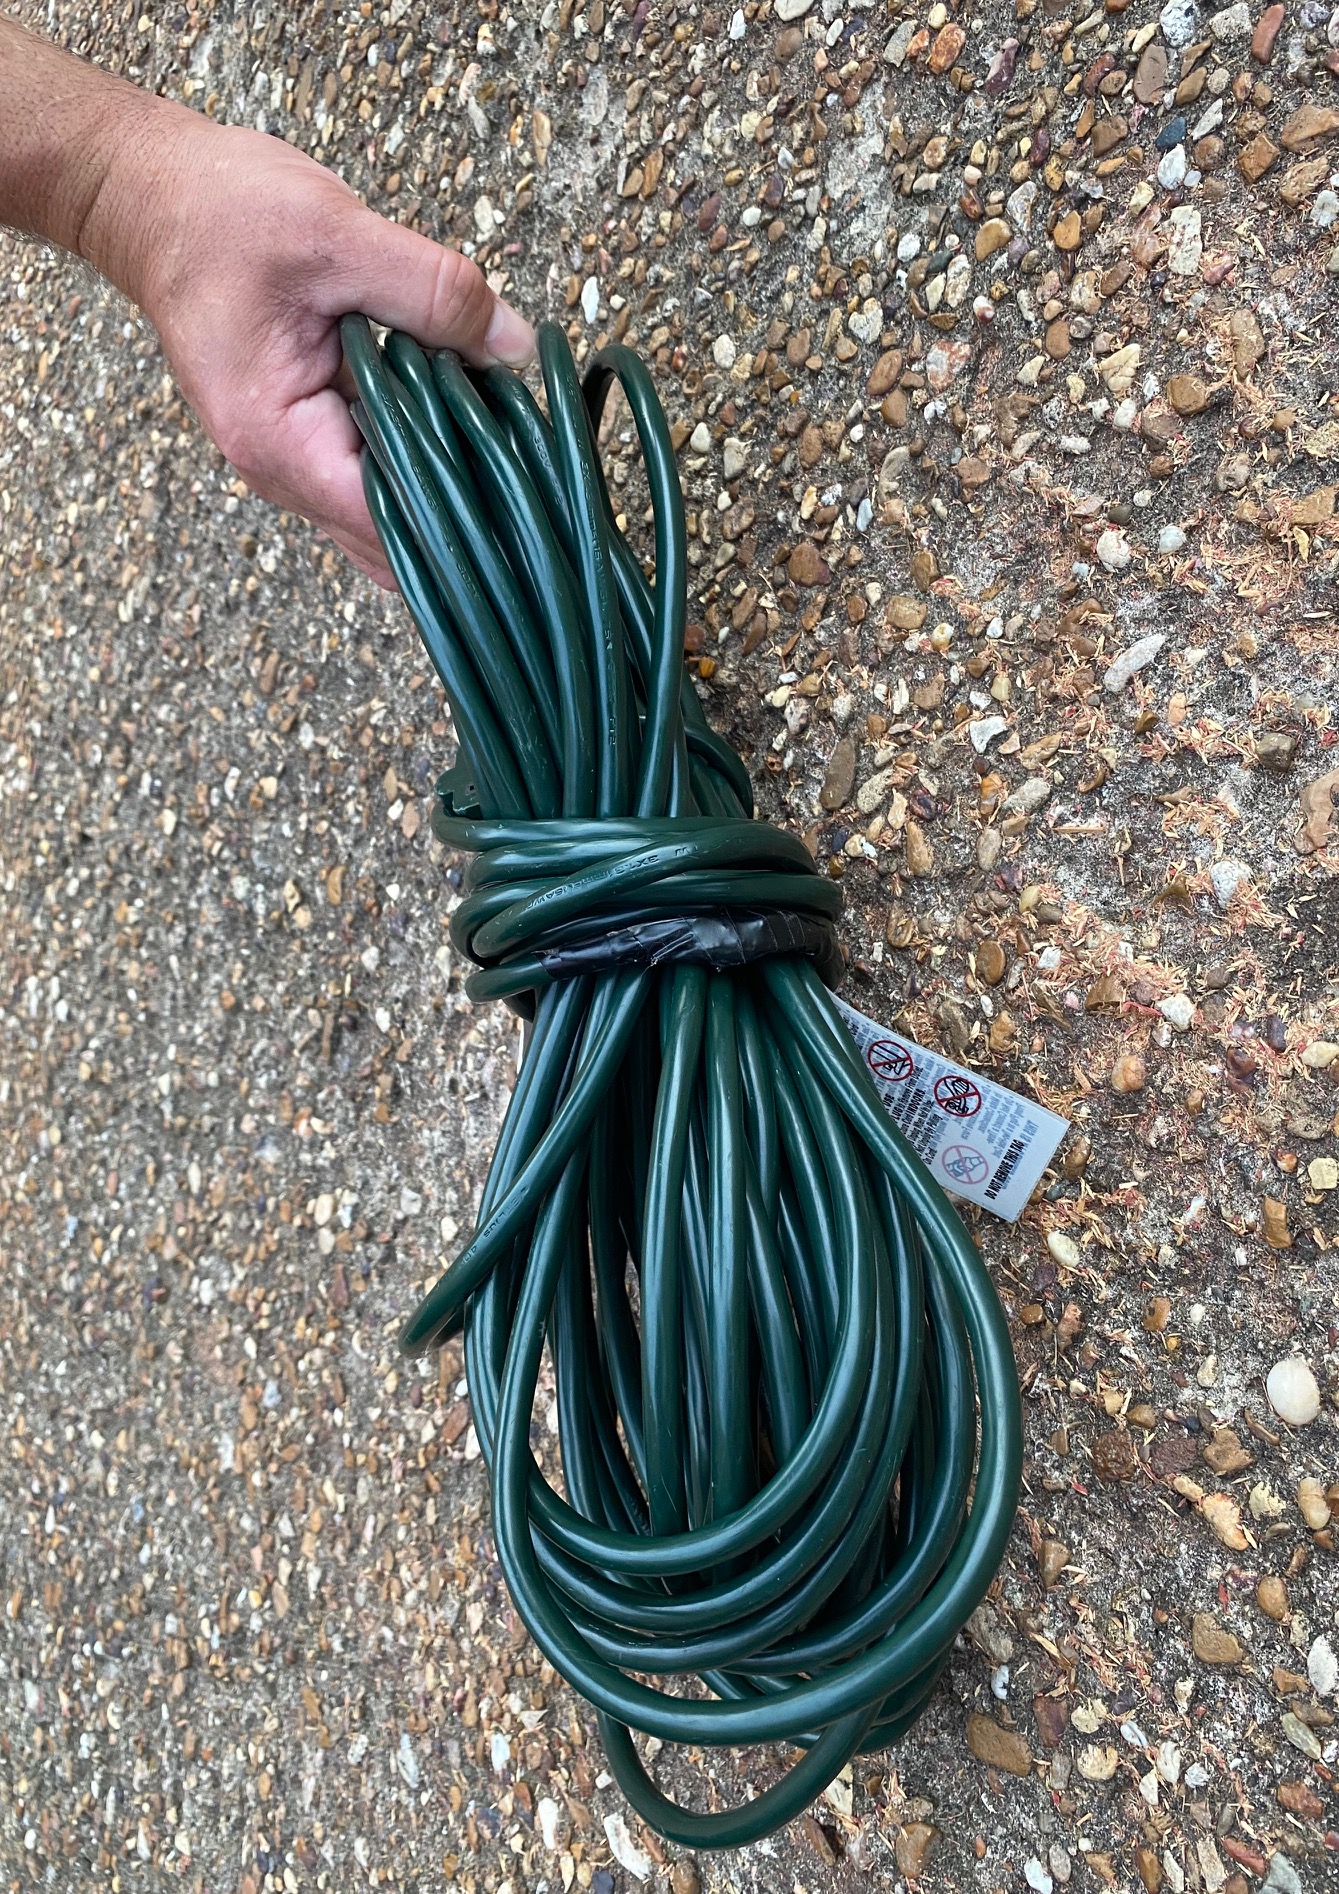
Has anyone other than me been out in the yard trimming bushes when all of a sudden your hedge trimmer stops working and you thought you broke something? After doing some investigating I realized I had cut clear through my extension cord. Bummer.
Instead of dumping it in the trash, I’m going to show you how to get your cord fixed back up and ready to get back to powering all these tools that we have no room for.
Extension cords can be expensive, especially long ones or ones for outdoors, so if I can salvage it and save a few dollars I’m going to do my best to do that. I had quite a few jobs when I was growing up so I’ve picked things up here and there, and I remember that when a wire or cables get cut you can splice them and put them back together.
However, you always want to join the same colored wires back together or you’ll blow the breaker again or something worse, like create sparks that can ultimately create a fire.
Oh, and I almost forgot, you’ll want to check your fuse box and flip the breaker that tripped to off back to on.
So let’s move onto the actual task of putting it back together and operational. You’ll only need a couple of supplies that you probably already have on hand.
Supplies needed
You can find electrical tape in various colors, and I’d go with the one closest to the color of the extension cord you’re working on.
Before you start: unplug the extension cord! I know, this seems obvious, but double check before you begin.
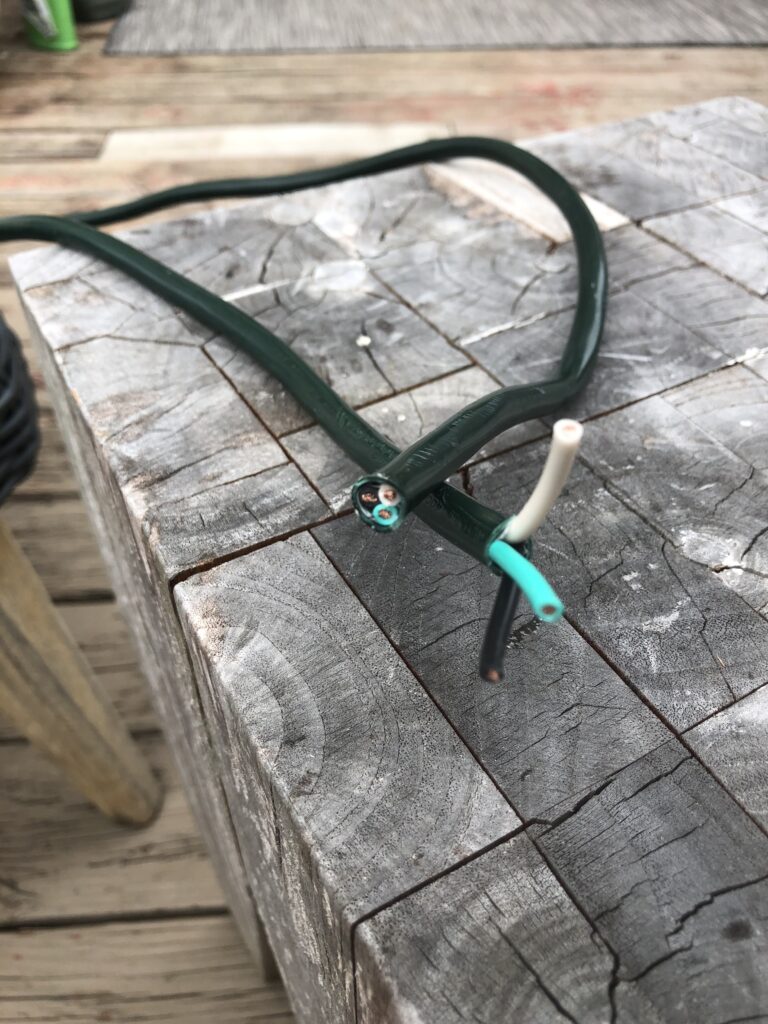
Step 1: Cut each of the cord ends to get a clean edge.
Step 2: Next, cut back each of the cord ends about 1.5 inches so that all three wires are exposed.
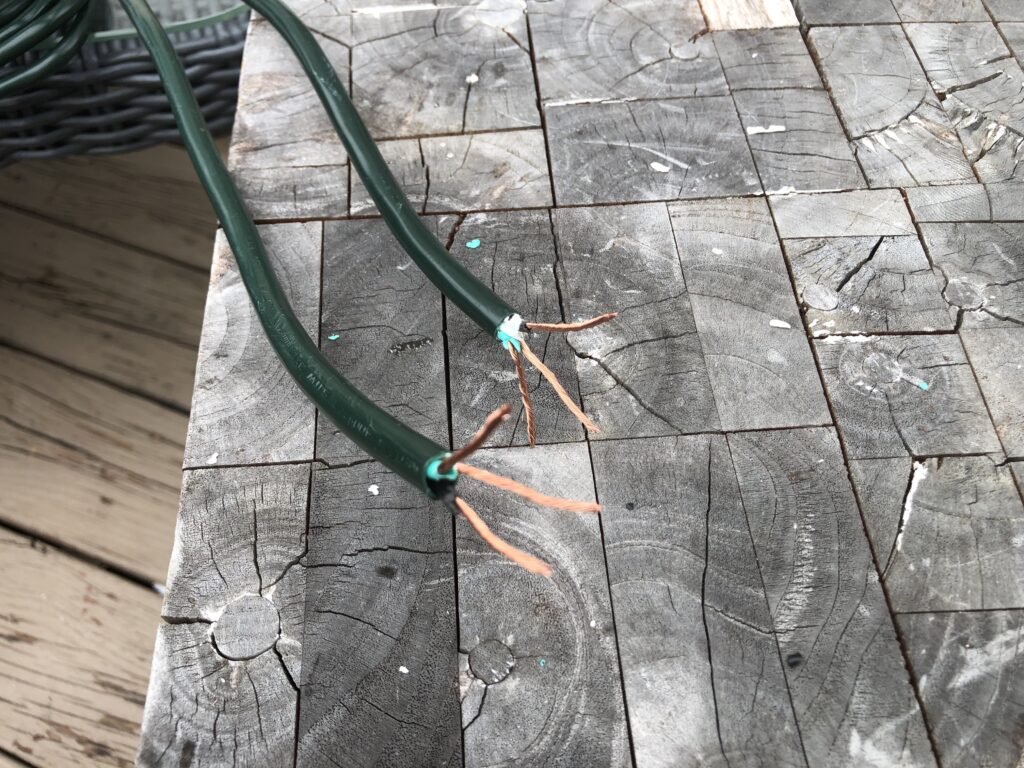
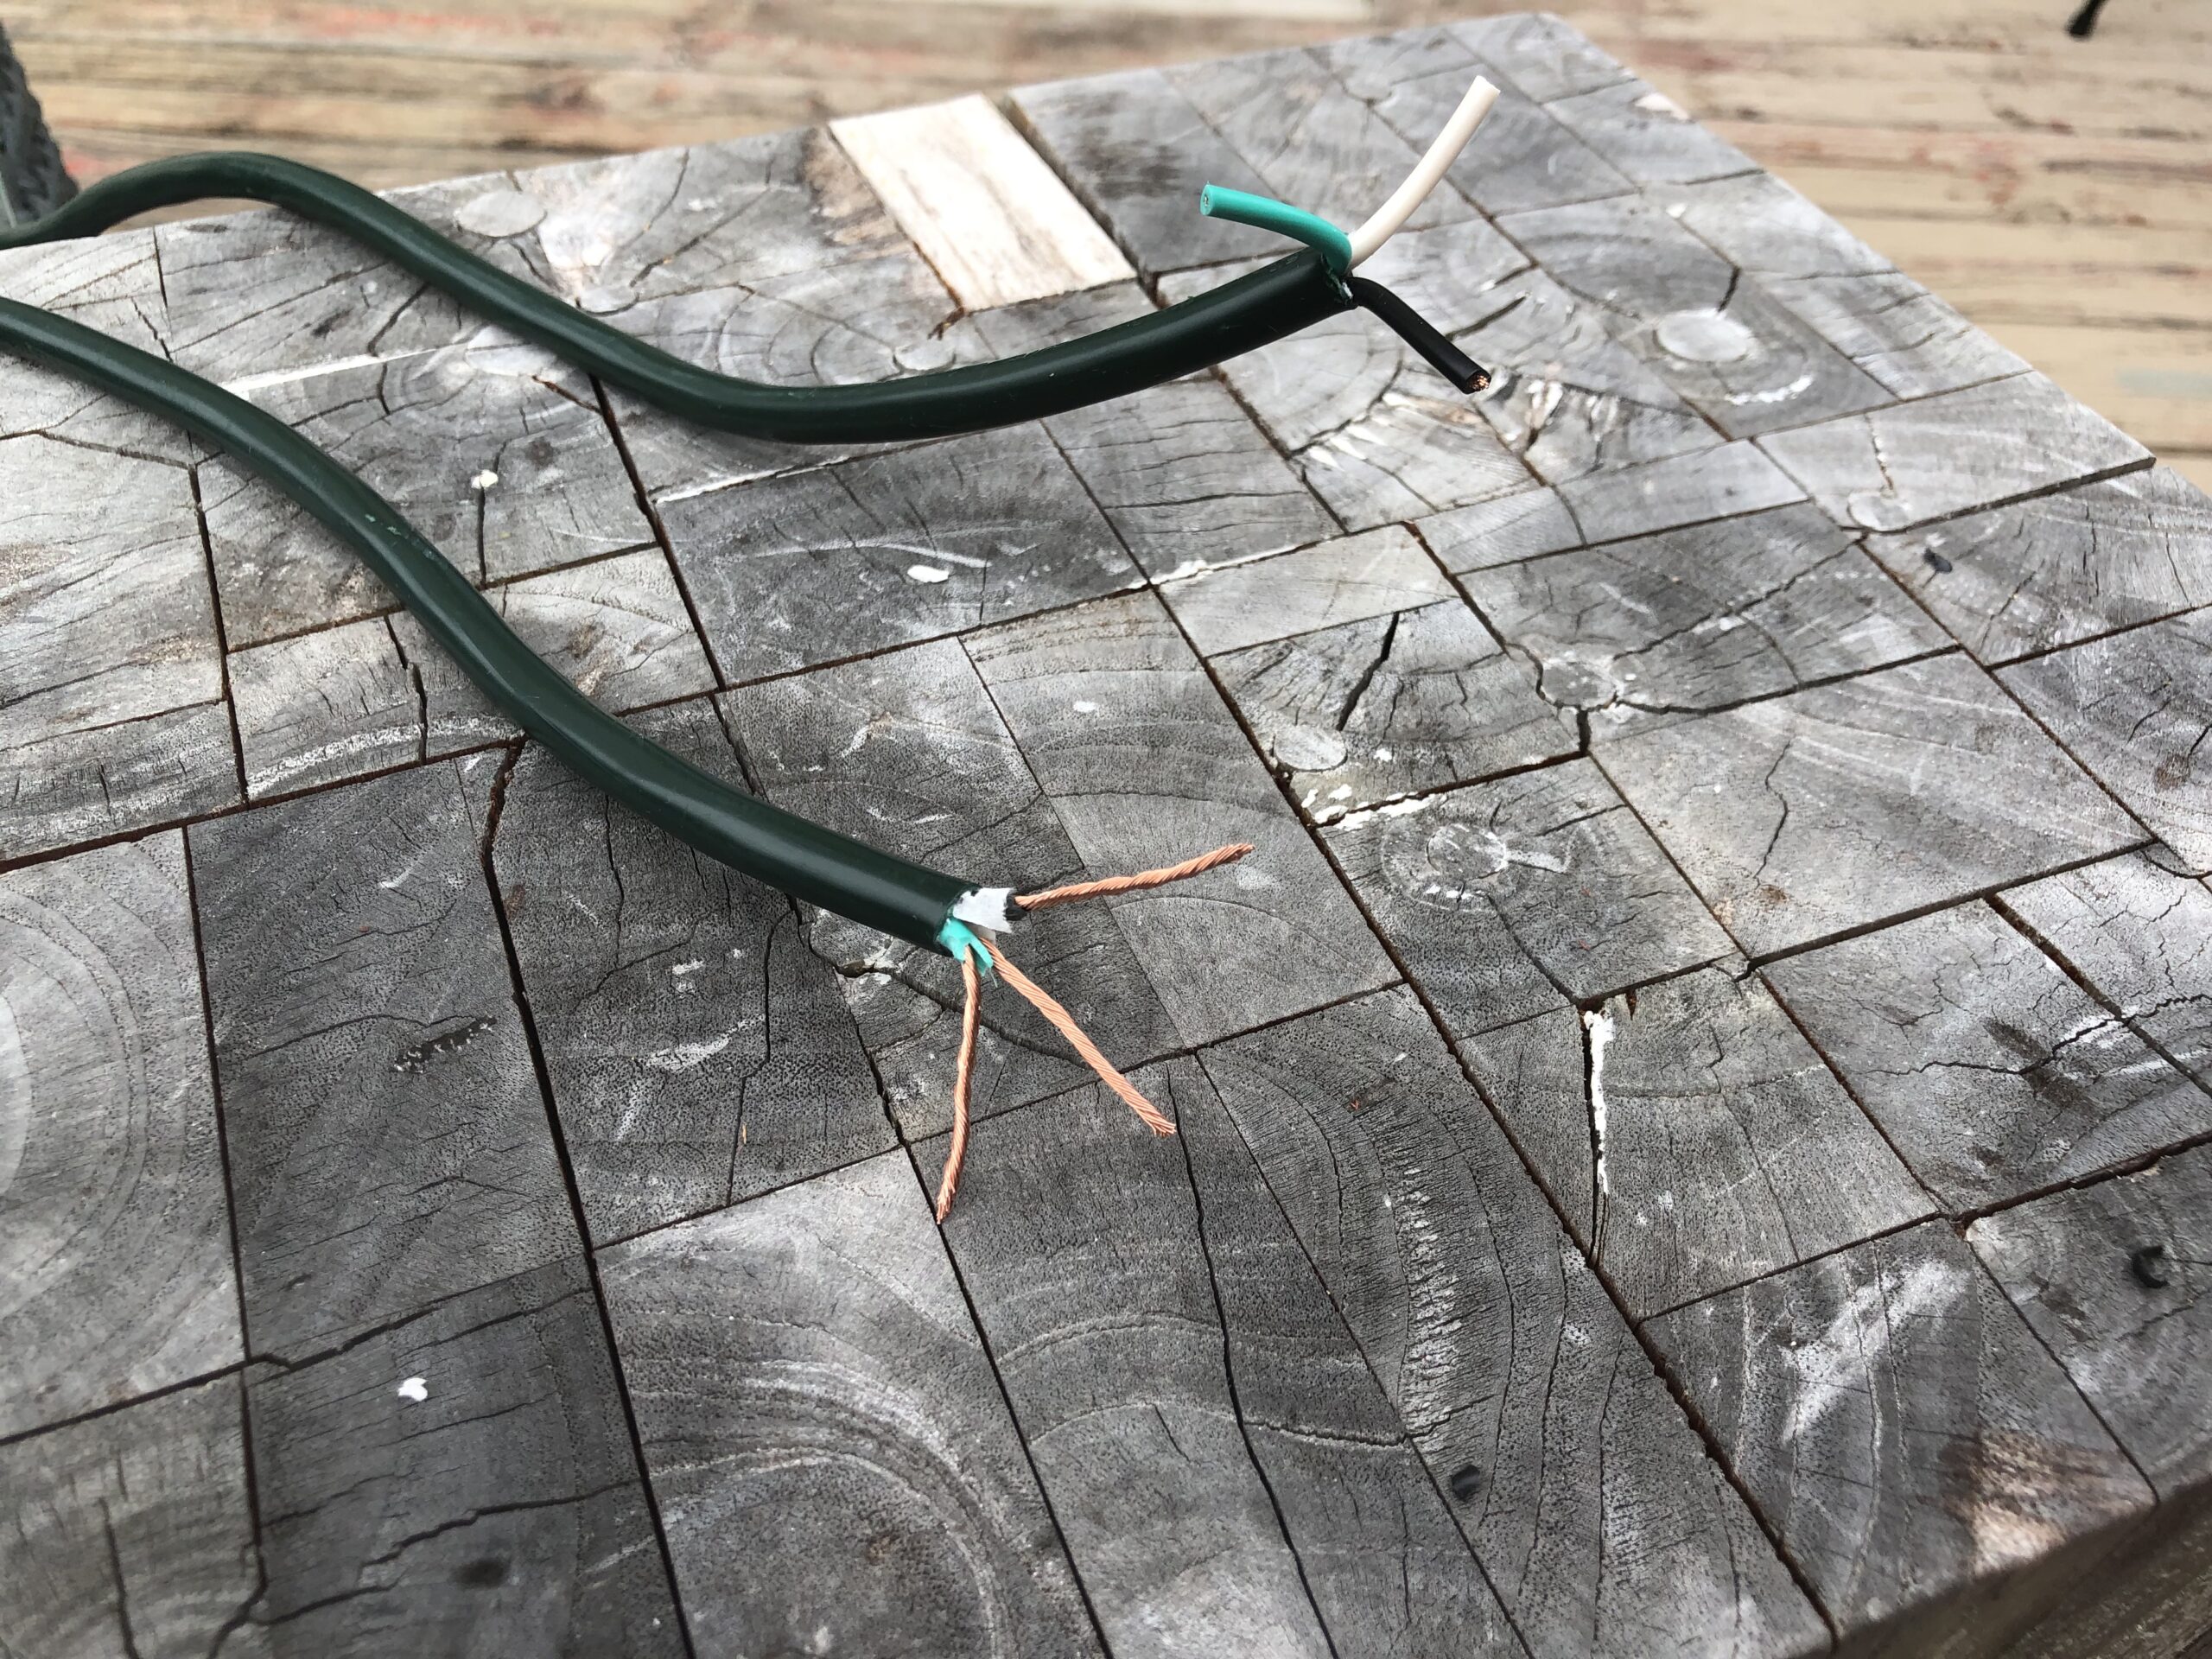
Step 3: From there, cut off about 1 inch of each colored cable to expose the copper wire. After you have all three copper wires exposed then twist each individual wire to tighten the strand.
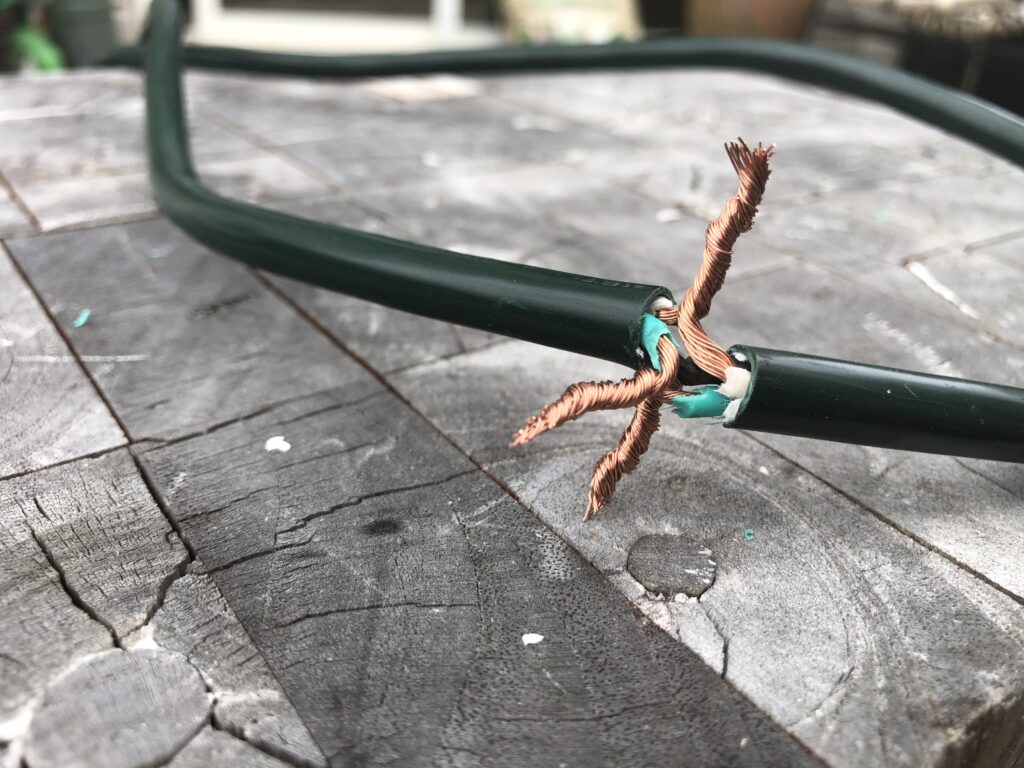
Step 4: When you have each of the three wires on both cable ends stripped then marry each wire to the same color on the other cord and twist them together tightly.
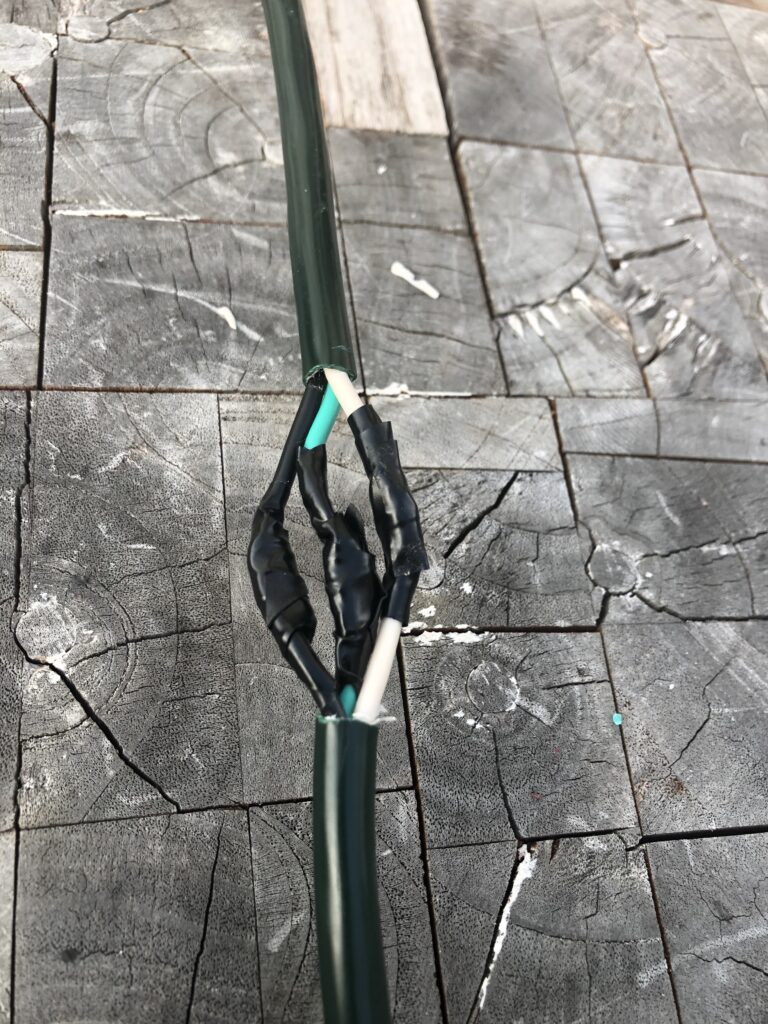
Step 5: After twisting the wires together, grab your electrical tape. Wrap the tape around each wire segment until they are completely covered.
Not doing this could result in the wires touching each other and creating a spark and throwing your breaker or even possibly starting a fire.
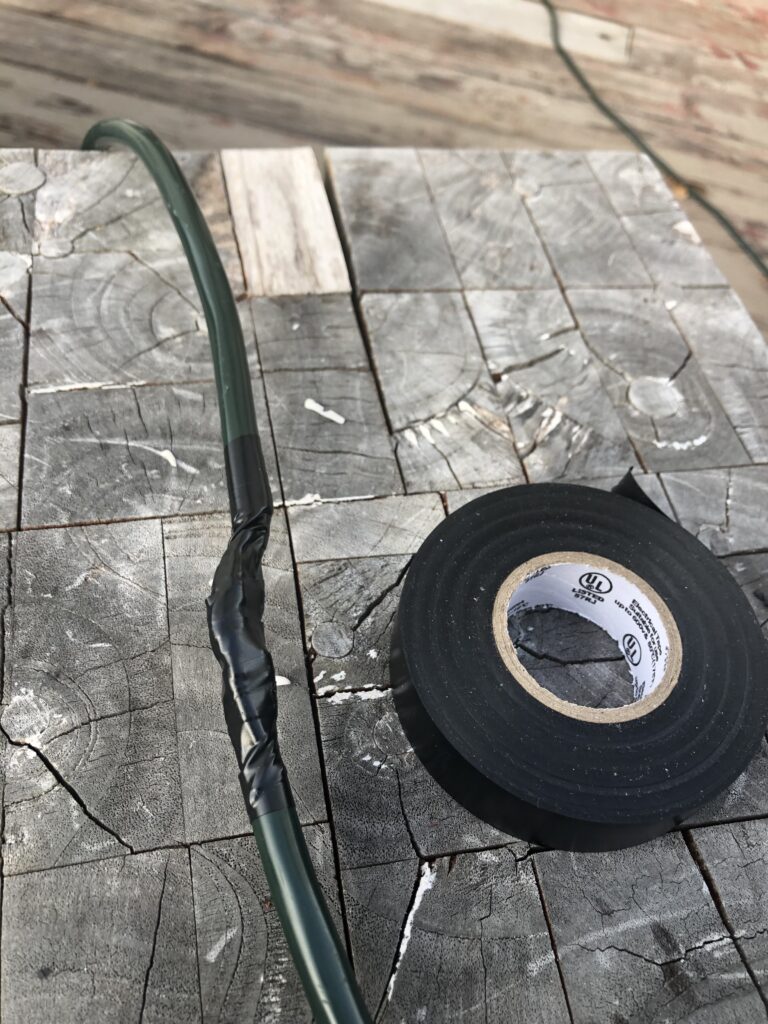
Step 6: Now that you have all the wires together and completely taped individually, you can now lay the wires against the body of the cord and tape those against it as tightly as possible so it looks nice and as clean as possible.
29
Chuk Gleason says
Please , NO! THIS IS NOT SAFE!! There is no mechanical strength to this, so if it pulls apart during use there will be exposed live wires!!
Better to put new plug and socket on the ends.
I’m very disturbed to see this published here.
Jimmy bob says
Literally thinking the same. Like at least solder it crimp connector. I was half thinking they were going to suggest wire nuts. Instead the author is just nuts