I love dressing up packages. I’m not always the best gift giver but I think I more than make up for it with thoughtful gift wrap, if I do say so myself. I’ve accumulated an abundance of wrapping supplies over the years but I always seem to run out of gift tags when I need them most. Last year I saw a tutorial for homemade cornstarch clay gift tags, and while I didn’t have the patience to make ‘em at the time, I jumped all over it this year. These DIY gift tags are cute and rustic looking, and so, so easy to make—even if you’re low on time. Here’s how to make your own, just in time for the holidays.
DIY Gift Tags
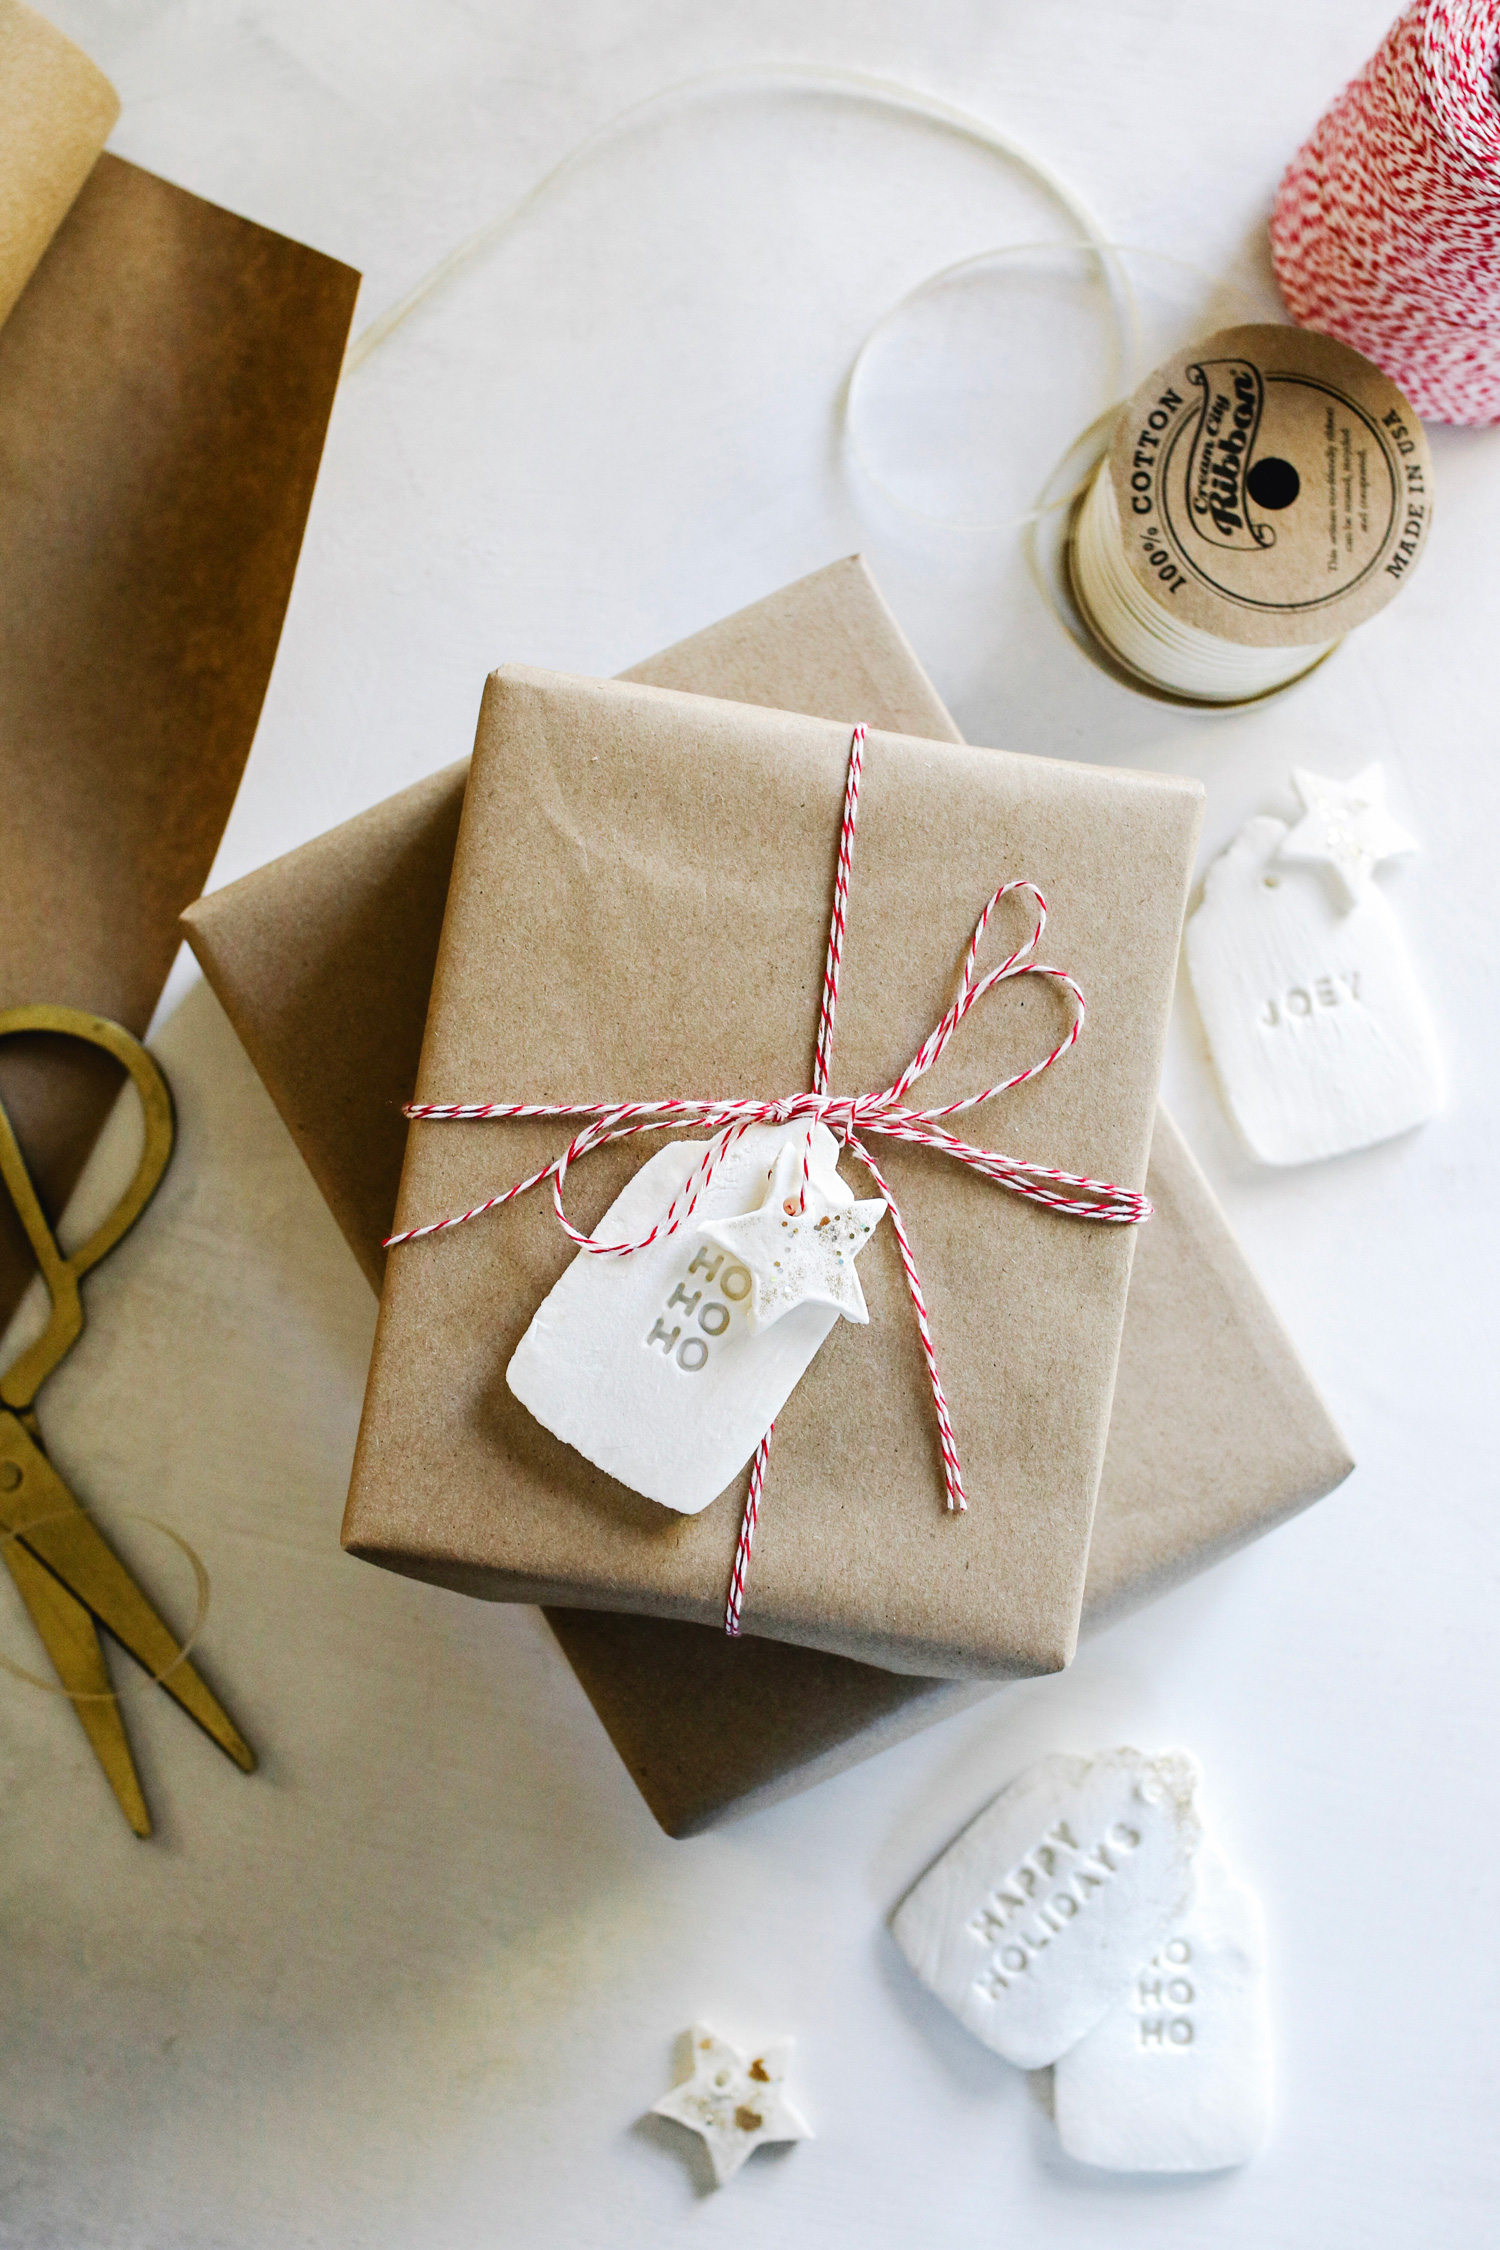
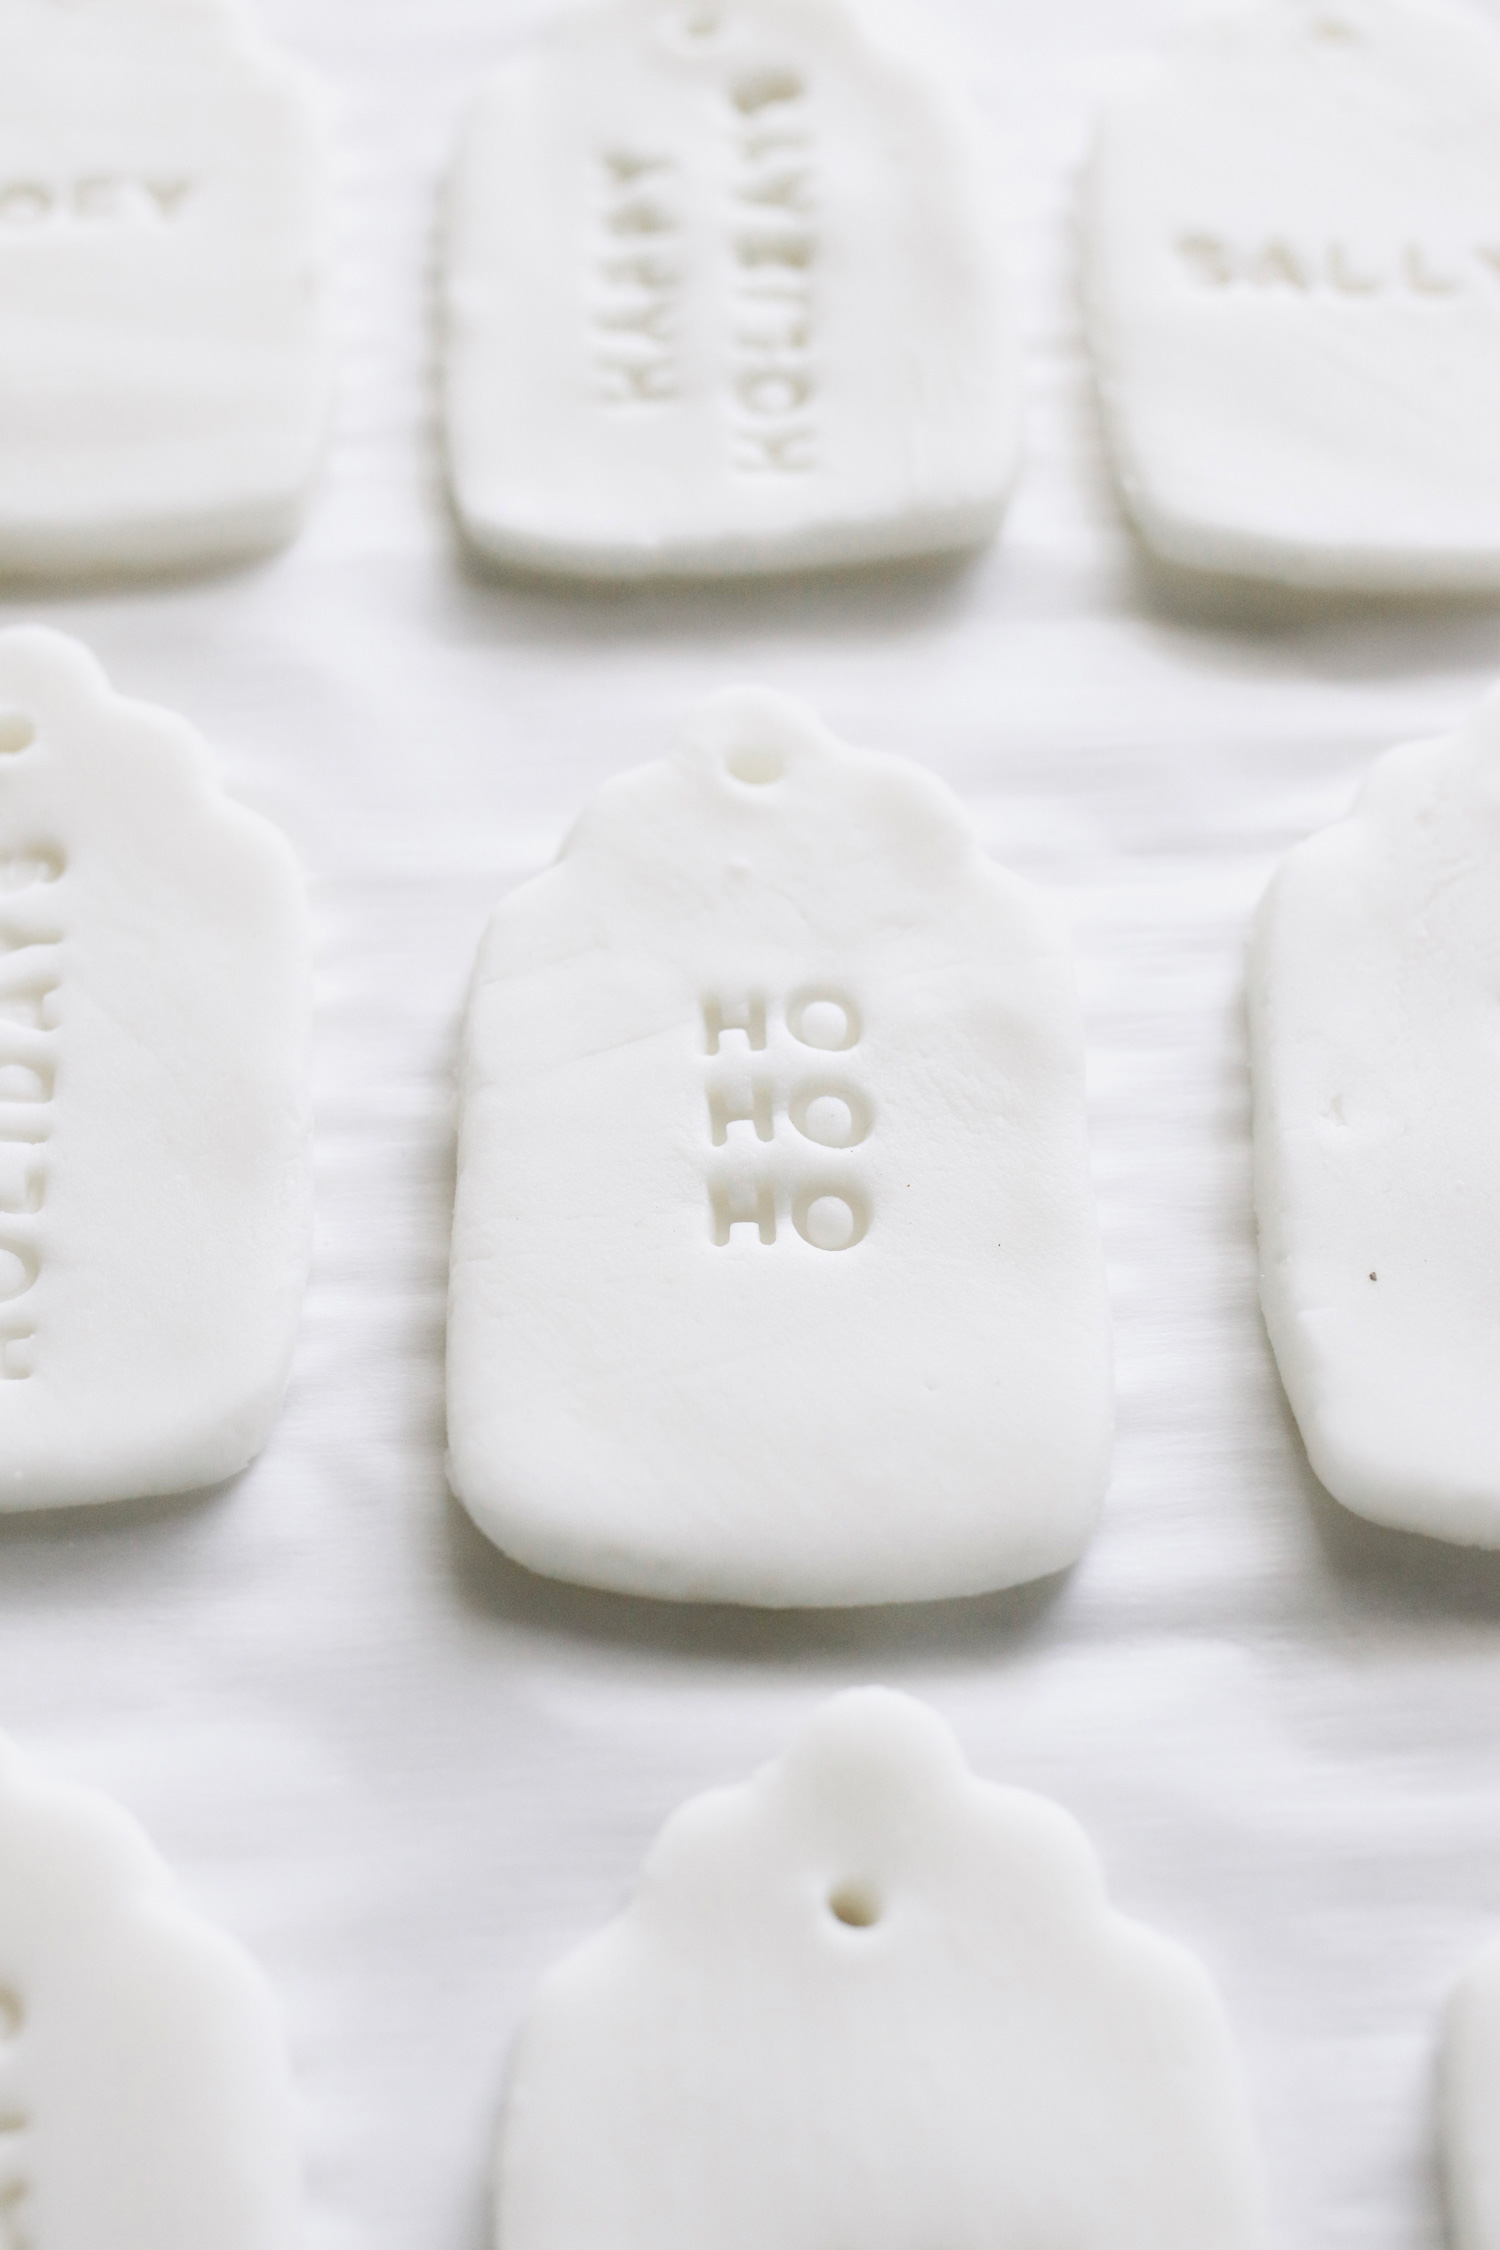
I’m not much of an artist so I was worried that these would turn out looking like a school art project (just to clarify: these would be so cute to make with children! I just don’t happen to have any…) To limit the number of ways my clay gift tags could go wrong, I decided to keep them clean and simple. And at least for me, that was totally the way to go. They’re subtle with a modern Scandinavian (dare I say hygge) feel, so they’ll easily double as Christmas tree ornaments if you have extra.
Since I’m using mine purely as gift tags, I stamped names and phrases on ’em using a set of letters I picked up on Amazon. And I added a touch of mica glitter flakes to make them festive and fun without feeling too over the top.
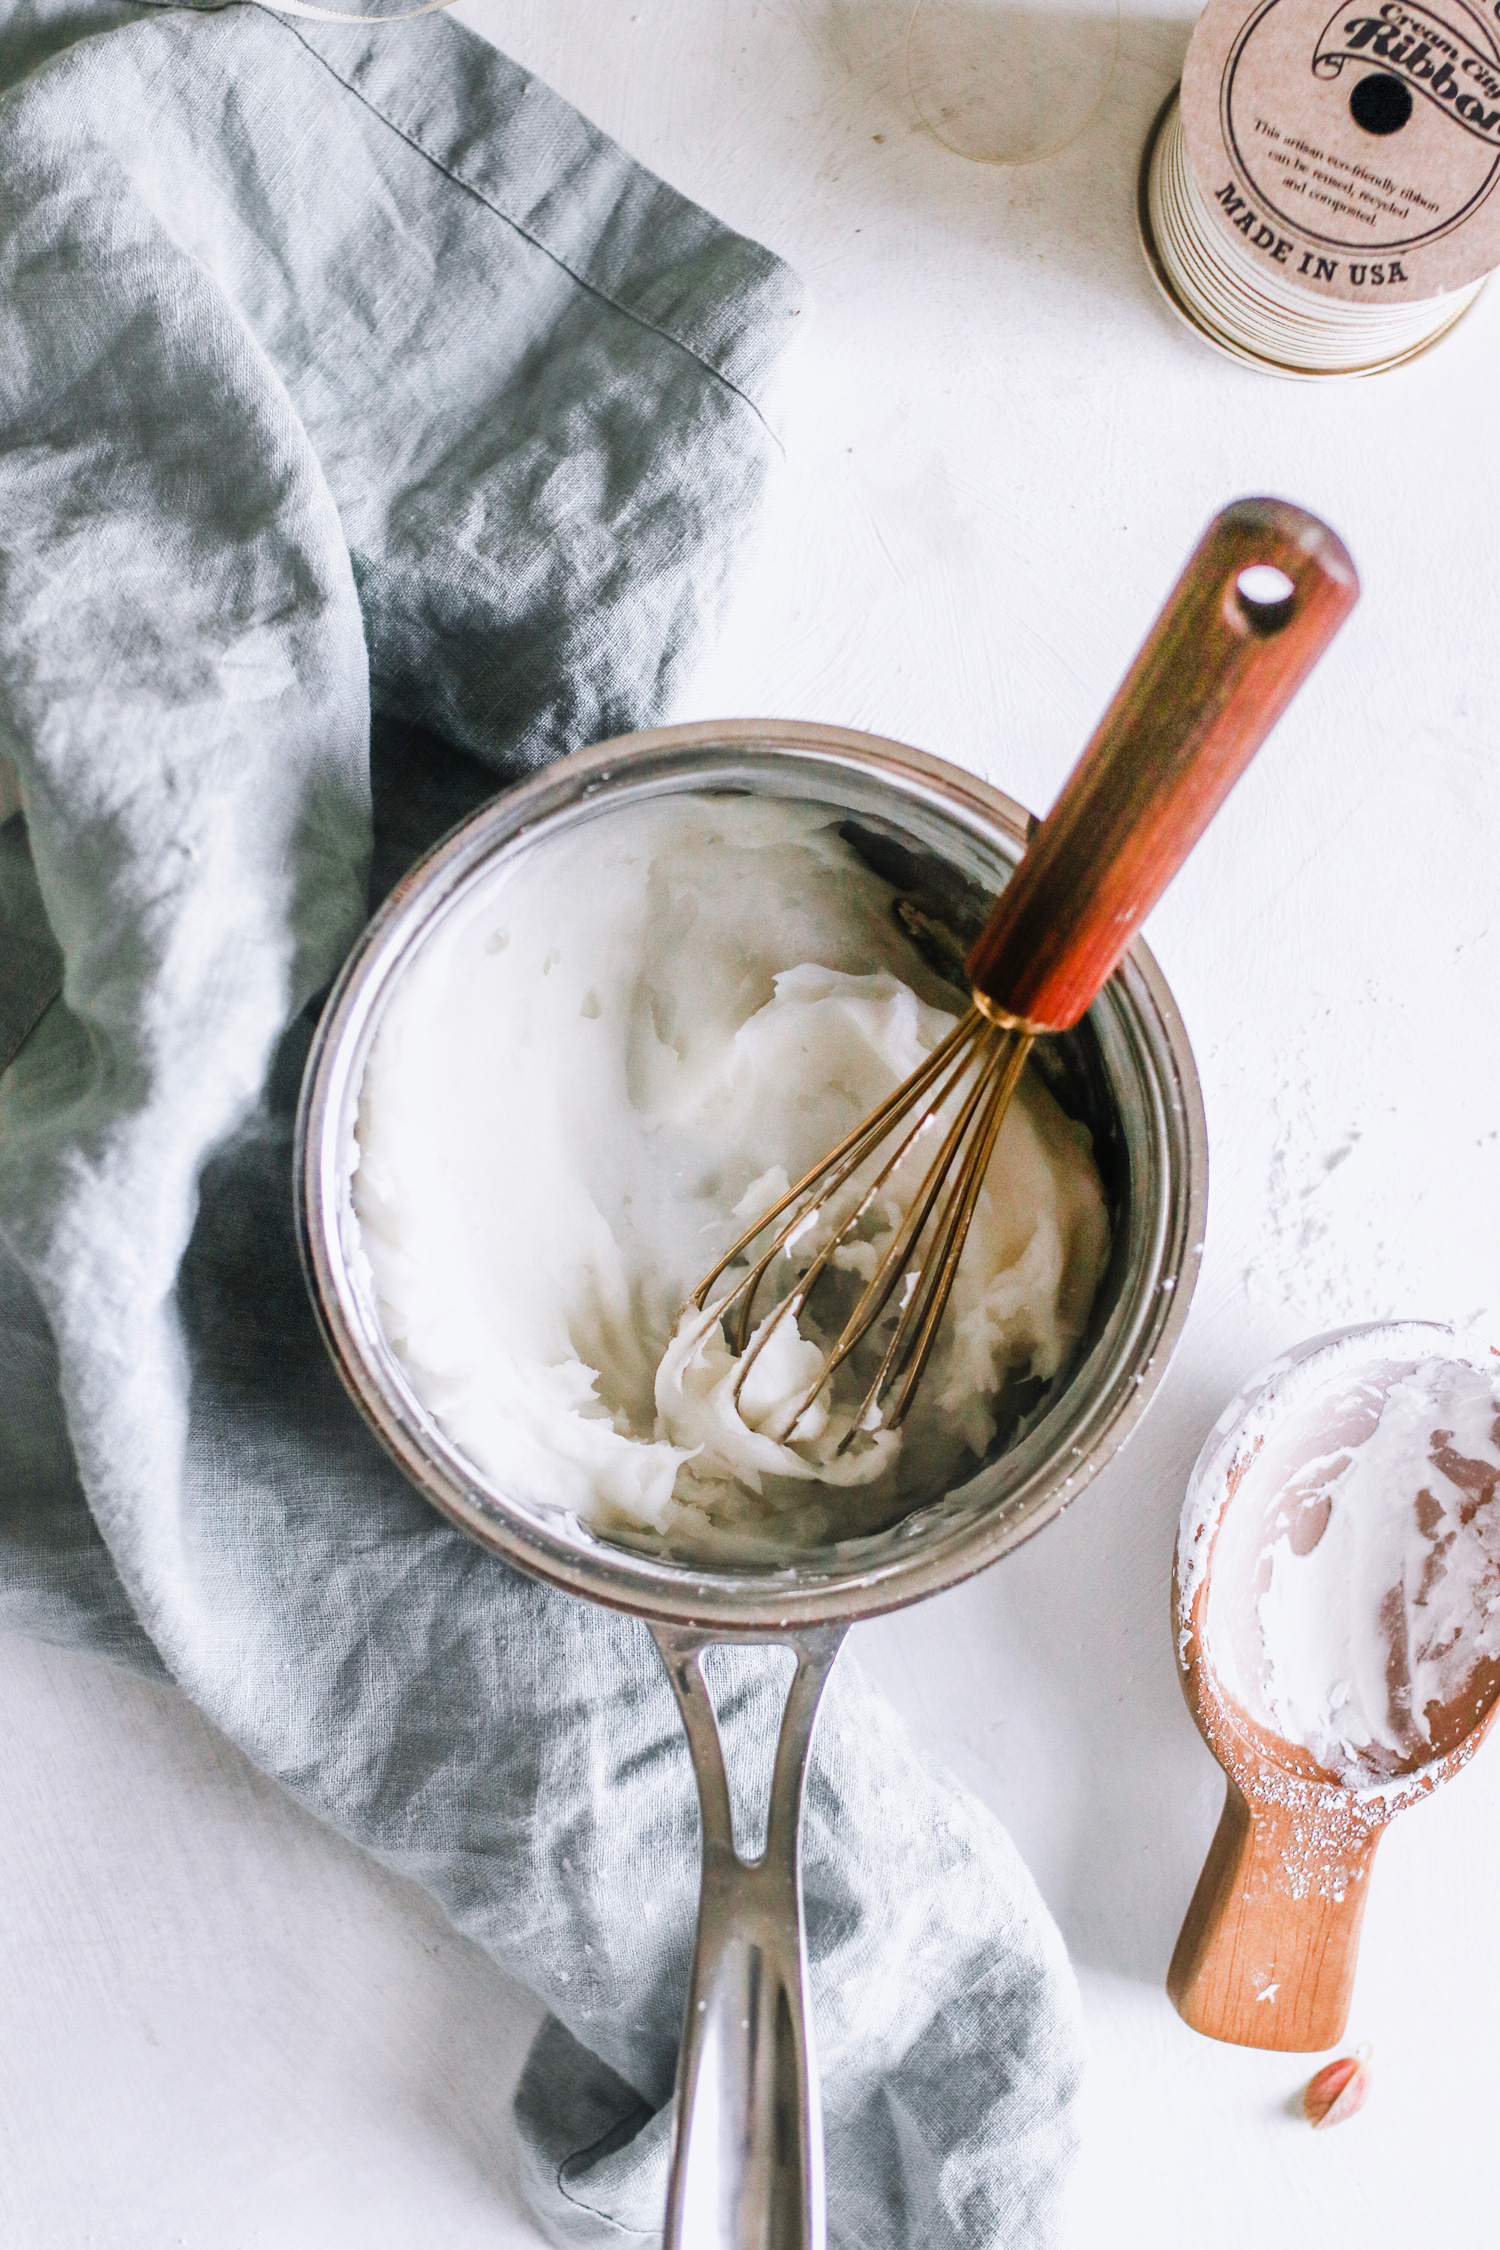
This was my first time working with cornstarch clay but I was pleasantly surprised. Based on past experiences, I was expecting it to be a sticky mess that would be impossible to clean up, but it wasn’t. I followed the recipe to a T and it turned out dry, pliable and easy to clean, without having to add any extra cornstarch or baking soda. I did use parchment paper to keep it from sticking while I rolled it out, but it really wasn’t necessary. Eventually I just laid the clay directly on the counter and flattened it with a rolling pin without running into any issues.
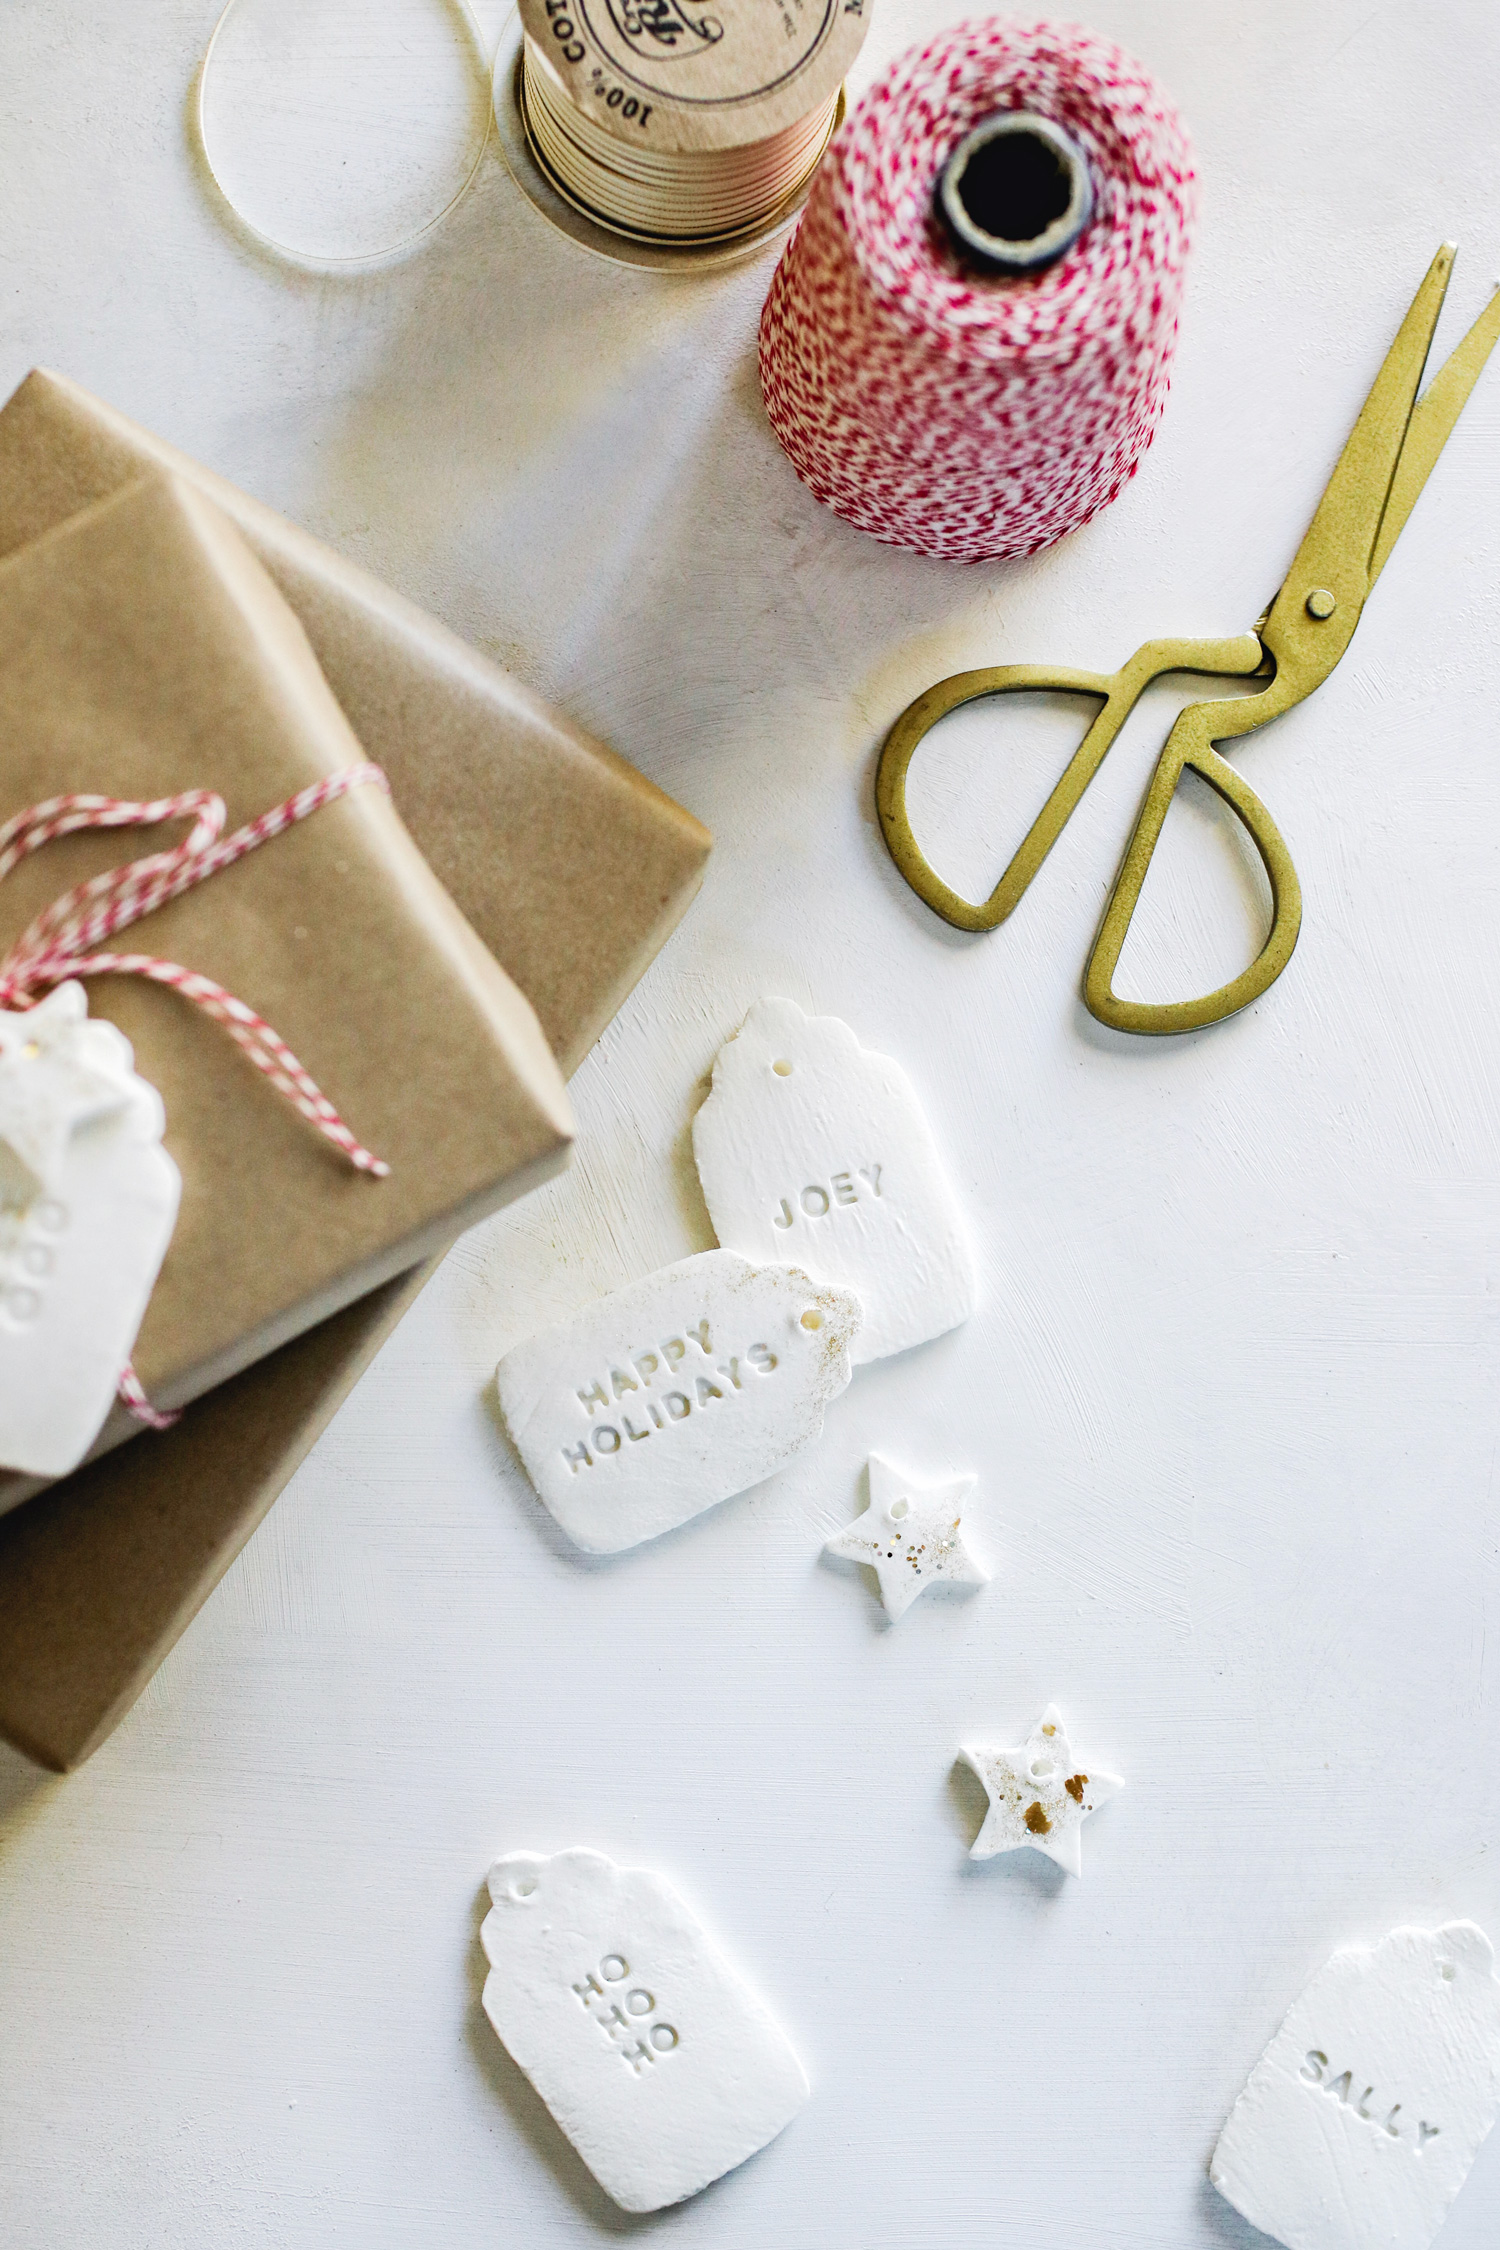
And they’re surprisingly sturdy, too! While these DIY gift tags don’t feel particularly heavy, they shouldn’t snap or break on you before serving their purpose. So go ahead and make them as thick as you like and hang them on everything from stockings to gifts to your Christmas tree.
If you want to dress yours up you can use permanent marker to color the letters, add more glitter, paint around the edges or color the clay itself with things like turmeric, cinnamon or beet root powder. Just because I kept mine plain doesn’t mean you have to! Obviously, decorate your tags any way you like.
How to Make DIY Gift Tags with Cornstarch Clay
Supplies needed
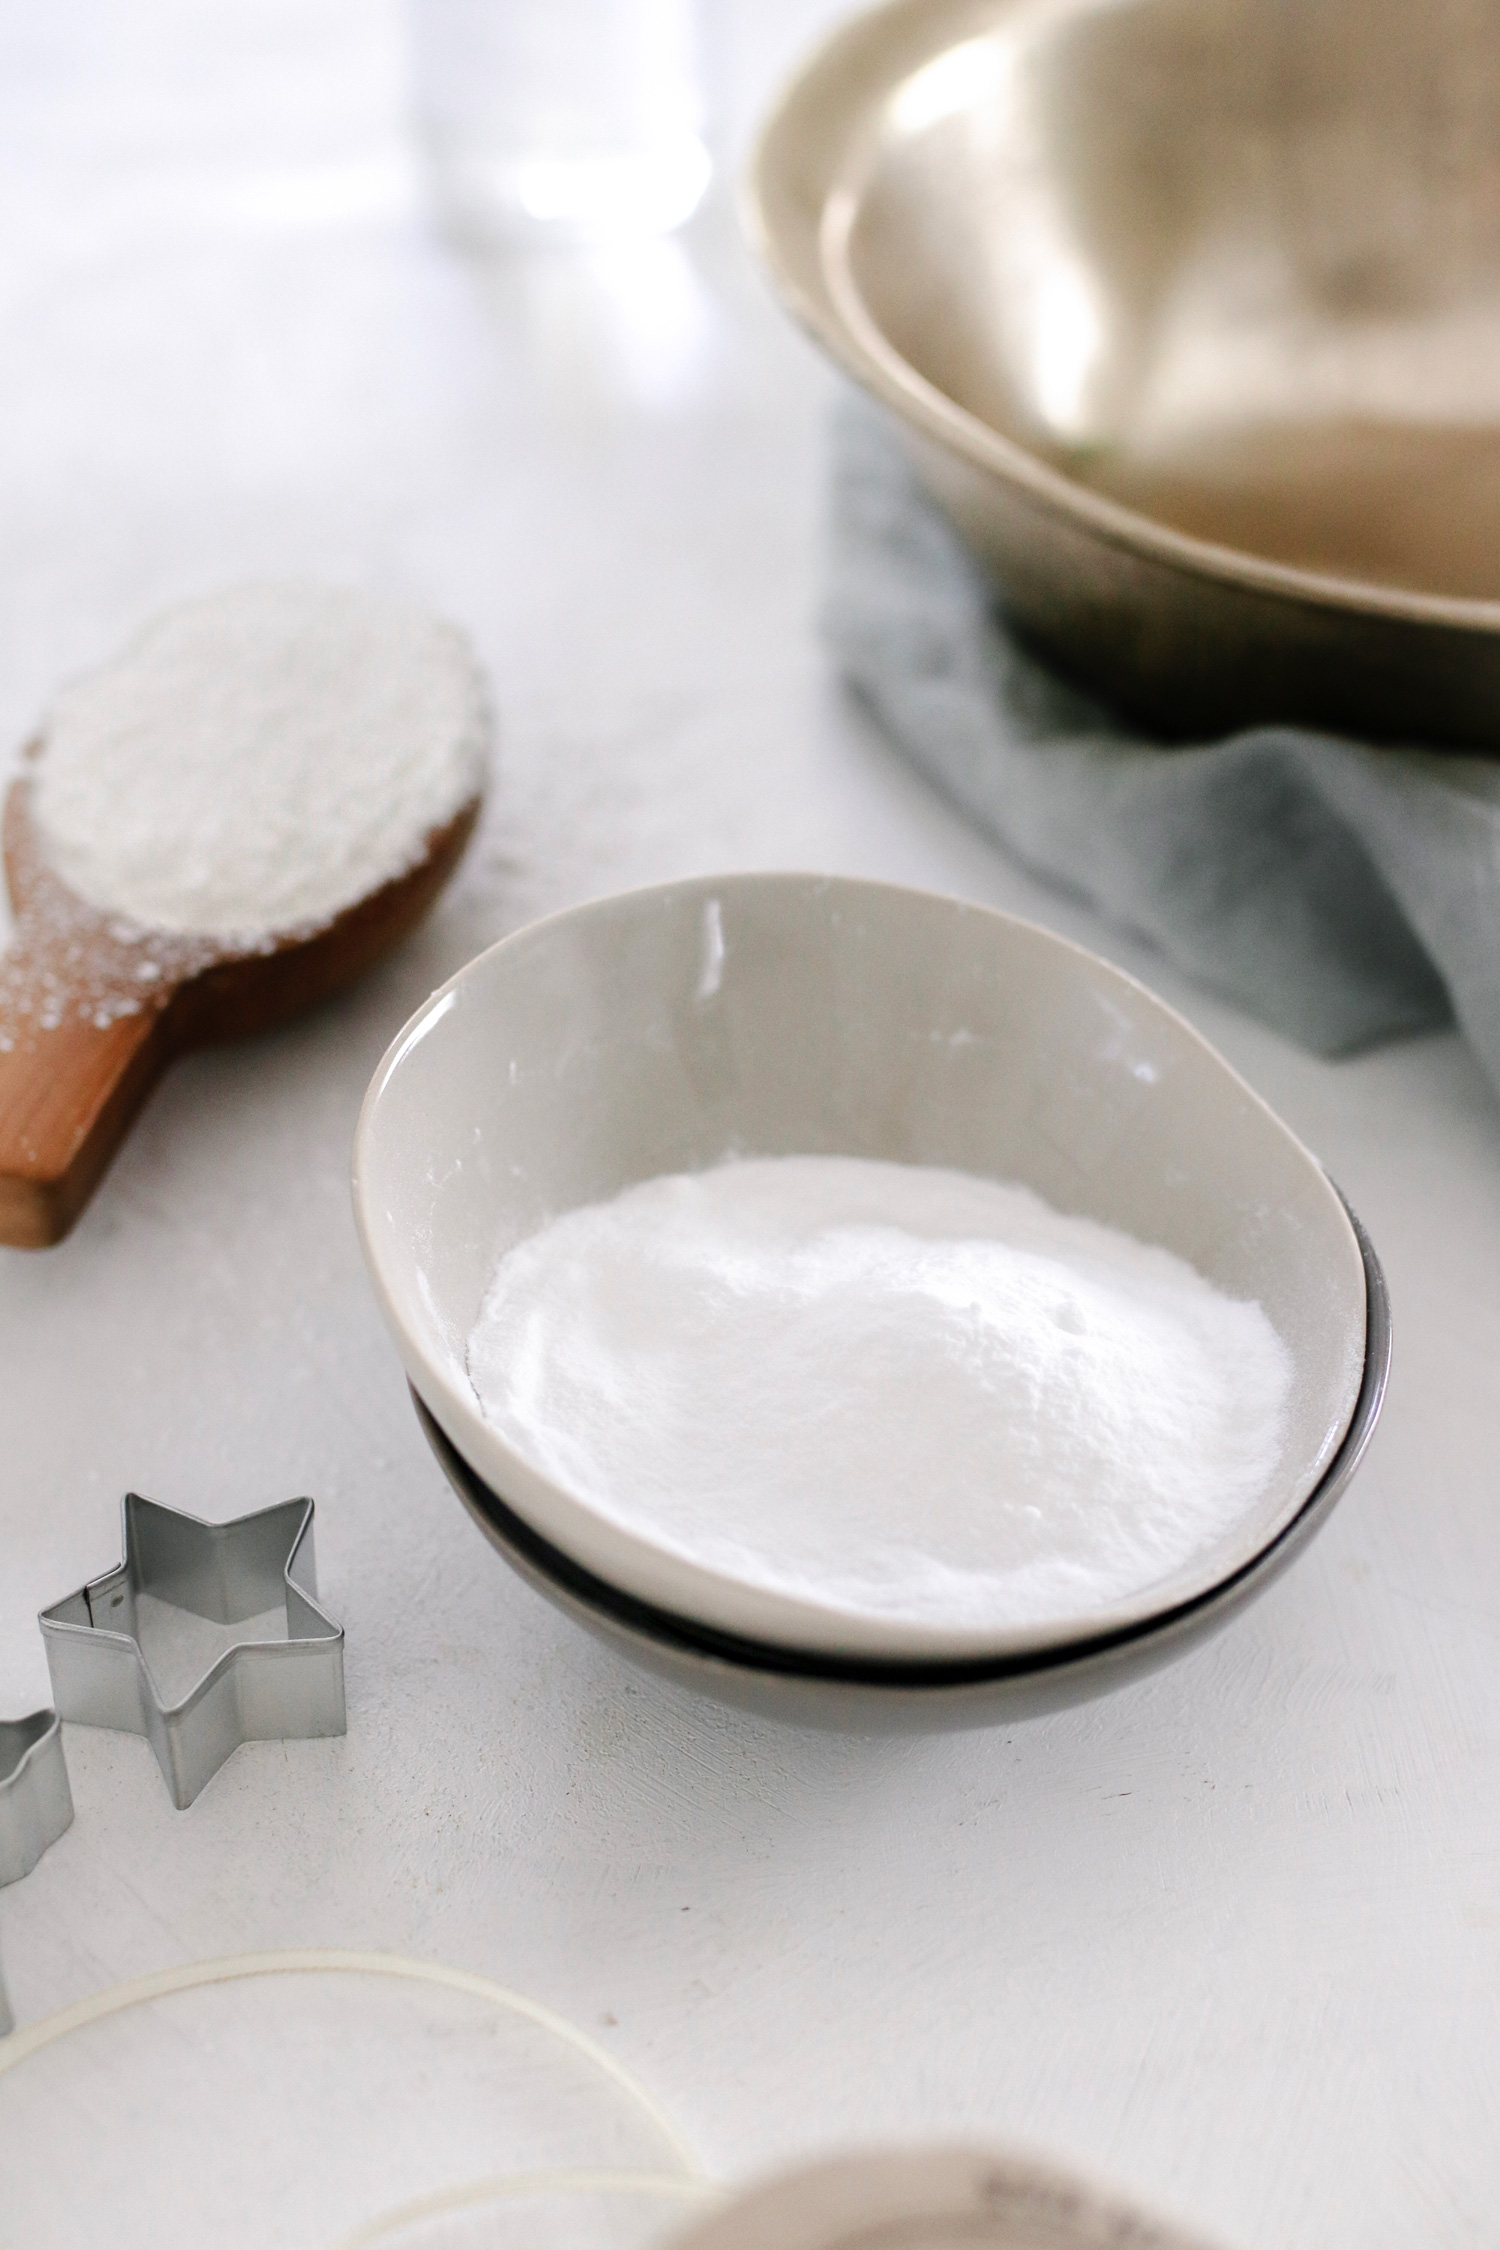
- 2 cups baking soda
- 1 cup cornstarch
- 1 cup warm water
- Rolling pin
- Cookie cutters (I used this one in the shape of a gift tag)
- Letter stamps
- Twine
- Cookie sheet
- Toothpick/chopstick
- Wrapping paper
Instructions
1. Add baking soda, cornstarch and water to a small saucepan. I kept mine plain, but if you’re using food colors, spices or extracts, add to the water so it disperses evenly.
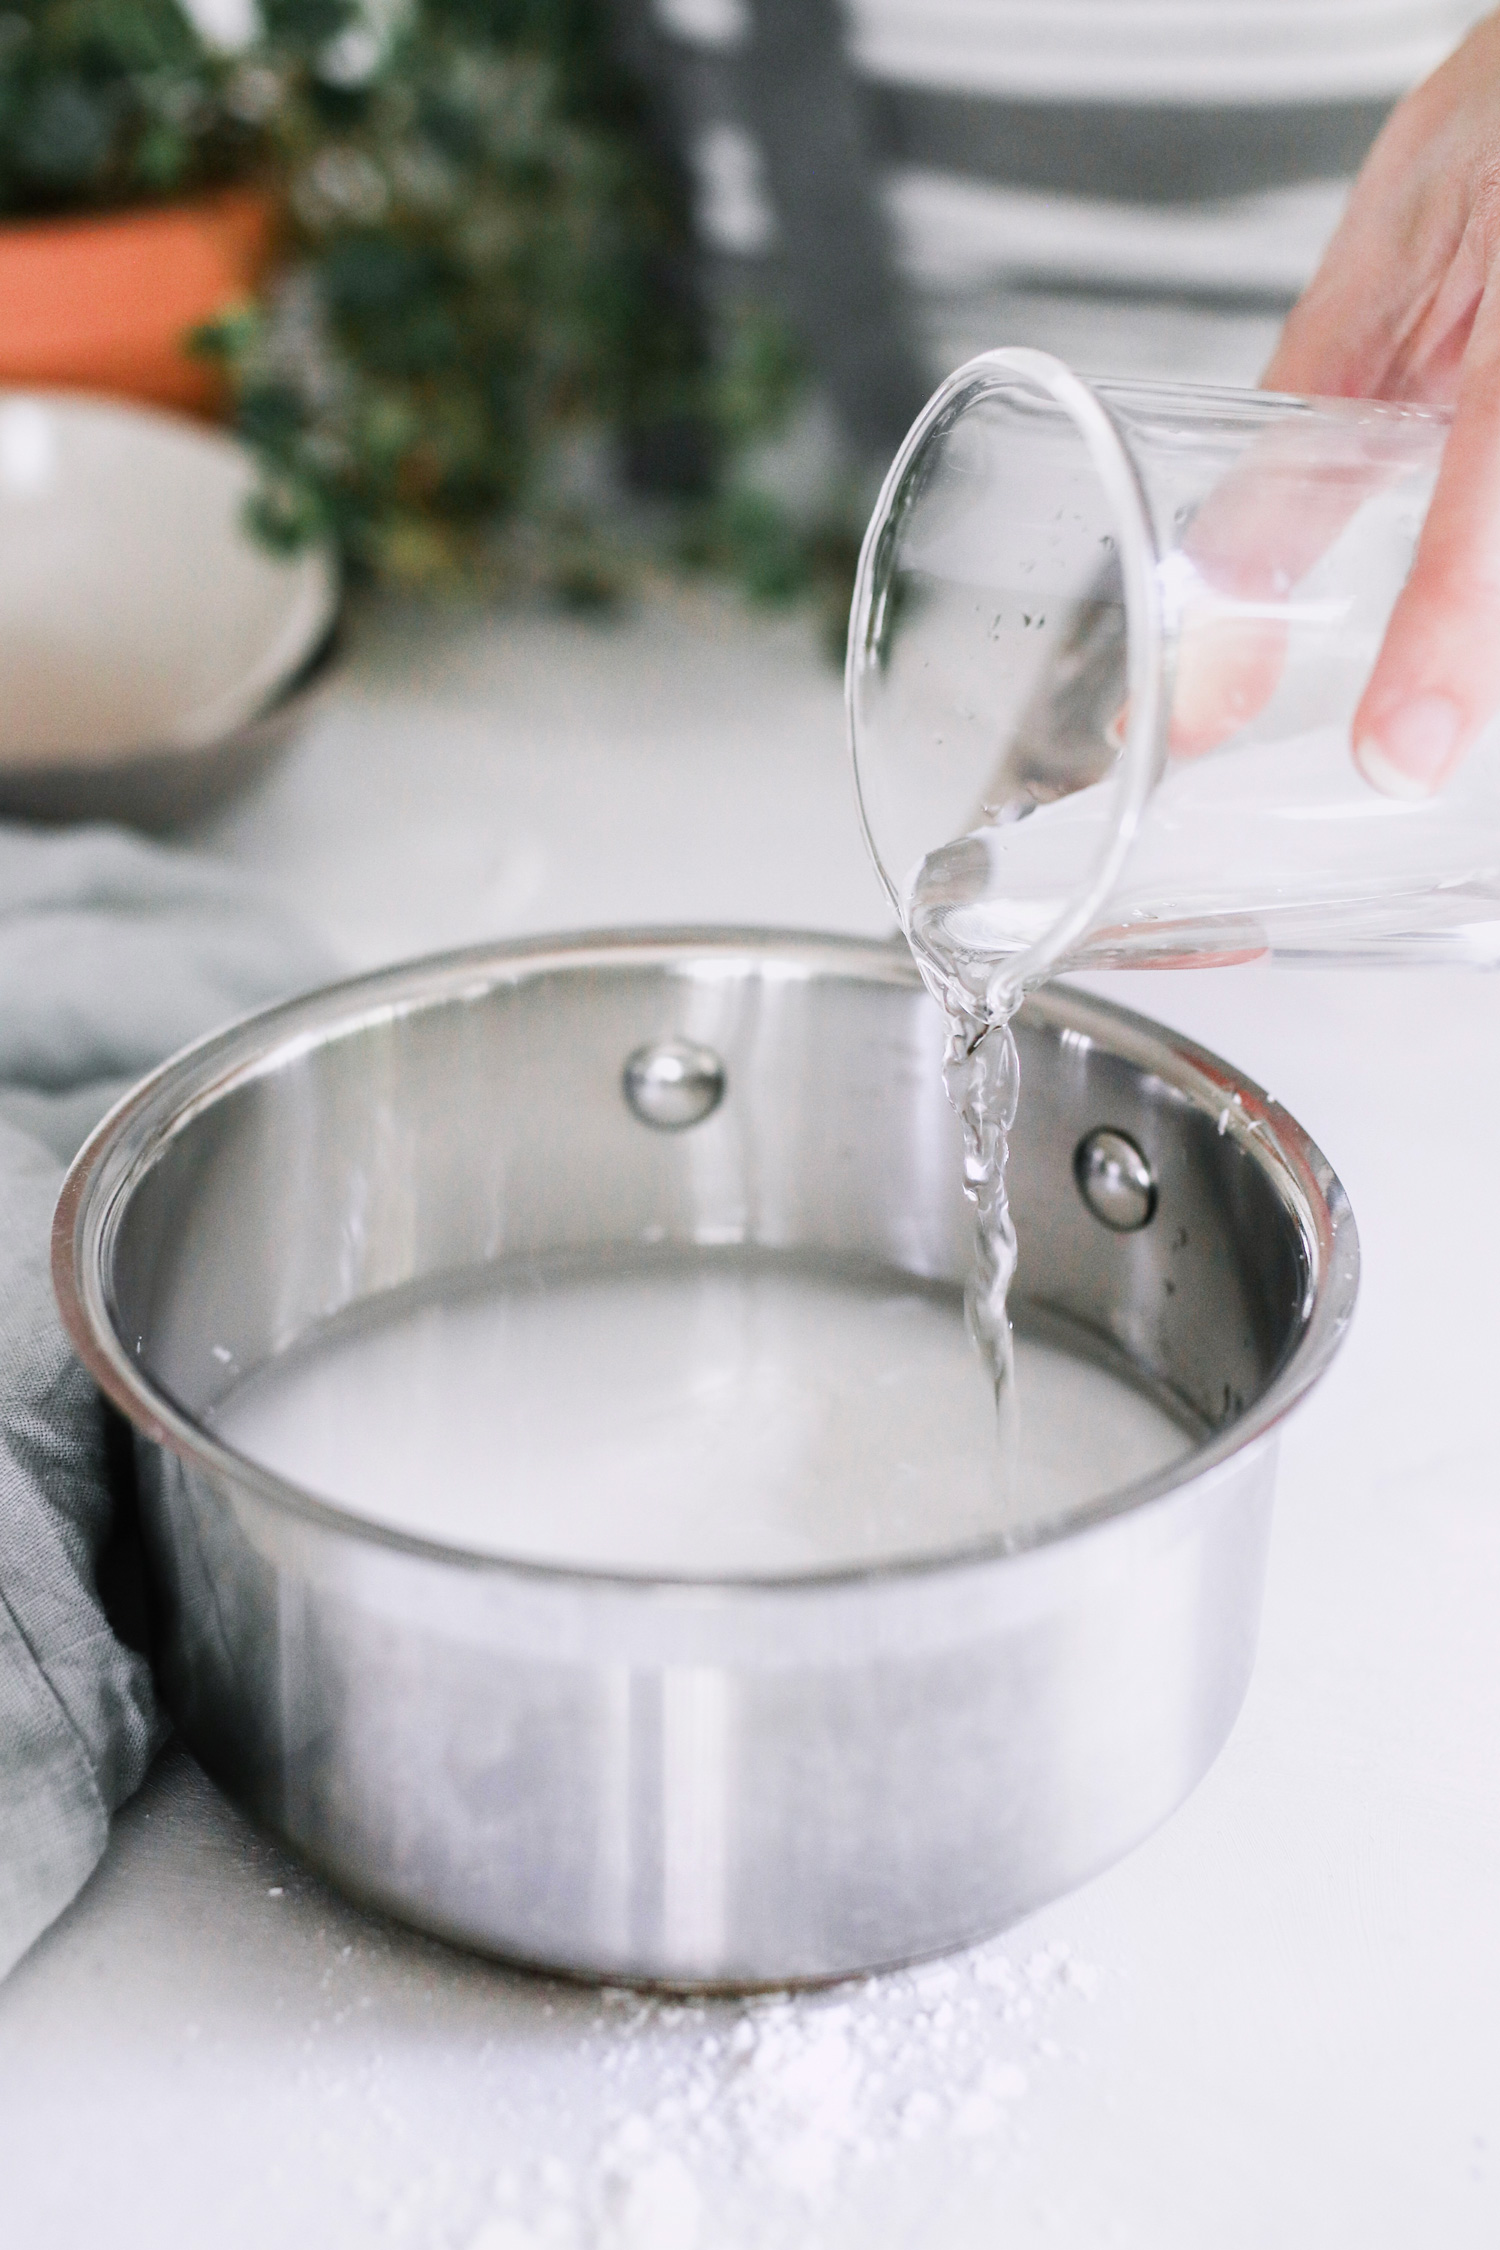
2. Stir mixture over medium heat until it’s the texture of smooth mashed potatoes (about 3 minutes). Place in a bowl, cover with plastic wrap and let cool for 20-30 minutes.
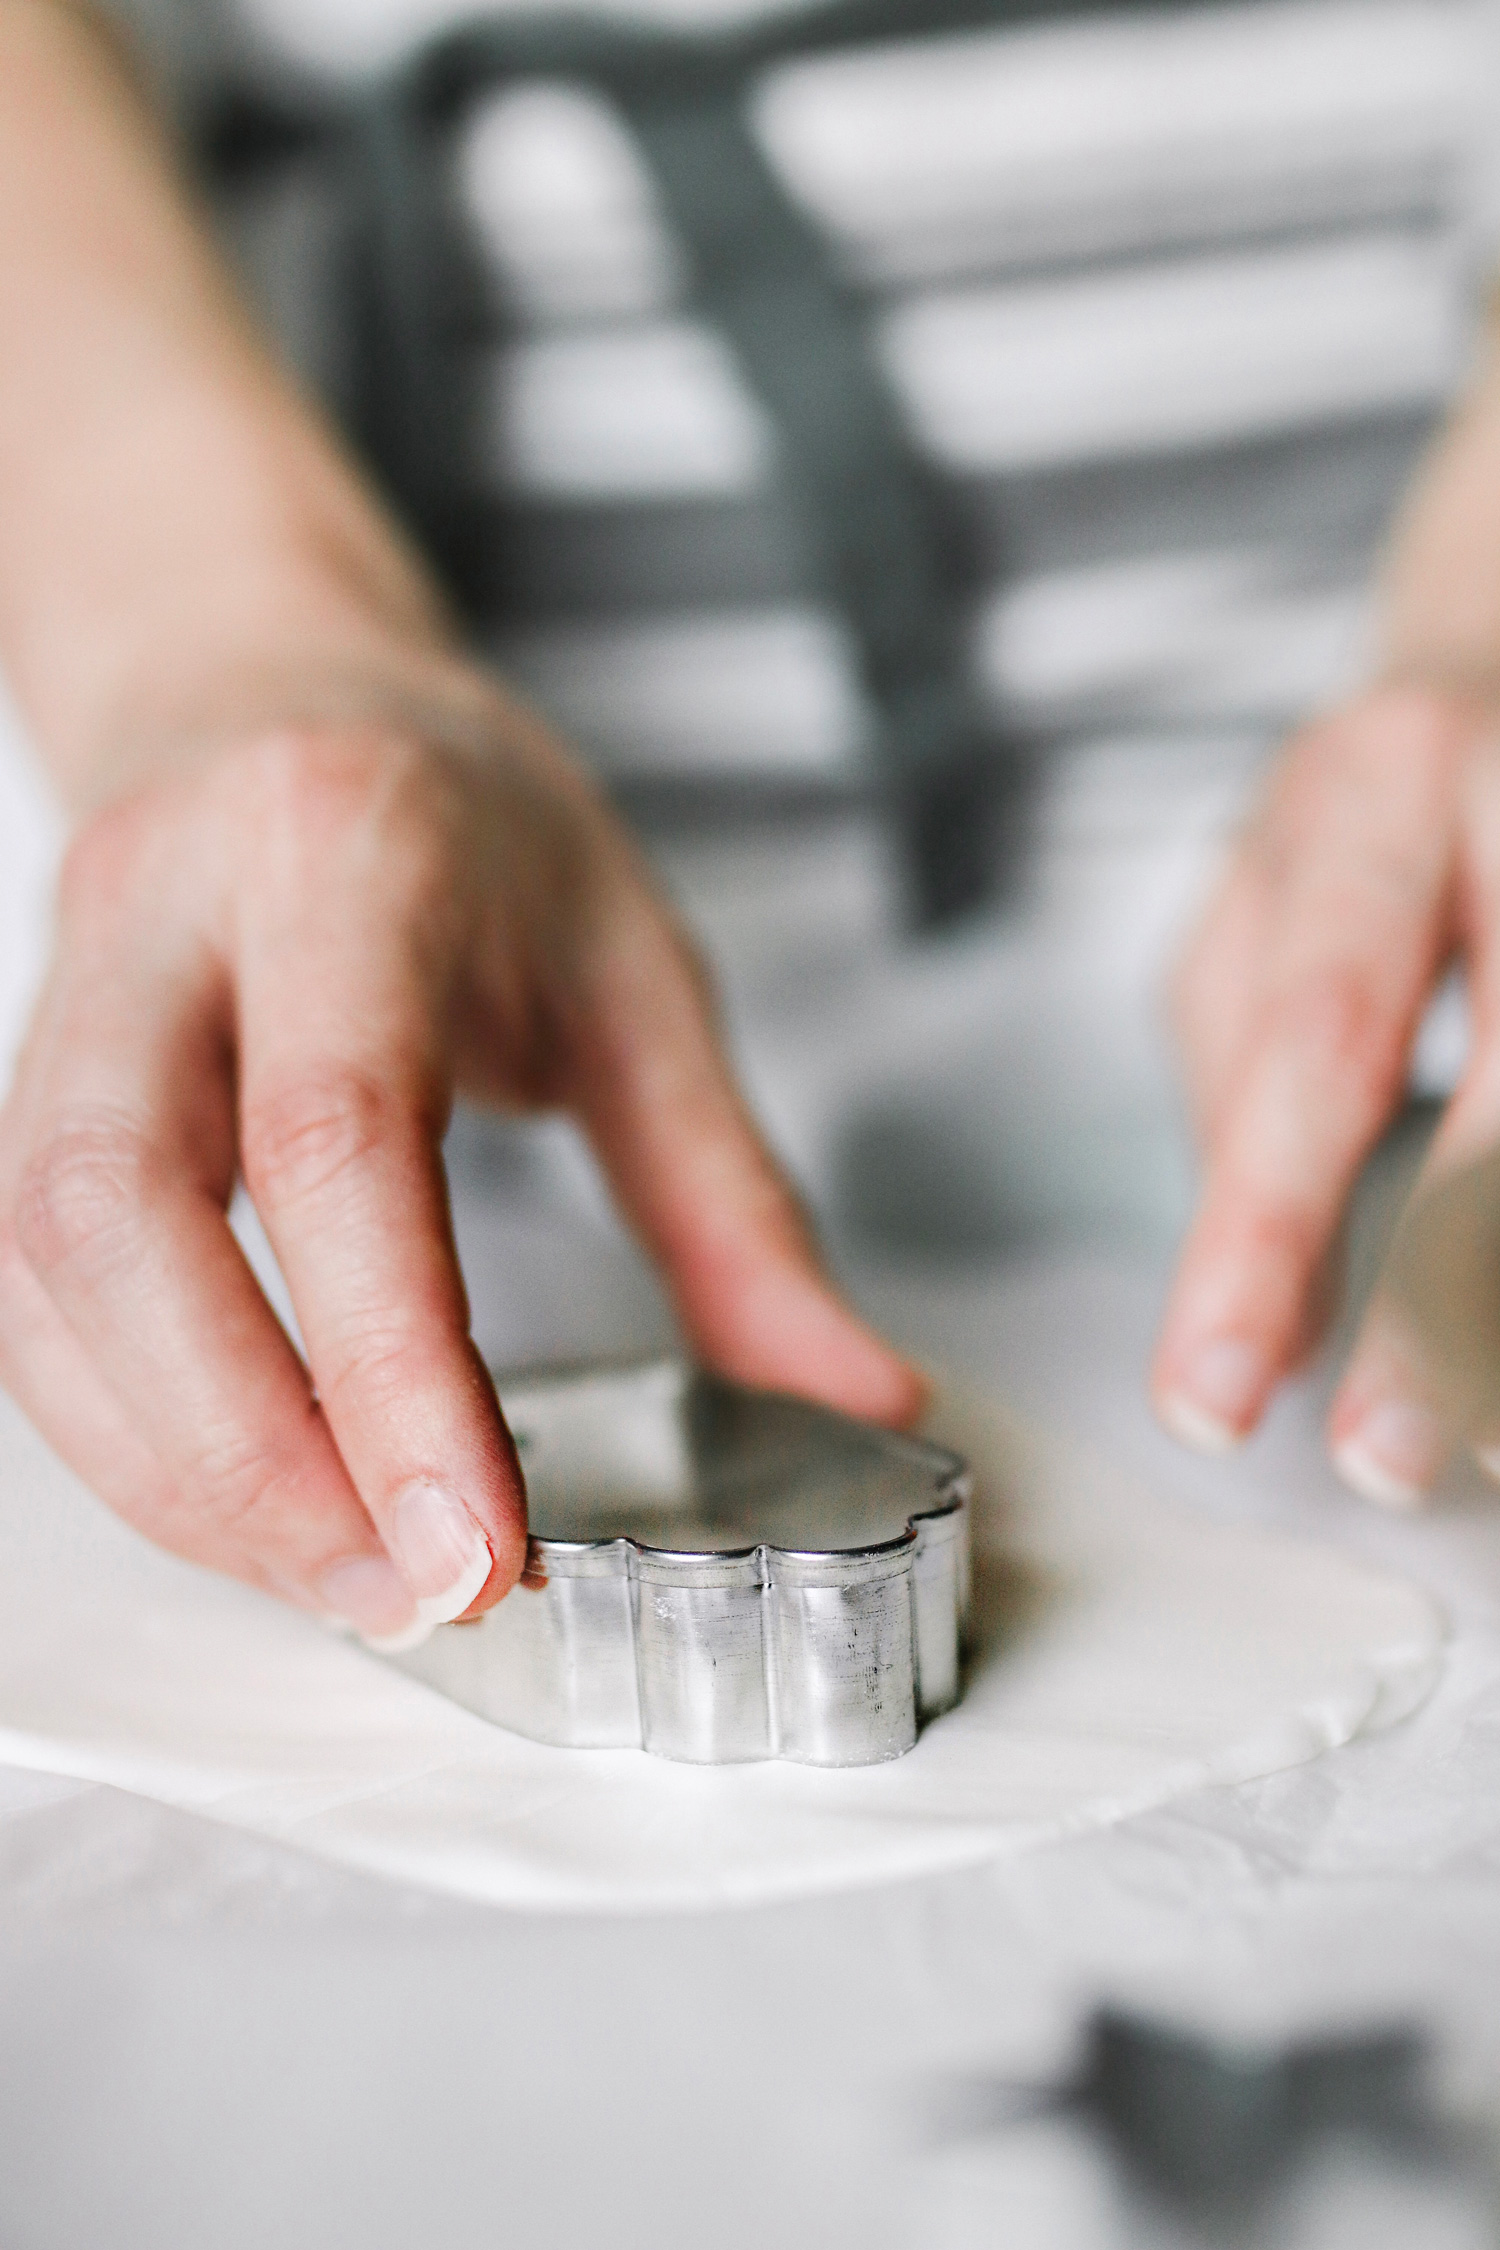
3. Roll out clay to approximately 1/4-inch thickness. Use a cookie cutter to cut the dough into whatever shapes you prefer and use your letter stamps to add words, phrases and names to the clay. Lastly, create a small hole for the string using a toothpick or chopstick.
4. Transfer to a lined cookie sheet and bake at 175 F for about 2 hours. The time may vary depending on the size of your shapes and a little extra time won’t hurt! Remember to flip your tags halfway through baking so they dry evenly.
5. When they’re done baking, let them cool before going back and adding color to the letters, glitter, etc. And voila! Just run string or twine through the hole at the top and affix your DIY gift tags to whatever you’d like.
31
Lynne C Wright says
You really should have a printable version of your directions.
Cathy says
How do you know that they are done cooking? What would you use to add color to them after baking? Two of mine cracked, would you know why?
Lea says
What a cute idea. Thank you. I’m going to pin this.