Did you ever make DIY borax crystals as a kid? I must have been hiding under a rock for much of my childhood because I never did. So just imagine my giddiness when I plunked a pipe cleaner in a pot of dissolved Borax and came back hours later to discover a near perfect geode replica. It’s witchcraft, I tell you.
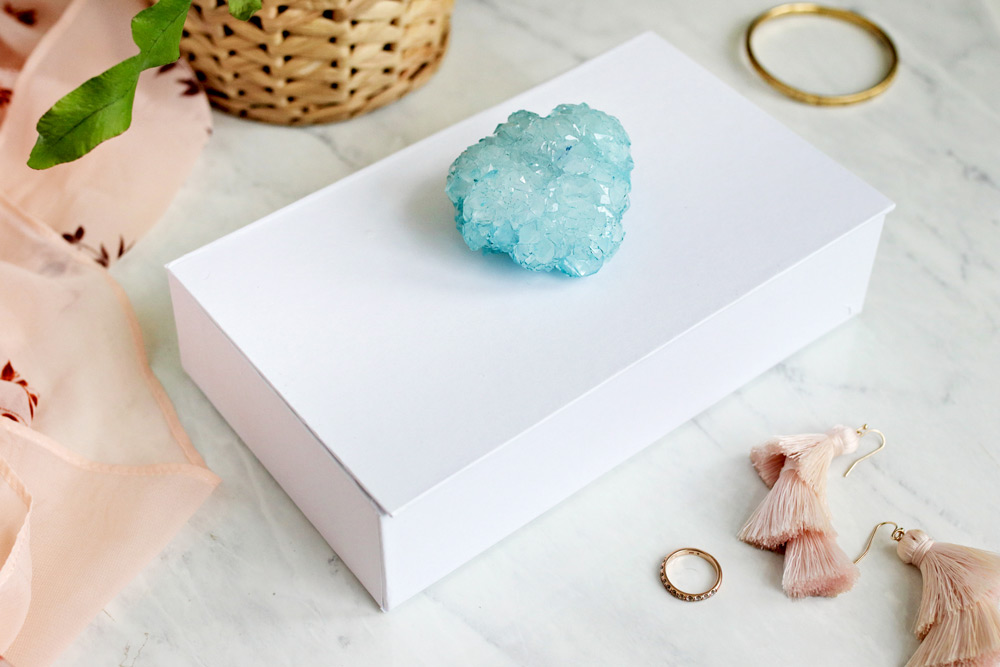
But in all seriousness, making this crystal jewelry box was so much fun and it cost less than a cuppa coffee to whip up. Here’s how to make your own trinket box with nothing more than a quick stop at the craft store and some borax and food coloring from your pantry. No science degree required.
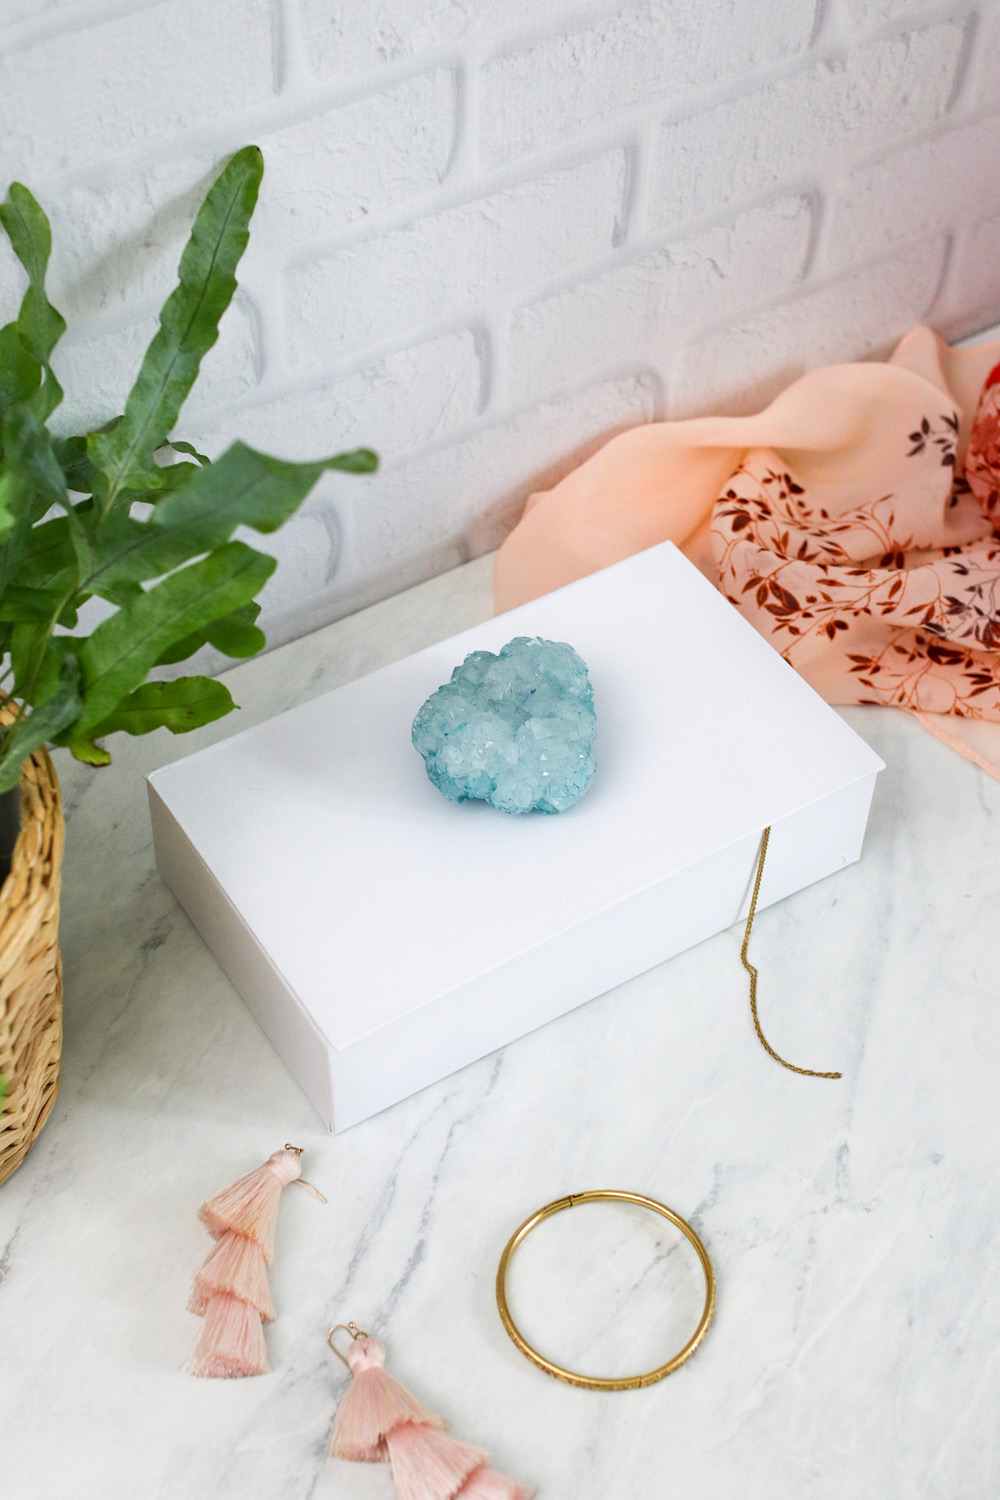
DIY Borax Crystal Jewelry Box
I’ve seen a lot of crystal jewelry boxes in my day, but I never thought that I could actually make one and save money in the process. Most of the jewelry boxes you see at the store pair real geodes with glossy enamel boxes—neither of which are cheap. Factor in the retail markup and they could cost you $200 or more.
If you’d like to get the same look, but at a fraction of the cost, you’re better off faking it with Borax crystals and a simple box from the craft store. Since a lot of the supplies are household staples, I was able to make mine for less than $5. The only things I had to buy were the box and some teal food coloring—everything else I had on hand. But if you need to buy supplies, it shouldn’t run you more than $20 or so for everything.
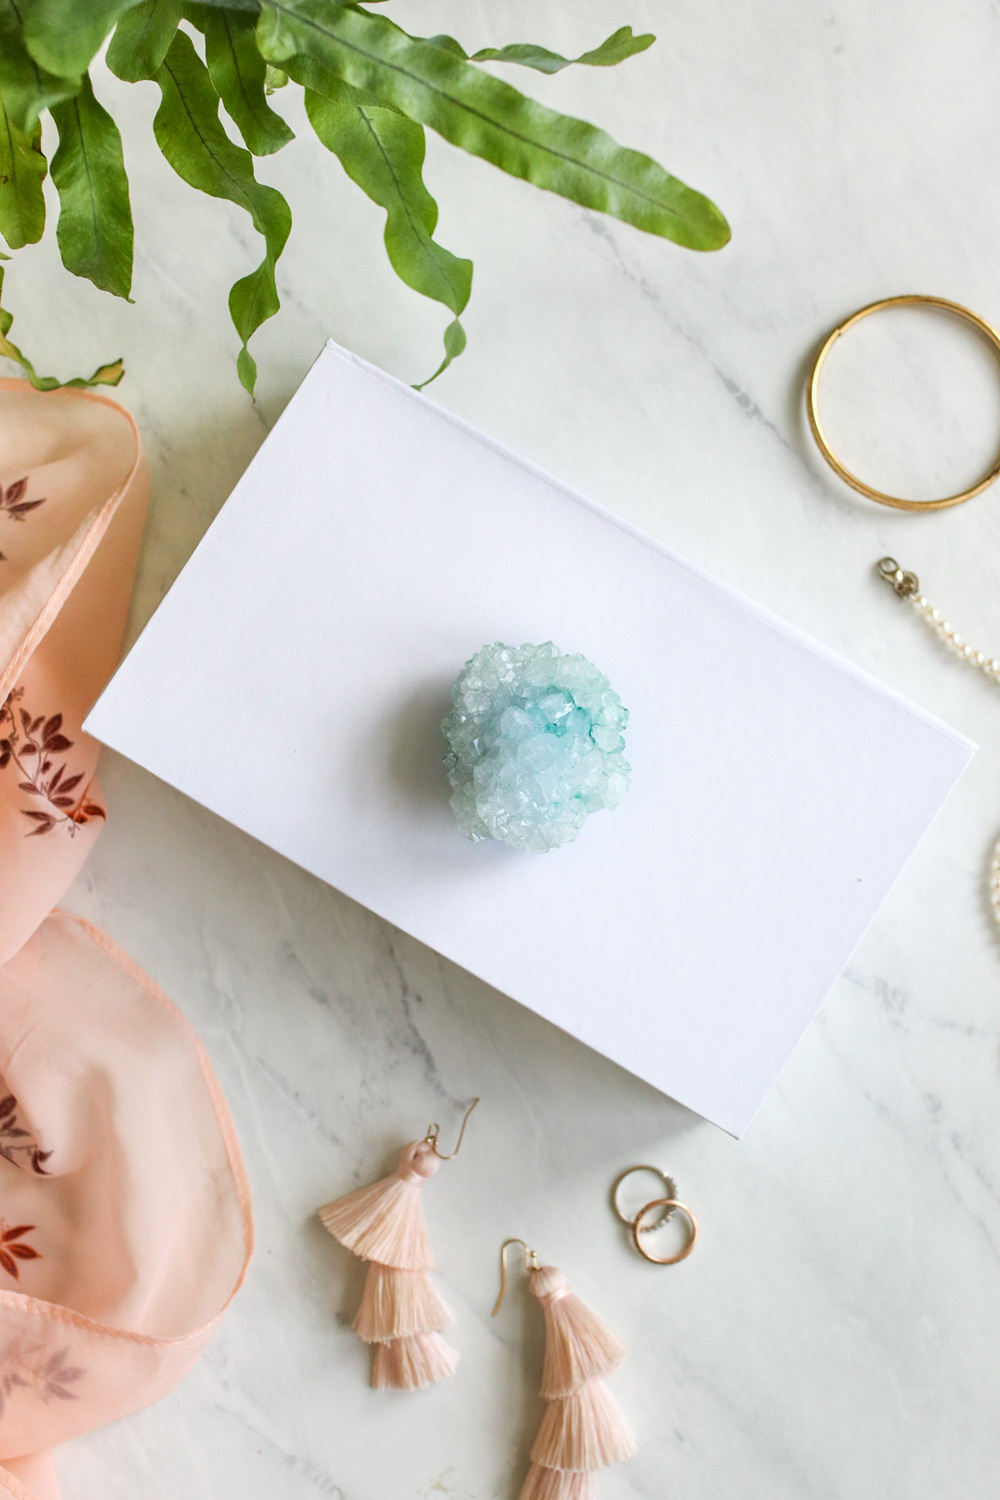
I wanted to keep my jewelry box simple and classic. Rather than painting the bottom of my crystal gold, I left it au naturel so the beautiful turquoise color could really shine through. If you would prefer to paint yours, this enamel paint should do the trick. Just use a paintbrush to brush a little gold around outer edge of the crystal so it shows after you glue your crystal in place. Otherwise, leave yours plain and let those pretty specks of color really pop.
This step-by-step video will show you exactly how to make your crystals. Otherwise, follow along with the instructions below.
DIY Borax Crystals
Ingredients
- White pipe cleaners the fuzzier the better
- Sewing thread
- Scissors
- ½ cup borax
- 2 cups boiling water
- ½ teaspoon food coloring
- Heat-proof glass jar
- Skewer or pencil
- Hot glue
- Decorative box
Instructions
- To create the base for your crystal, twist a few pipe cleaners together and tightly coil them into a disc-like shape. It’s best not to leave any gaps between pipe cleaners, otherwise you might end up with gaps in your crystal.
- Cut a piece of thread and thread it through the pipe cleaner coil. Set aside.
- Bring water to a boil and pour it into a heat-proof glass jar or measuring cup.
- Measure ½ cup Borax and pour it into the jar.
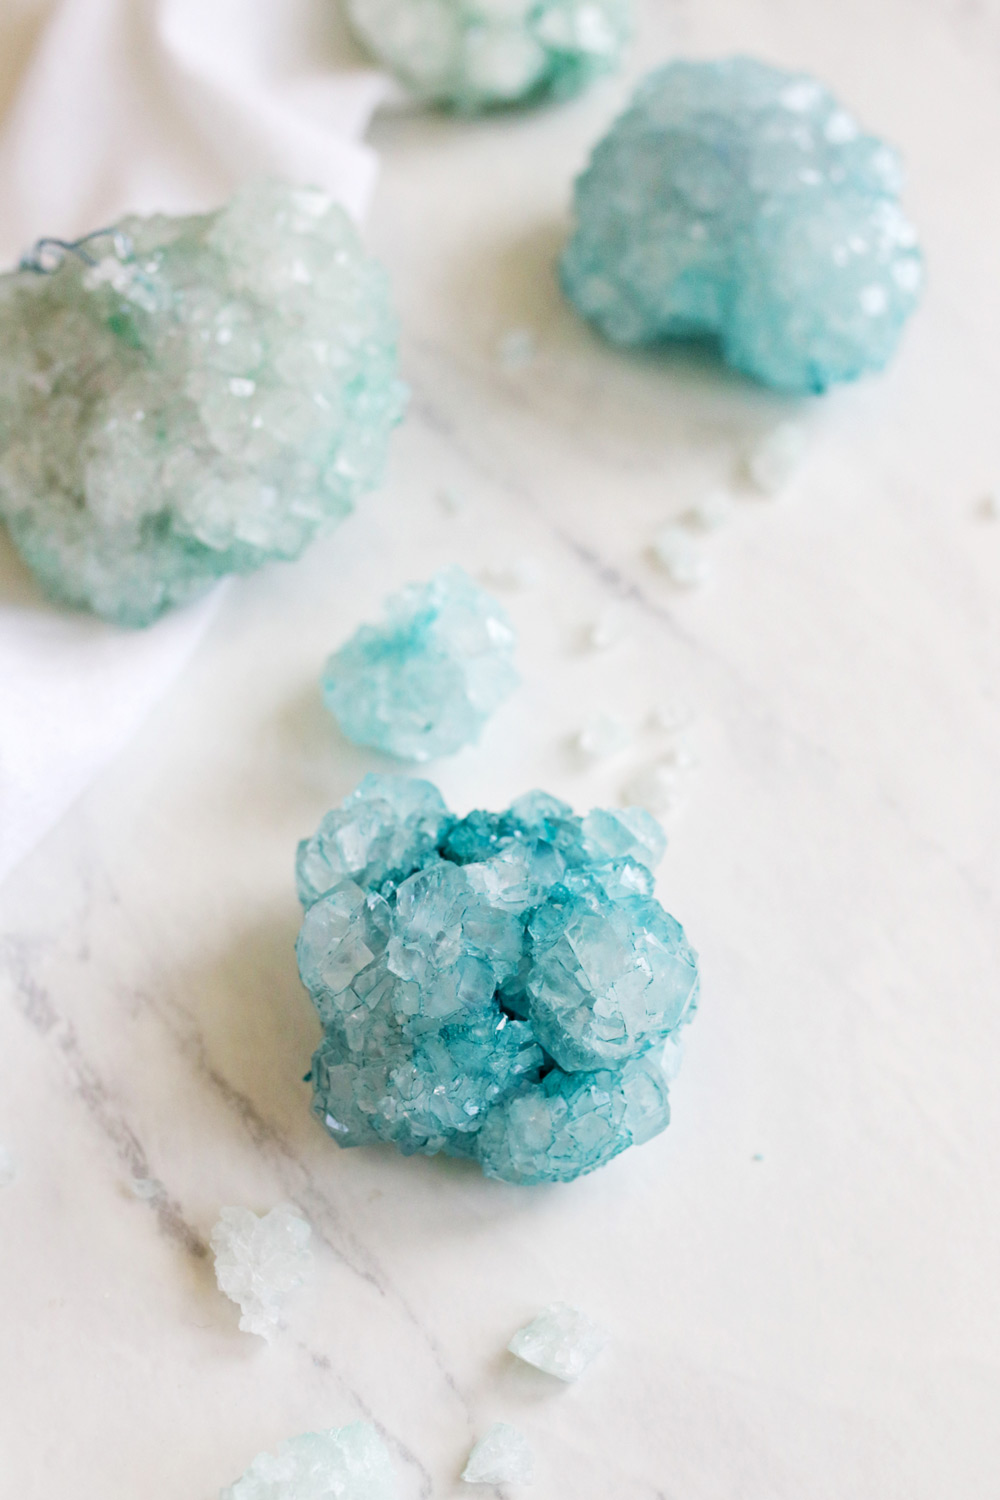
- Add ½ teaspoon food coloring and stir until the Borax is completely dissolved. Your crystals won’t be as dark at the water, so add more food coloring to achieve a deeper hue.
- While the water is still very hot, dip the pipe cleaner coil into the Borax solution a few times to get rid of any air bubbles. Rest a pencil or skewer on the rim of the jar. Then tie the string around the skewer so that the coil is fully immersed but not touching the bottom.
- To get larger crystals, cover the jar with a plate or dish towel. Then let sit overnight.
- Remove the crystal from the solution, pat dry and cut off the string.
- Once the crystal has dried completely, use hot glue to affix it to the top of your jewelry box.
Xander Kostroma says
I really like it!
erica says
The author’s passion for the subject is palpable. ❤️
Eloquence says
Have you had any issues with water/condensate (from a humid room, etc) with the crystals?
Thanks for the cool project idea!