You know those days where it’s so cold you have to put on two pairs of pants just to leave the house? Guaranteed, your pooch needs an extra layer of padding on those days, too!
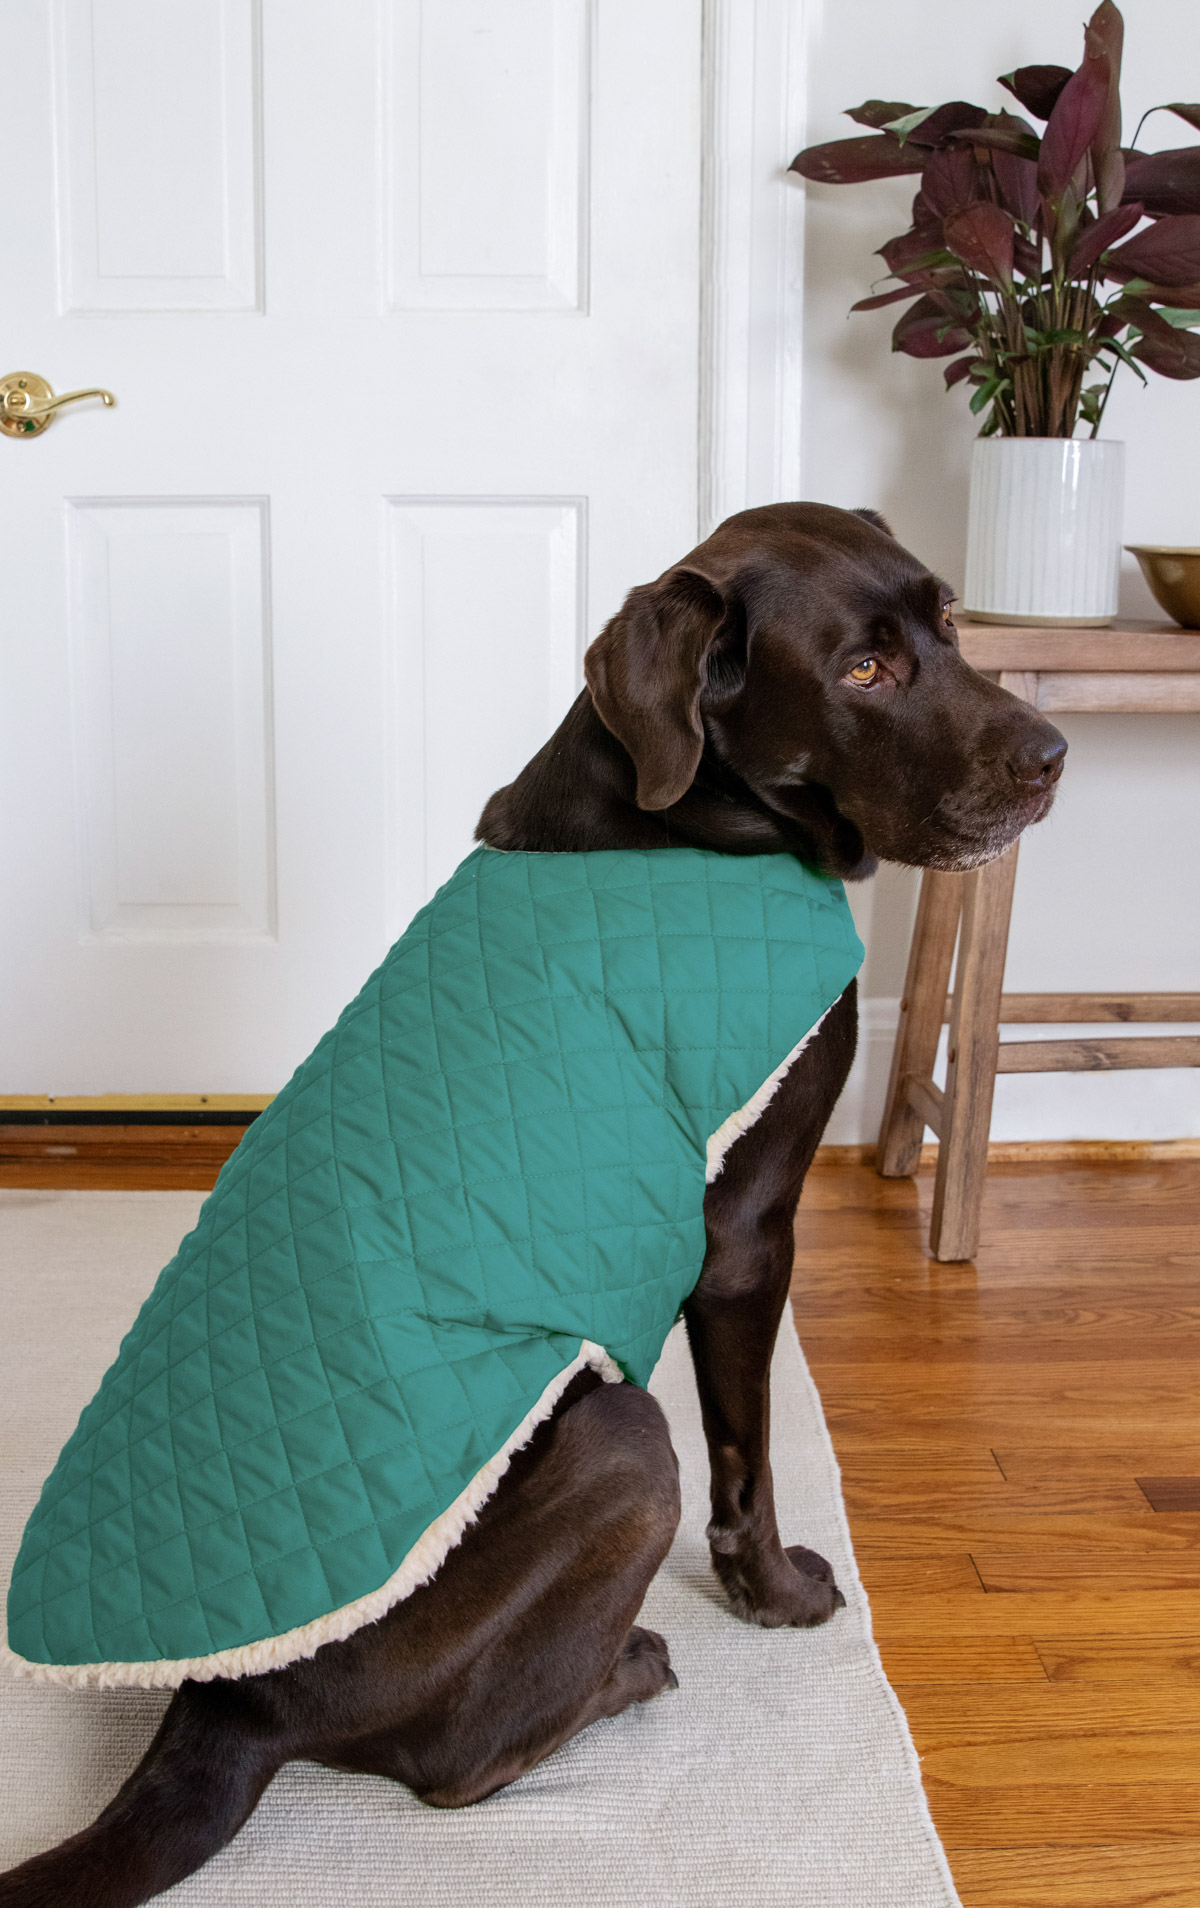
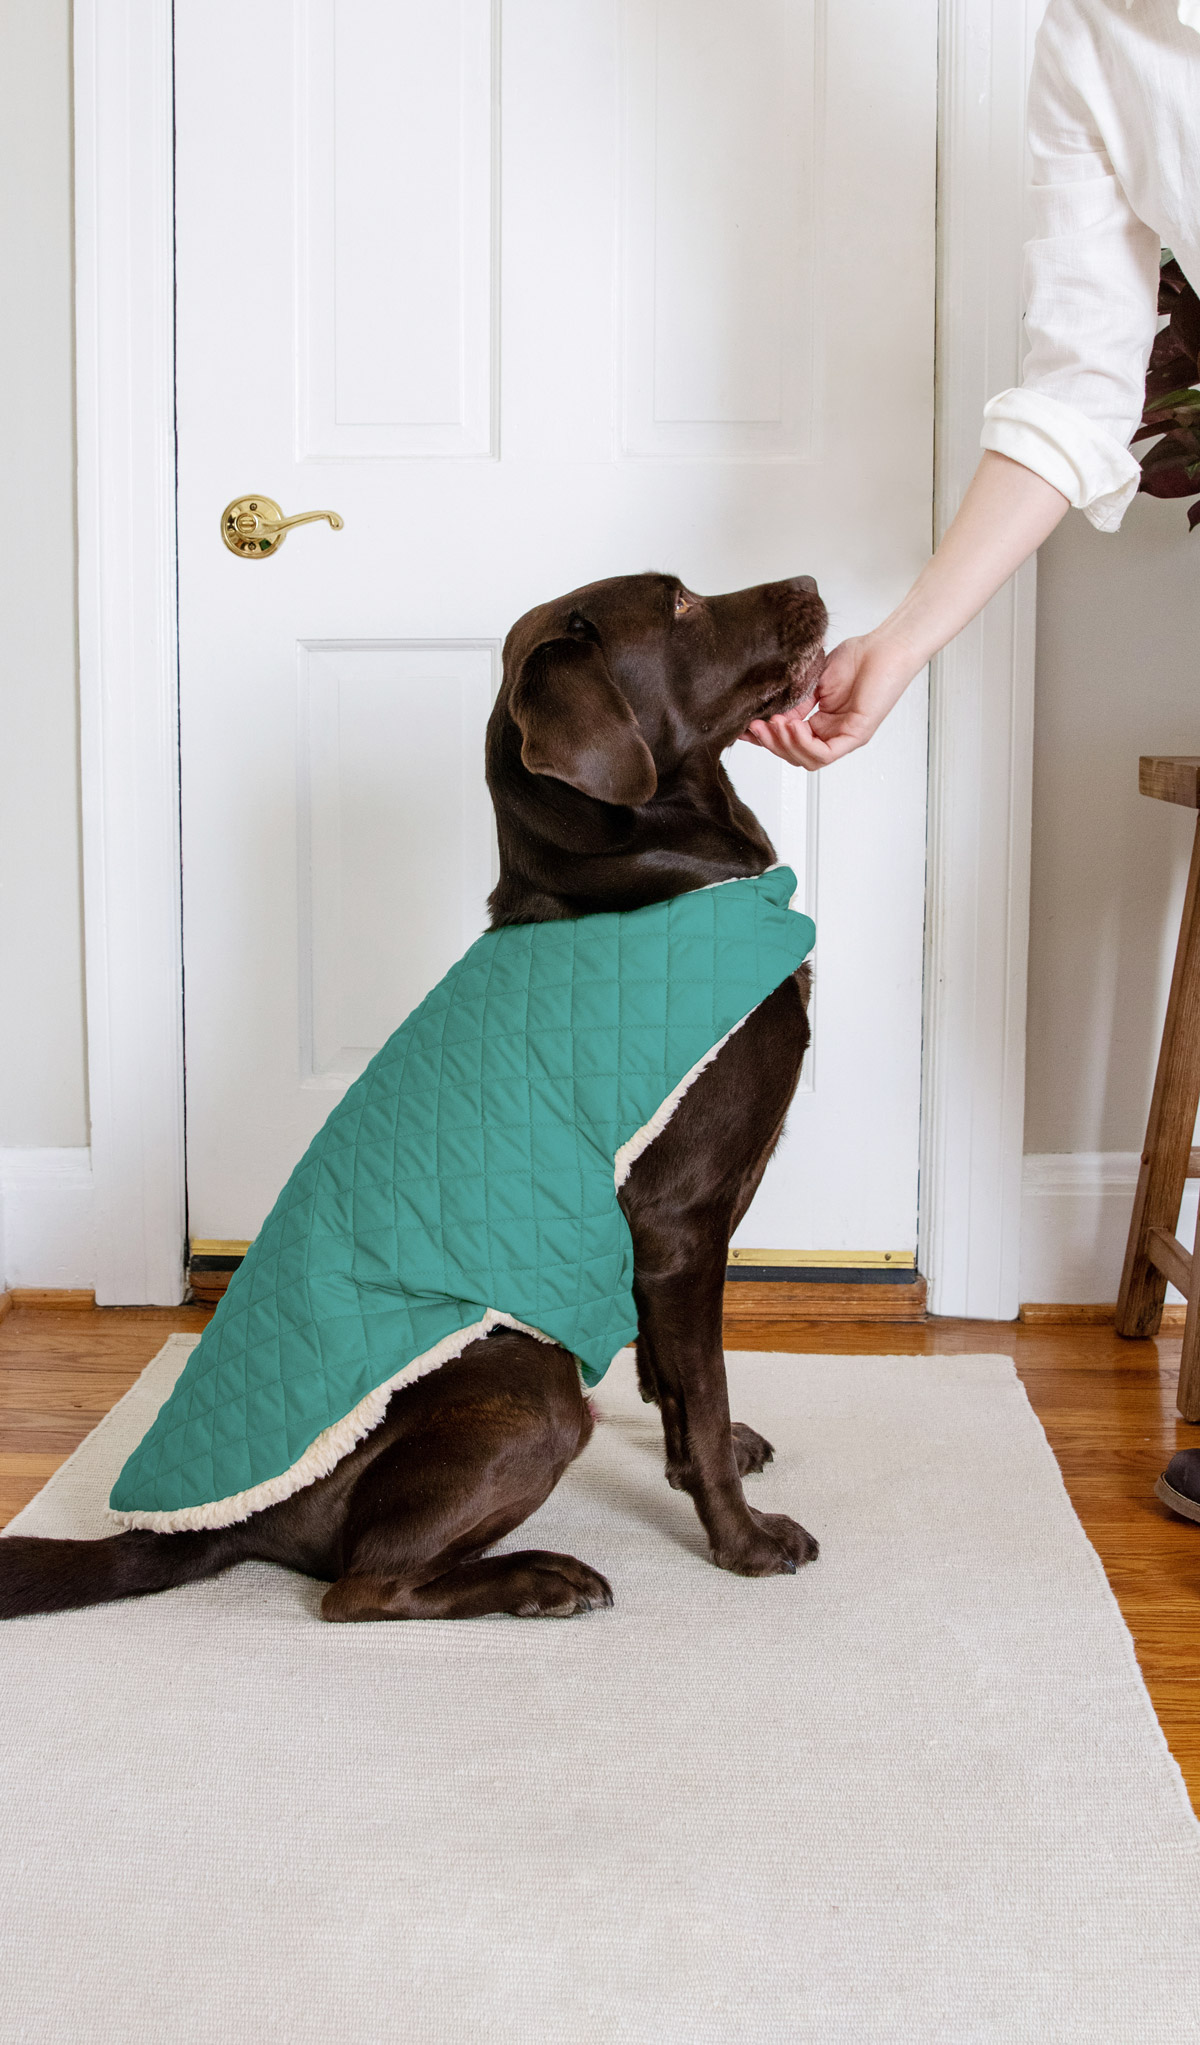
This cozy, fleece DIY dog coat is made with ultrasoft Sherpa fleece on the inside and a layer of easy-to-clean quilted cotton on the outside to help your pup stay comfy in cold weather. And just in case putting anything on your dog is a chore, like it is with mine, you’ll be glad to know it uses velcro closures for an easy on-and-off in a jiff.
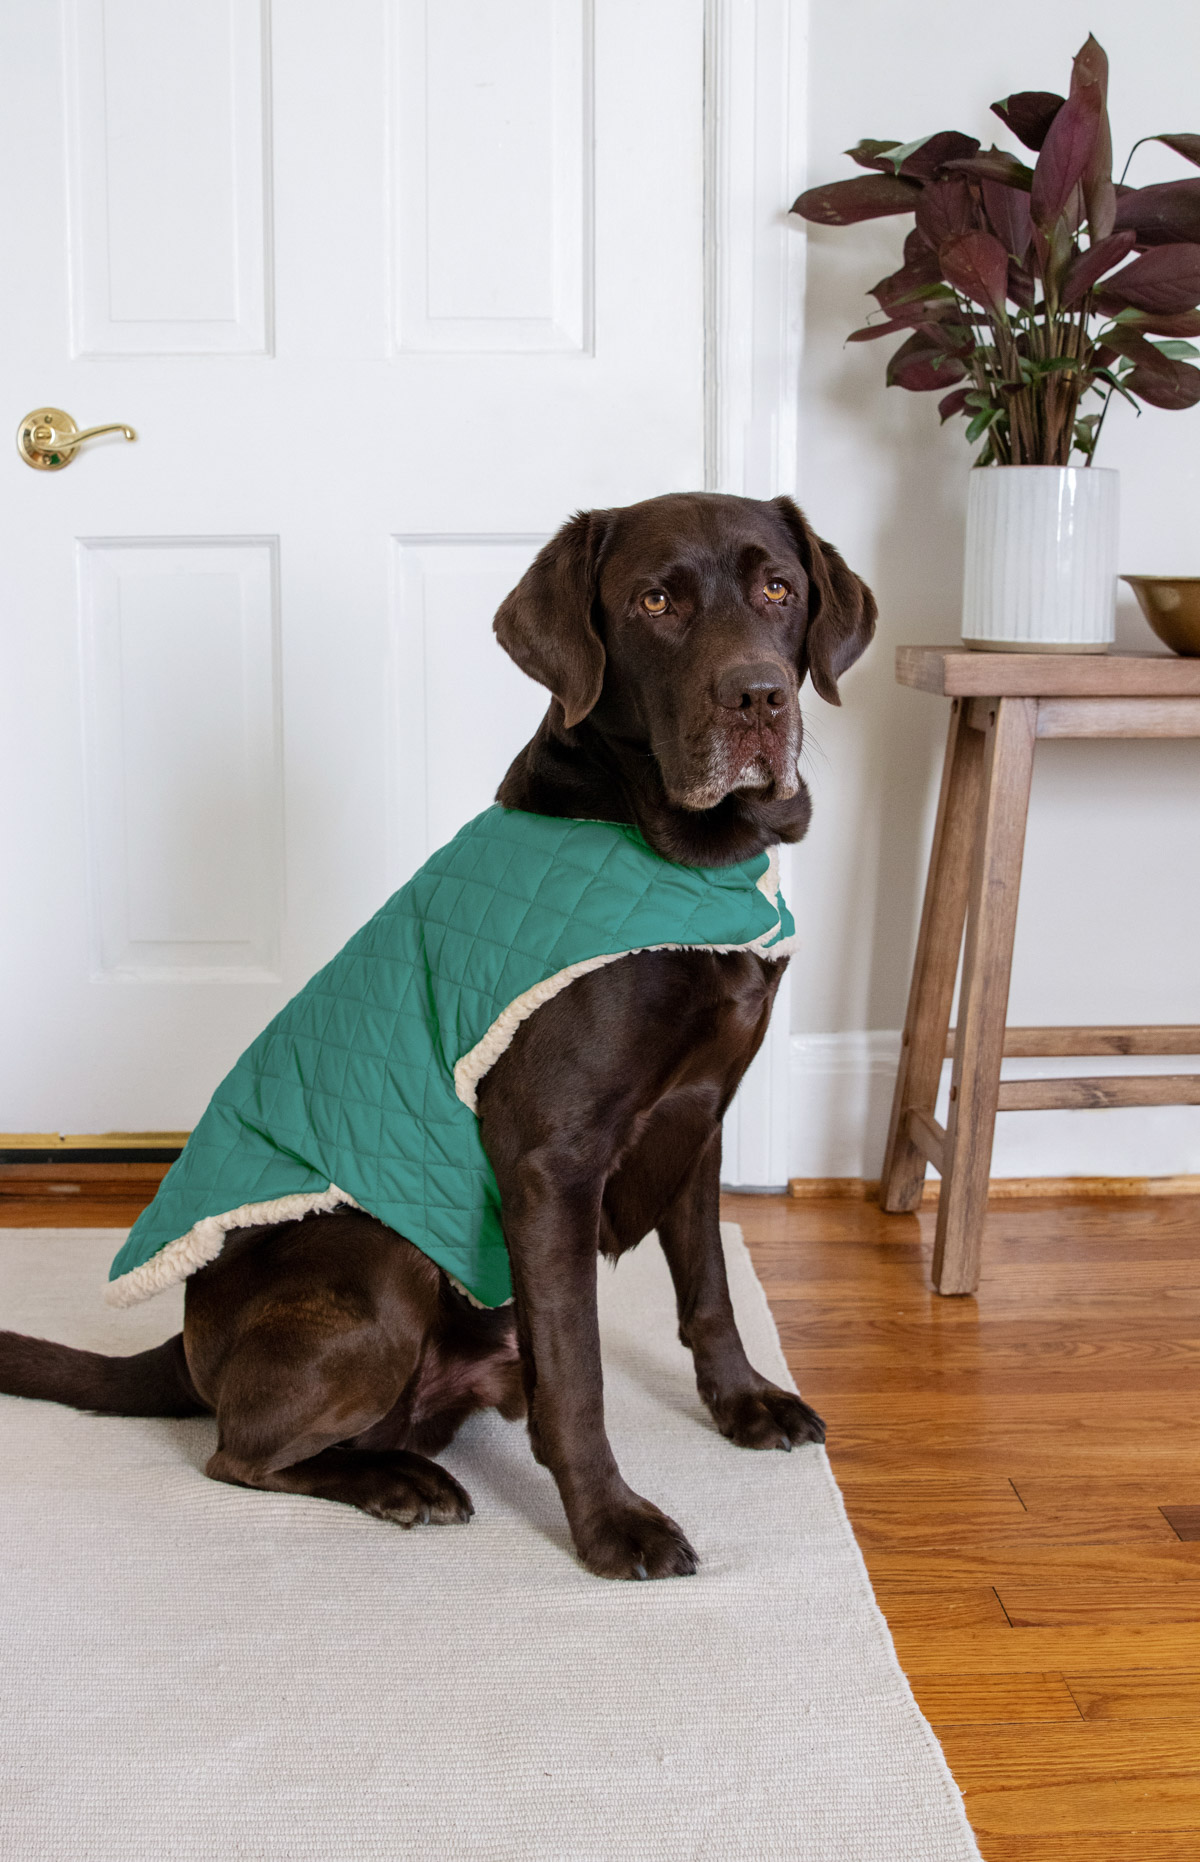
How to Make a DIY Dog Coat
The hardest part of this dog coat is making the pattern. Like with human clothing, it’s important that your dog’s coat fits well to allow for natural movement and to prevent any chafing or rubbing.
And while I’d love to give you a one-size-fits most tutorial, there really isn’t one. But don’t let the idea of making your own pattern freak you out! All you have to do is take a few measurements and then draw 3 simple rectangles – it’s that simple.
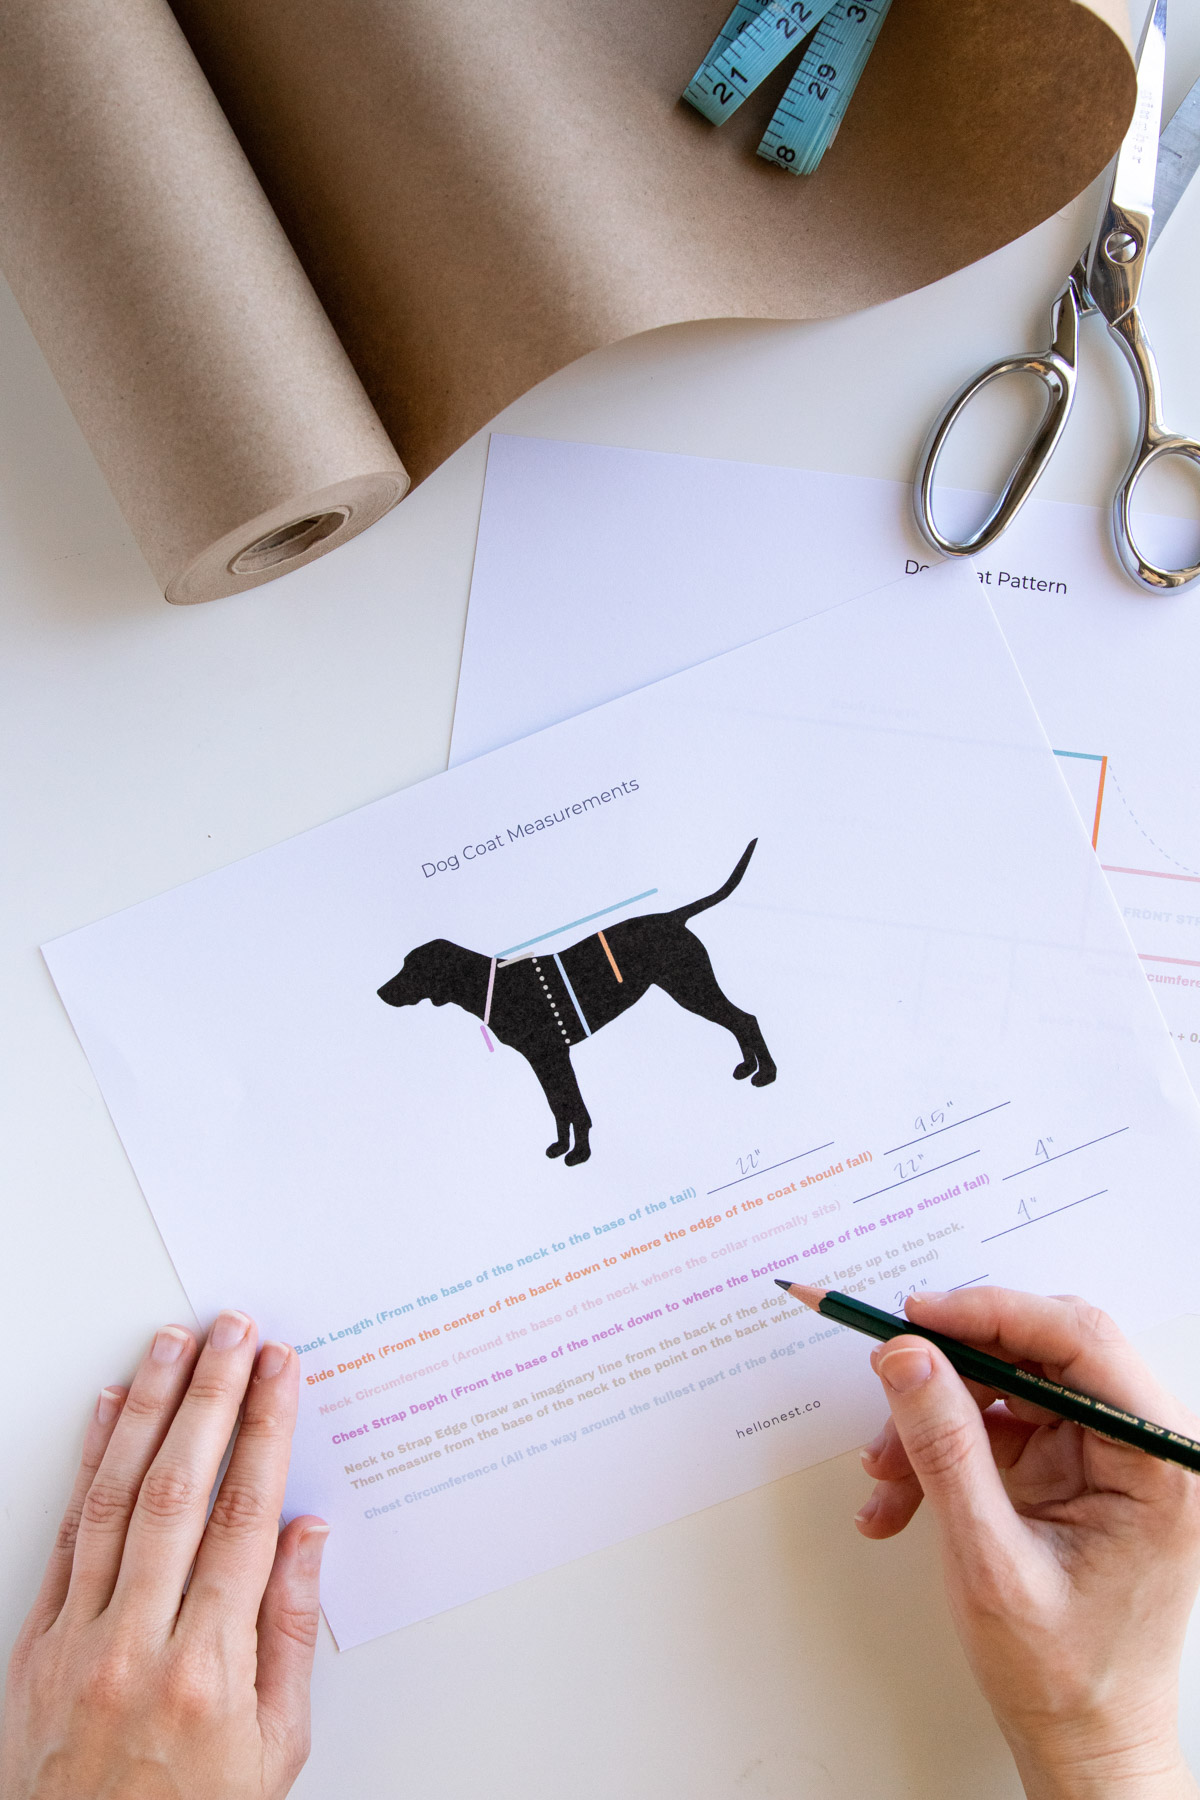
To make things even easier, I whipped up a free cheat sheet to help you gather your measurements and determine the size of your pattern. Just download the PDF and print it out (preferably in color), and then use it while you work. Make sure to check out the second page of the cheat sheet to figure out how to put your measurements to use when drawing your pattern.
When it comes to fabric, I recommend choosing whatever’s best for your dog. Small or lean dogs, like chihuahuas or greyhounds, may need heavier material than dogs with thick coats or lots of built-in padding.
My dog usually runs hot, so I chose a cotton top layer and fleece interior for those colder than average Virginia days. But you may want something waterproof if you live in a wet climate or a heavier outer layer if you live in a snowy environment.
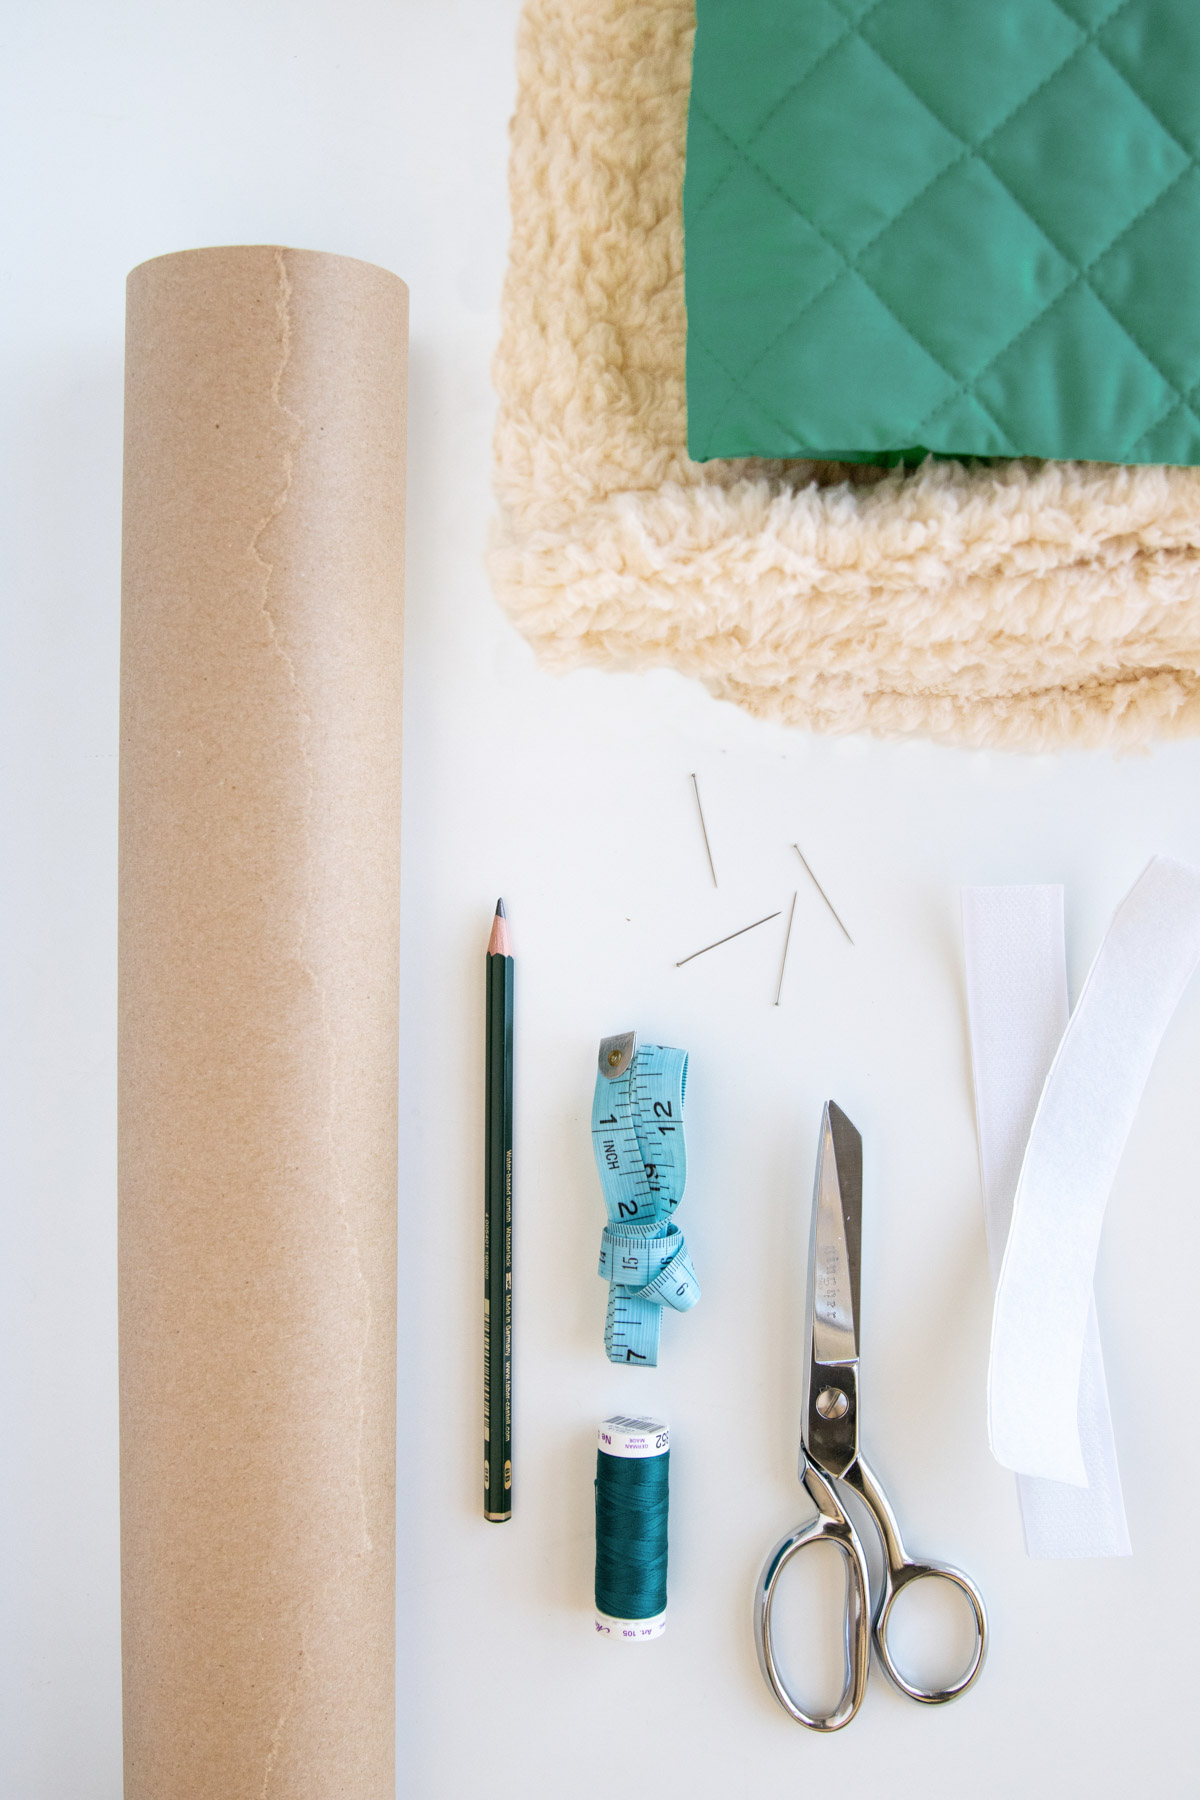
Dog Coat Supplies
- 1 yard fleece lining
- 1 yard outer fabric, such as cotton, wool, felt, fleece etc.
- Coordinating thread
- Sewing Machine
- 1″ hook and loop closure (aka velcro)
- Large piece of paper, to make the pattern
- Downloadable measurement worksheet
- Sewing scissors
- Measuring tape
- Pins
Dog Coat Instructions
Step 1 | Take measurements
Start by measuring your dog. Just download the worksheet and track all your measurements in the space provided.
The measurements you need are as follows:
- Back length
- Side depth
- Neck circumference
- Chest strap depth
- Neck to strap edge
- Chest circumference
Step 2 | Make your pattern
Now, let’s make the pattern.
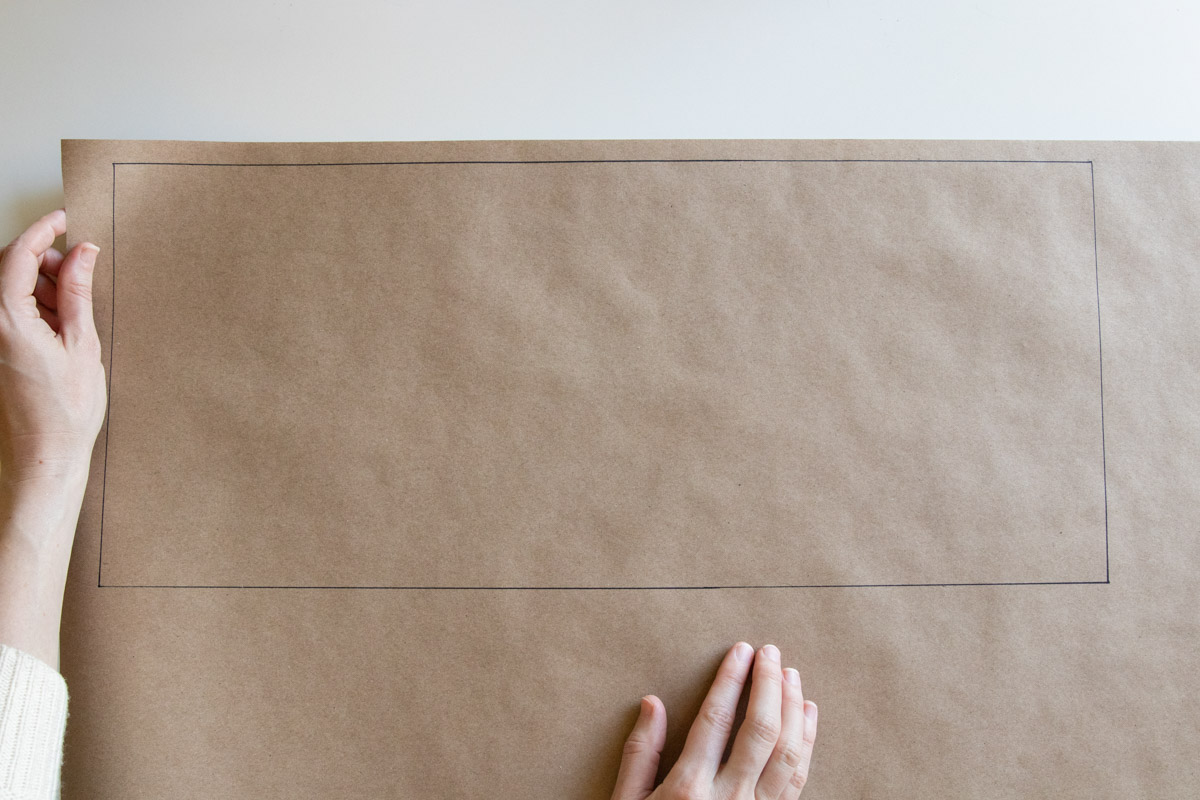
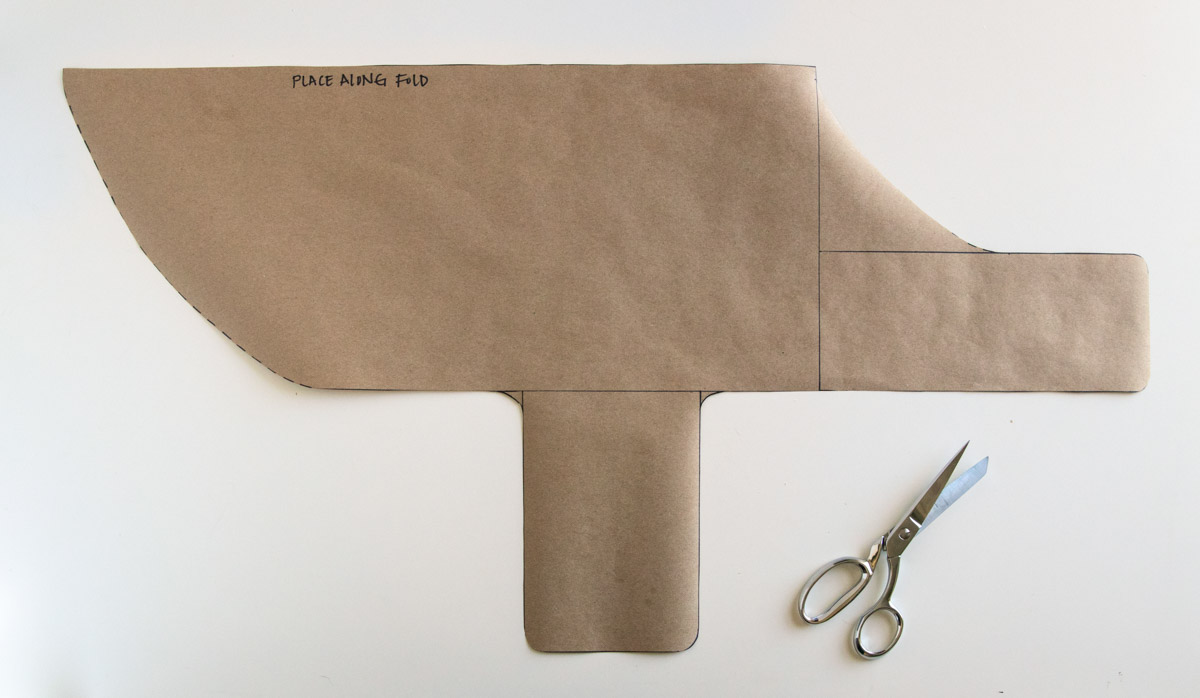
Start by drawing the body of the coat. Take your Back Length measurement and Side Depth measurement and draw a rectangle on a large piece of paper or poster board. (Mine is 22” x 9.5”)
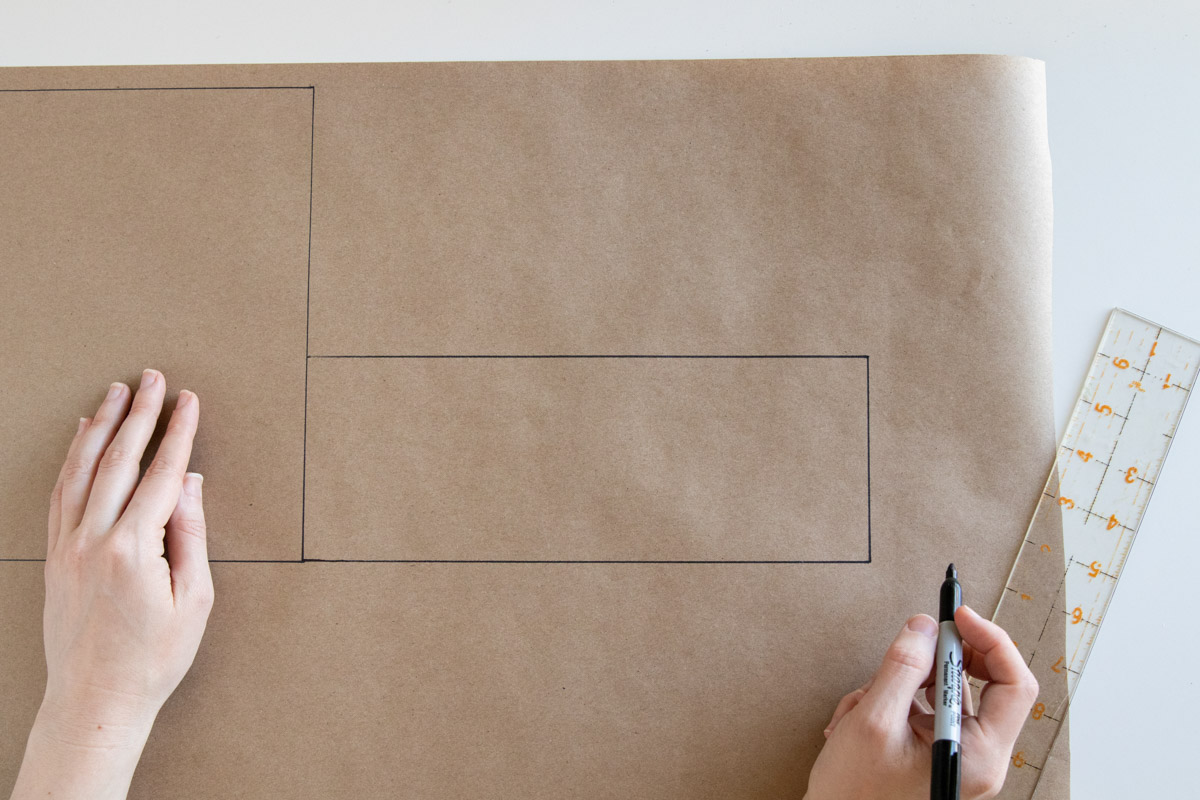
Next, we’ll draw the neck strap. On the lower edge of your rectangle, draw a second rectangle that’s equal to 1/2 the length of Neck Circumference along the top and the Chest Strap Depth on the sides. (Mine was 11″ x 4″ – my dog has a huge neck, so yours will probably be much less.)
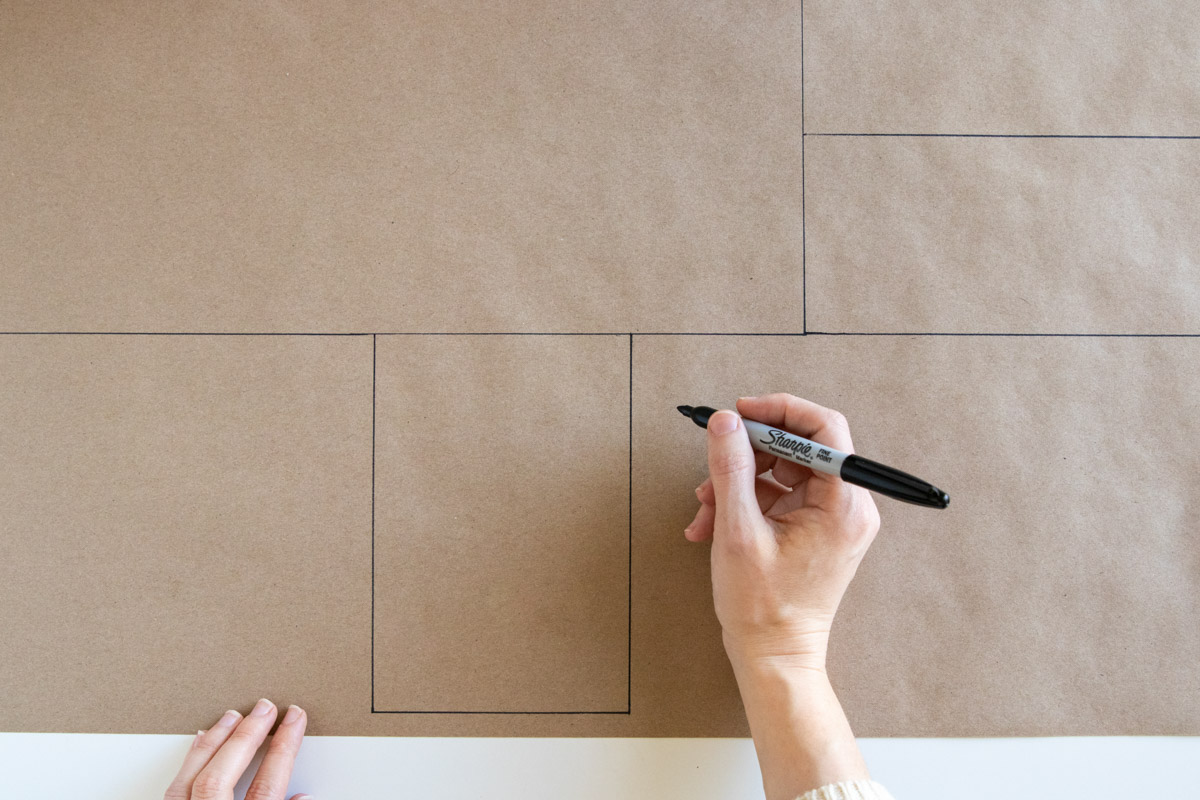
Lastly, we’re going to draw the bottom strap. From the point where the body of the coat and the neck strap meet, measure over the length recorded for Neck Strap to Edge + 0.5 inches (mine came to 4.5 inches). This marks where you want the strap to begin.
To calculate the strap length, use the formula:
(Chest Circumference / 2) – Side Depth + 1 inch
So, basically, divide Chest Circumference by 2. Subtract the Side Depth. Then add 1 inch to allow for overlap.
For the strap width, you’ll want to choose based on the size of your dog. For large dogs, 5 inches is a good width. For smaller dogs, choose closer to 3 inches.
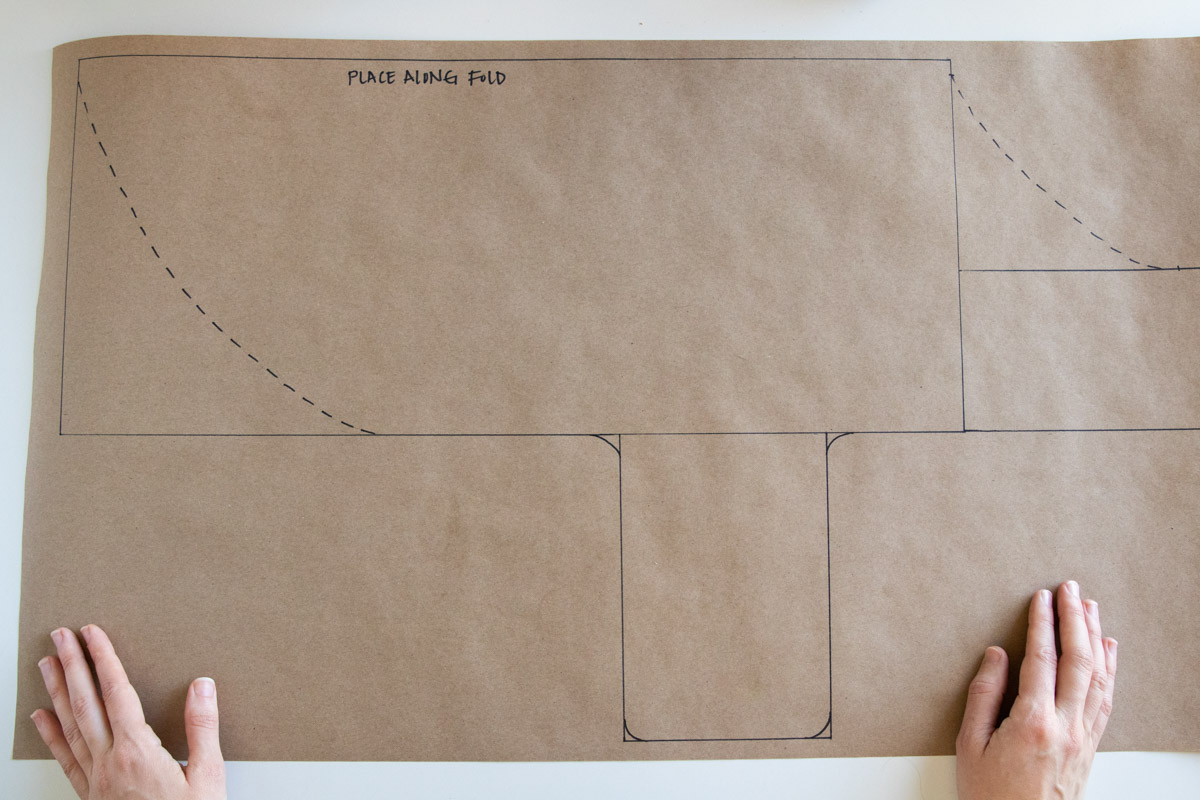
That’s basically it! But before moving on, we want to clean things up a bit.
Following the dotted lines in the pattern PDF, draw curves on both the body of and coat and along the neckline. I also curved the ends of my straps ever so slightly, but this is optional!
Step 3 | Cut pattern and fabric
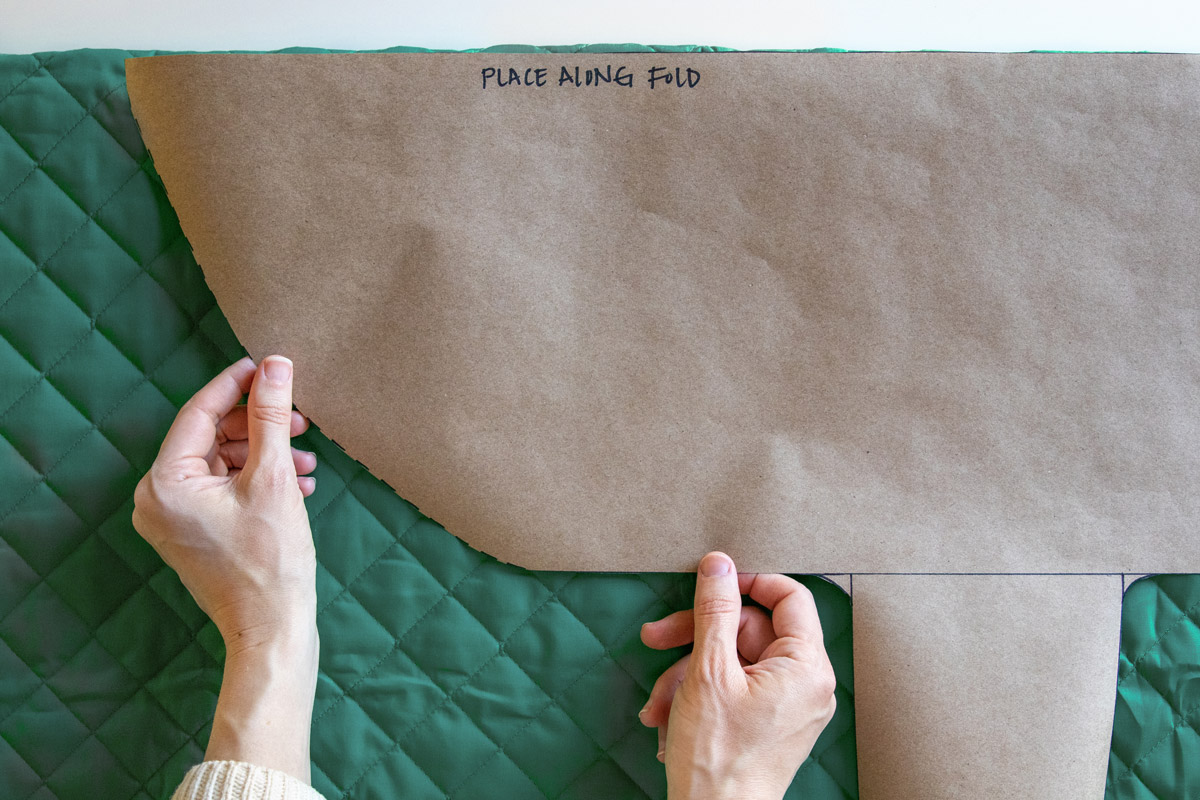
First, cut out your pattern. Then fold your fabric in half lengthwise. Place your pattern so that the Back Length lines up with the fold.
Trace your template on the fabric. I just use a permanent marker for this since it’s going end up on the inside of the coat. Cut out adding a ½ inch seam allowance on all sides.
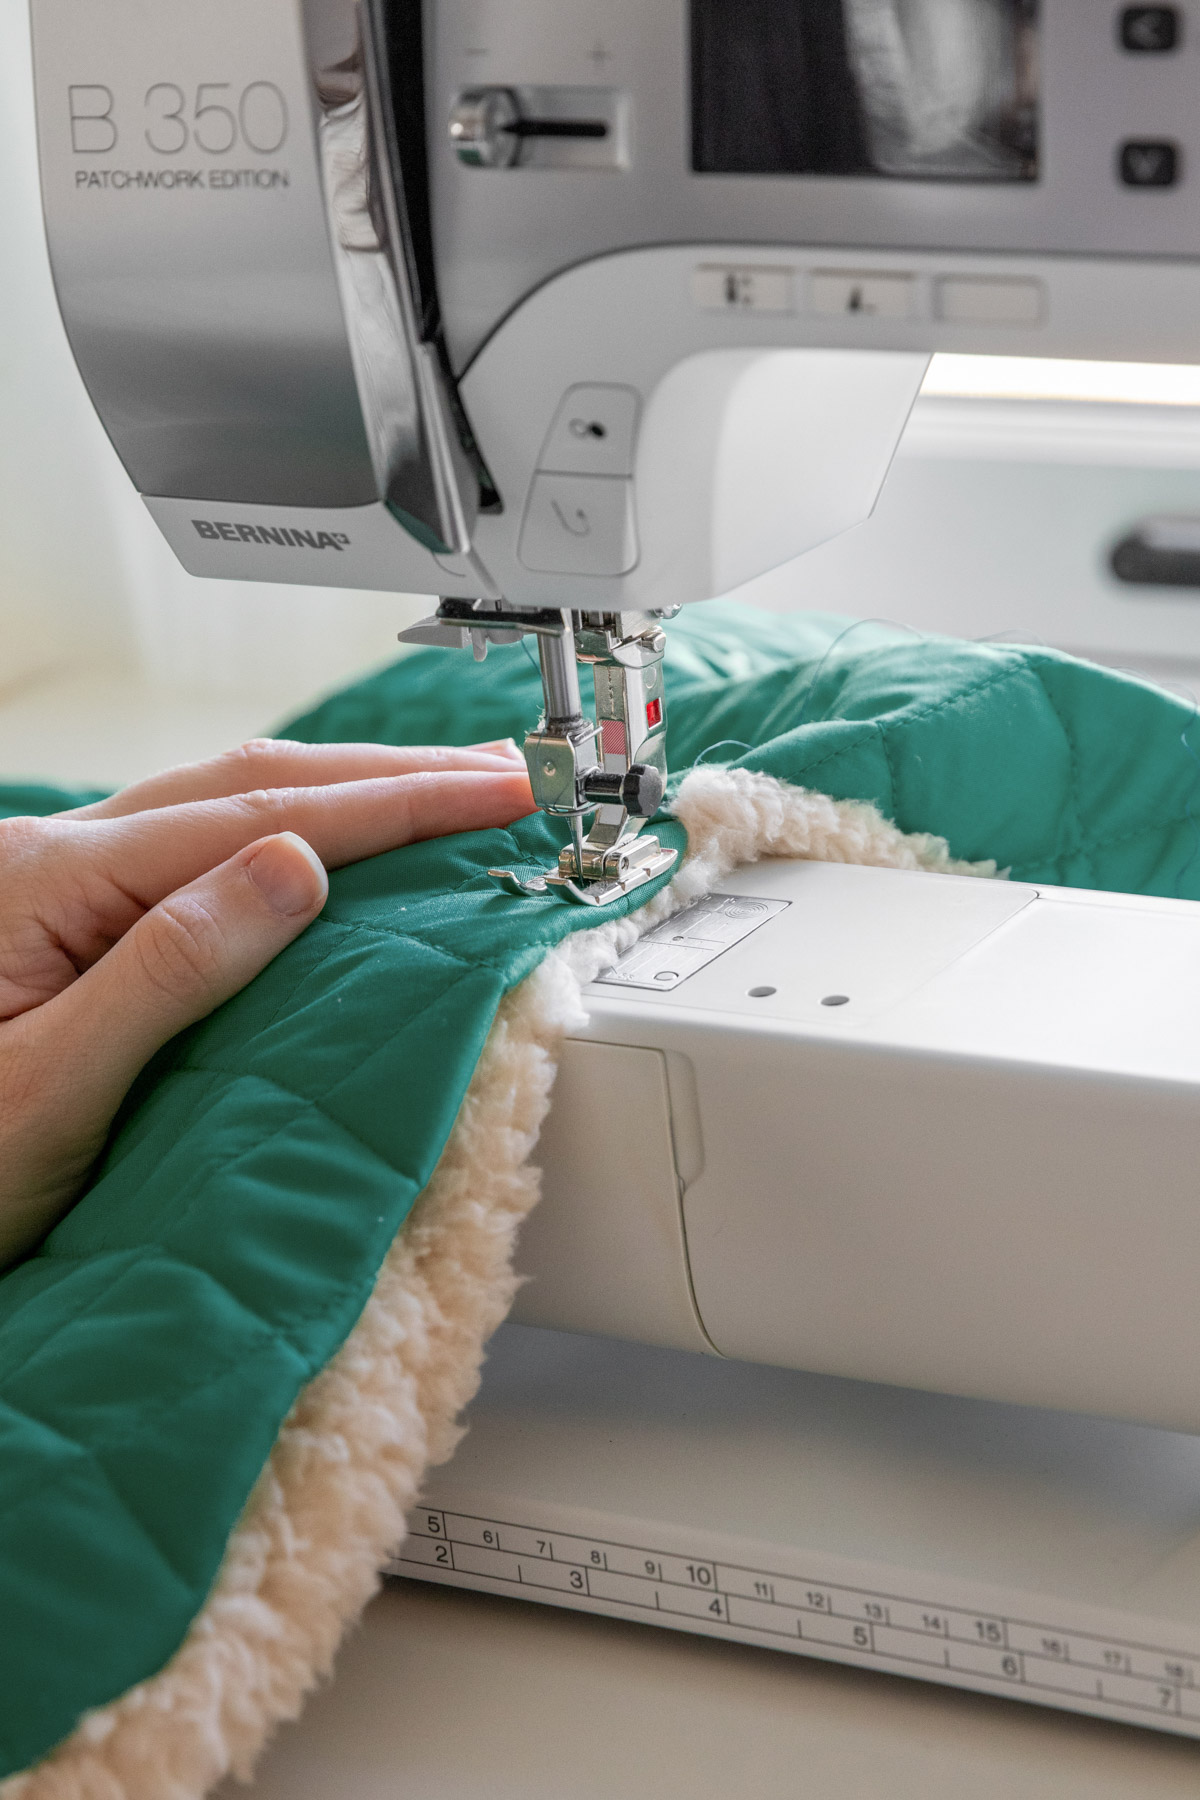
Step 3 | Sew together
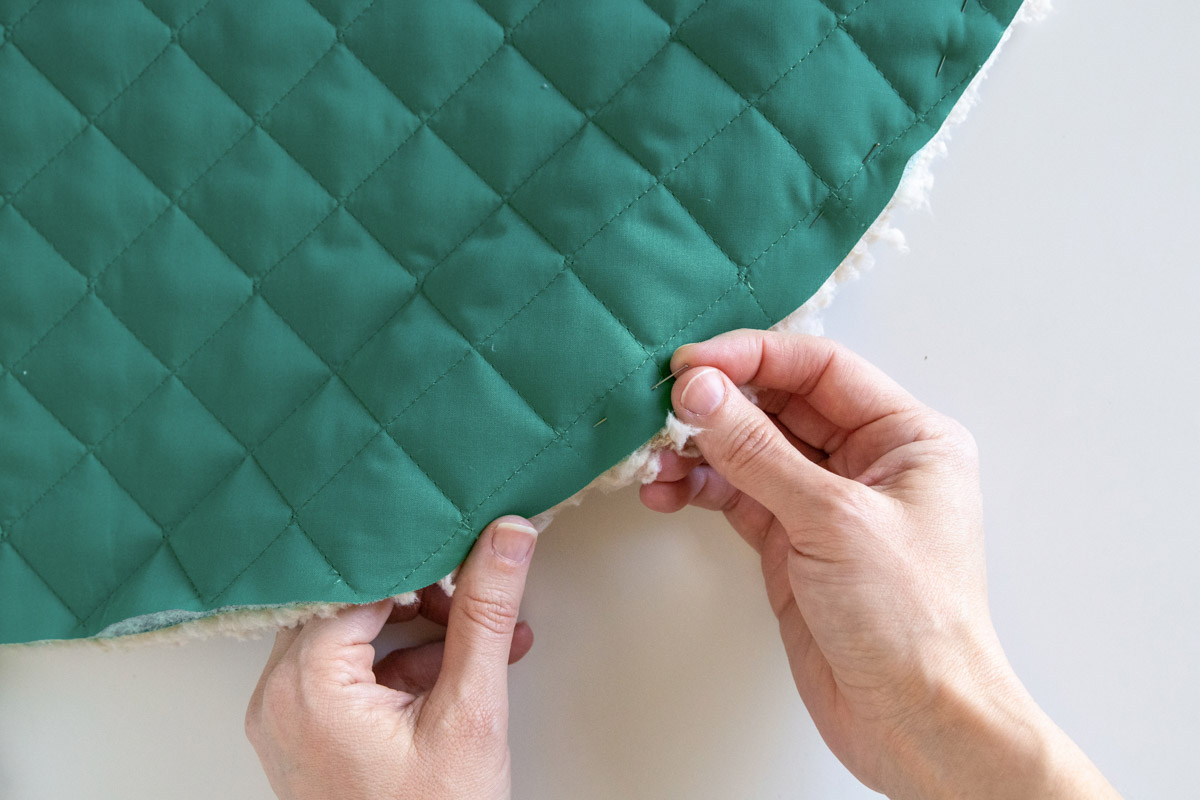
First, pin fabric right sides together.
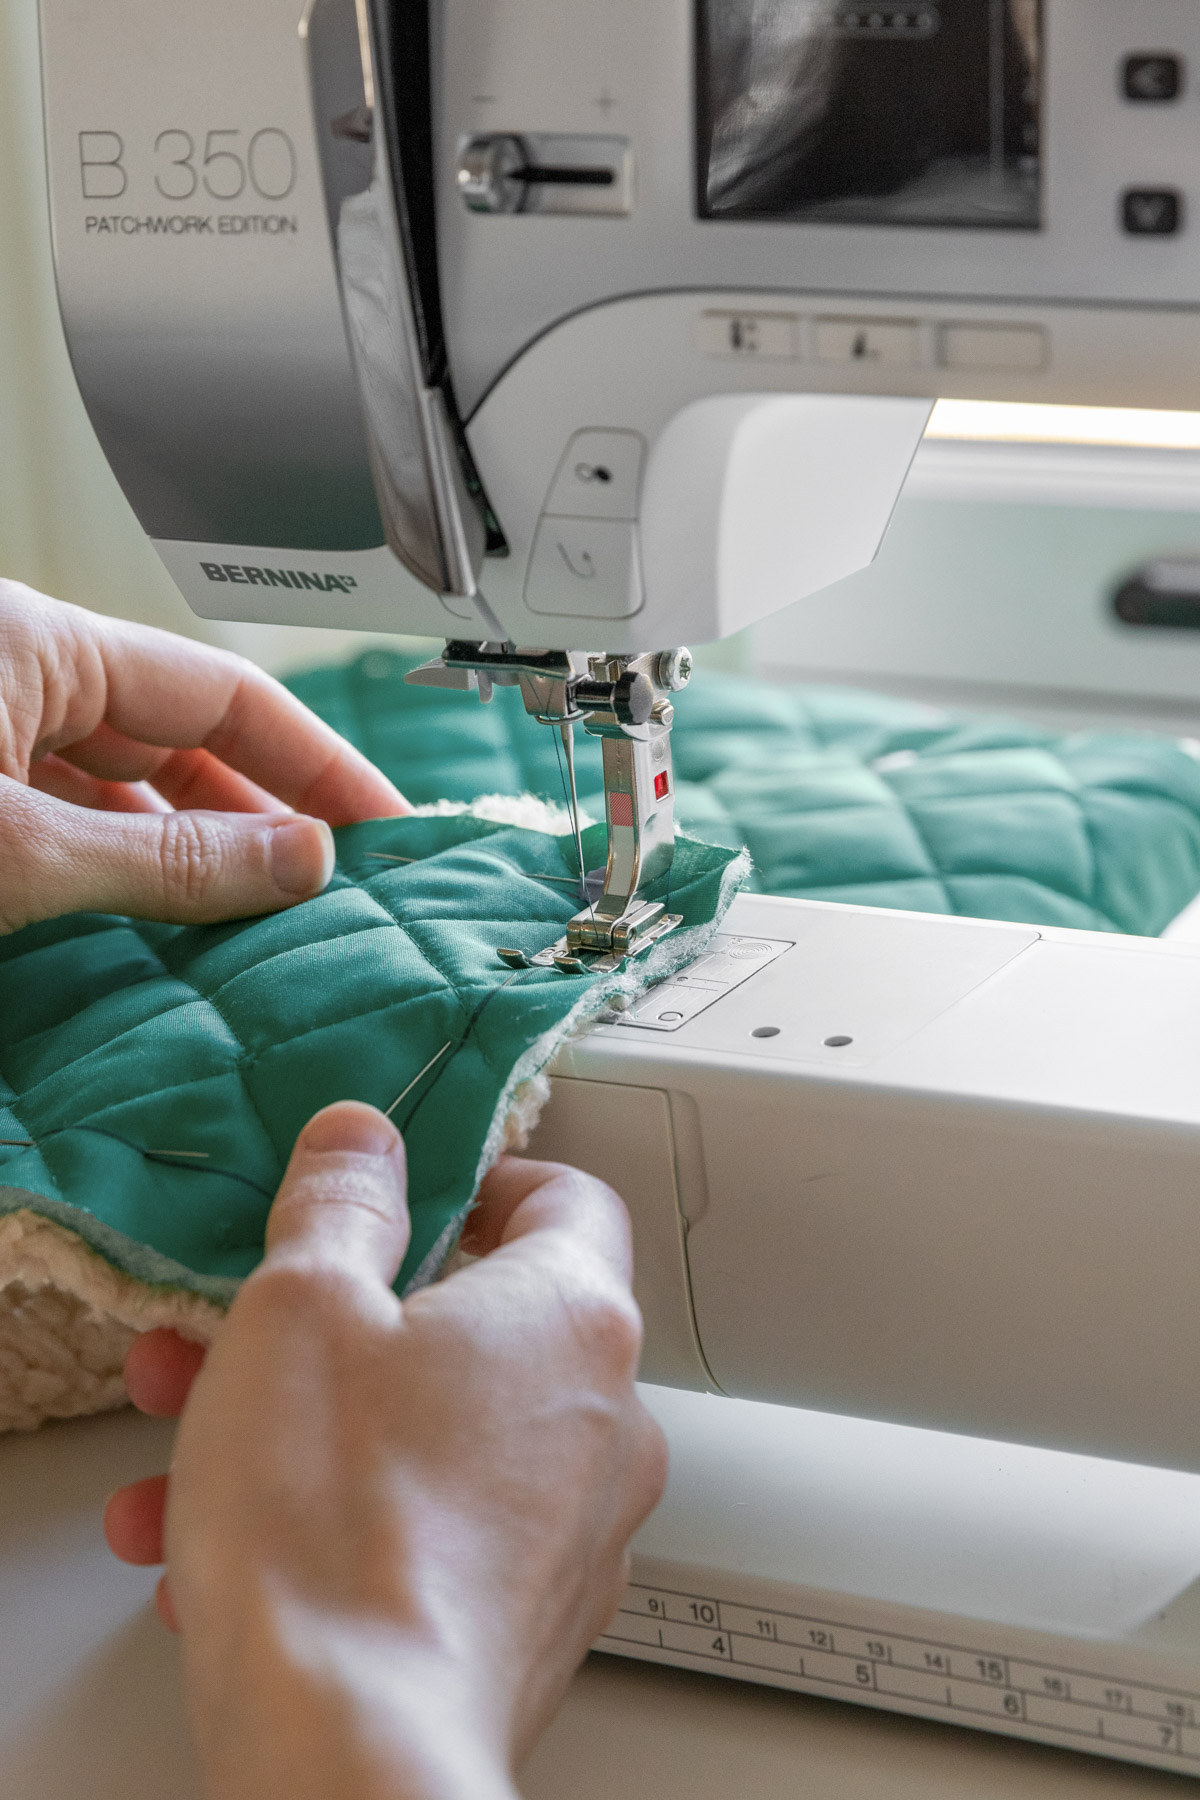
Sew together using a straight stitch.
When you get to the end, leave a 4 inch gap so that you can turn the coat right-side out.
Sew the hole closed using a simple top stitch.
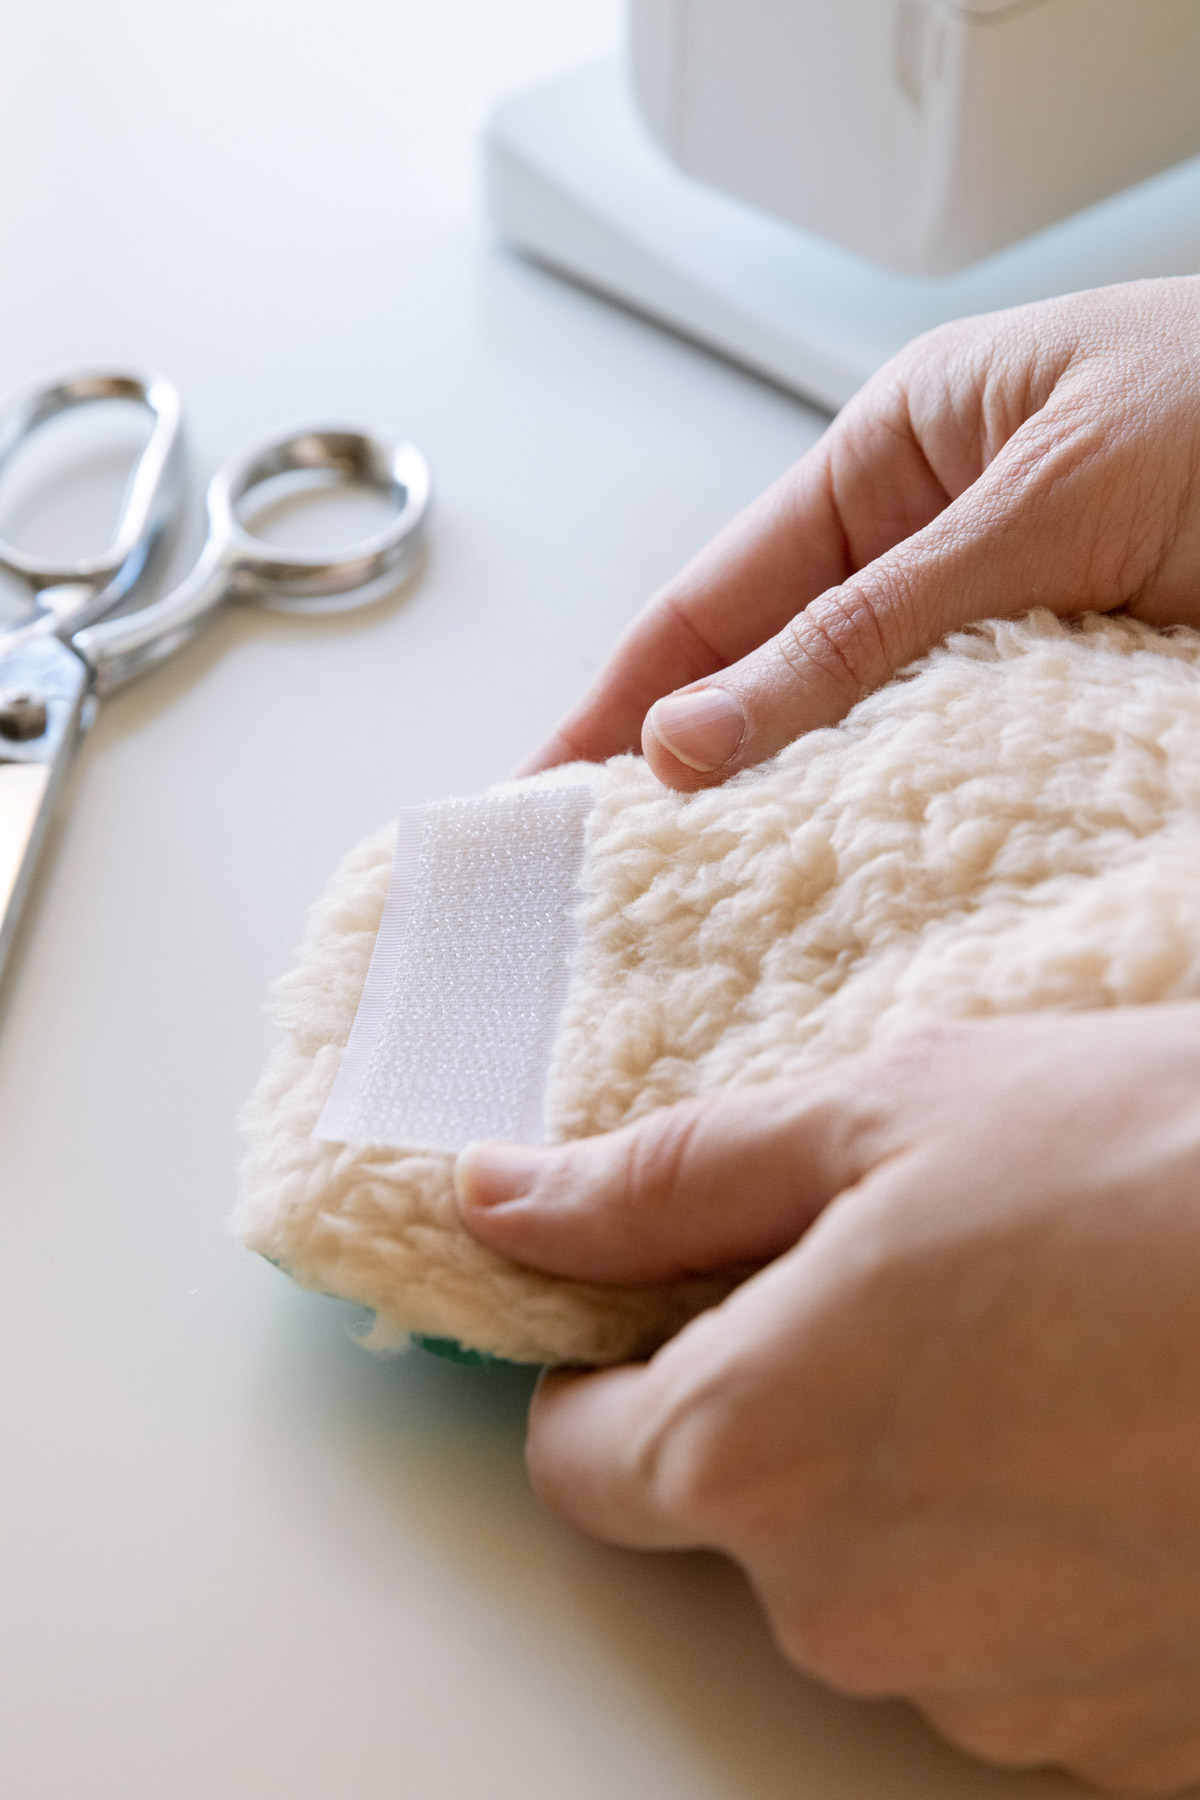
Step 4 | Add velcro
Sew your hook and loop closures on both straps.
Since the straps overlap, make sure to sew one side of the hook and loop closure to the Sherpa fabric and the other side to the outer fabric.
Voila! You’ve got yourself a simple DIY dog coat.
Because taking measurements of your dog can be tricky, I recommend trying the coat on your pooch as you go. This will save you a ton of heartache in the end if your straps aren’t long enough or you need to make other adjustments.
Leave a Reply