To reduce the clutter and waste we continuously accumulate, my family recently switched from using paper towels and napkins to cloth napkins. The paper ones are darn expensive and create a lot of waste. Not only this simple switch saved me a lot of money, but it also prevented perfectly good fabric from ending up in the landfill.
What’s more – this is a great sewing project for the beginners and can be whipped up in less than 15 minutes. From my experience with Hello Sewing this really the simplest sewing project there is, essentially sewing four straight stitches on a piece of fabric. Cloth napkins are eco-friendly, make great gifts, and are a great addition to your dinner table. Here’s how to make a set of your own.
 Upcycling old fabric
See what you have available in your house. Linen and woven cotton are the classic choice of fabric for napkins, but you can use any material that is soft, absorbent and easy to wash. Some possible fabric sources include old bed sheets, colorful or plain tablecloths, shirts, T-shirts (we have plenty!), skirts, dresses, curtains from medium-weight fabric. Another possible source of fabric includes thrift stores or garage sales. Now that you have your fabric available, let’s see what else you will need.
 Supplies needed
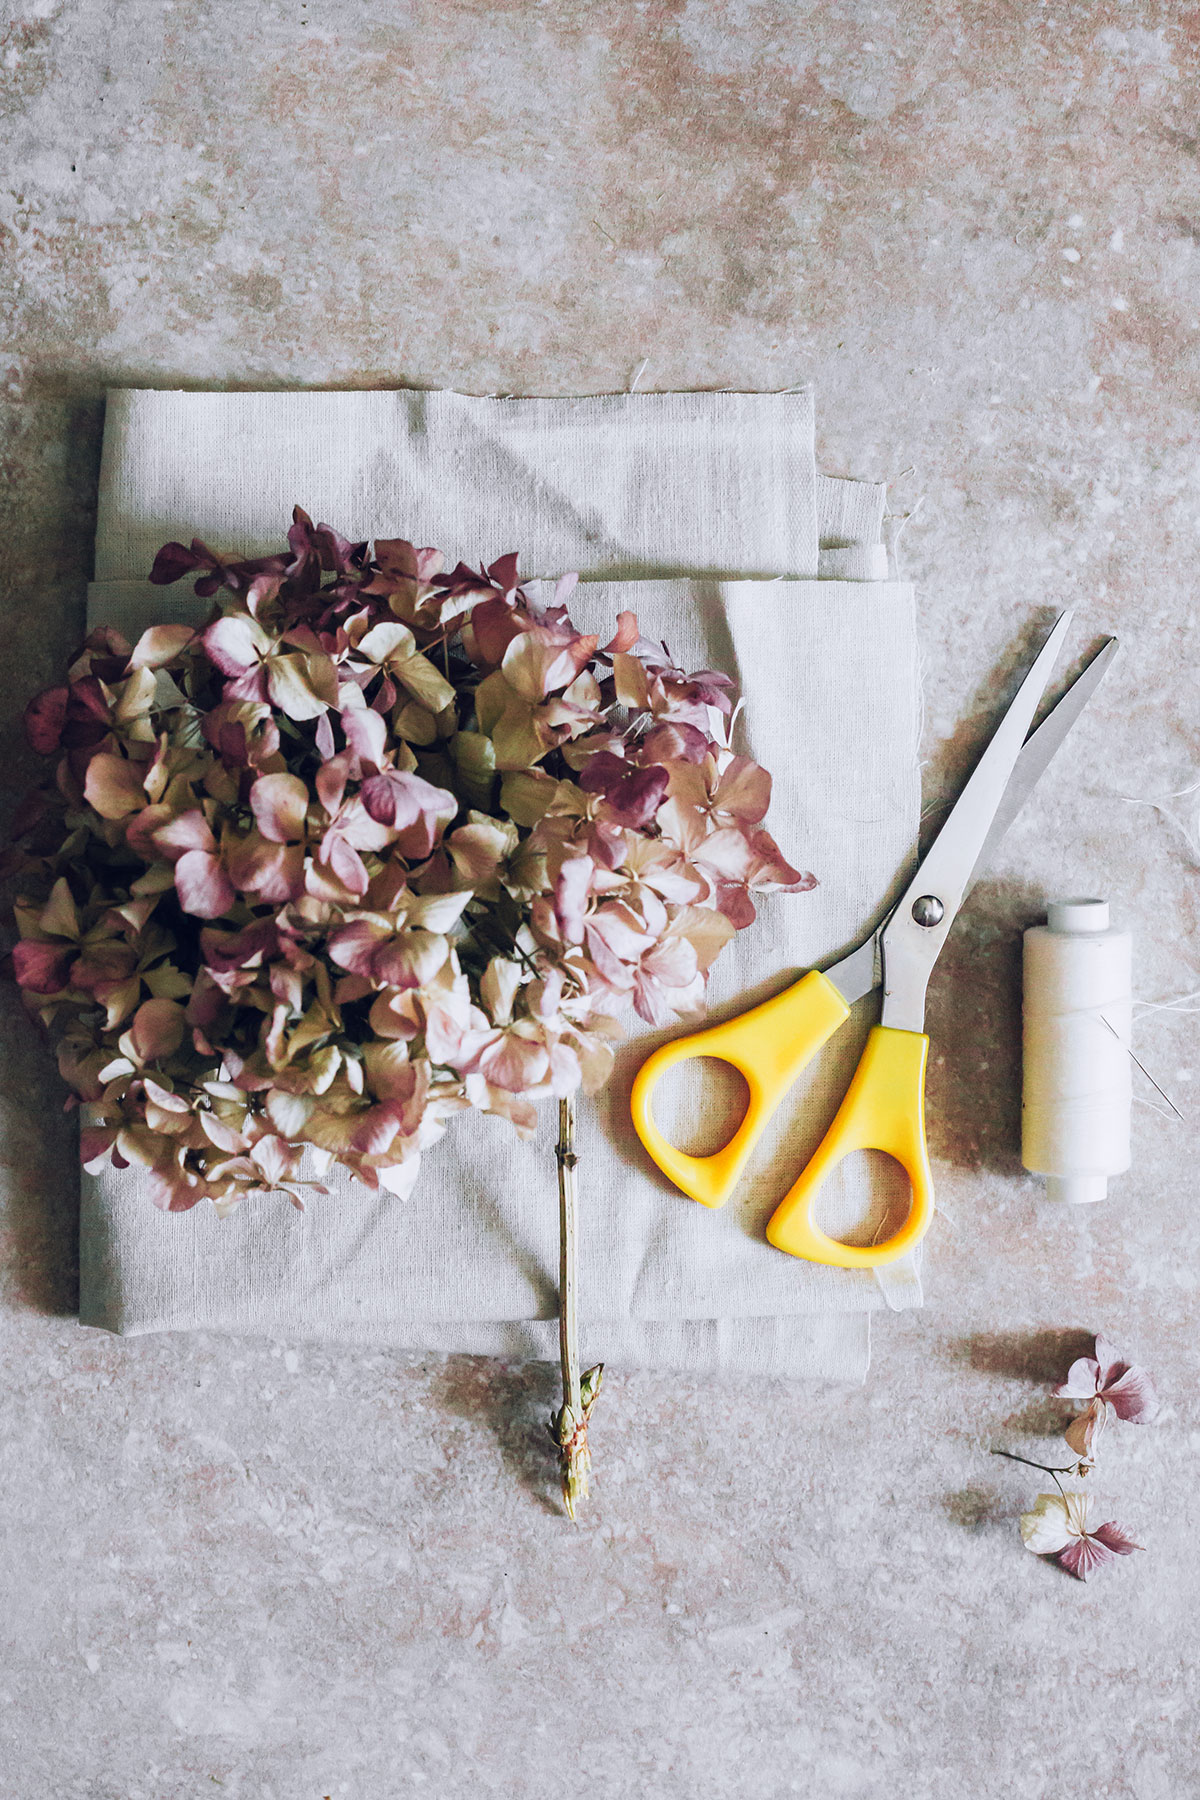 Supplies needed
- Thread matching the color of your fabric
- Contrasting thread (if you decide to topstitch the napkins for a more polished look)
- Sewing Machine
- Scissors
- Pins
- Iron
- rotary cutter (optional)
- mat (optional)
- chopstick(optional)
Step by step tutorial:
Step 1: Decide how large you want your napkins and whether you want them square or rectangular. Then cut your fabric one inch larger than what you want your finished napkin to be. Standard sized napkins usually range from 12-inch squares for informal luncheon napkins to 18-inch squares for dinner napkins. Mine are 18×12 inches but you can make yours any size you want. If you have never made cloth napkins before, you will be surprised that they are so much larger than the paper napkins.
Step 2: Cut two rectangles (or squares) out of the t-shirt using your rotary cutter and mat
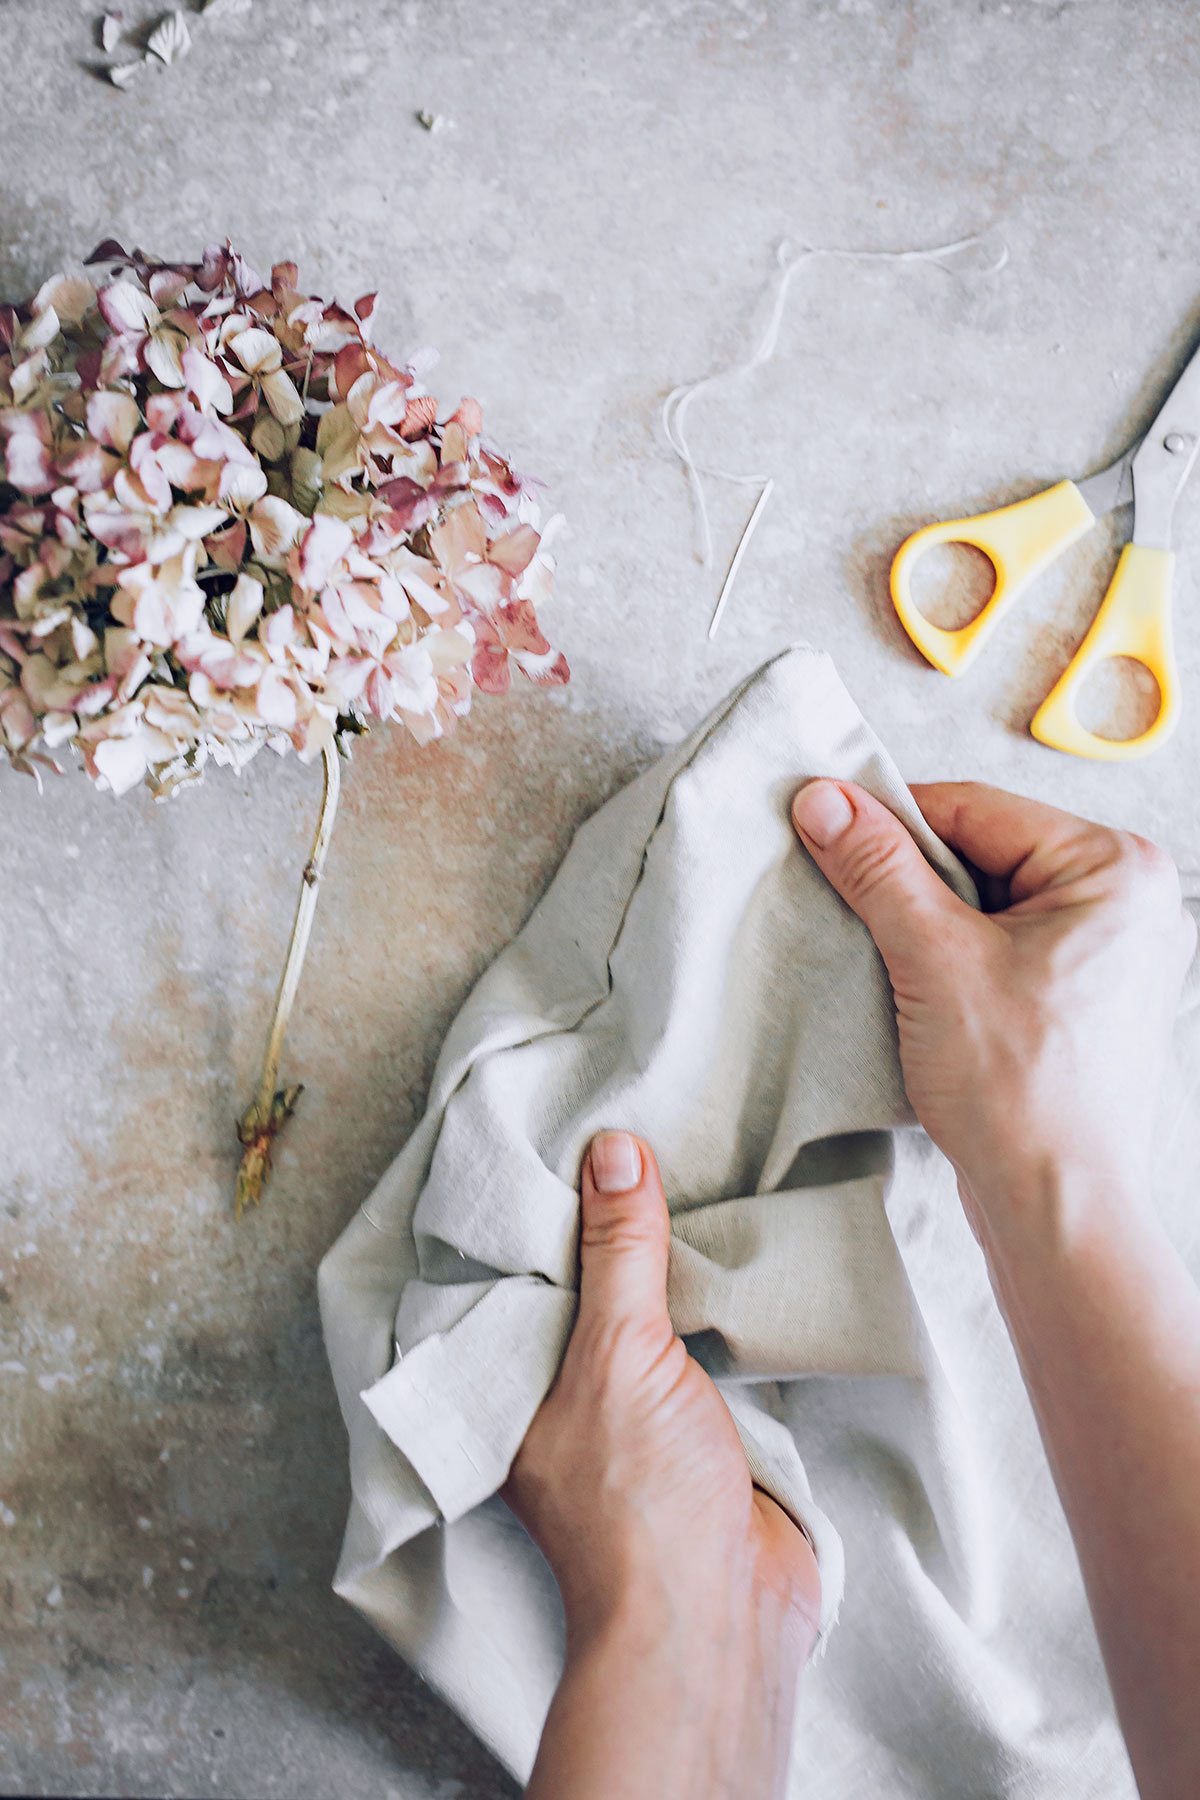
Step 3: Place the two pieces wrong sides together and make sure to line up the edges. Mark a 2- or 3-inch opening for turning. Pin the fabric in place.
 Step 4: Sew around the rectangles using a ¼ inch allowance and make sure to leave the opening unsewn. Start in the middle of one of the sides and stop couple of inches from the starting point
Step 5: Clip the edge of each corner – that will reduce the bulk and help you get crisp corners. Be careful not to cut through the stitching
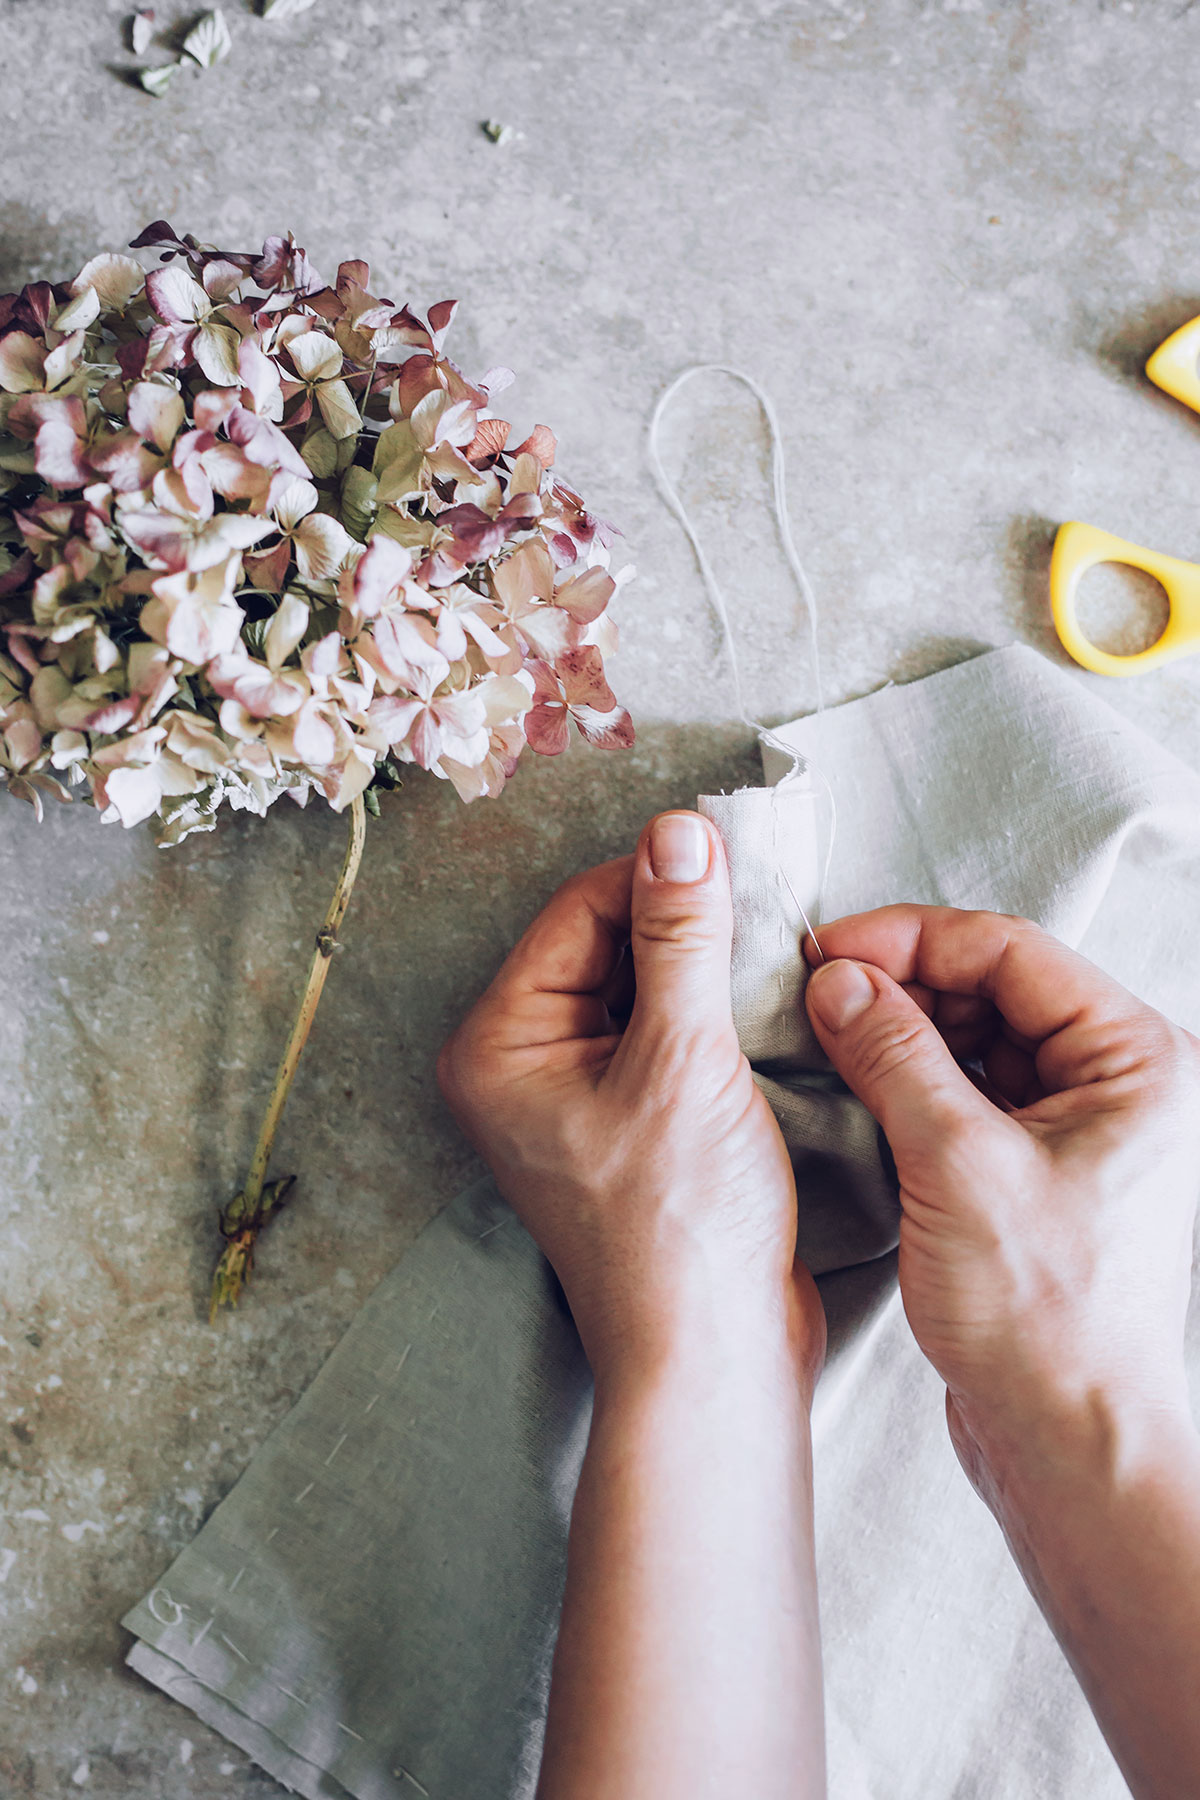
 Step 6: Turn the napkin right side out through the opening. Use the chopstick to push out the corners of the napkin. Tuck the raw edges of the opening inside and give the napkin a good press. Handsew the opening using a ladder stitch or a whip stitch.
Step 7: Use a decorative stitch and sew all the way around using a ½ inch allowance. You can keep it monochromatic or use a contrasting colored thread to add a pop of color to the napkins. It is super easy and fast sew, you can make a full set in less than an hour.
So, there you have it – the first of the many beautiful napkins for your dinner table! You can make matching placemats using the same technique. The only difference is that you want to place some kind of stabilizer inside and quilt on top of it. This will add structure to your placemats and even more fun to sewing. You can simply quilt straight lines on top one inch apart or go for a more elaborate look using meandering stitching.
Are you using cloth napkins at home? If not – have you considered making the switch?
Post by Helen from Hello Sewing, photos by Ana Stanciu
21
Leave a Reply