There’s something about an apron that makes me feel nostalgic. For what, I’m not sure. Childhood? Simpler times? Maybe just home. Although I am by no means a whiz in the kitchen, I wear aprons most of the day for things like gardening and crafting. And if you have 20 minutes, you can make your own with this simple how to sew an apron tutorial.
Sure, aprons are functional (I’m always wiping my hands on mine whenever I don’t have a towel nearby) but they’re also somewhat stylish, you know, in a domestic goddess sort of way. Just tossing one over jeans and a plain t-shirt immediately makes me feel more proficient at just about everything.
That being said, my apron collection, thus far, has been pretty limited. I have a bunch of half aprons but not a single full apron. Half aprons just make me feel a little more free, I guess, but after staining one too many t-shirts I decided enough was enough.
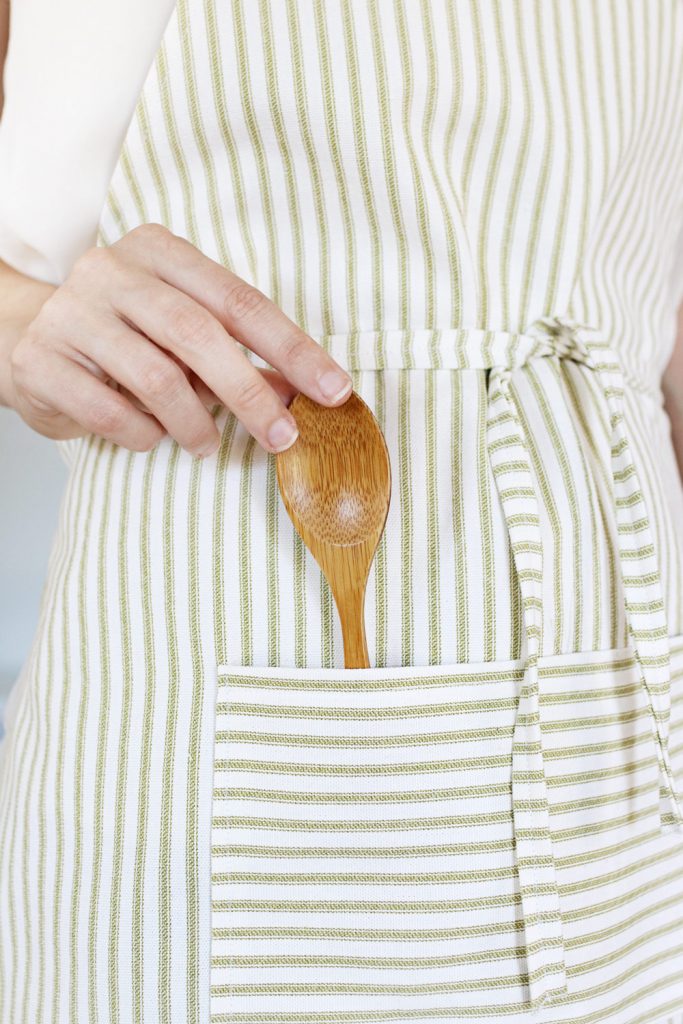
Today I’m making a simple full apron that can be put to work in the kitchen, garden and craft room. All you need is a yard of fabric (I used leftover cotton ticking but linen or canvas will do just fine), a sewing machine, and some thread. Just a few quick stitches around the edges (seriously!) and you’re done.
How to Sew an Apron in 20 Minutes
Honestly, I don’t know how I lived without a full apron for so long. Whether from cooking, eating or just going about my day, I’ve ruined countless t-shirts over the years. And I mean literally countless. I stopped keeping track years ago and just started buying fresh tees in bulk.
But all it takes is a yard of cotton fabric to change all that.
Simply measure and cut your fabric, then hem the edges. Add the straps and pocket (or leave the pocket off entirely and save yourself a few minutes). And ta-da! The easiest apron ever in under 20 minutes flat.
I’m by no means the best seamstress, but I like to give it a good try. If you’d prefer to go the no-sew route, simply replace the sewing machine and thread with fusible tape and an iron. And don’t be alarmed by the number of steps in the instructions – I promise it’s much harder to read than to sew.
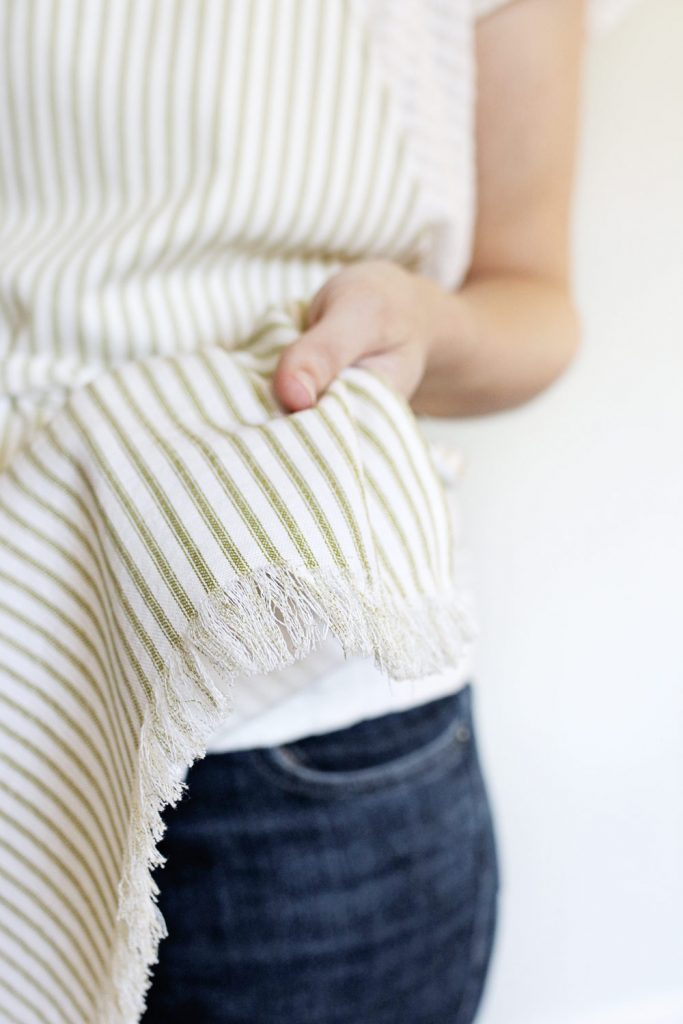
Oh, and the fringe at the bottom of my apron was a happy accident. I was worried that plain cotton ticking would be, well, plain, but after washing my fabric I noticed the prettiest fringe along one edge. I’m not sure if all ticking behaves the same way, but feel free to leave a raw edge at the bottom and use the fringe to your advantage.
If you’re afraid the fringe will travel up the apron after a few washings, add a straight stitch where the fringe stops to prevent additional fraying.
Since the written instructions are pretty lengthy, here’s a video showing you exactly how to make your apron. But I still recommend giving the instructions a read through before you get started, just to make sure to make sure there isn’t any confusion.
Materials
- One yard of medium weight fabric
- Scissors
- Thread
- Pen or tailor’s chalk
- Ruler
- Sewing machine
- Iron
Instructions
1. Cut out your fabric. You’ll need a 27″ x 20″ piece for the body of the apron. Two strips that are 33″ x 2″ for the side straps. One strip that is 18″ x 2″ for the neck strap. And a small 10″ x 6″ rectangle for the pocket.
2. Take the 27″ x 20″ piece and fold it half like a hot dog (right-sides together). With the folded edge at the top, measure down 4 inches from the fold and make a small mark on the raw edge to your left (this will give you a total of 8 inches for the top of the apron when unfolded). Next, starting in the lower left hand corner, measure 9 inches inward. Make a small mark.
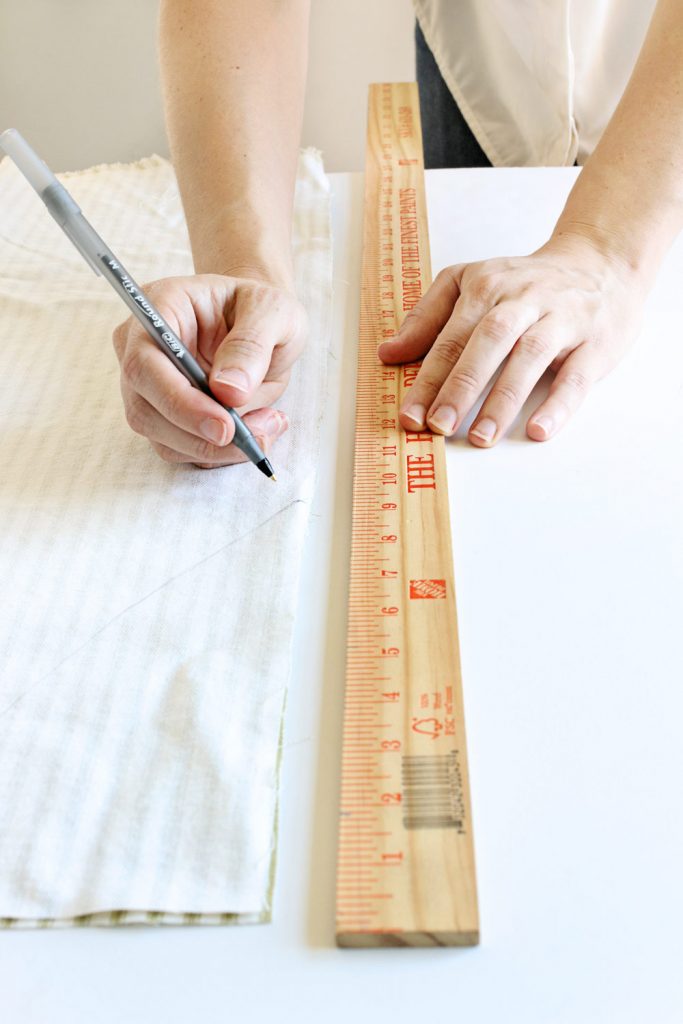
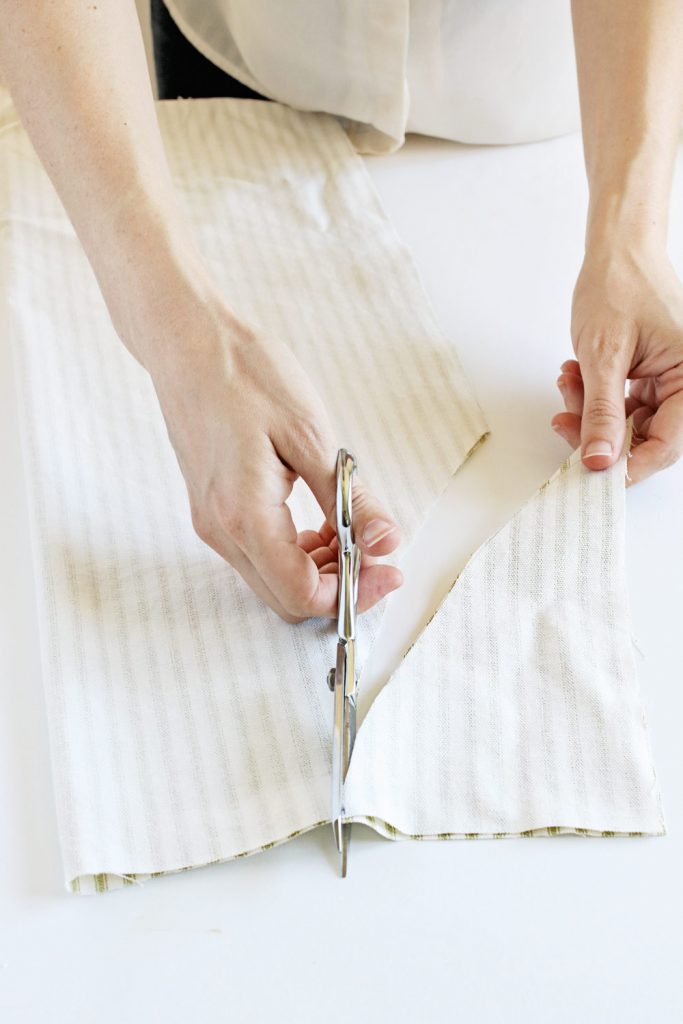
4. With the fabric still folded, cut through both layers of fabric following the curved line you just drew.
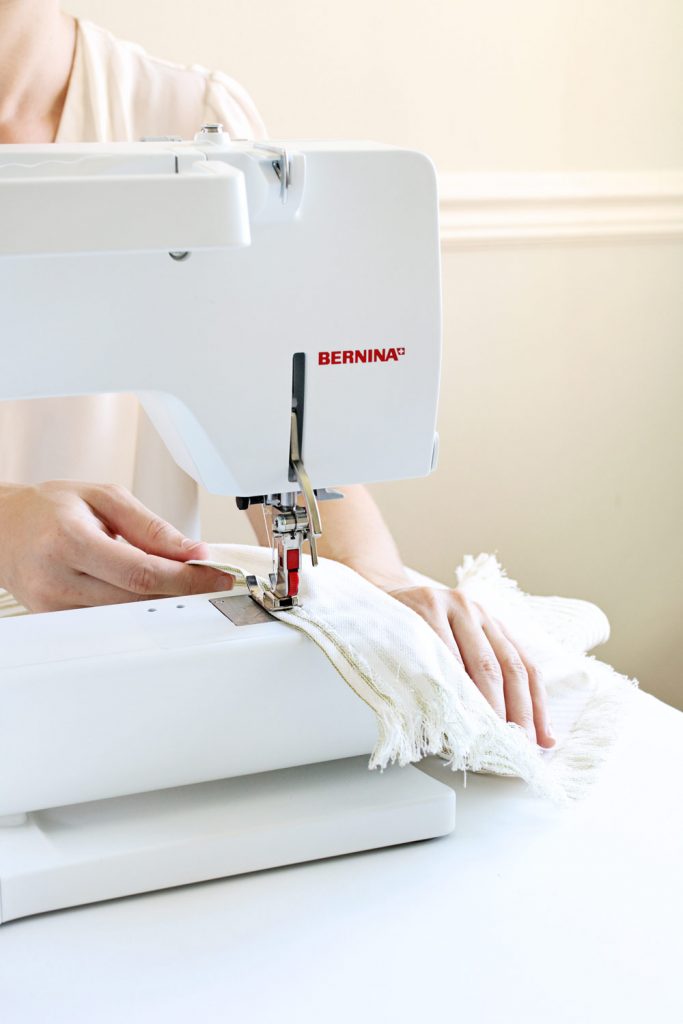
5. Hem with a sewing machine, to create a finished edge all the way around the apron.
6. Next, it’s time to add the straps and pocket. For the straps, fold both raw edges in toward each other (lengthwise) by about 1/2″. Then fold the strap in half (again, lengthwise). This will give you straps that are roughly 1/2″ x 33″ for the back ties and 1/2″ x 18″ for the neck strap. Press using an iron, then sew closed.
7. For the back ties, find the bottom point in the arm area, where the curved line meets that vertical fabric line. Then attach both of the 33-inch straps to the back of the fabric.
8. At the top of the neckline, add the shorter strap the same way you added the back ties in step 5.
9. Hem all 4 sides of the pocket using a 1/2″ inseam. Sew it onto the apron roughly 8 inches from the bottom of the apron (make sure it’s centered with the right side up facing up).
57


Katherine Johnson says
The strip for the neck is too short for me to get over my head once it’s sewed on the apron