Did you ever take home ec in middle school? I would be lying if I said it wasn’t my favorite class of all time. I remember making a watermelon pillow out of felt one year, and boy, did I think I was the best seamstress ever (spoiler alert: I wasn’t and that pillow ended up in the trash a few weeks later). Thankfully, I’ve learned a bit about sewing since then and these DIY envelope pillows are nothing like the pillows we made as kids. For starters, they take minutes to whip up. Plus, you can change out the fabric whenever you need a lift, and they’re 100% washable (here’s how often you should wash your pillows, if there was any doubt).
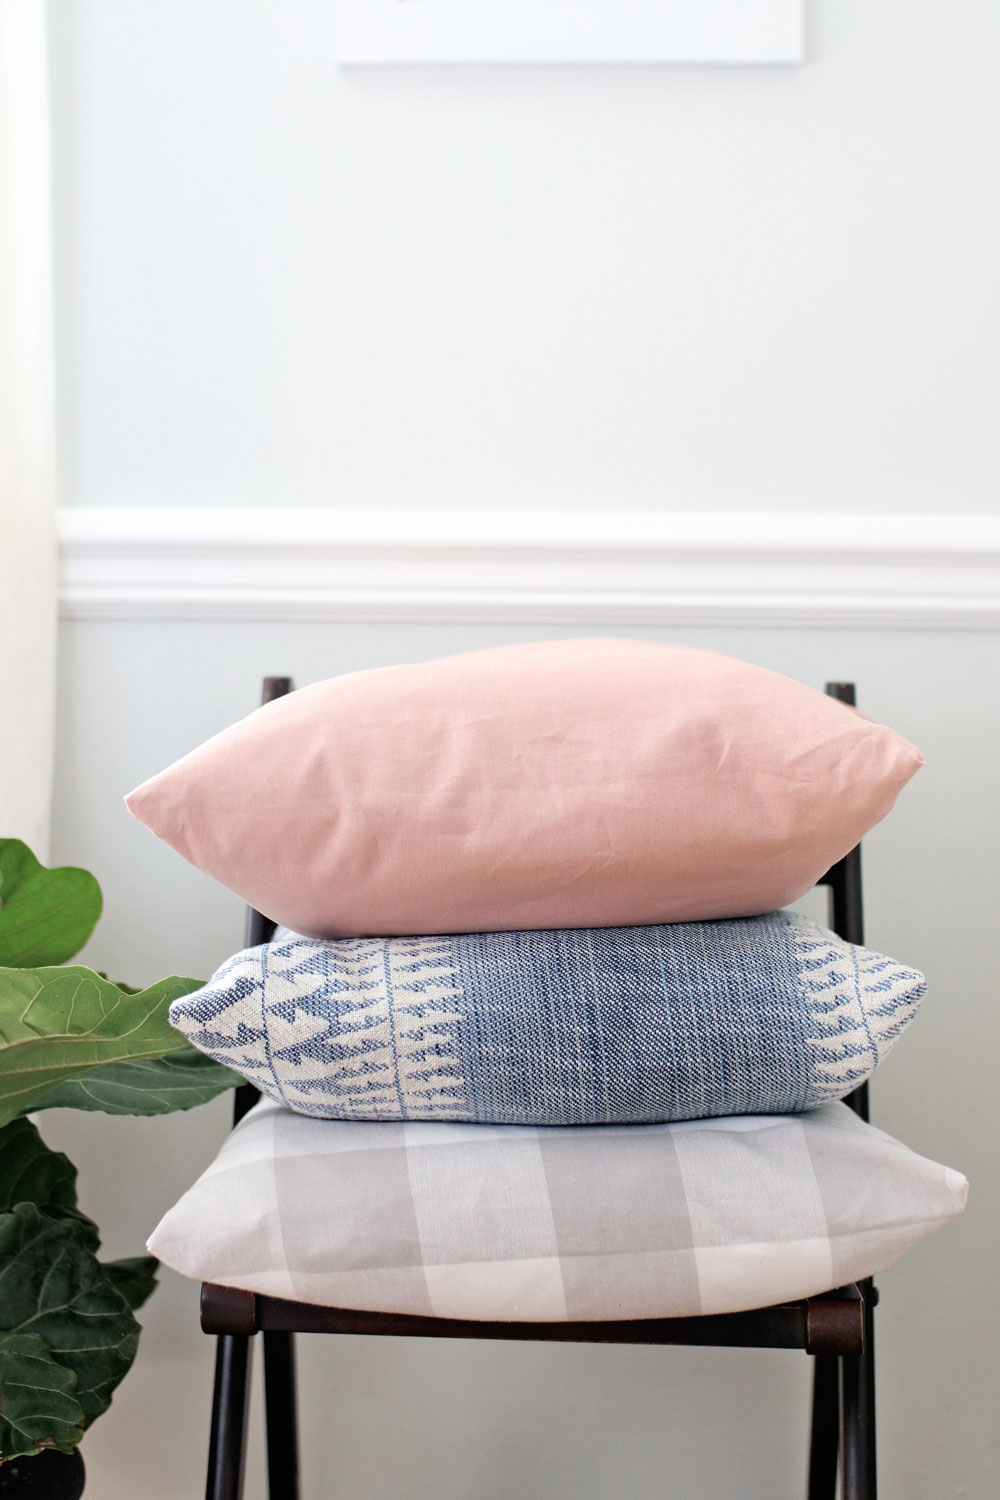
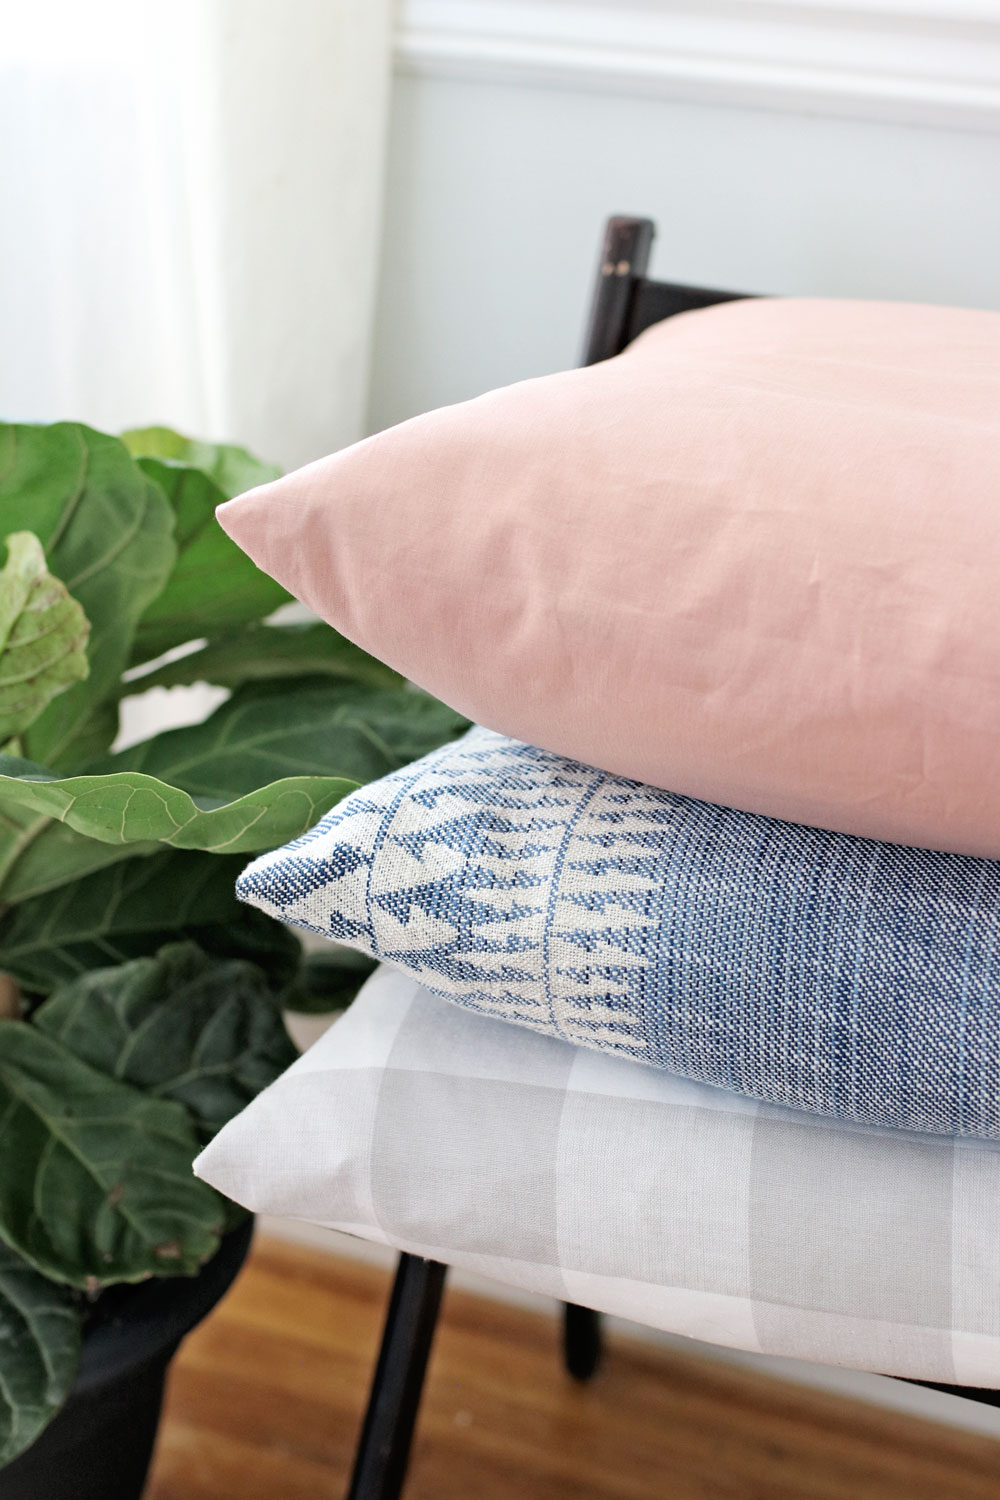
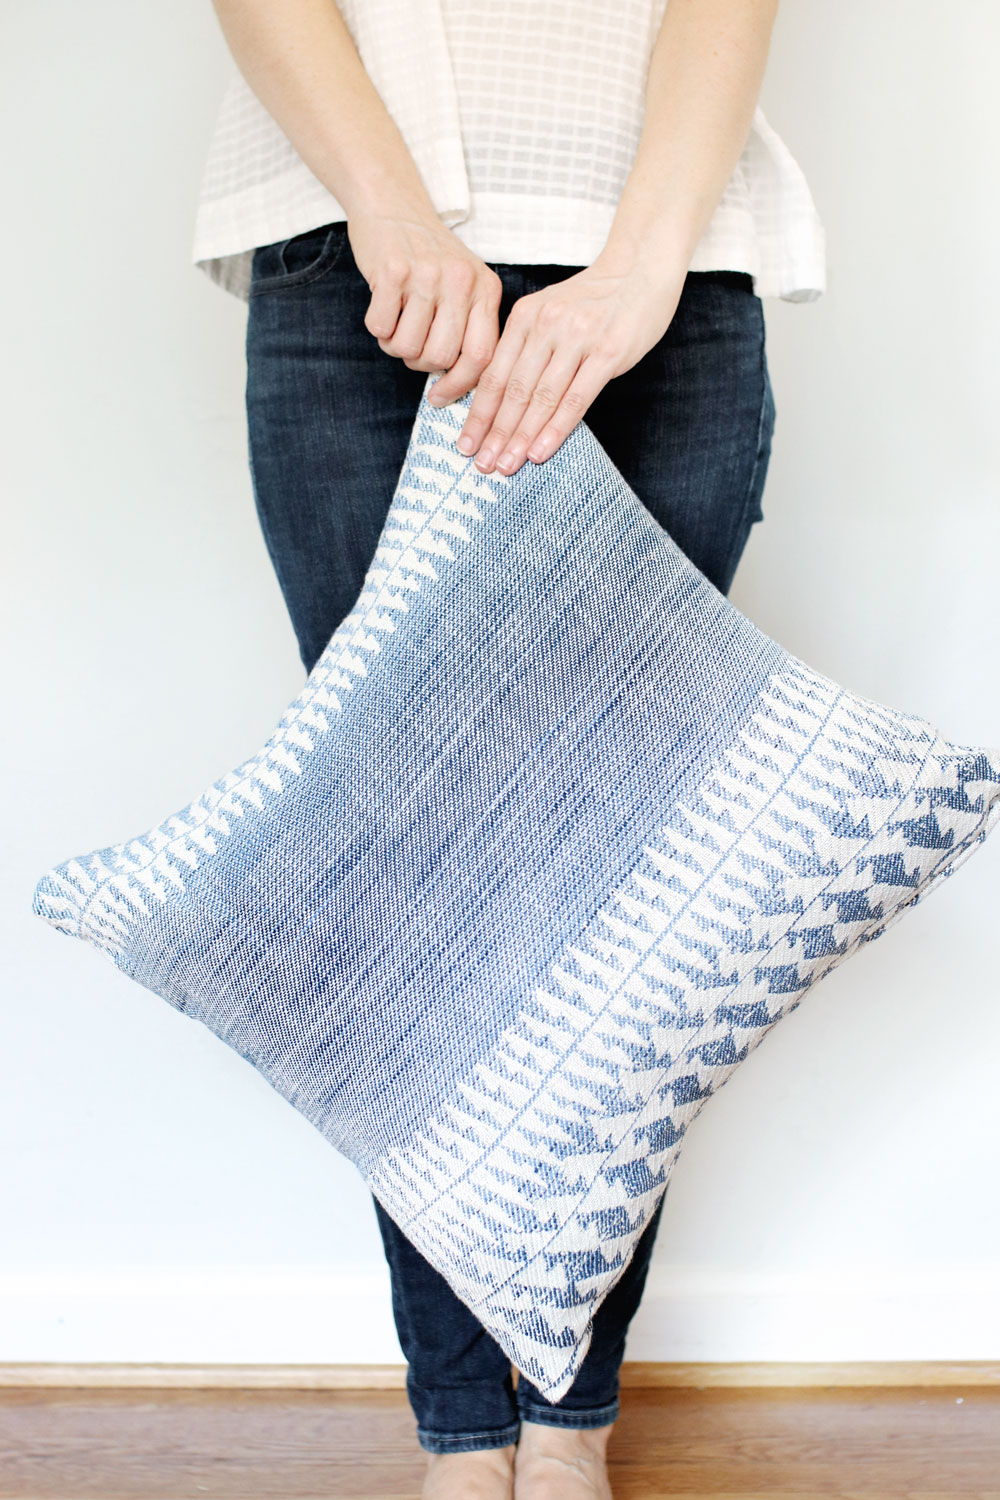
And maybe I’m a little biased but I think they’re so pretty you’ll actually want to display them around your nest.
How to make super easy DIY Envelope Pillows
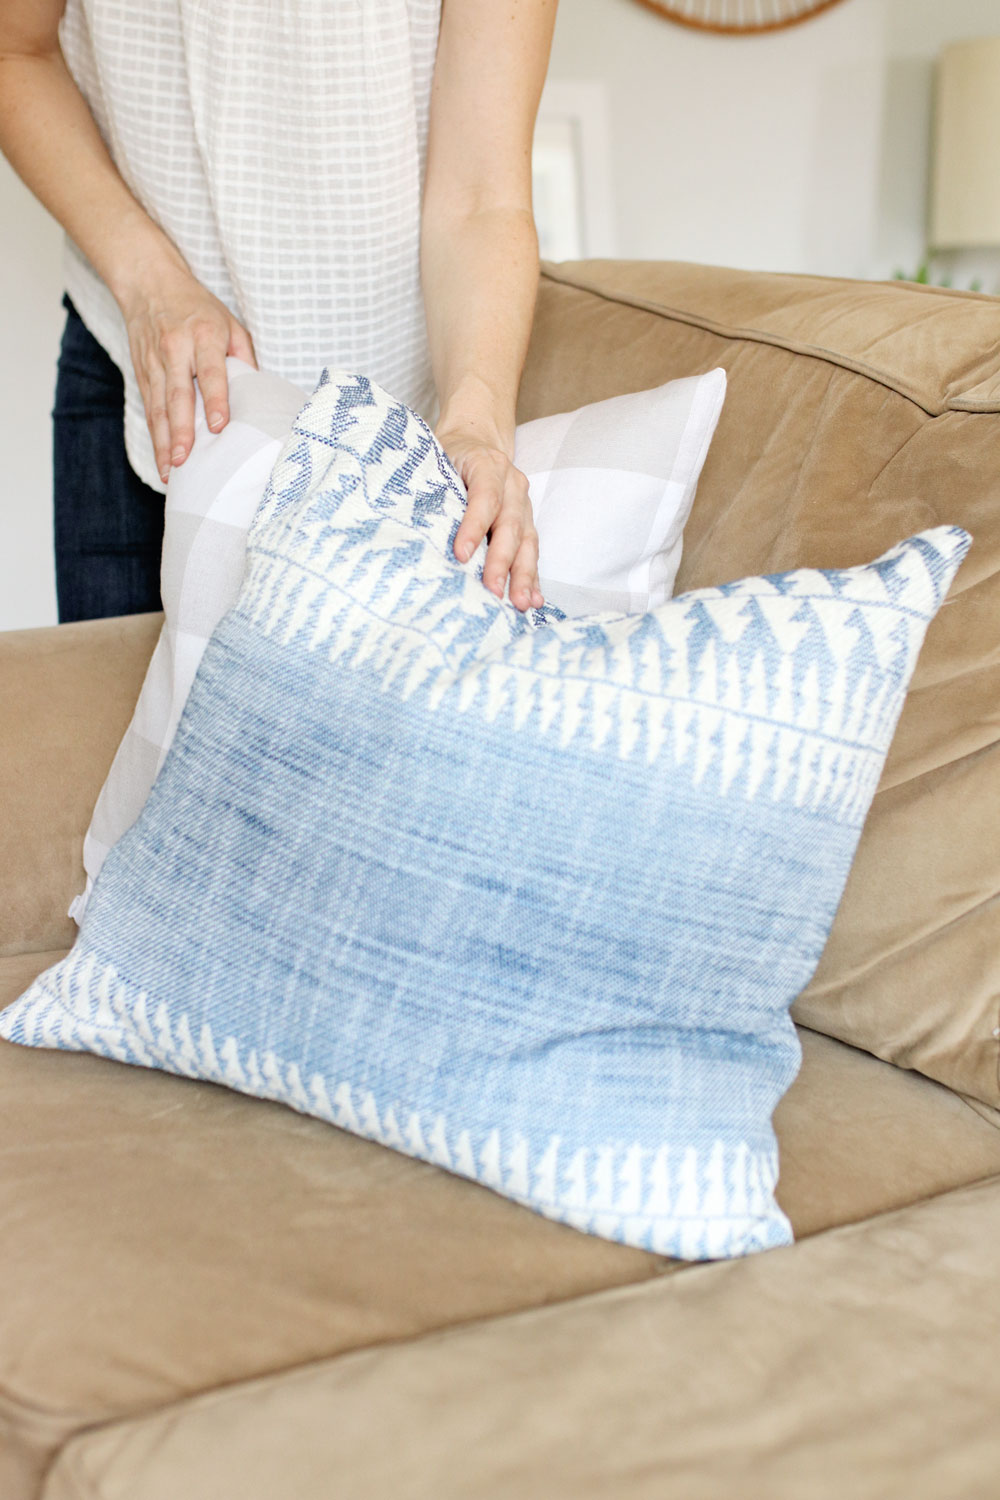
I have a love-hate relationship with throw pillows. I’m picky, which means I don’t like 95% of the designs sold at stores. And I’m cheap, therefore anything over $20 is out of the question. That’s a deadly combination when it comes to finding stylish pillows. So instead of trying to move mountains, I started making my own, and it was a total game changer.
These envelope pillows are great for those of us who aren’t super comfortable with a sewing machine. If you can sew in a straight line, trust me, you can make these in less than five minutes. And since they go over an existing pillow or insert, you never have to worry about lumpy batting or hard to treat stains. Simply pull the covers off and toss them in the washing machine when they get dingy or replace the insert when it begins to fall flat.
As for the inserts themselves, I used existing pillows I already had around the house. I get tired of looking at the same pillows day in and day out, so this is a great way to refresh old cushions. You can also buy cheap pillows at Target or Home Goods and cover them for an inexpensive alternative to pricey inserts.
All in all, I’d say they cost around $25 for brand new inserts and high-end fabric. But you can make them for a lot less if you repurpose old pillows and use fabric you already have on hand.
Here’s how to make them.
DIY Envelope Pillows
The written instructions for these pillows can be a little confusing, so I also whipped up a quick video to show you exactly how to make them. Watch it below or skip ahead to the written instructions and dive right in.
Supplies
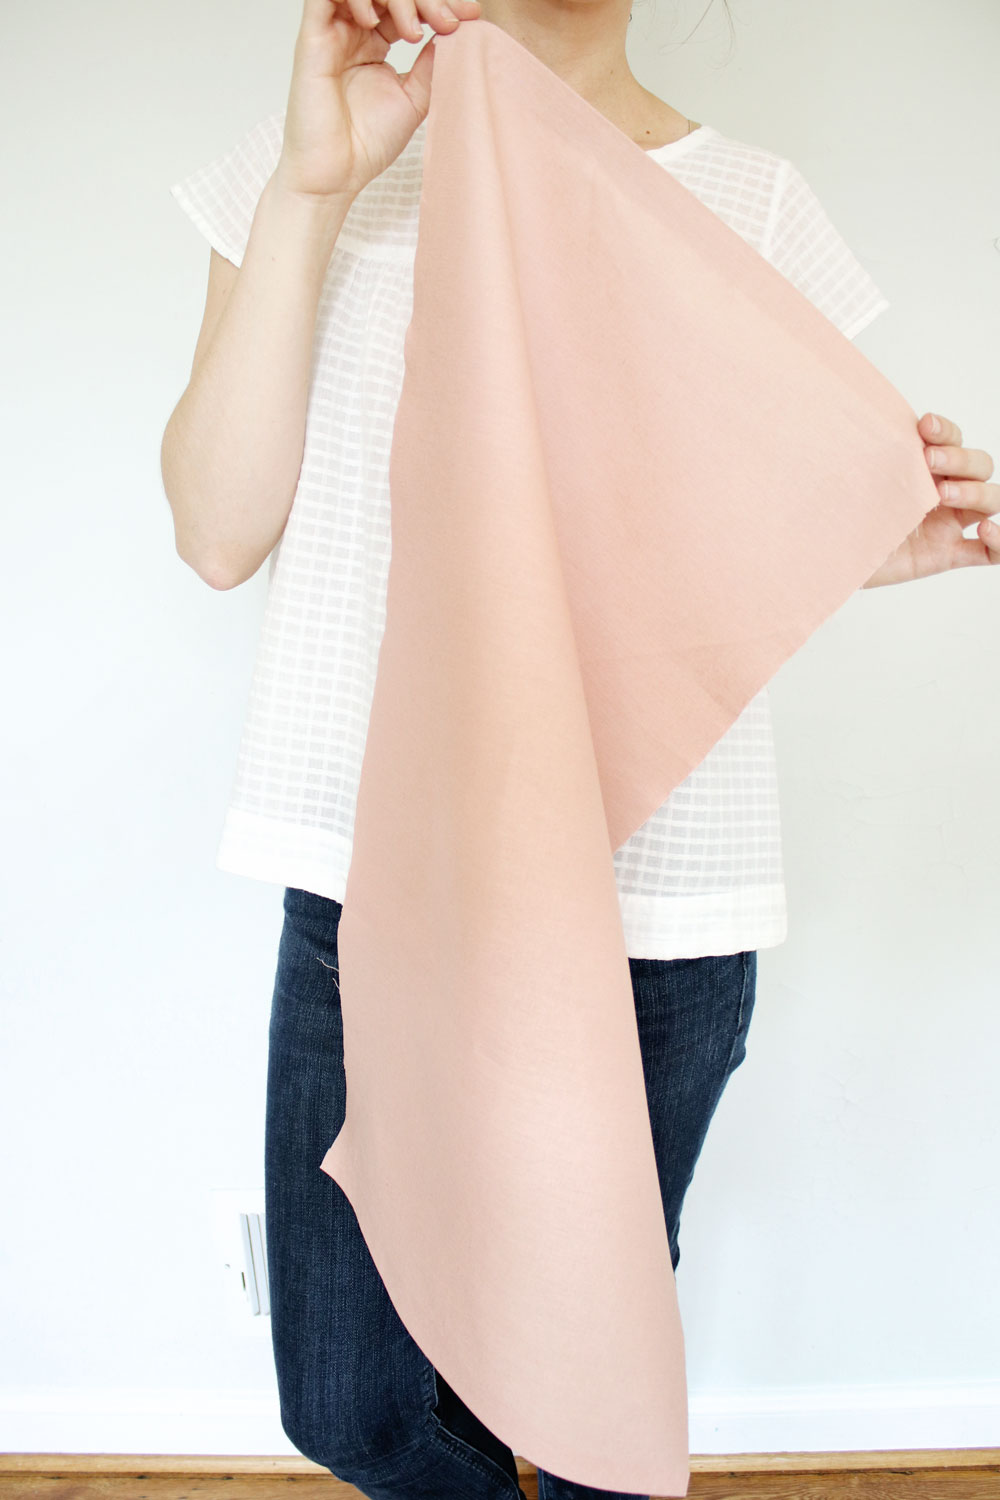
- 1 yard of fabric (this should get you about two 20-inch pillows)
- Pillow or pillow insert (Mine was 20-inch but 18-inch is a lot more common)
- Scissors
- Thread
- Stitch Witchery Fusible Bonding Tape
- Sewing machine
- Iron
- Ruler
Instructions
1. If you’re not sure of your pillow’s size, start by measuring it. The instructions are for 20-inch square pillows but you can adjust the measurements for whatever size pillows you have.
2. With the size of your insert in mind, you’ll want to sew your cover to be 1 inch smaller in order to get a snug fit. If your pillow is 20 x 20, measure a piece of fabric that is 19.5 inches wide by 46 inches long.
The 19.5-inch width is for a 19-inch final cover size plus .5 inch seam allowance.
The 46-inch length is because you want double the pillow size (to cover front and back when folded) plus 6 inches for your enclosure overlap (ie. 20″+ 20″ + 6″ = 46″). You can always add more than 6 inches to create a little extra overlap in the back. For an 18-inch pillow cut a piece of fabric that’s 17.5 inches x 42 inches.
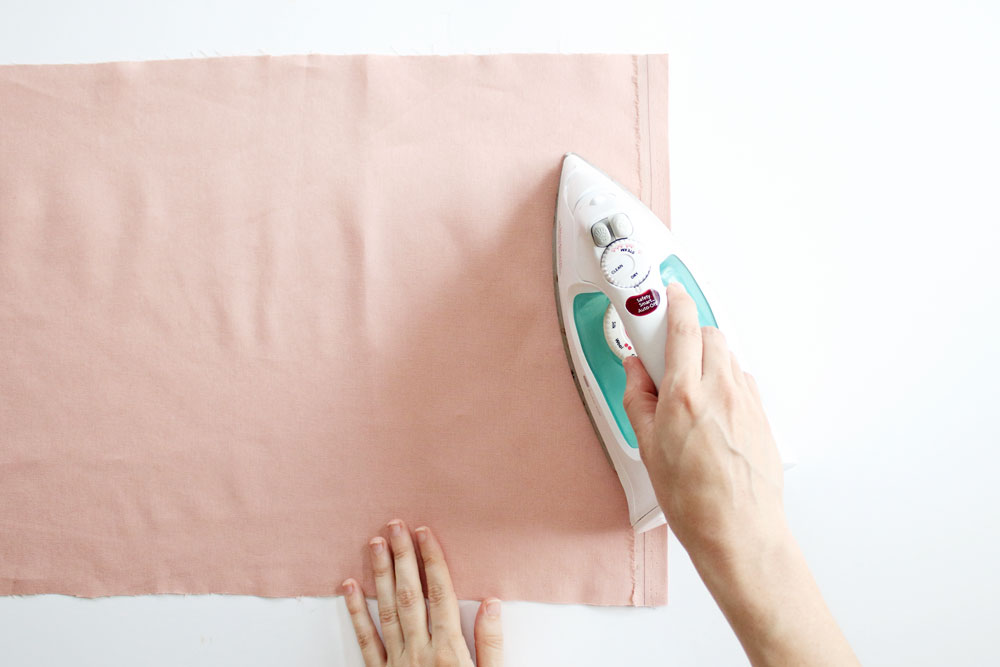
3. Hem each end of the length of the fabric using bonding tape to create a clean fold. This means that if you’re fabric is 42 inches long, it will end up around 41 inches long when hemmed.
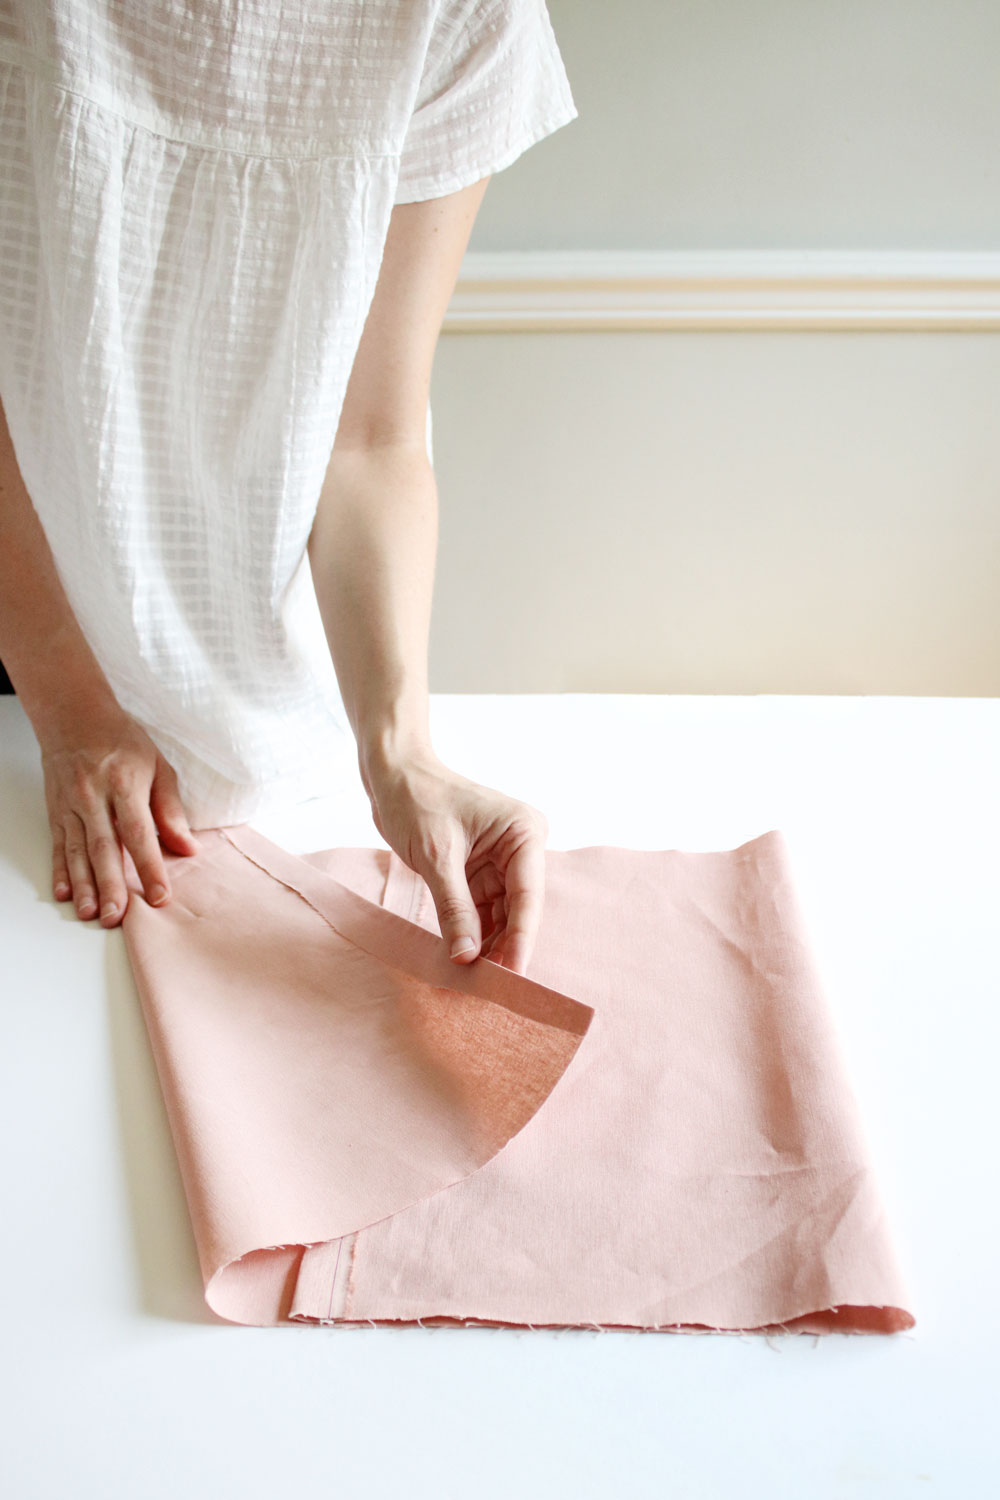
4. Fold the length of fabric onto itself with right sides facing together. Using a ruler or measuring tape, adjust the overlap so that you get a square 1 inch shorter than the size of your pillow (ie. 19″ for 20″ pillows and 17″ for 18″ pillows).
5. Run the two open edges through your sewing machine using a ¼ inch seam allowance.
6. Turn the cover inside out and stuff with your insert of choice.
Leave a Reply