Every December I’m reminded of the fact that gift giving is hard. I love it, I do, but I always struggle with finding the right gifts. I’ll spend hours looking for just the thing to show those I love how much I care about them. And then once I’ve found the perfect gift, I’m still somehow shocked to find out that that’s only half the battle. Next you have to wrap it.
And oddly, that’s where I start to call it quits.
Not only can I never find the scissors or tape or ribbon, but I carry quite a bit of shame about the process entirely. I once read that wrapping paper and gift bags account for about 4 million tons of trash annually in the U.S. alone. And over the holidays, about 227,000 miles worth of wrapping paper get thrown away, which is enough to circle the planet 9 times. Gift wrap isn’t just hard on the environment, it’s also shockingly expensive since we’re constantly throwing it away and purchasing more.

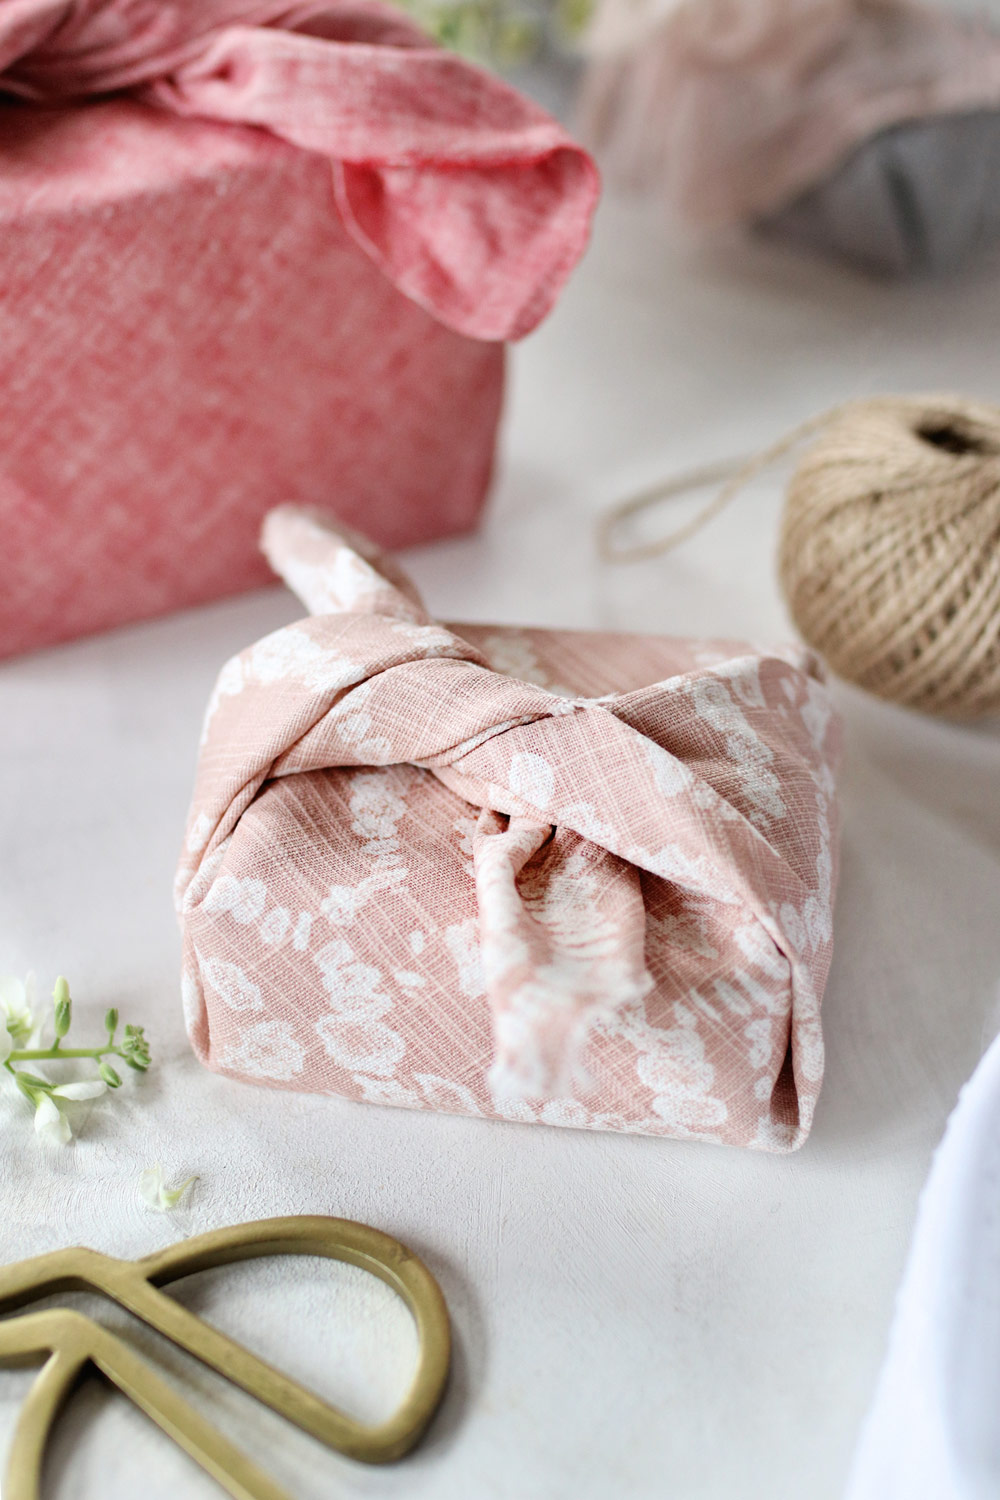
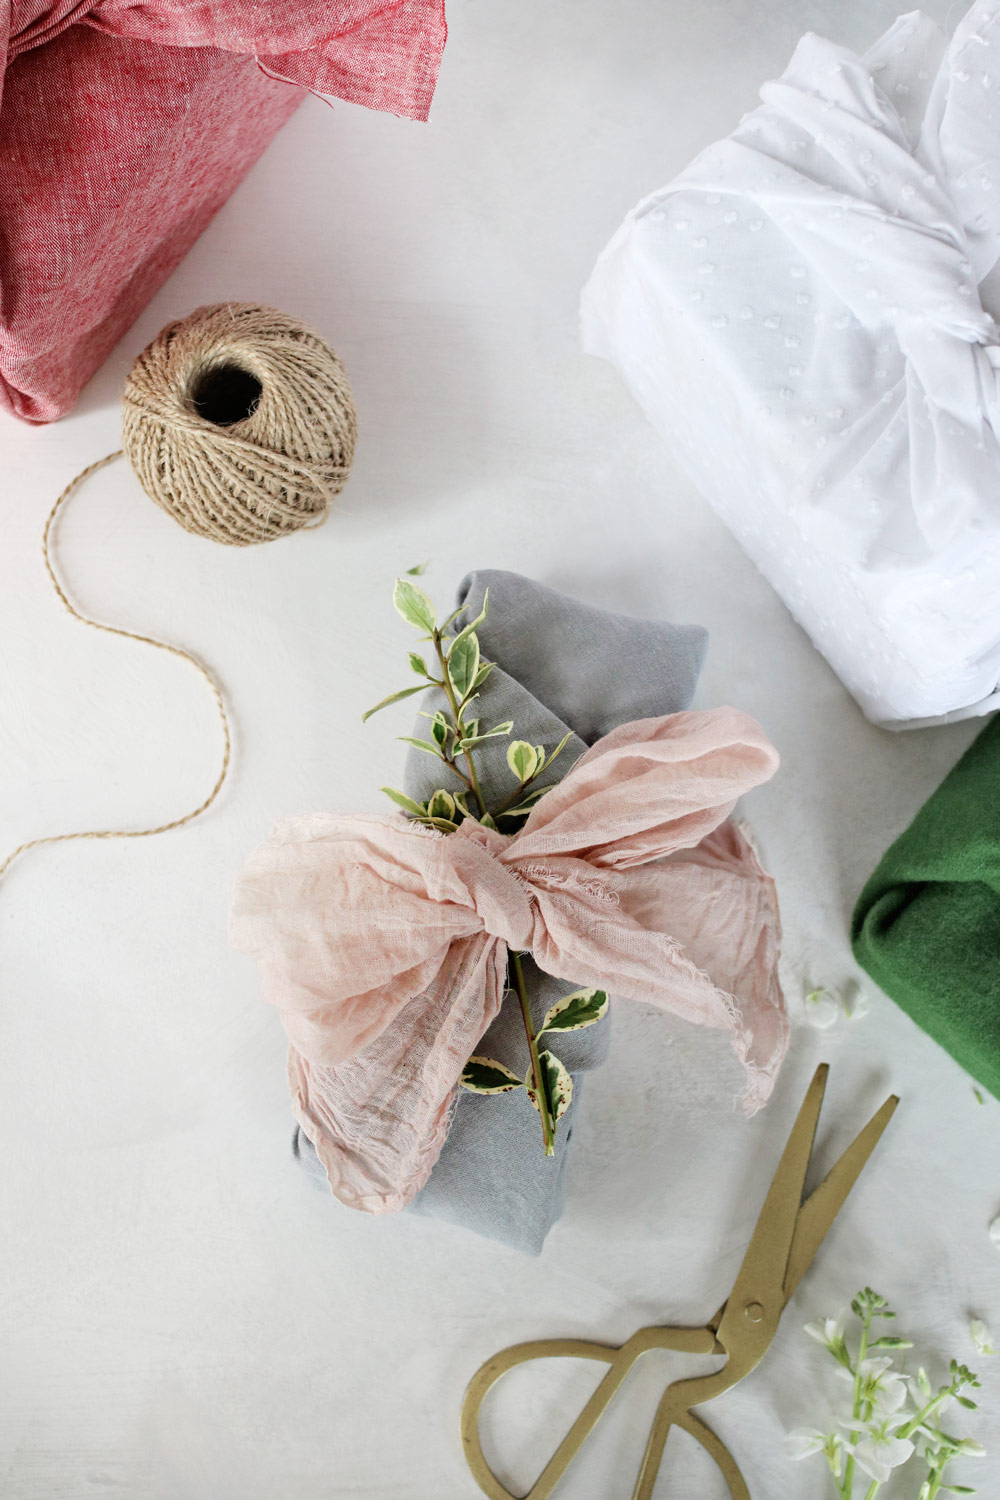
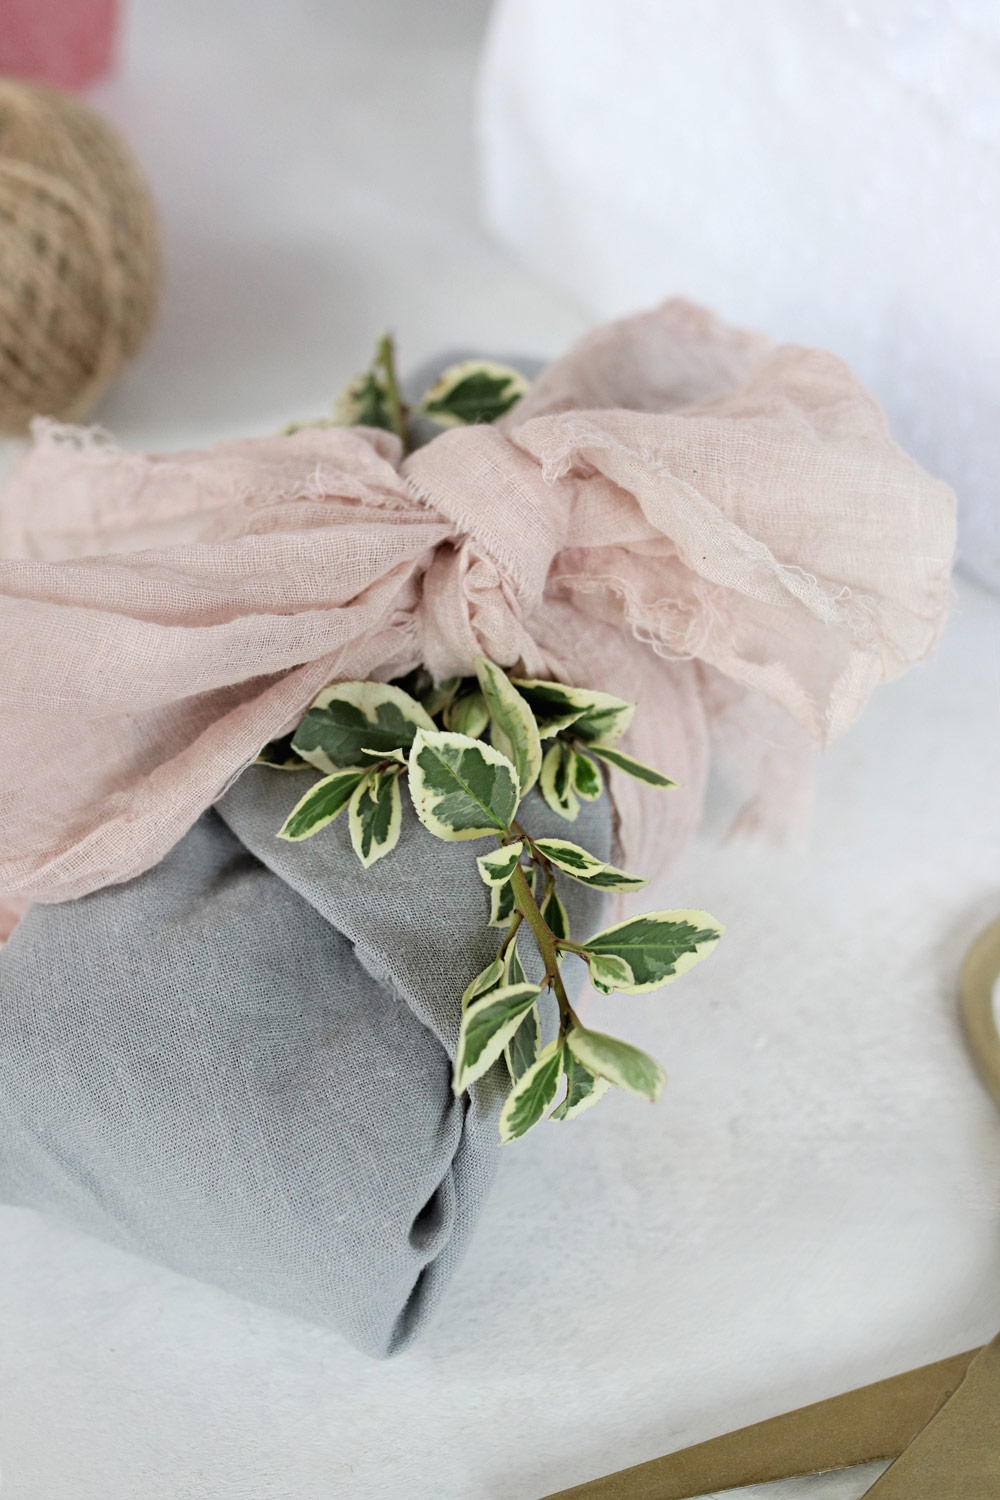
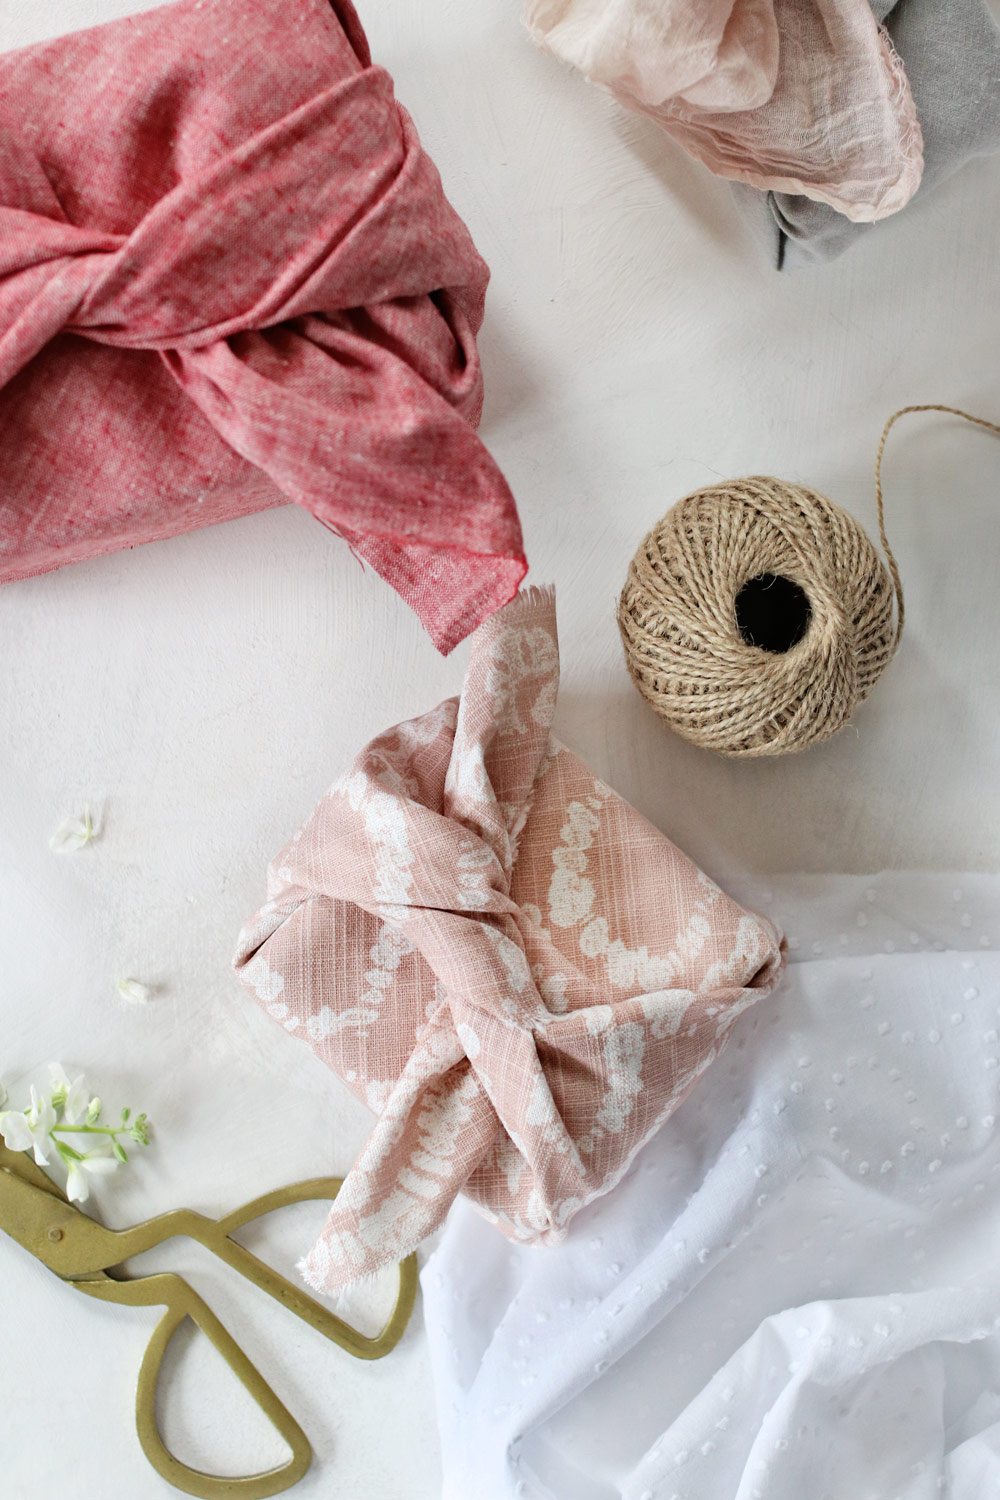
So this year I decided to try something new: fabric gift wrap. Fabric isn’t just fun and reusable, it can also be zero-waste and it doesn’t require any extra supplies like tape or plastic bows to make it work. Just choose a print you love or round up festive pillow cases, tablecloths or old curtains that are the right size for you gift. From there you can knot it, pin it, or use fabric ribbon to secure it around your gift. After presents are opened, just fold it and save it for next year.
DIY Fabric Gift Wrap
In Japan, fabric gift wrap is so common that it’s actually become an art form. Called “furoshiki,” this practice of wrapping items in cloth was a way to transport clothes, gifts, or other oddly-shaped goods that were difficult to carry. Nowadays, especially in the West, it’s used as an eco-friendly alternative to plastic bags and wrapping paper.
Like I mentioned before, you don’t need to buy special fabric for your furoshiki, but you can if you want to. Part of the allure of this method is that it doesn’t cost any money and you can give new life to items that you might otherwise have thrown away.
I love to sew, so I just used leftover fabric scraps I had taking up space in a drawer. But old bed sheets, shower curtains, tea towels or any other large pieces of fabric will also work. And if you don’t have any extra fabric lying around, don’t be afraid to browse thrift stores or secondhand shops for inexpensive curtain panels or table cloths.
Some tutorials online tell you to hem your fabric once you’ve cut it to size, but I personally love the rustic look of gently frayed edges. Plus it saves you a ton of time since you can just snip and tear your fabric to the right size. If you plan to reuse your fabric pieces for many years to come and worry about fraying, you can cut the out with pinking shears or finish the edges with a serger for a nice, polished look.
Here’s a quick video showing you three different ways of creating your own reusable fabric “wrapping paper.” Or keep reading to learn how to make the basic carry wrap, which is perfect for square and rectangular boxes of all sizes.
The Basic Carry Wrap
Supplies
- 1 yard of fabric
- Square or rectangular gift box
Instructions
- Cut a square piece of fabric 4 times longer than the longest edge of your box (ie. if your box is 8” x 10”, cut you fabric so it’s 40” x 40”).
- Lay your fabric wrong side up. Then place your item diagonally in the center of the fabric.
- Take one corner of the fabric and bring it up and over the gift, tucking it in slightly to create a little tension. Now take the opposite corner and fold it so it hangs over the gift. At this point I like to fold the point and tuck it back underneath itself so it creates a nice clean fold, but that’s entirely optional.
- Now bring the two remaining corners up so they meet in the center of the gift. Tie them together in a knot.


Leave a Reply