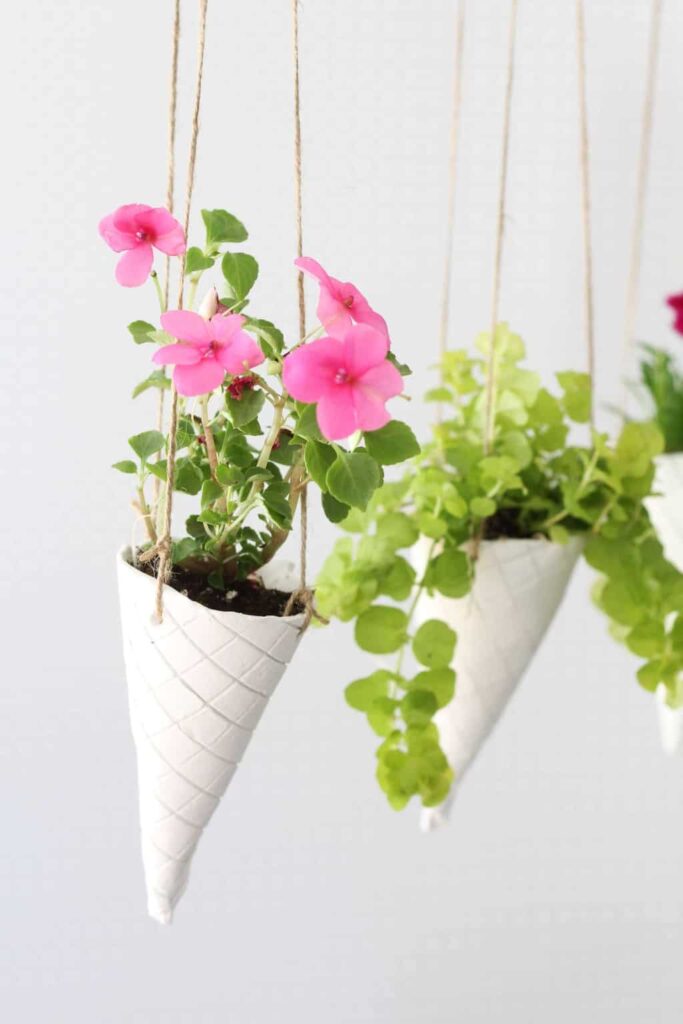
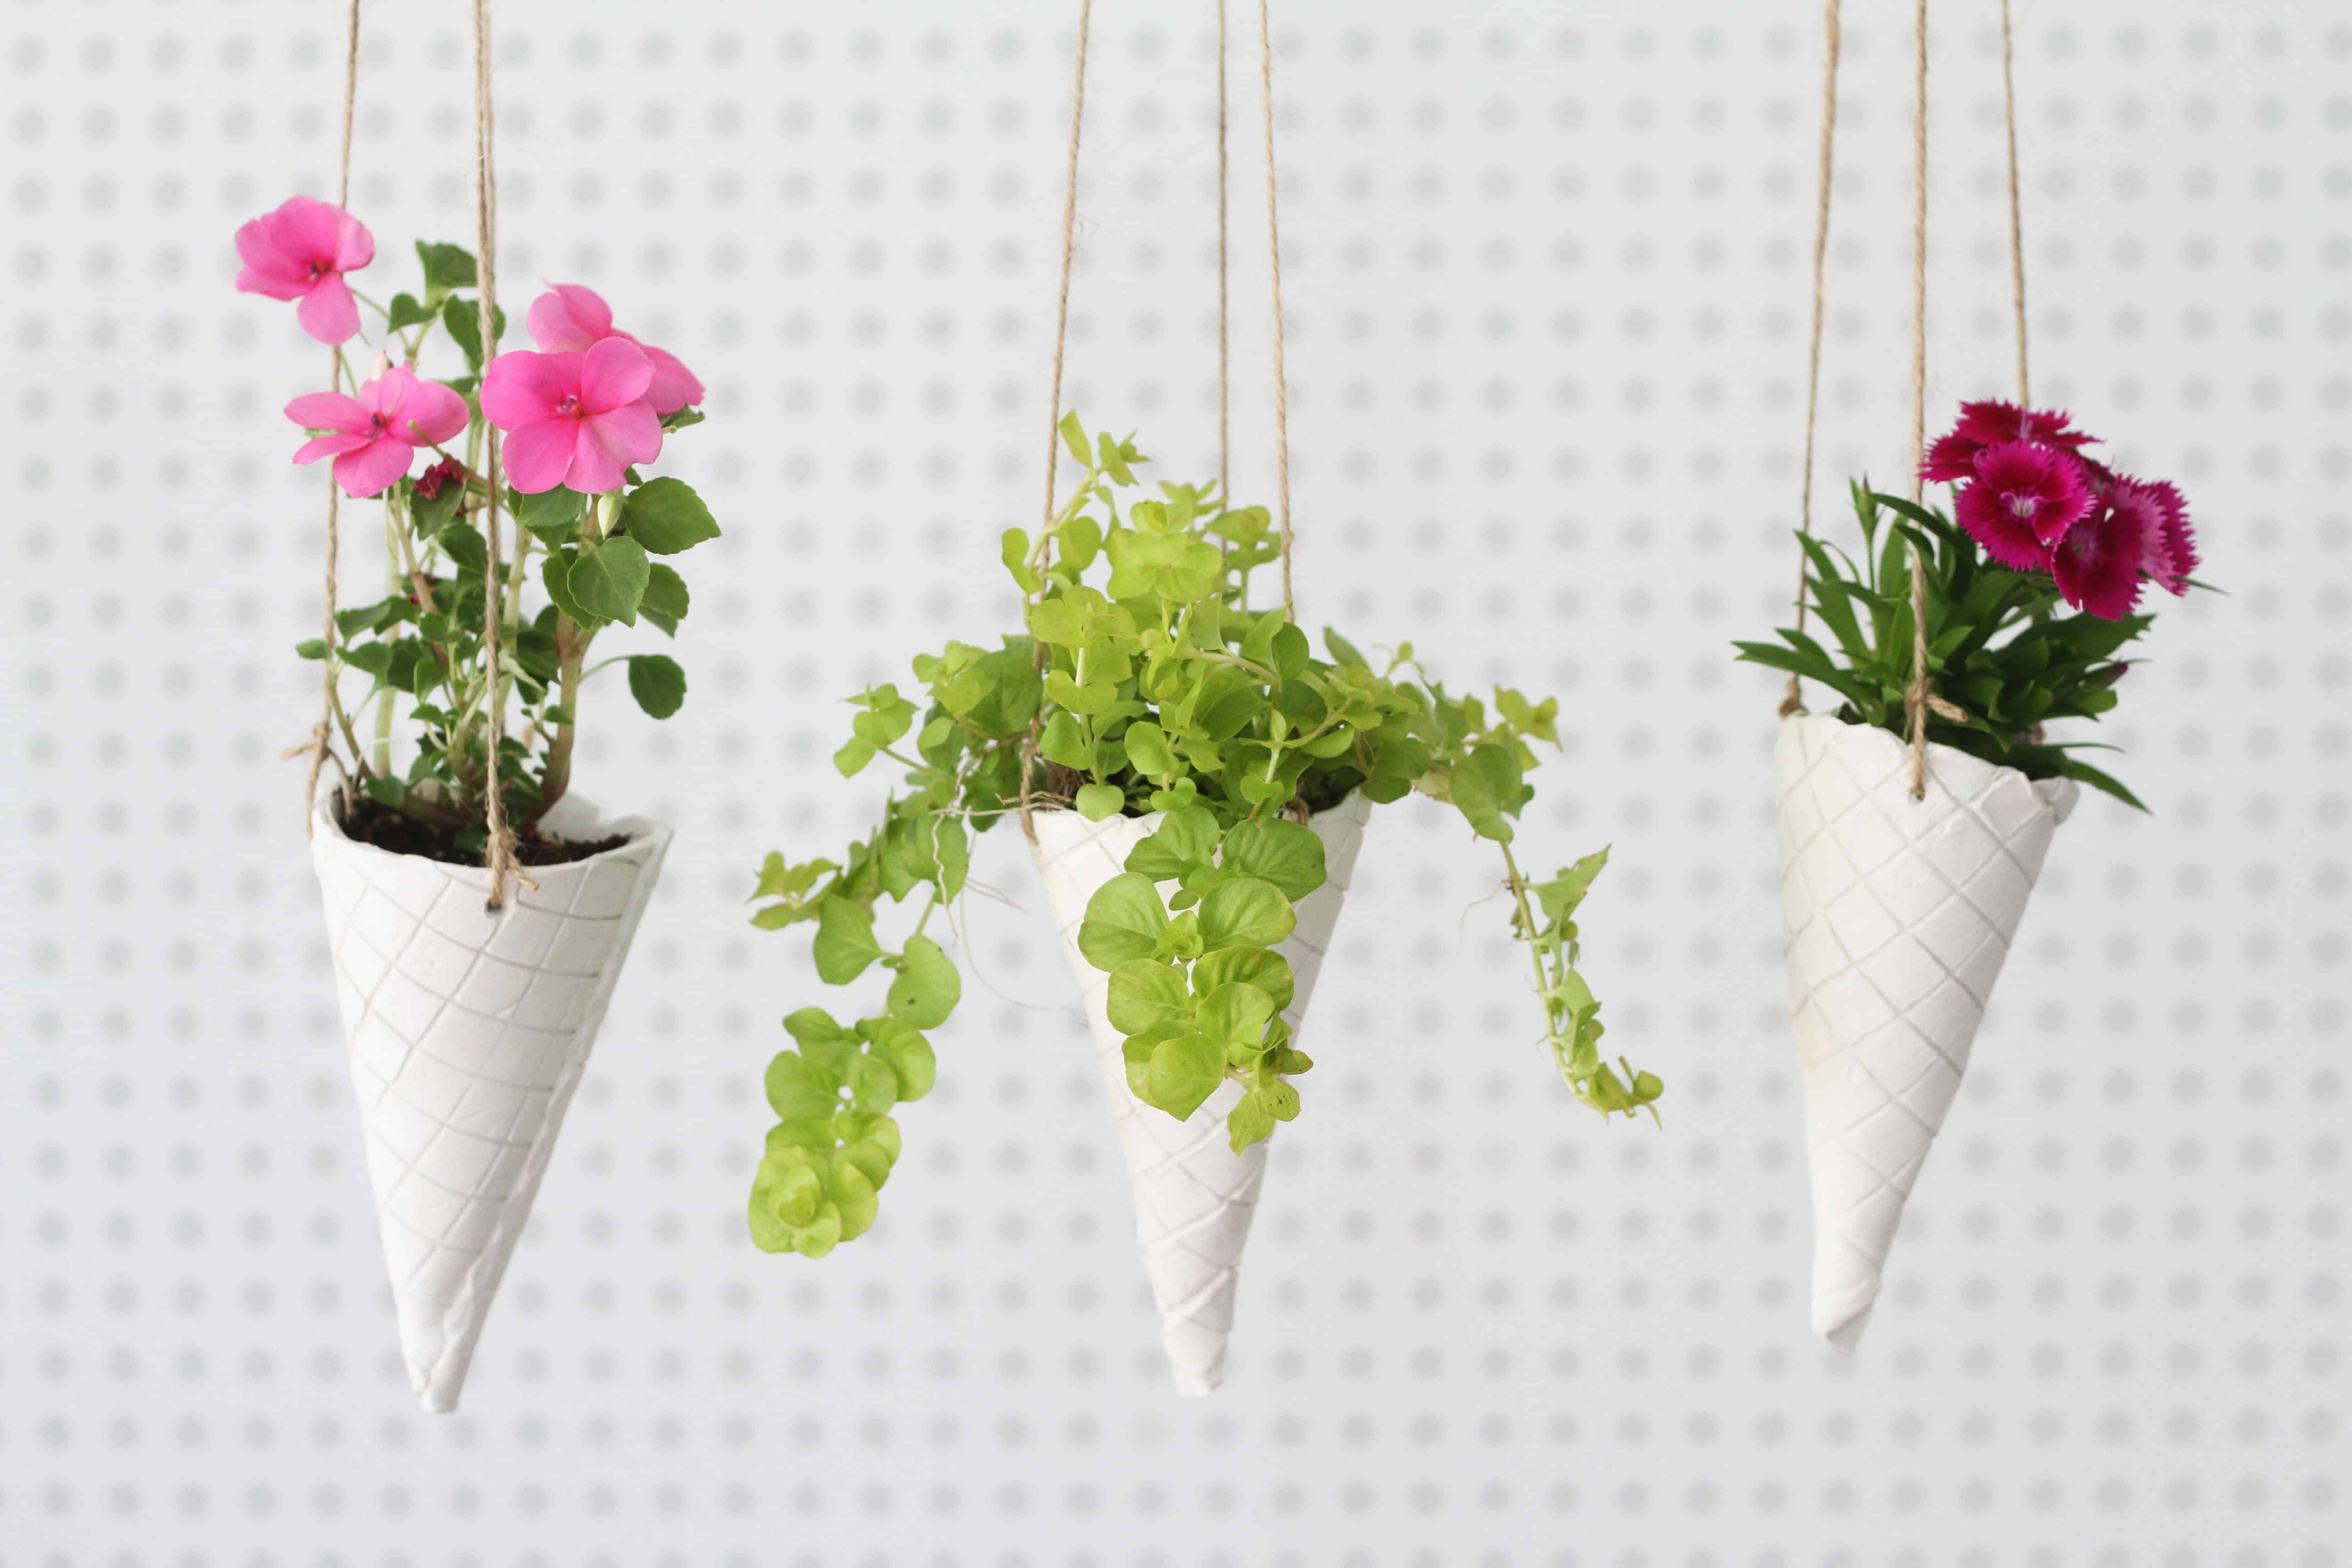
One of our favorite family outings in the summertime is to ride our bikes down to the ice cream shop just around sunset. The ride there is quiet and pretty and it ends with a delicious double scoop in a waffle cone. While summer is still a few weeks away, we are ready for it, and what better way to usher it in than greeting it with waffle cone-shaped DIY hanging planters full of colorful flowers! Using oven bake clay, of course.
Ice Cream Cone DIY Hanging Planters
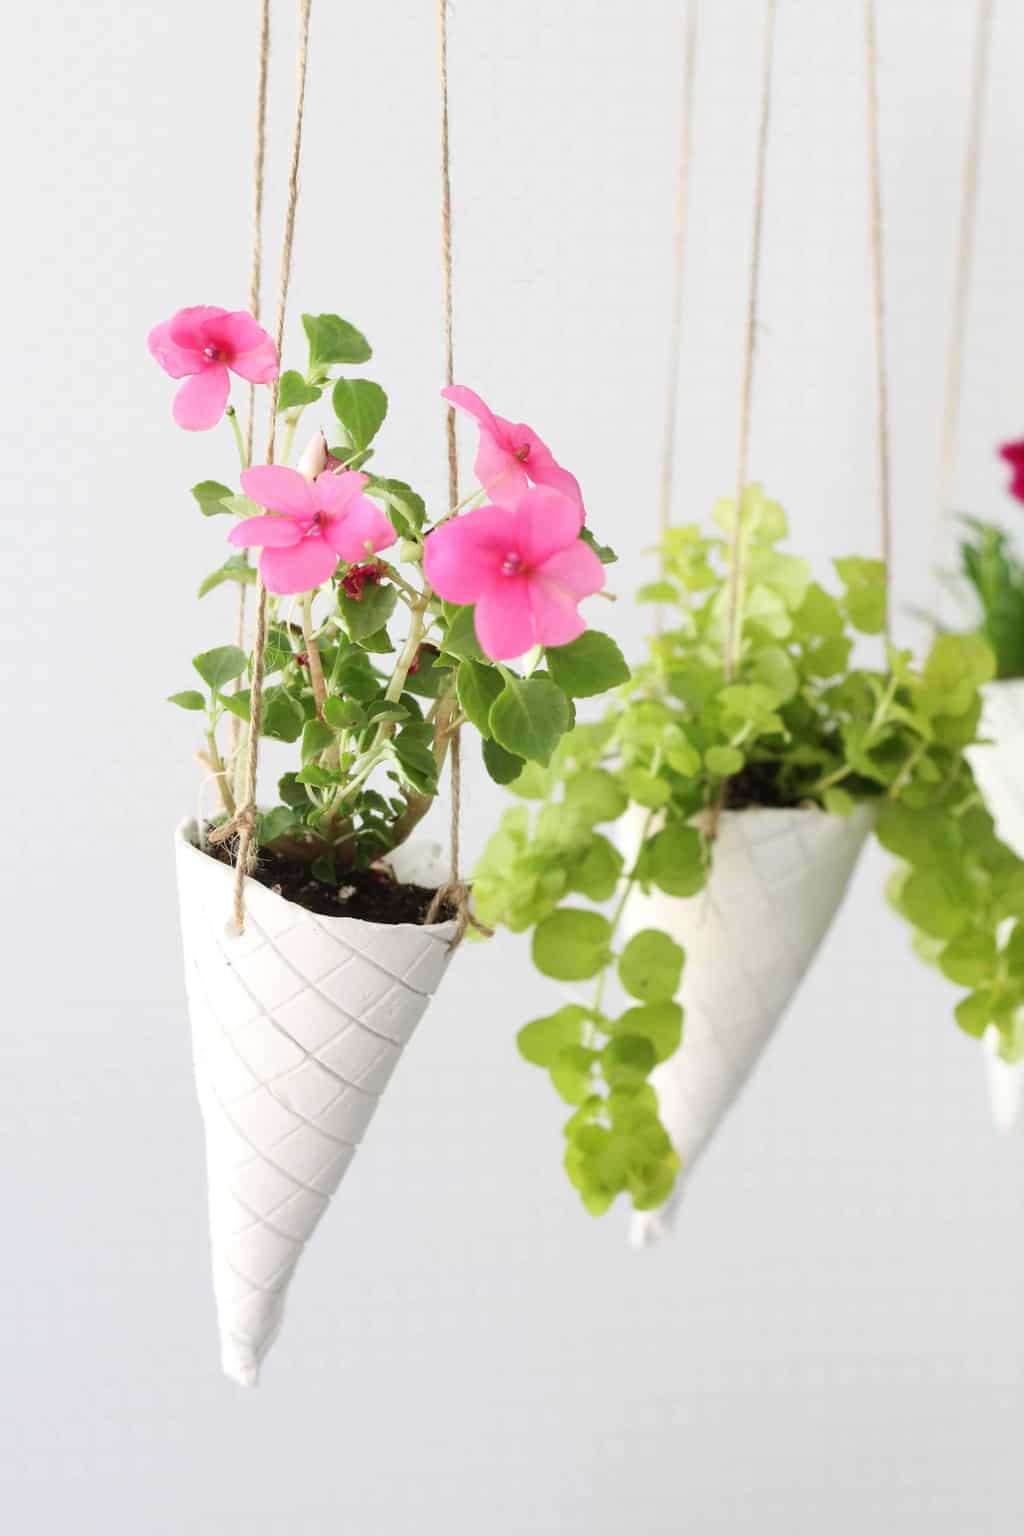
Want to make your own? Here’s how:
Supplies needed
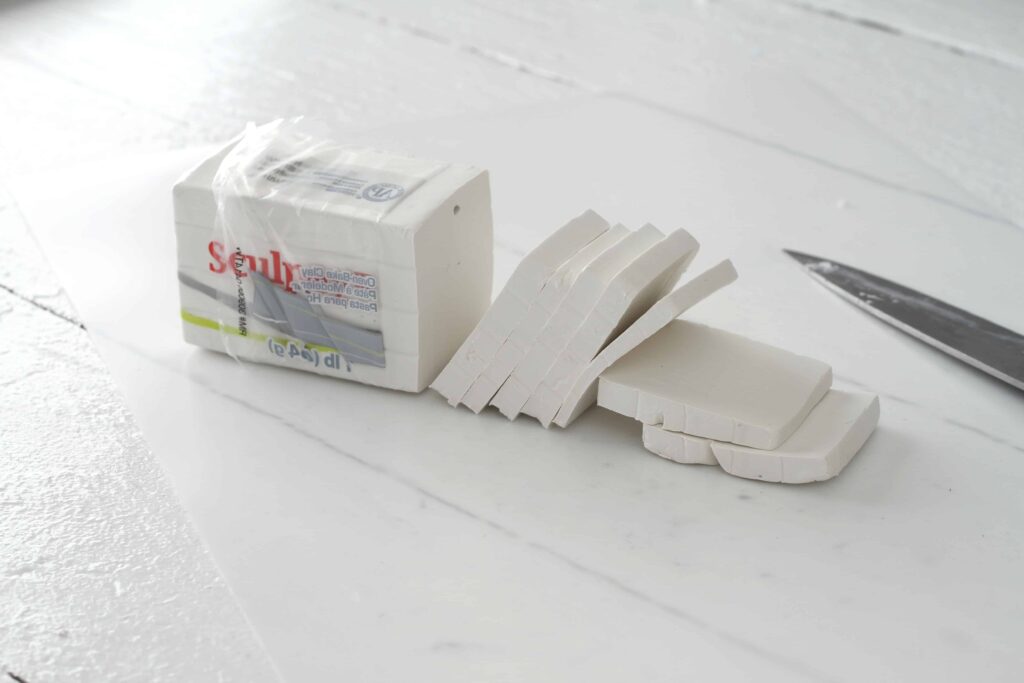
- 1-4 bricks of Modeling clay (I used half of a 1lb brick of Sculpey)
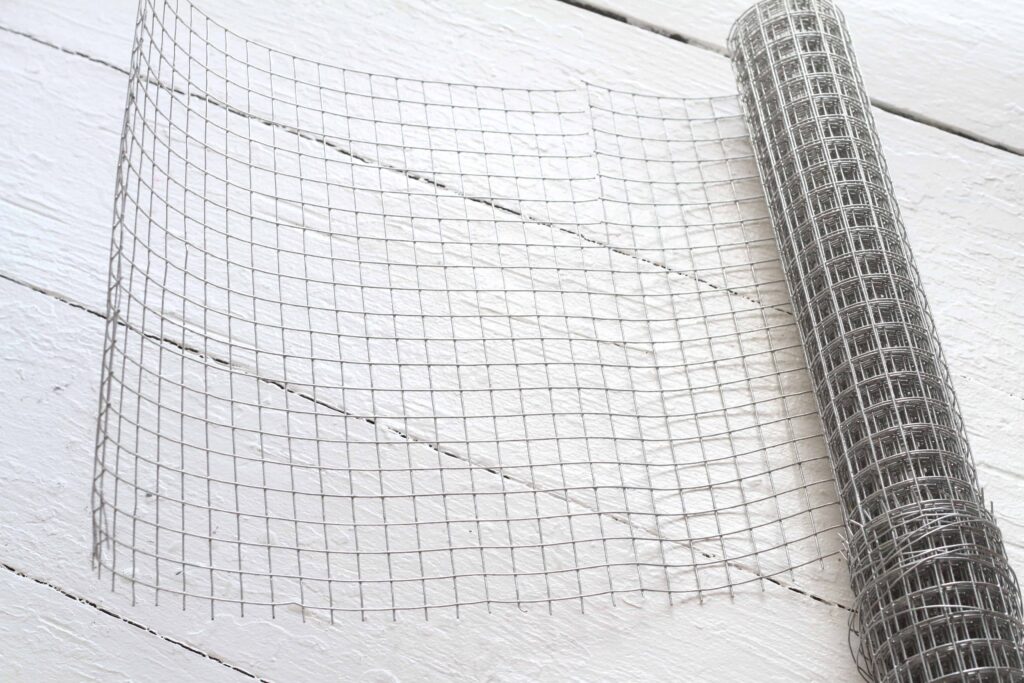
- Galvanized fencing for waffle mold (I used Hardware Cloth)
- Aluminum foil baking sheet
- Jute twine
- Flowers
Before you get started, read the instructions on the package of modeling clay and set your oven to the recommended temperature. Allow the oven to heat to the exact temperature before baking your clay cones.
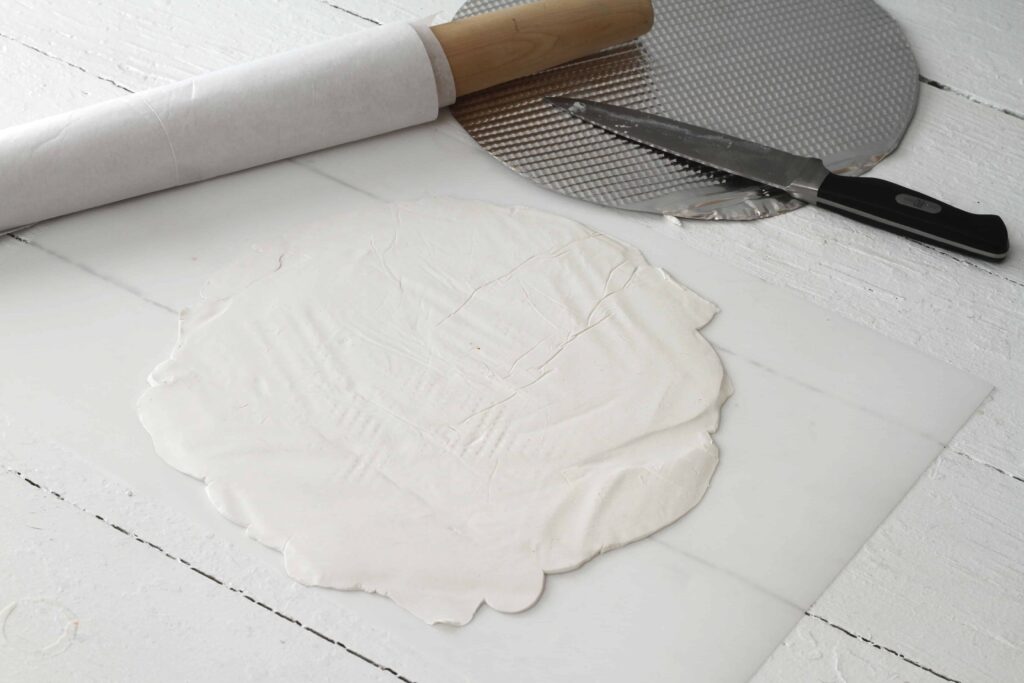
Step 1: Slice the modeling clay into 1/4-inch thick pieces and knead on a nonporous surface until it is soft and pliable in your hands.
Step 2: Roll the clay onto the nonporous surface. You don’t have to be too precise, just try not to roll the clay so thin that the wire will pass through to the other side when you imprint it with your Hardware Cloth. Sculpey is non-toxic, however, we think it’s a good idea to protect your rolling pin with parchment paper if you plan to use it for food in the future.
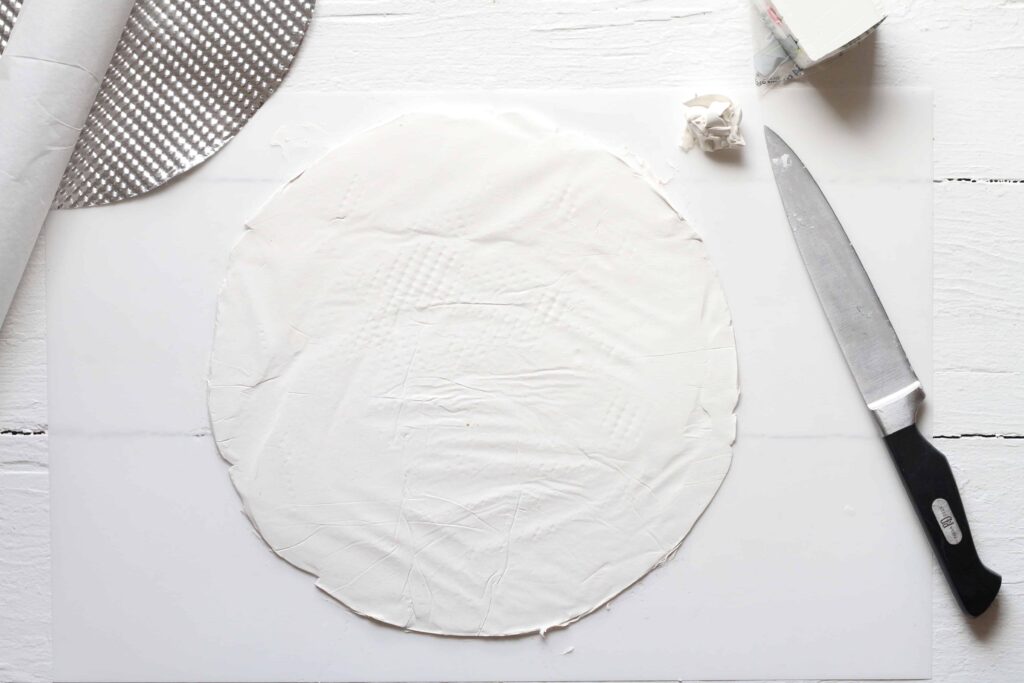
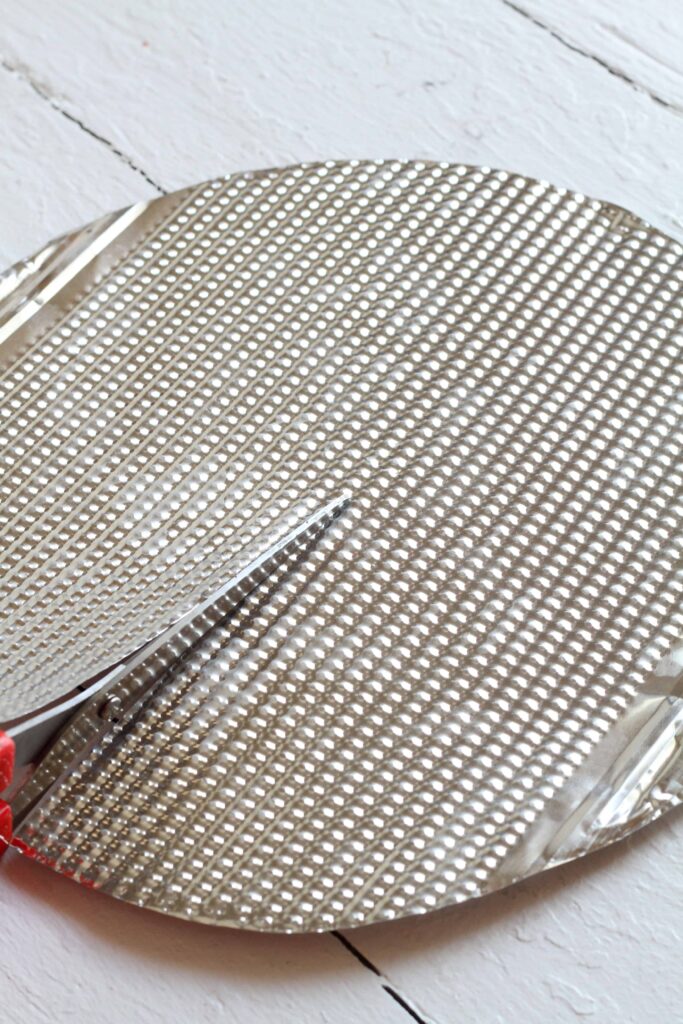
Step 3: Cut a large circle from your aluminum foil baking sheet and use it as a template to cut around the edges of the clay you’ve just rolled out.
Step 4: Grab your wire cutters and cut off a piece of your Hardware Cloth that is just a bit larger than the surface area of your rolled clay area.
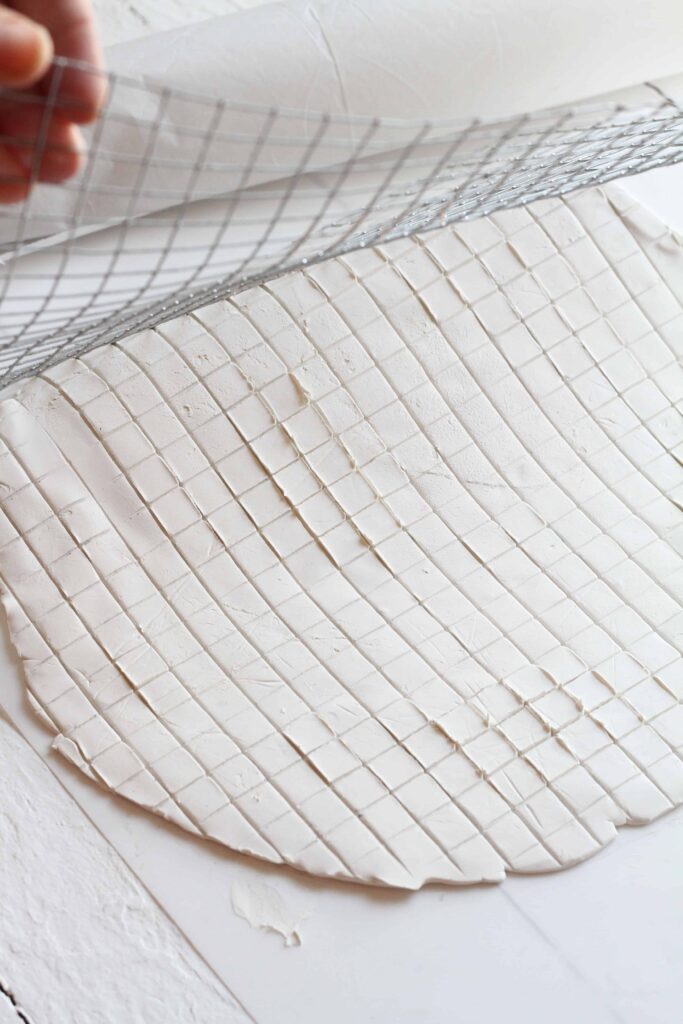
Step 5: Lay the wire on top of your clay (be sure it reaches over all the edges of your circle) and roll over it with your rolling pin. Press hard enough to make a good imprint, but not too hard -you don’t want it to go too far into the clay surface.
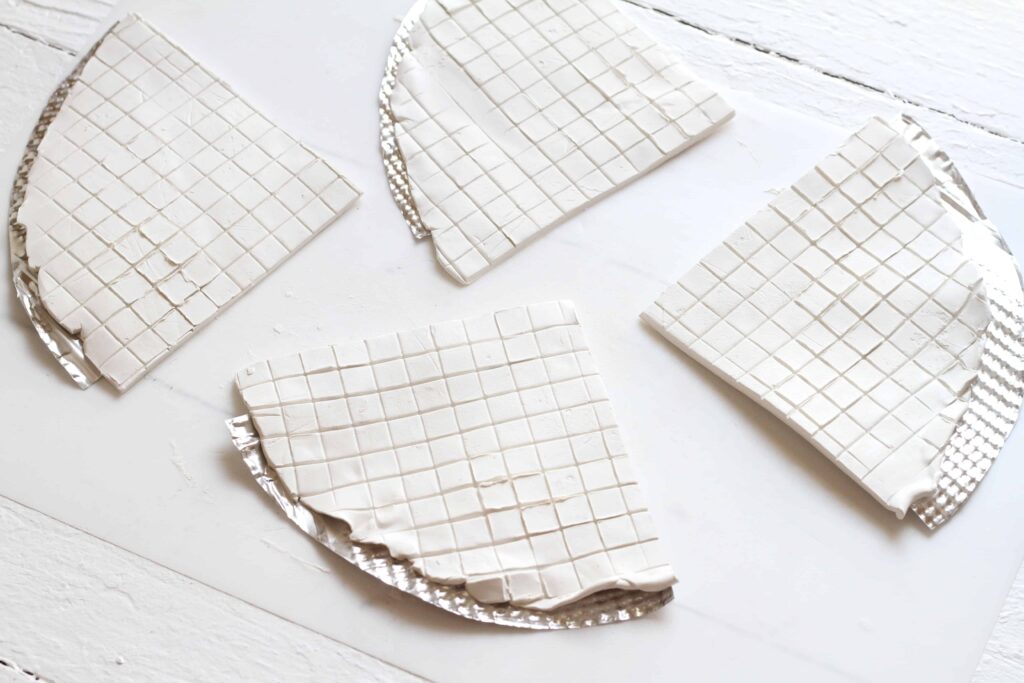
Step 6: Cut your circle into four quarters.
Step 7: Cut your imprinted clay circle into quarters and place the aluminum sheets under each one, leaving at least a 1/4-inch overhang on the curved edge.
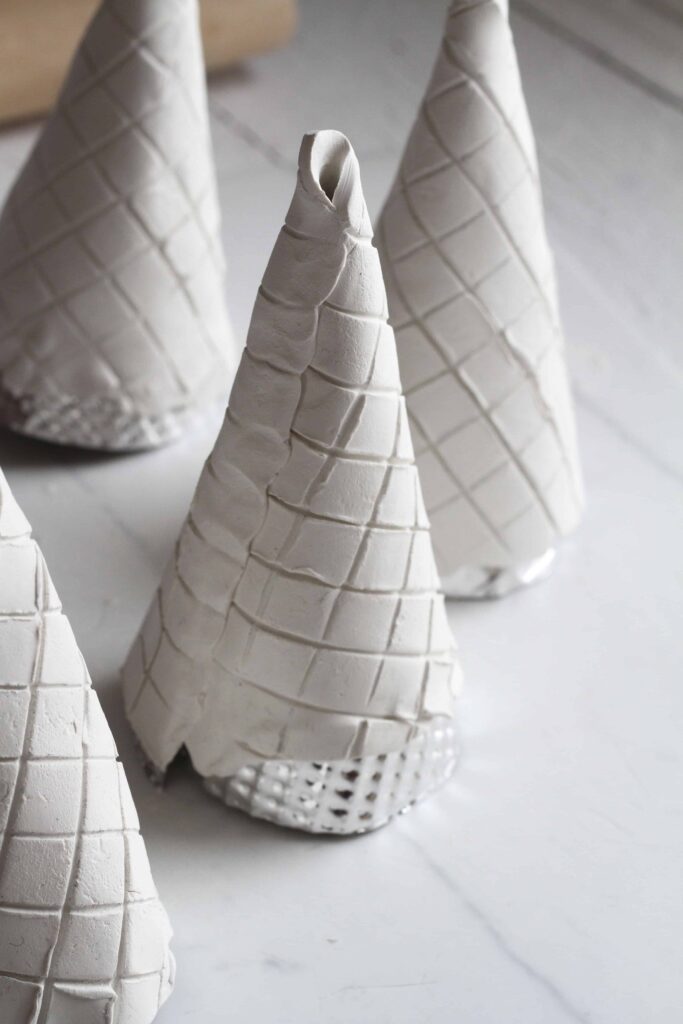
Step 8: Roll the clay into cone shapes. You’ll have to bend the aluminum sheeting as you go, it shouldn’t be the exact shape as the clay, you just need it to step in and offer a bit of stability while the clay is baking. Be sure the clay doesn’t overlap the aluminum, you’ll need to be able to easily extract it after baking. Seal the cone by pressing your thumb along the seam (like you would the edges of a pie), be sure not to seal the tip of the cone to allow for drainage after you place a flower inside.
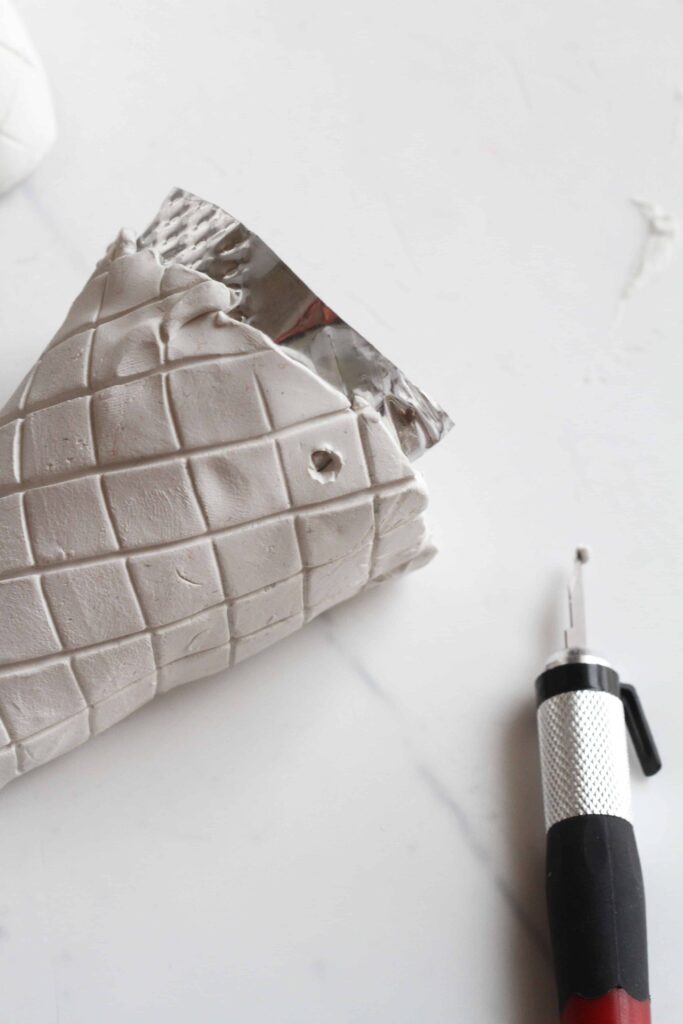
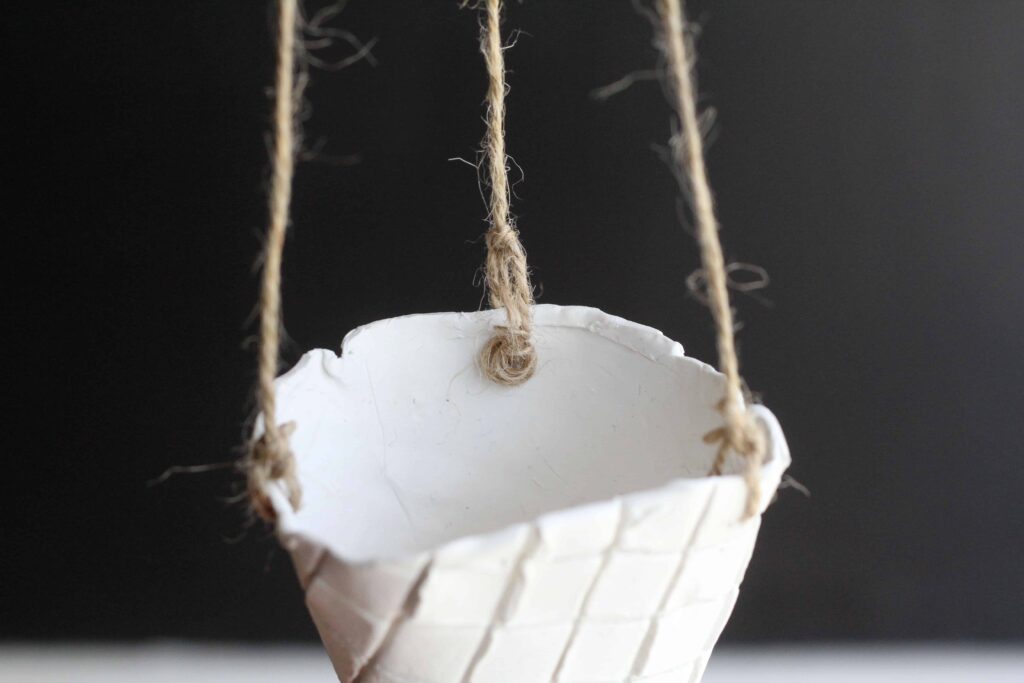
Step 9: Cut out three holes at least 1/4-inch below the top rim of the cone. The holes should be just large enough for your twine to go through.
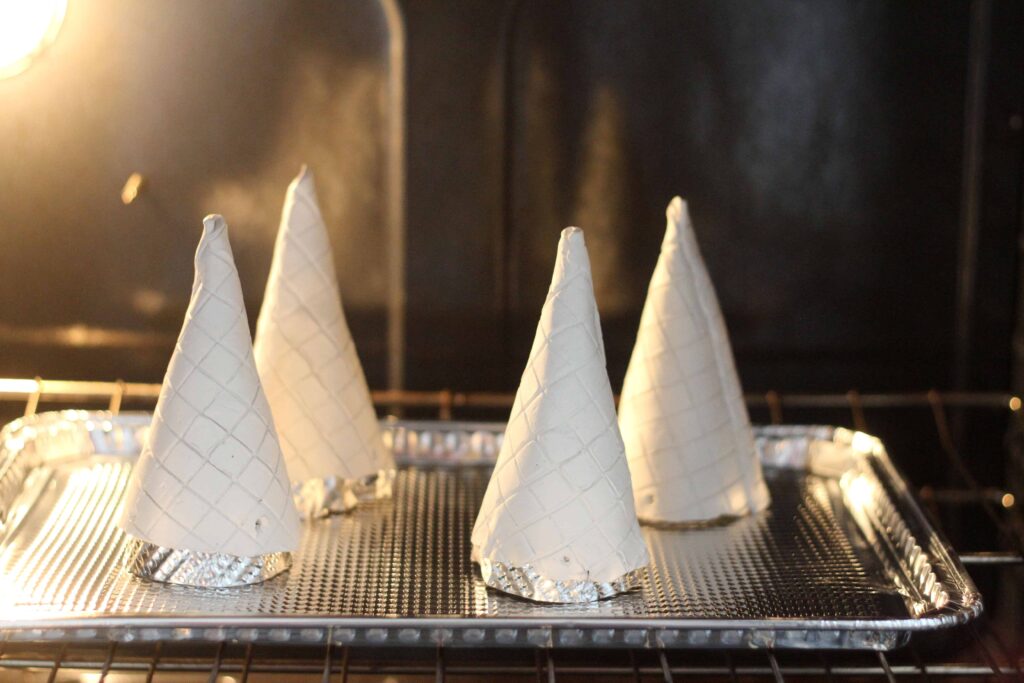
Step 10: Place the cones upside down on a baking sheet, pop them in the oven and follow the instructions listed for baking temps/time. Sculpey recommends 275° F (130° C) for 15 minutes per 1/4 in (6mm) thickness.
Step 11: Remove the cones from the oven and wrap them loosely with a towel as they cool to prevent cracking.
Step 12: Thread your jute twine through the hole and tie it about 1/4″ above the rim of the cone. Depending on the thickness of your cone and depth of your imprint this can be a fragile process, so be careful – just in case!
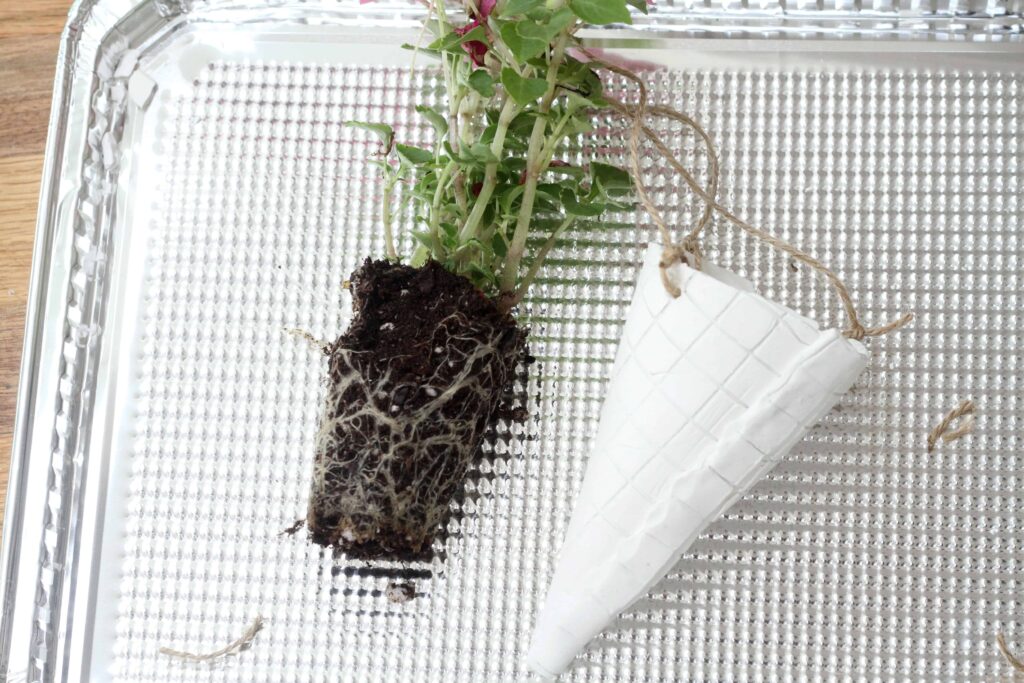
Step 13: Choose a flower to place in the cone, trim off any excess at the bottom to ensure a good fit. Press the flower and soil firmly in place.
Step 14: Add a bit of water to the plant, hang over the sink to let excess drip out.
Now that you’ve made the first round – make some more! Modeling clay comes in many different colors so next time try marbling your clay by rolling two or more pieces together or paint the cone to look more realistic!
7
Wawa says
omg great idea. thank you a lot
AG says
So beautiful !
You gave me lots of ideas, thanks 🙂
I know that koocam.com are looking for people who know DIY craft etc
Check it out…
valentina | sweet kabocha says
Omg, that’s an awesome idea!!!