I still remember the day I discovered what was so magical about Magic Erasers (spoiler alert: it was on the last day, senior year of college). Although I only lived with girls, that particular move out day was a 12 hour clean-a-thon filled with mystery stains, spills and messes that hadn’t seen the light of day in months. My mom, the saint that she is, bought us a family sized box of Magic Erasers from Costco as a graduation gift. And the rest is history.
I’m so devoted to my Magic Erasers that I always keep some stashed away in case of emergencies. I’ve been known to hide them from my husband and use up every last bit until it’s just dust between my fingers. They’re so so handy, but they’re also pretty expensive, driving me to drastic lengths to keep some on hand.
That is until I learned that you can actually make your own and save tons of money in the process. Here are two ways to make your own Magic Erasers at home for less.
How to Make a Magic Eraser 2 Ways
Version 1: Melamine Foam
I wish I had learned this a long time ago, but the Magic Erasers you buy at the store are just sponges made of melamine foam.
Melamine foam is a highly abrasive type of foam that, at a microscopic level, is almost as hard as glass. But unlike other abrasive materials (like sandpaper for instance), melamine foam breaks down and dissolves under pressure, making it great at removing stains without damaging the underlying material.

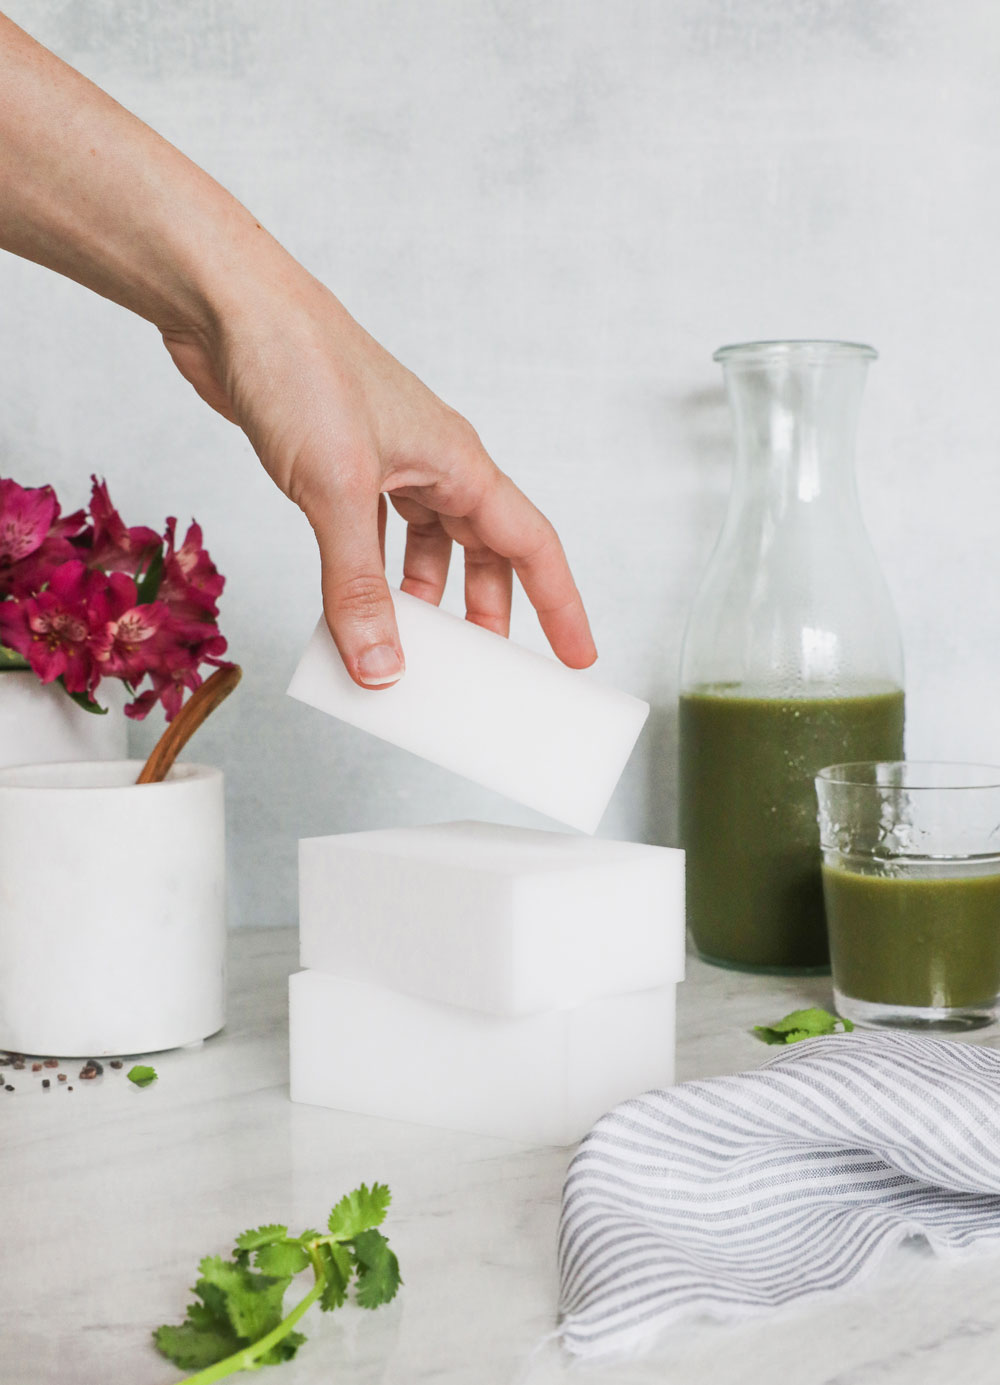
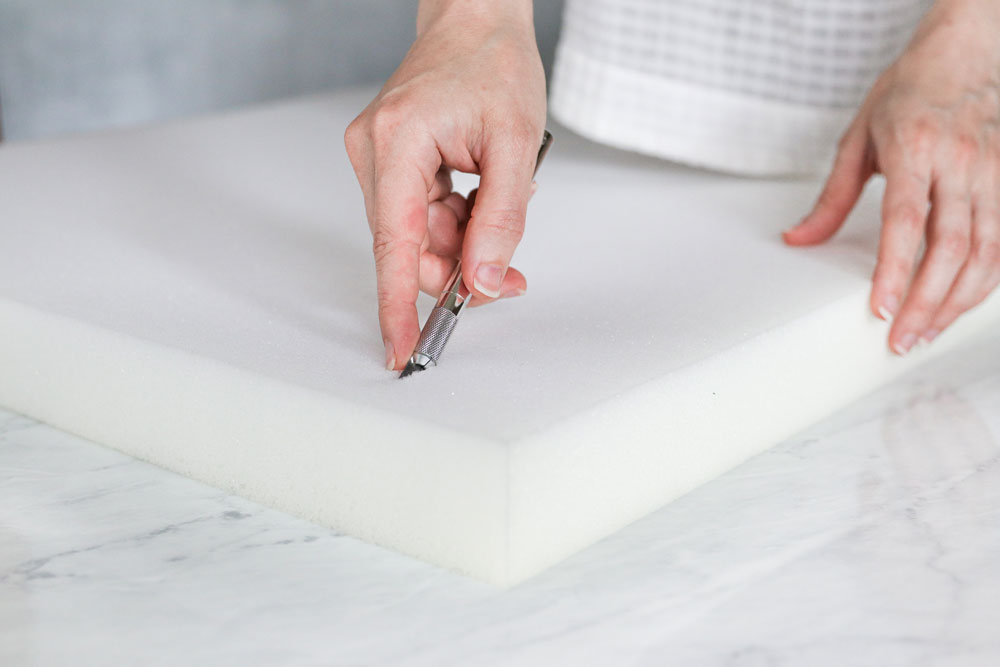
And it turns out that you can actually buy melamine foam in large sheets and simply cut it to size to make your own sponges. I found my melamine foam at a local hardware store, but I’ve also seen it online every now and then for about the same price. One sheet was $10 and it made roughly 20 sponges, which comes out to just $.50 a sponge. Not too shabby!
To make your sponges, simply use a box cutter or sharp knife to cut your foam into 3” x 4” rectangles. I used an x-Acto knife to make several deep cuts in the foam until I cut all the way through. But to save time the next go around, I’d choose a larger knife that can make deeper and fewer cuts.
Once trimmed, you can use a cleaning solution of 1 part baking soda and 1 part water to enhance the cleaning action. Or simply use your sponge as-is for a quick, low hassle scrub.
Version 2: Reusable Sponge
While not technically a “Magic Eraser,” this version fits squarely into the nontoxic/natural cleaning category. Since Magic Erasers are simply an abrasive sponge combined with a cleaning agent, you can get the same effect without any of the toxic mystery ingredients.
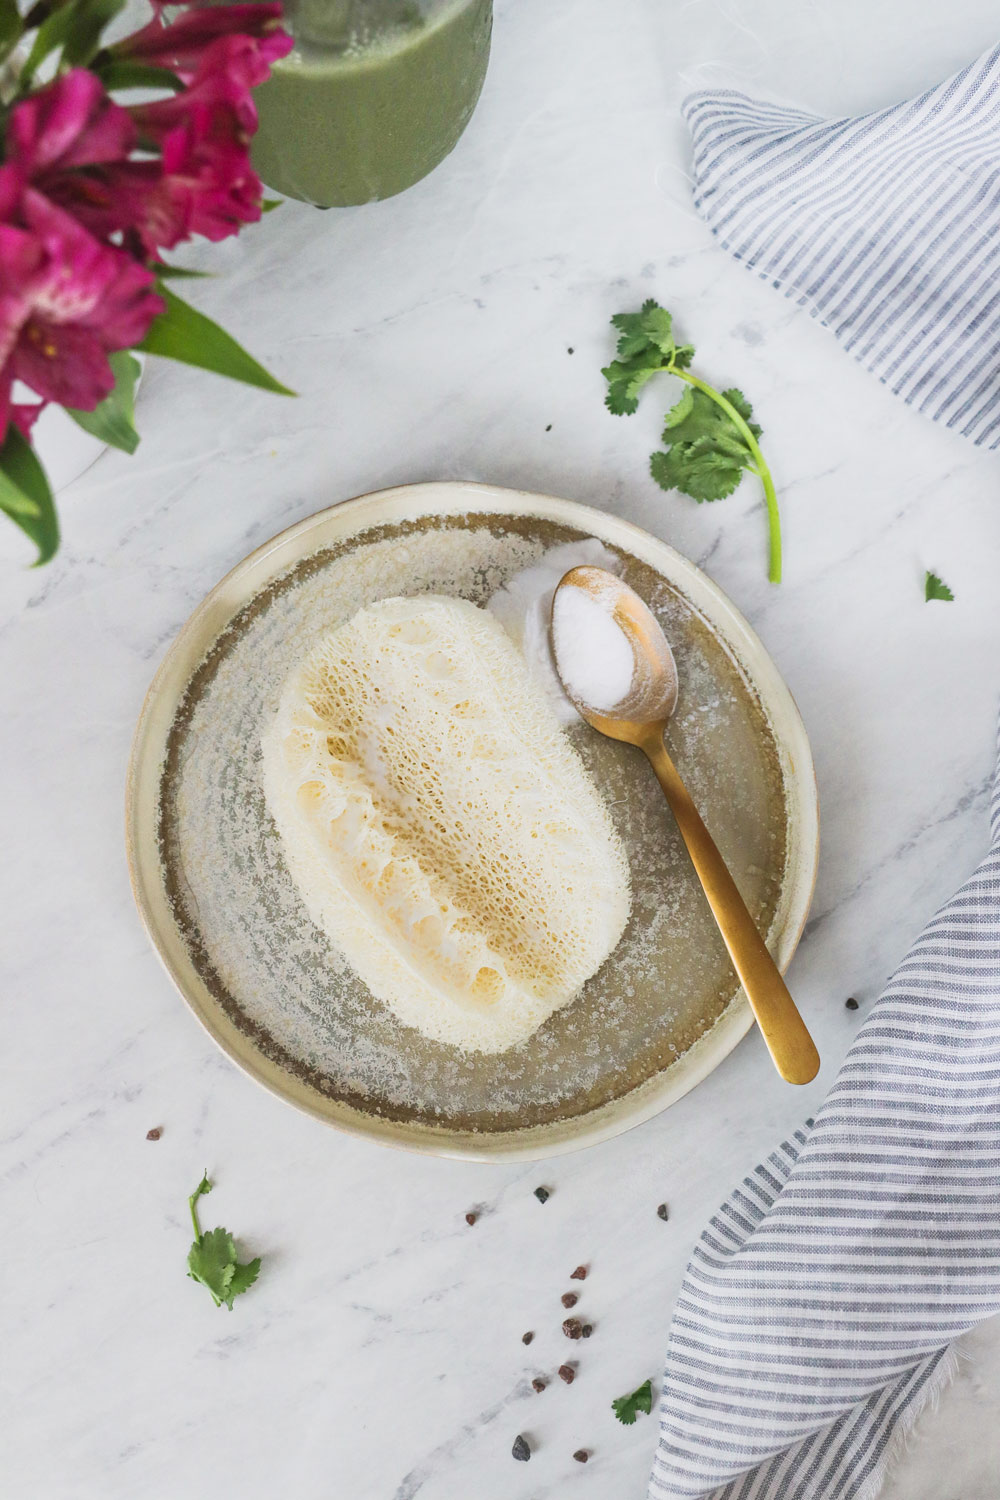
For my sponge, I picked up a few of these natural sponges on Amazon. I love that they’re all-natural and nontoxic. Plus, they’re pretty abrasive so you can deep clean and scrape away dried on messes.
As for the cleaning agent, I use a simple mixture of baking soda and Borax to gently polish away scuffs and stains.
Combine:
- 1 tablespoon Borax
- 1 teaspoon baking soda
- 1/4 cup hot water
- Natural sponge
First, place the Borax in a shallow bowl. Then pour the hot water on top and mix with a fork until dissolved. Then add the baking soda and mix until all powder is dissolved and the water is almost clear.
Soak the sponge in the cleaning solution until it puffs up and absorbs some of the liquid. Then gently start scrubbing.
Note: I have light gray walls and this mixture doesn’t leave behind a white film that I can see. But if you have dark walls, you might notice a little residue. Simply reduce the amount of baking soda and Borax in your mixture (it might take a little trial and error to find a happy medium) before applying to dark surfaces.
89
Edgardo Luquin says
hello I have a question, where can I buy melamine foam in large sheets?