After rainbows, glow in the dark is another favorite with my kids. Snow globes are perfect crafts for winter, but we added a twist to the classic and made it glow in the dark!
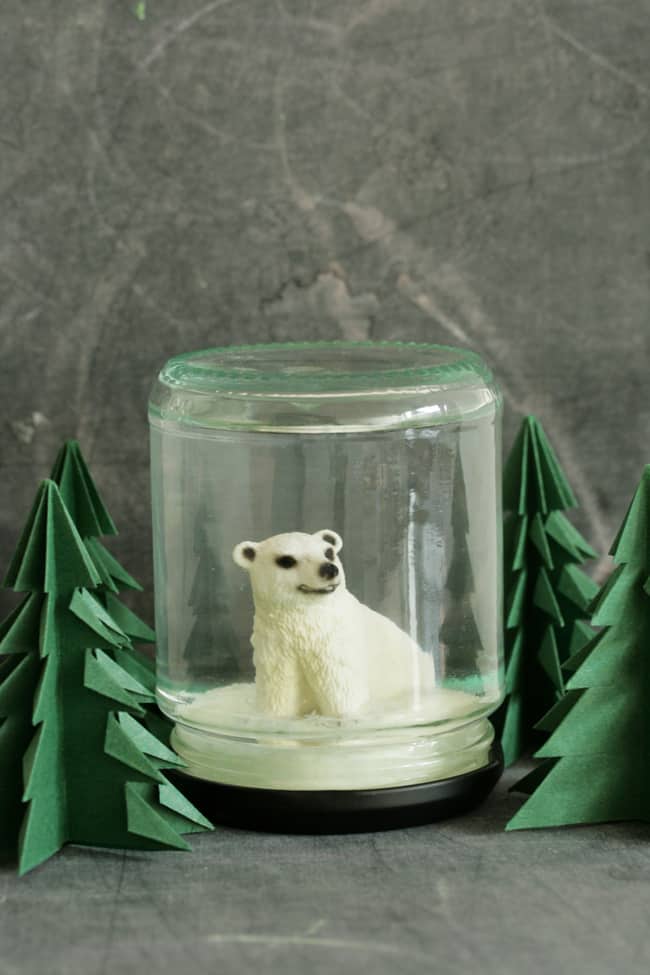
 When I was thinking about how to make this snow globe, I had grandiose visions of a polar bear staring up at the aurora borealis and all the stars. In reality, the stars look a bit like snowflakes, which is actually pretty darn cool! I love when have an end product in mind and you end up going somewhere totally different. This seems particularly pertinent when crafting with kids. Most of the time they aren’t interested in getting everything just so. They enjoy the journey and the experimentation, which is just as it should be!
 Supplies
 Supplies
- Glow in the dark oven-hardening modelling clay
- Glow in the dark stars/shapes or glitter (we used nail decals!)
- Empty, clean jar
- Figurine, or make your own from oven-hardening modelling clay

Instructions
Step 1
Work the clay into a ball and squish it into the lid of the jar. Leave enough space so you can screw the lid back on. Make sure to test it out and reposition/reshape the clay if you need to!
Step 2
Press your figurine into the clay and screw the jar on to check that the figurine is high enough. If the figurine is obscured by the neck of the jar then you can add more clay.
Step 3
If your figurine is safe to go in the oven, then go ahead and put the completed lid into the oven to bake. [This is an adults only step!]
Our clay required a temperature of 110C or 230F. At this temperature, the figurine, which was made of PVC was unlikely to melt. If you are in doubt, then simply remove the figurine and glue it in place after the clay has cooled.
Step 4
While the clay is baking, fill your jar with water and add the glow in the dark decorations.
Step 5
Once the lid and clay have cooled, assemble the jar and you are ready to shake!
 The snow globe looks great in the daylight, but when you charge it up with a lamp/torch and turn off the lights, that’s when it gets really fun. Your glow in the dark snow globe lights up!
Paulien says
Great post!
And I especially love the green paper trees in the last picture! Could you tell me how you made them?