• Skip to primary navigation
  • Skip to main content
  • Skip to primary sidebar

Hello Nest

The Art of Making a Home

  • Green Cleaning
    • Air Fresheners
    • Bathroom
    • Bedroom
    • Kitchen
    • Laundry
  • Natural Living
    • Homemade Recipes
    • Essential Oils
    • Plants & Flowers
    • Zero Waste
    • Organizing & Simplifying
  • DIY & Decor
    • Candle Projects
    • Holiday Projects
    • Sewing Projects
  • About
    • Contact
    • Privacy Policy
  • Nav Social Menu

    • Facebook
    • Instagram
    • Pinterest
    • YouTube

Kid Craft! DIY Rainbow Woven Felt Coasters

1 · Nov 26, 2013 · Stephanie Gerber · 6 Comments

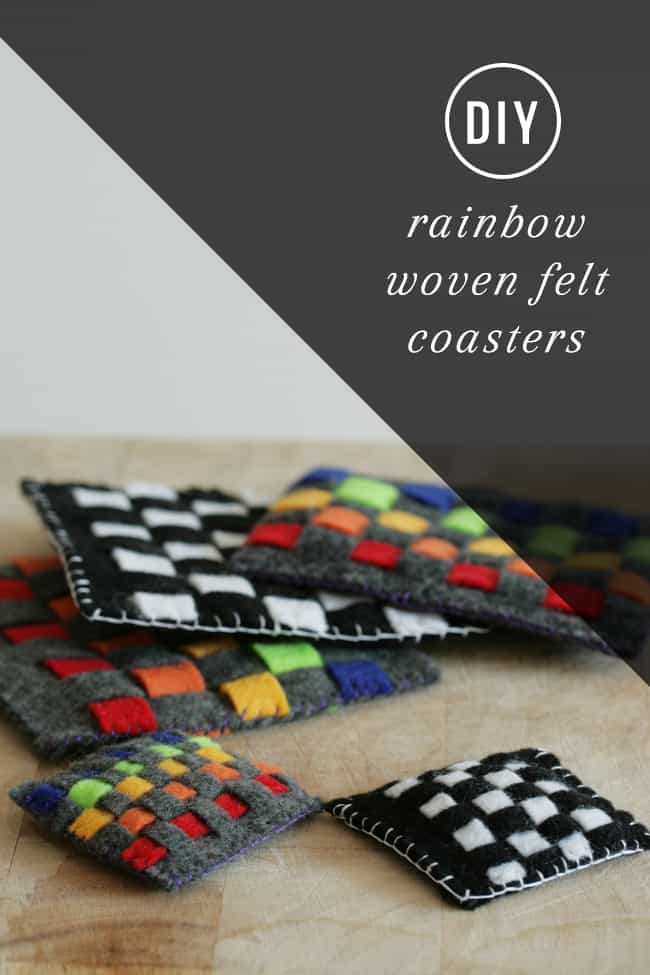
The holiday season is upon us, and it seemed like the right time to get my 4-year-old daughter involved in the giving as well as the receiving of gifts! But if it isn’t pink, sparkly, unicorns or rainbows, she just isn’t interested. So I came up with the idea of making woven felt rainbow coasters! This is such a quick sew project that you could easily whip up a set as a present.

DIY Rainbow Woven Felt Coaster | Hello Glow

Supplies

  • Two, four inch squares of grey felt
  • Six, four inch by a half inch rectangles of coloured felt (red, orange, yellow, green, blue)
  • Embroidery thread in a contrasting colour
  • Scissors
  • Needle
  • Paper clips or pins
See also
How To Make A Reed Diffuser With Essential Oils

We like to keep things eco-friendly around our neck of the woods, so we used Kunin Eco-Fi felt, which is made from recycled plastic bottles and organic cotton sewing thread.

Instructions

Step 1

First, create vertical cuts in one of the four inch squares of grey felt, a half inch apart, leaving a half inch border at the top and bottom. If you prefer, you can mark these lines on the back of the felt using a fabric marker.

Step 2

Weave the rectangles of felt over and under the grey vertical strips. Alternate whether the colored felt starts on top or beneath the first grey strip.

See also
DIY Gold Leaf Cufflinks
Step 3

Place the remaining four inch square of grey felt on the back of your woven piece You may like to pin or hold everything together [to avoid too many sharp pointy ends, I used paper clips. You can find more tips for sewing with kids on my blog].

Step 4

Sew around the edge of the coaster. I am partial to a nice blanket stitch, but my daughter prefers to use a whip stitch or straight stitch!

Variations

  • Try a monochromatic look
  • Scale down the coaster and insert a magnet to create a two inch square fridge magnet.
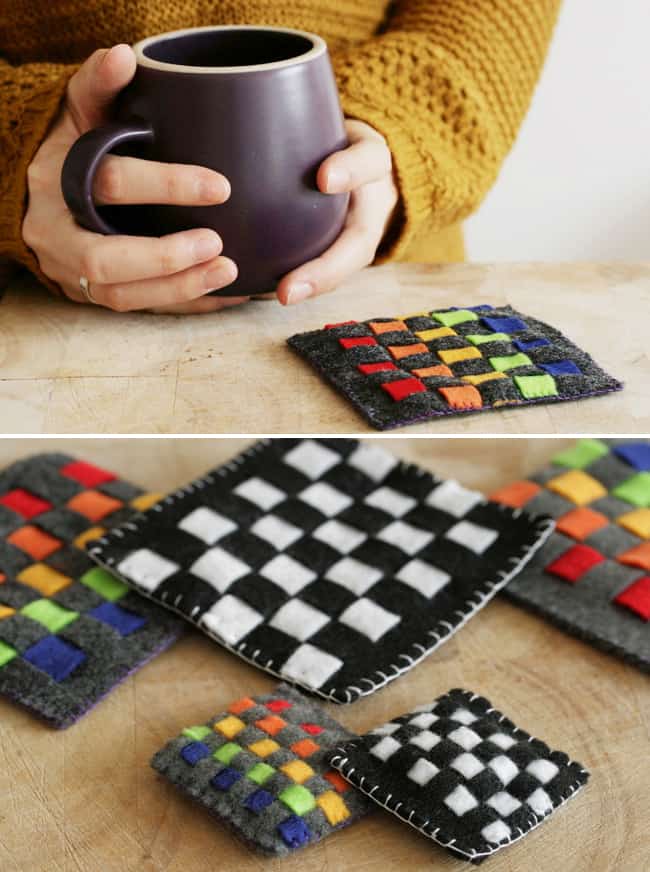
DIY Woven Felt Coaster | Hello GlowFor more colorful ideas to keep the kiddos busy on Thanksgiving and beyond, check out these fun craft ideas for kids. What mom isn’t thankful for an activity that provides a few minutes of adult conversation?

See also
DIY Nail Polish Drip Pots
1

Share this:

  • Click to share on Facebook (Opens in new window)
  • Click to share on Twitter (Opens in new window)
  • Click to share on Pinterest (Opens in new window)
  • Click to email a link to a friend (Opens in new window)

DIY Crafts & Decor crafternoon, diy coaster, felt weaving, woven coaster

More Posts from DIY Crafts & Decor

  • How to Make Your Own Incense With Just 3 Ingredients

  • 8 fun Easter egg DIYs

    8 Fun Easter Egg DIYs

  • DIY Painted Market Tote Bag

    Farmers Market DIY Tote Bag (+ Free Stencil Template Download)

  • 10 Beautiful Homemade Gift Ideas For The Home

  • 10 Amazing DIY Uses for Lavender

  • No Sew Market Tote

    Recycle Your T-Shirt into a No-Sew Reusable Grocery Bag


Reader Interactions

Comments

    Leave a Reply Cancel reply

    This site uses Akismet to reduce spam. Learn how your comment data is processed.

  1. Yvonne says

    November 26, 2013 at 4:59 pm

    How nice are those coasters and how much better that the receiver would know it has been crafted by a youngster especially for them. A very holistic approach to crafts I love it

    Reply
  2. eza says

    November 28, 2013 at 5:06 pm

    Very nice idea

    Reply
  3. Camilla says

    November 29, 2013 at 12:52 pm

    Those look like they’re half inch strips/cuts, not quarter inch.

    Reply
    • Stephanie says

      December 17, 2013 at 6:19 am

      Thanks Camilla! It was the scaled down magnets that used quarter inch strips. I’ve updated the DIY to reflect this!

      Reply
  4. tiffinie says

    January 5, 2014 at 12:15 pm

    This looks awesome i am thinking u could make them a bit bigger and use as pot holders. Going to try that

    Reply
  5. Cassi says

    May 4, 2014 at 7:40 pm

    These are wonderful! I have featured them on The Crafty Crow as a gift kids could make for Mother’s Day!

    Reply

Primary Sidebar

Get updates + more!

Get the exclusive content you crave straight to your inbox.

Featured DIY

How to Make Reusable T-shirt Wipes

How to Make Your Own Foaming Hand Soap (+ Best Essential Oils for Hand Washing)

7 Ways To Use Essential Oils in the Bedroom + 4 Diffuser Blends

How To Season + Clean A Cast Iron Skillet

How To Dust The Right Way

More

We are a participant in the Amazon Services LLC Associates Program, an affiliate advertising program designed to provide a means for us to earn fees by linking to Amazon.com and affiliated sites.
  • Contact
  • Privacy Policy
  • Hello Glow
  • Hello Veggie

Copyright © 2022 · Seasoned Pro