Fall makes me feel like being all kinds of crafty. Something sets in and suddenly I’m at the craft store (or, let’s be honest, on Pinterest) looking for inspiration. Then I remember I’m not as crafty as I want to be, get frustrated, and go home empty-handed. This year I wanted things to be different, so I came up with an easy, basic DIY Wreath that can be changed for the different holidays.

And it’s super easy to make! I guess you could say it’s the wreath for those of us who are still beginners. (Nothing wrong with that, right?)
#1 – A basic wreath that works year round
Let’s start with the basic wreath and go from there. (See below for tips and supply sources.)
Supplies needed
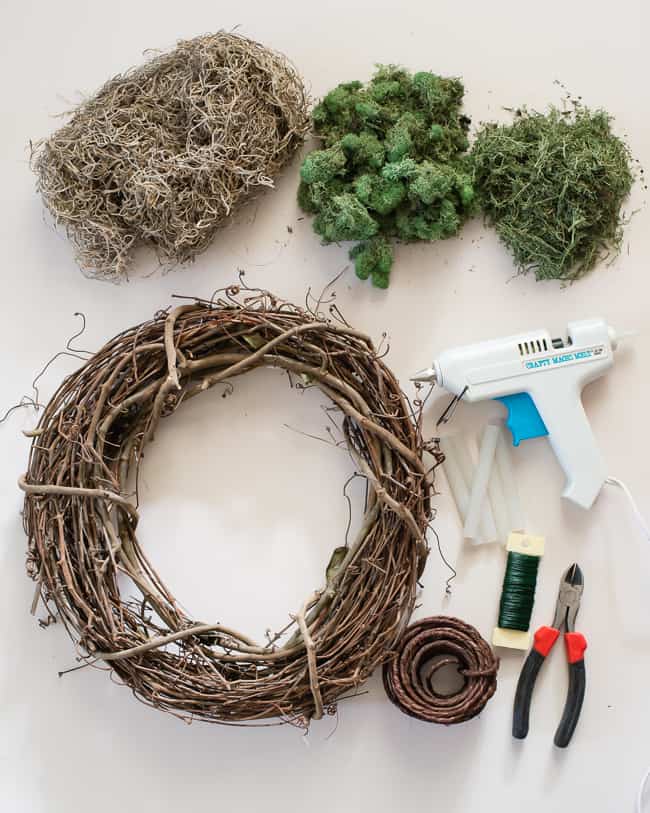
- One 12- to 14-inch grapevine wreath
- Assorted kinds of moss
- Hot glue gun (low heat is best for this)
- Hot glue sticks
- Floral wire + cutters (basic green and grapevine wire)
- Ribbon (not pictured)
Instructions
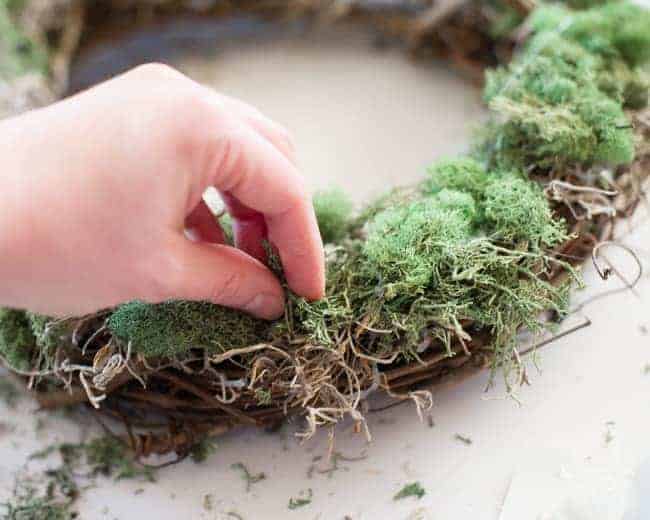
Lay the wreath on a clean work surface. Glue the moss onto the wreath, working in smaller patches. I started with the Spanish moss (the lighter, spindlier one) and then added the green moss to fill in the gaps.
Periodically tip the wreath up and let the loose moss fall off so you can see where you need to add more moss. Let the glue cool completely. Tie a ribbon through the wreath and hang.
And now, this is how to change it up for each of the major fall and winter holidays.
#2 – Halloween Wreath
Supplies needed
- Basic wreath
- Ribbon
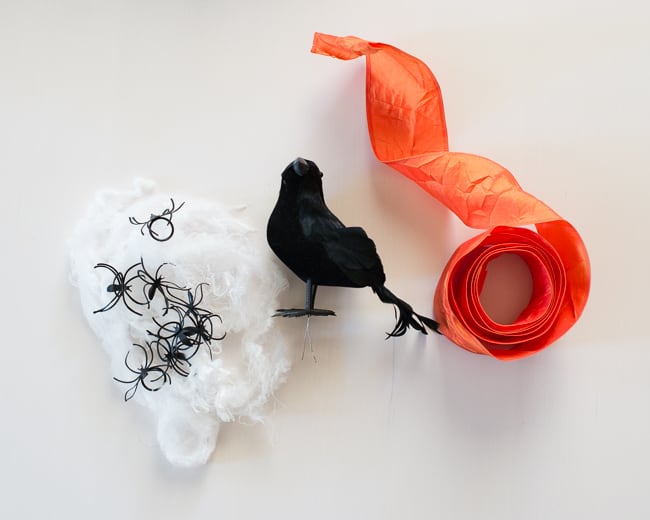
- Artificial spiderweb
- Spiders and/or bugs (spider rings work really well)
- Black crow
- Orange ribbon
Instructions
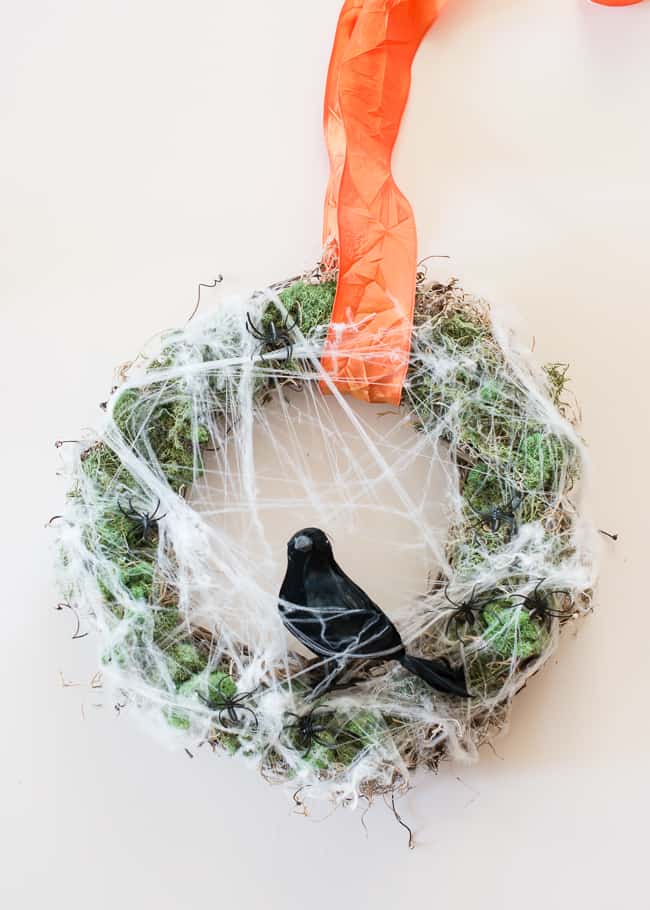
Thread a ribbon through the wreath. Separate out small bits of the artificial spiderweb. Pull the pieces over the wreath in different directions, twisting and pulling as needed, covering it as little or as much as you want. Add more as needed.
Nestle the spiders and bugs into the moss and spiderweb. If needed, use a little floral wire to secure the spiders.
Use floral wire to attach the crow on the inside bottom of the wreath. Hang using the ribbon.
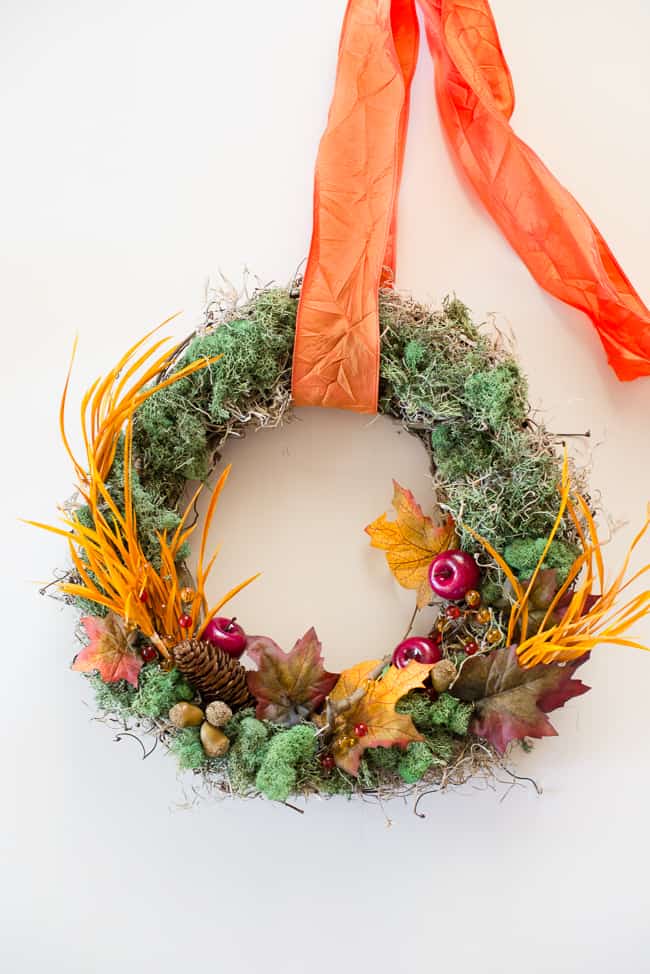
#3 – Thanksgiving Wreath
Supplies needed
- Basic wreath
- Ribbon
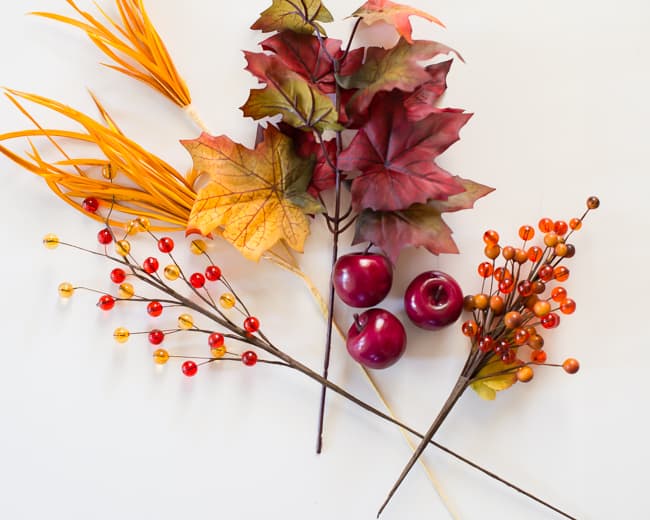
- Artificial or real colorful fall leaves
- Artificial berries and other fall floral stems
- Artificial apples or other fruit
- Floral wire
- Colorful ribbon
 Instructions
Separate out the leaves and other floral stems, clipping with wire cutters as needed, to create small groupings. Use floral wire, if needed, to secure and nestle the different elements into the moss and grapevine.
Some apples come with wire already attached, if not, poke a hole in the bottom and inserted some floral wire that I had doubled up and twisted on the end. The ones I used were made of styrofoam and it worked brilliantly.
#4 – Christmas Wreath
 Supplies needed
- Basic moss wreath
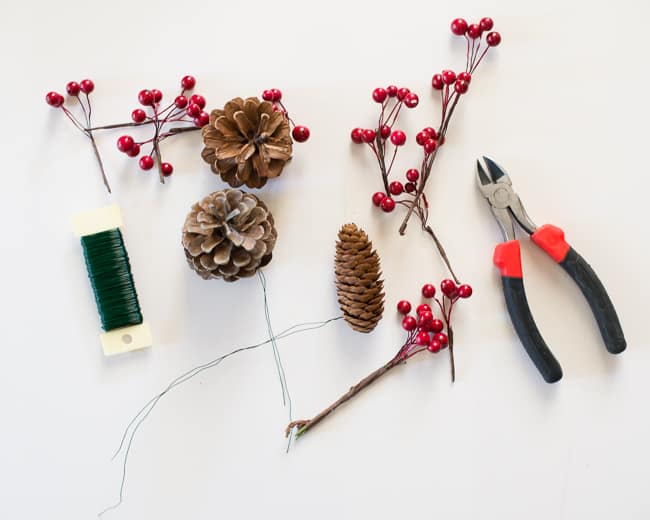
- Artificial red berries
- Pine cones
- Floral wire
- Burlap ribbon
 Instructions
Separate out the red berries and clip into smaller clumps. Cut pieces of floral wire and twist around the pine cones leaving a good amount at the end for securing to the wreath.
Tuck the berries and secure pine cones around the wreath, using as many of as few as desired. Hang using the ribbon.
Tips & Sources
Try Hobby Lobby for basics like grapevine wreaths, floral stems (berries, leaves, feathers, beads), moss, orange and burlap ribbons, spiderweb, tiny acorns, and grapevine wire.
Dollar Tree is great for seasonal pieces like the black crow, spiders, apples, moss.
Using floral wire to secure decorative elements instead of using hot glue makes it easy to change out the items for each holiday. Keep them in a plastic bag or container so it’s easy to switch them out as needed.
I’ve seen other tutorials using spray adhesive to secure the moss to the grapevine, but I found that hot glue worked better for me.
To store wreath when not in use, wrap in plastic (like a garbage bag) and store in a flat box.
Try adding fresh elements from nature – leaves, rose hips, dried flowers, herbs, etc.
4
 Instructions
 Supplies needed
 Instructions
Leave a Reply