As an Italian raised in a foodie family with a large vegetable garden, I can say with some confidence that we know how to grow garlic. From the fall planting updates to the spring scape harvest to the “how many bulbs do you want to take home with you?” late summer bounty, garlic has definitely been one of the more enjoyable and useful additions to our family garden plot.
The best part is that it such a low-effort and high-reward endeavour, that with just a little bit of know-how you can have a successful harvest and a kitchen that smells to die for once you put it to use.
Garlic Growing Basics
I reached out to the best garlic-growing sage I know, my own dad, and asked him to share all of his tried and true garlic-growing tips and tricks that he’s accumulated over the last few decades. Here’s everything you need to know about turning a humble clove into a bulb…and then some!
Plant in the fall
The first thing to understand is that garlic plants take around 9 months from first planting to reach full maturity, and the bulbs require a bit of additional drying time before they are ready to use, so it’s all about the long game on this one. In the Northern Hemisphere, garlic should be planted in the fall and harvested in the summer.
You can look up your zone to see specifically which part of the fall season is best for planting where you live. Generally, it’s recommended to get them in the ground around October so that the roots have some time to take hold of the soil before the deeper cold sets in.
If you miss the fall planting season, fret not. It is possible to plant garlic in the spring, though you will likely end up with smaller bulbs and will be harvesting them a bit later on in the summer.
In this case, it’s also recommended that you try to mimic the cold season prior to planting by placing the loose garlic cloves in a plastic baggie punched with holes and set it in the fridge; when you see those first sprouts or roots forming, get them in the soil right away. You’ll also want to plant them as early as possible in the spring when the soil and temperatures are still cool.
Photo by Karina Zhukovskaya on Unsplash
How to plant garlic
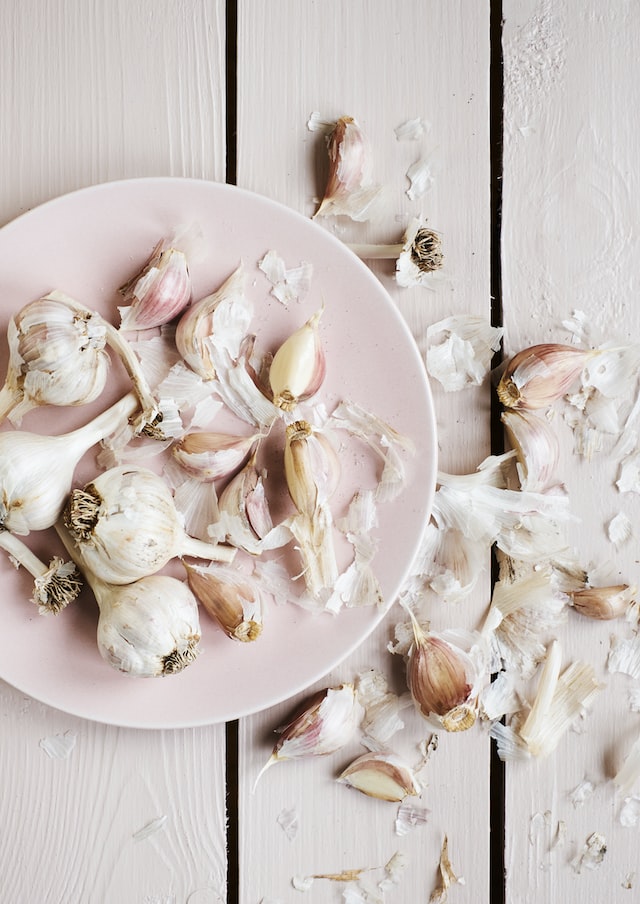
All you need to successfully grow garlic are some cloves from a previous garlic bulb that you’ve broken apart, and some good soil. Plant each clove individually with its pointy end up (leave its papery wrapping intact), and press it gently down into prepped soil—fresh compost or sterilized manure help to make the soil more viable—about 2 inches down.
Place the cloves a full hand width apart, and if you’re planting in rows, stagger the rows to create more space for the bulbs to develop. If the soil is soft enough, it will simply fall in to cover the cloves as you press them in, otherwise you can loosely cover them but don’t pack the soil down. If you don’t have a vegetable garden, you can also plant garlic clove by clove around other existing garden beds, in raised beds, or even in large pots.
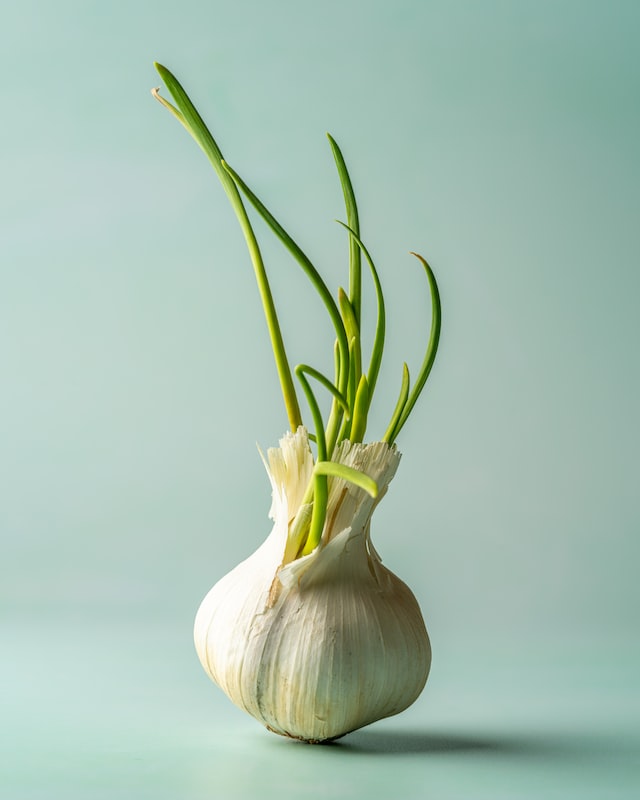
Note that while you can plant garlic indoors, it needs a cold, dormancy period in order to fully develop into a bulb, which means that while your clove won’t transform into a whole head of garlic, it will still shoot up some delicious green garlicky sprouts which can be used in the kitchen as a fresh and zesty herb. Plant a few bulbs pointy side up in potting soil about an inch down, lightly water, and set in a sunny place.
How to feed and water garlic
If you get your garlic in the soil in the fall as recommended, give them a sprinkling of vegetable fertilizer right after planting, and then once again in the spring. If you’ve planted in spring, that first feeding will likely be the only one you’ll need. Water them in after planting, and then only water once the plants have sprouted in springtime, whenever the ground is dry.
As an aside, be sure to keep on top of the weeds that pop up around your garlic plants, as they will elbow their way in and compete for the very water and nutrients that your garlic needs in order to grow and develop.
Photo by Skyler Ewing on Unsplash
You’re also growing scapes!
One of the greatest things about growing your own garlic is that in addition to the resulting bulbs, you’ll also be growing scapes, which are those (delicious!) snake-like, bright green curly cues that shoot up from the middle of the garlic plant in late spring.
Keep an eye on your plants, and once the scapes are fully developed and begin to make a little white pod at the end, you’ll cut them off at the base before they go to flower so that the nutrients are returned back to the roots rather than being spent on the bloom. These fresh and garlicky scapes are a fabulous addition to seasonal spring cooking, and can be used in a variety of recipes to make pestos, soups, or dips.
Photo by Nati Melnychuk on Unsplash
How to harvest and dry garlic
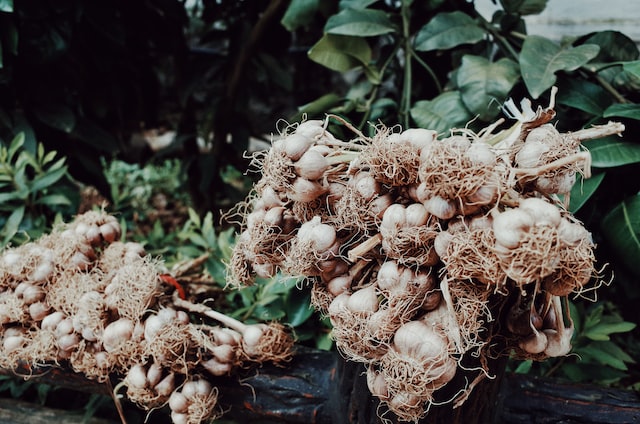
In late summer, when about two thirds of the plant’s leaves begin to brown and wither, dig up the entire plant of garlic. Brush off the soil, and move them immediately to a place that is dry, cool, out of sunlight, and has plenty of good air circulation.
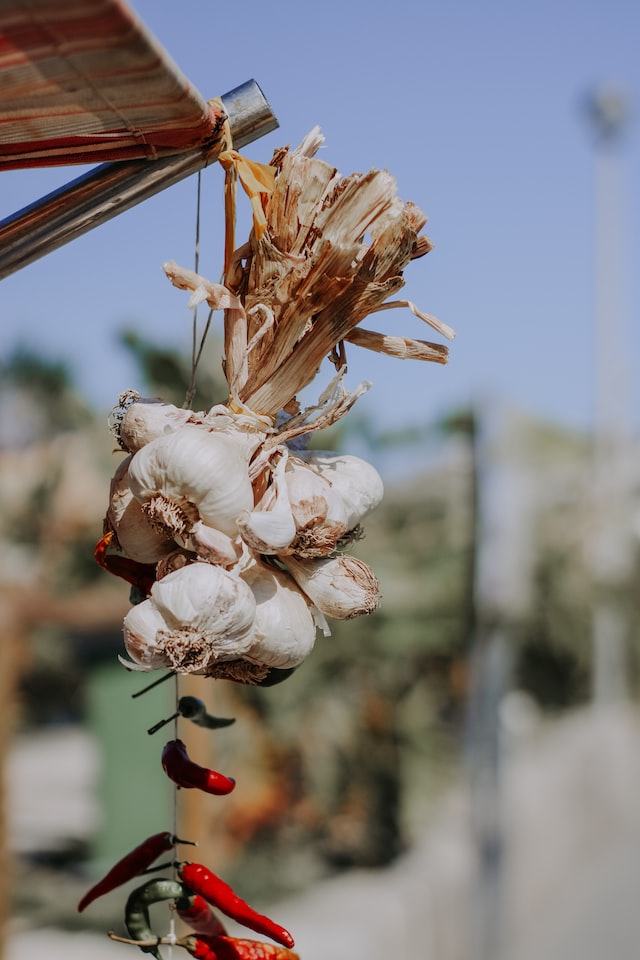
My dad lays the plants across flat drying screens which rest elevated in the garage, and opens the garage door daily to allow for the air to move around. Many people prefer to tie the plants together and hang them in a cool, dry, ventilated space.
Either way, you’ll be leaving them there to “cure” and dry out for approximately 4-8 weeks. When the stem has dried down to about an inch from the bulb and the outer papery husk has completely dried, they are finished curing.
This waiting time also allows remaining nutrients from the plant to return to the bulb, which makes for heartier garlic and helps them to last longer. When the plant has become entirely shrivelled, dead, and dry, take out your clippers and clip off the bulb, snip the long roots off the bottom like you’re giving it a hair cut, and place the garlic heads in a mesh bag.
How to store garlic
Keep your final haul of garlic in that same dark, cool, ventilated spot until ready to use—never store bulbs in an airtight or plastic container as they can quickly turn moldy and rot. When you do use a bulb, it’s fine to keep it in a loose paper bag with a few holes punched in it, or in a clay garlic pot. If properly stored, an in-tact garlic bulb can last around 6 months.
Once the bulb has been divided, however, its shelf life begins to decline. A single unpeeled clove will only last around 2-3 weeks, and a peeled garlic should be used within a week.
How to replant for next year
If you have cultivated a large bulb that you’re particularly proud of, save it for next year’s planting. Larger cloves not only give you more garlic to work with, but they also produce larger bulbs and can be more resilient in the growing process.
Photo by Yeh Xintong on Unsplash
2


Leave a Reply