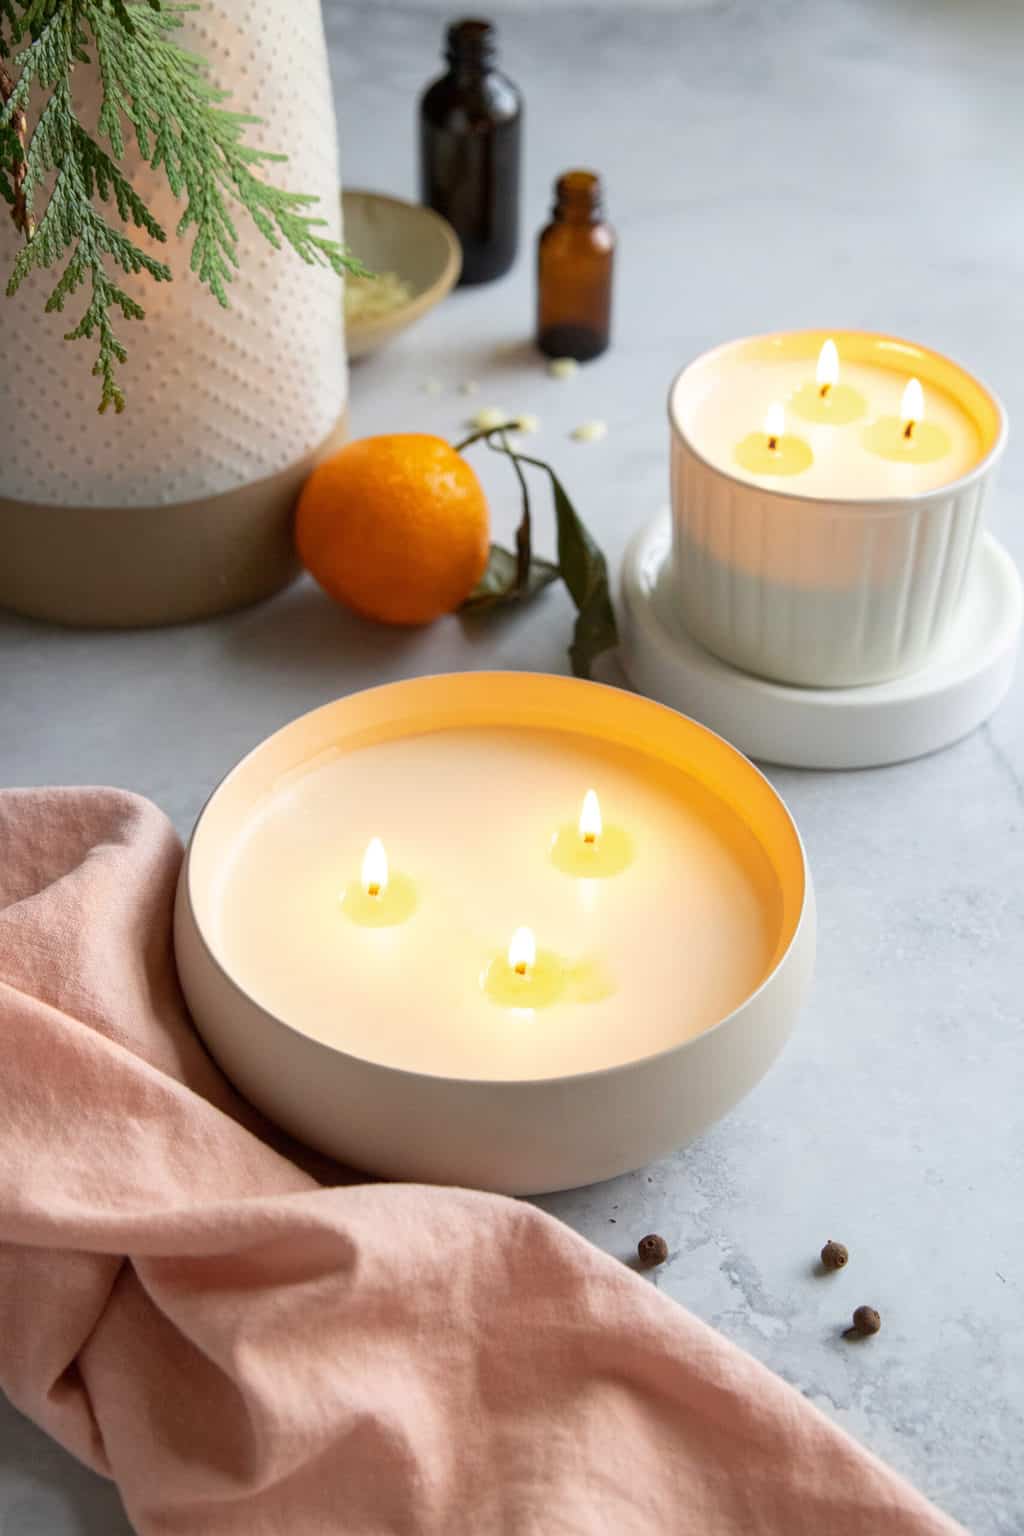
Ready to bring a little more light into your life? With the nights at their longest in the winter season, I’m pretty sure we could all use a boost right about now. Candles have always been part of my winter hygge routine, but lately, I’ve been adding larger, more festive candles to the mix. These 3 wick candles produce a warm, gorgeous glow that can fill even the most spacious rooms.
But they’re not just nice to look at—3 wick candles actually serve a purpose. For starters, more wicks allow you to use larger vessels. Wicks only have a burn radius of 1 to 2 inches, so if you would like to turn an old bowl into a candle, the heat from one wick won’t be enough to melt the candle’s surface—this is known as tunneling.
As an added bonus, more wicks mean the candle throws more ambient light and gives off a stronger scent. Ultimately, 3 wick candles will give you a more even (and enjoyable!) burn every time.
How to Make 3 Wick Candles
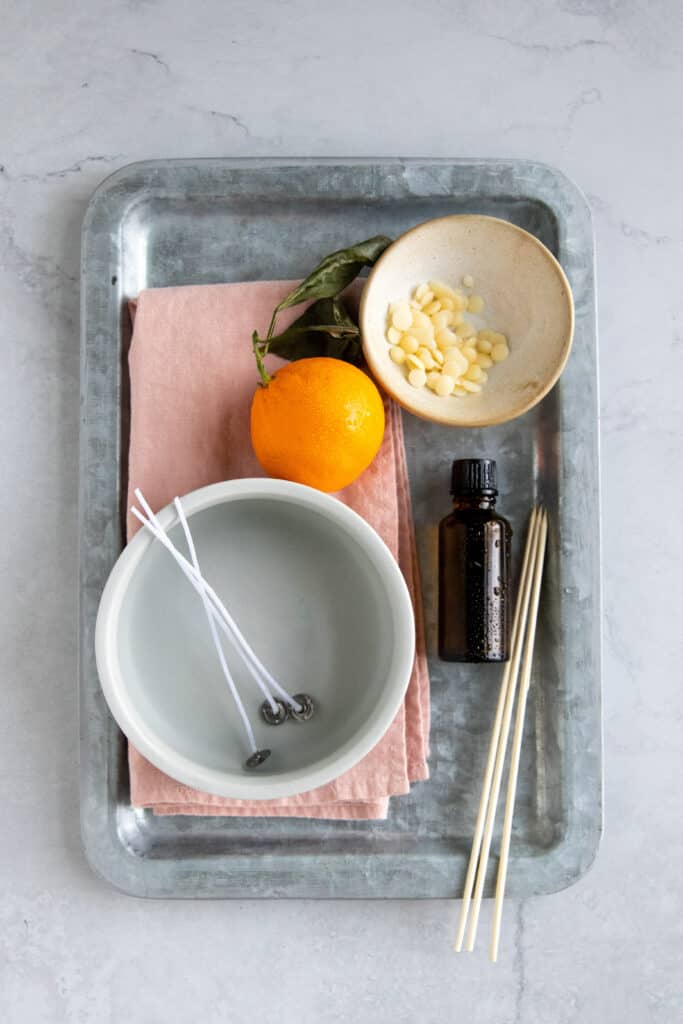
Step 1 | Select your wax.
For 3 wick candles, it’s important that you choose a wax with a low melt point. If you pick a hard wax, such as beeswax, there’s a good chance your candle won’t burn evenly or create a uniform wax pool.
My favorite type is soy wax. It’s vegan, nontoxic, inexpensive, and it melts beautifully. To lower the melt point even further, you can mix it with coconut oil if you like.
Feel free to experiment with different kinds of wax, like paraffin, beeswax, palm wax, or a mixture of waxes, and let us know how it turns out in the comments.
Step 2 | Choose a vessel
When making multi-wick candles, you’ll want to choose a larger container than you’re used to. That’s because burning several wicks at once creates more heat than burning a single wick. And if you place the wicks too close together, you run the risk of starting a fire, cracking your vessel, or getting soot marks on the container walls.
So, you need to give your wicks space.
I love to use old ceramic bowls, glass cylinder jars, large metal tins, or anything else that measures roughly 3 or more inches across.
Why 3 inches? Well, most wicks can melt a 1.5-inch radius, give or take. So, I know that placing one wick in the center of a 3-inch container isn’t enough to create a uniform wax pool that reaches all the way to the edge of the container.
Step 3 | Determine the number of wicks you need.
Depending on the size of your vessel, you may actually need more than three wicks. But not always.
Here’s a good rule of thumb for figuring out the number of wicks you need:
Just add 1 wick for every inch your vessel measures above 3 inches. So, for a 4-inch jar, you’ll need two wicks. For a 5-inch jar, three wicks. So on and so forth. Now, this doesn’t mean that you can’t use three wicks in a 4-inch jar, but it does mean you shouldn’t use three wicks in a 7-inch jar, or you won’t have enough firepower to melt the wax properly.
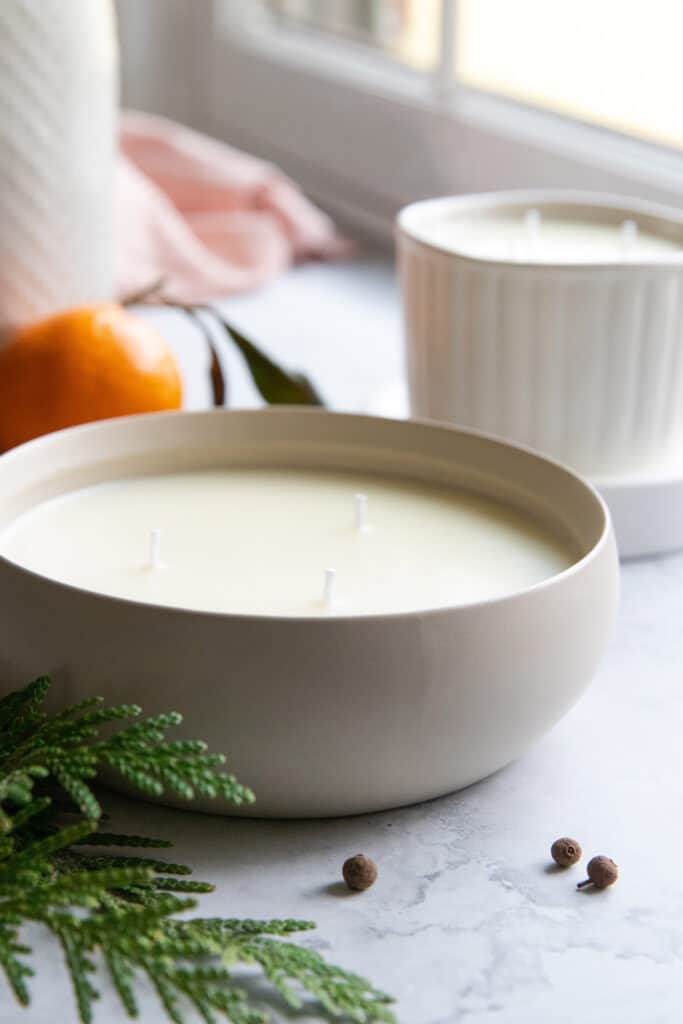
Step 4 | Space out your wicks.
You need to space your wicks evenly in your vessel to help your candles burn properly.
For round 3 wick candles, a triangle placement is ideal. Be sure they are centered, spaced out about 1 to 2 inches apart from each other, and not too close to the side of the container. Placing the wicks close to the sides can cause the glass to get too hot.
If you’re using more than or less than three wicks, simply space the wicks so they’re equidistant from each other and the side of the container. It doesn’t have to be perfect—just eyeball it!
Tips for Burning 3 Wick Candles
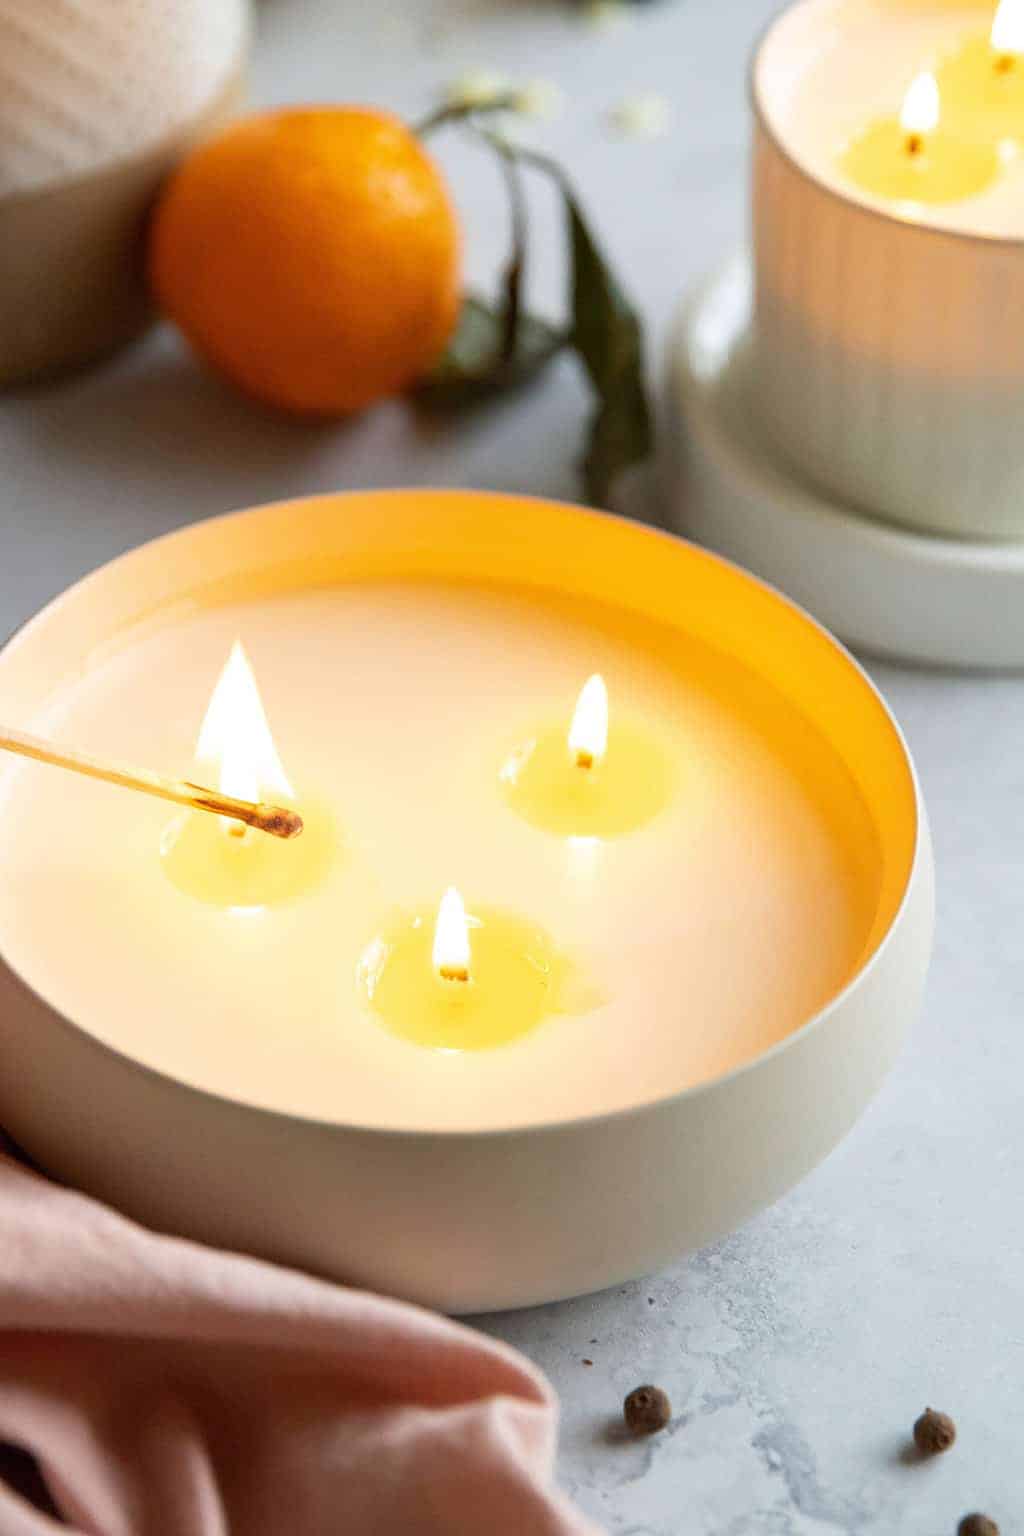
You should light all three wicks and allow them to burn for at least an hour. Ideally, you want to melt the wax enough for the three separate wax pools to merge into a single pool that spreads evenly across the entire surface of the candle.
Trim the wicks to 1/4-inch every time you burn your candle. This will prevent the flame from smoking and keep soot marks to a minimum.
If your candle starts to tunnel, you can bring it back to life one of two ways: use a hair dryer on low to even out the wax surface, or place the candle in a 175°F oven for about 25 minutes. This can help melt the wax, so it levels out across the surface of the candle.
Burn your candle for up to 6 hours at a time. Any longer and it could overheat, causing the vessel to get too hot or the wicks to soften and bend.
Three Wick Candle FAQs
How do you make a 3 wick candle burn evenly?
Ideally, you want to burn all three wicks at the same time and long enough to form one single wax pool. If you don’t, you run the risk of tunneling, which means that only the wax directly next to the wick melts. This makes it hard for your candle to stay lit and drastically limits your candle’s burn time in the future.
Do you have to light all 3 wicks?
No, you don’t have to. If you choose to light one wick at a time, make sure that the first time you light your candle, you light all three wicks. After that, you can rotate between the three wicks each time, trying to let them all burn for the same amount of time.
How much wax do you need for a 3 wick candle?
That depends on the size of your vessel. For an 8-ounce vessel, you need approximately 1-½ cups of soy wax flakes (unmelted). But obviously, this ratio will vary depending on the type of wax you use and what form it’s in.
Do 3 wick candles burn down faster than single wick candles?
Well, it depends! Strictly speaking, yes, 3 wick candles burn more quickly because they produce more heat and soak up more wax. But because they burn more evenly, you run less risk of experiencing tunneling, which can cut the life of your candle short.
2


Leave a Reply