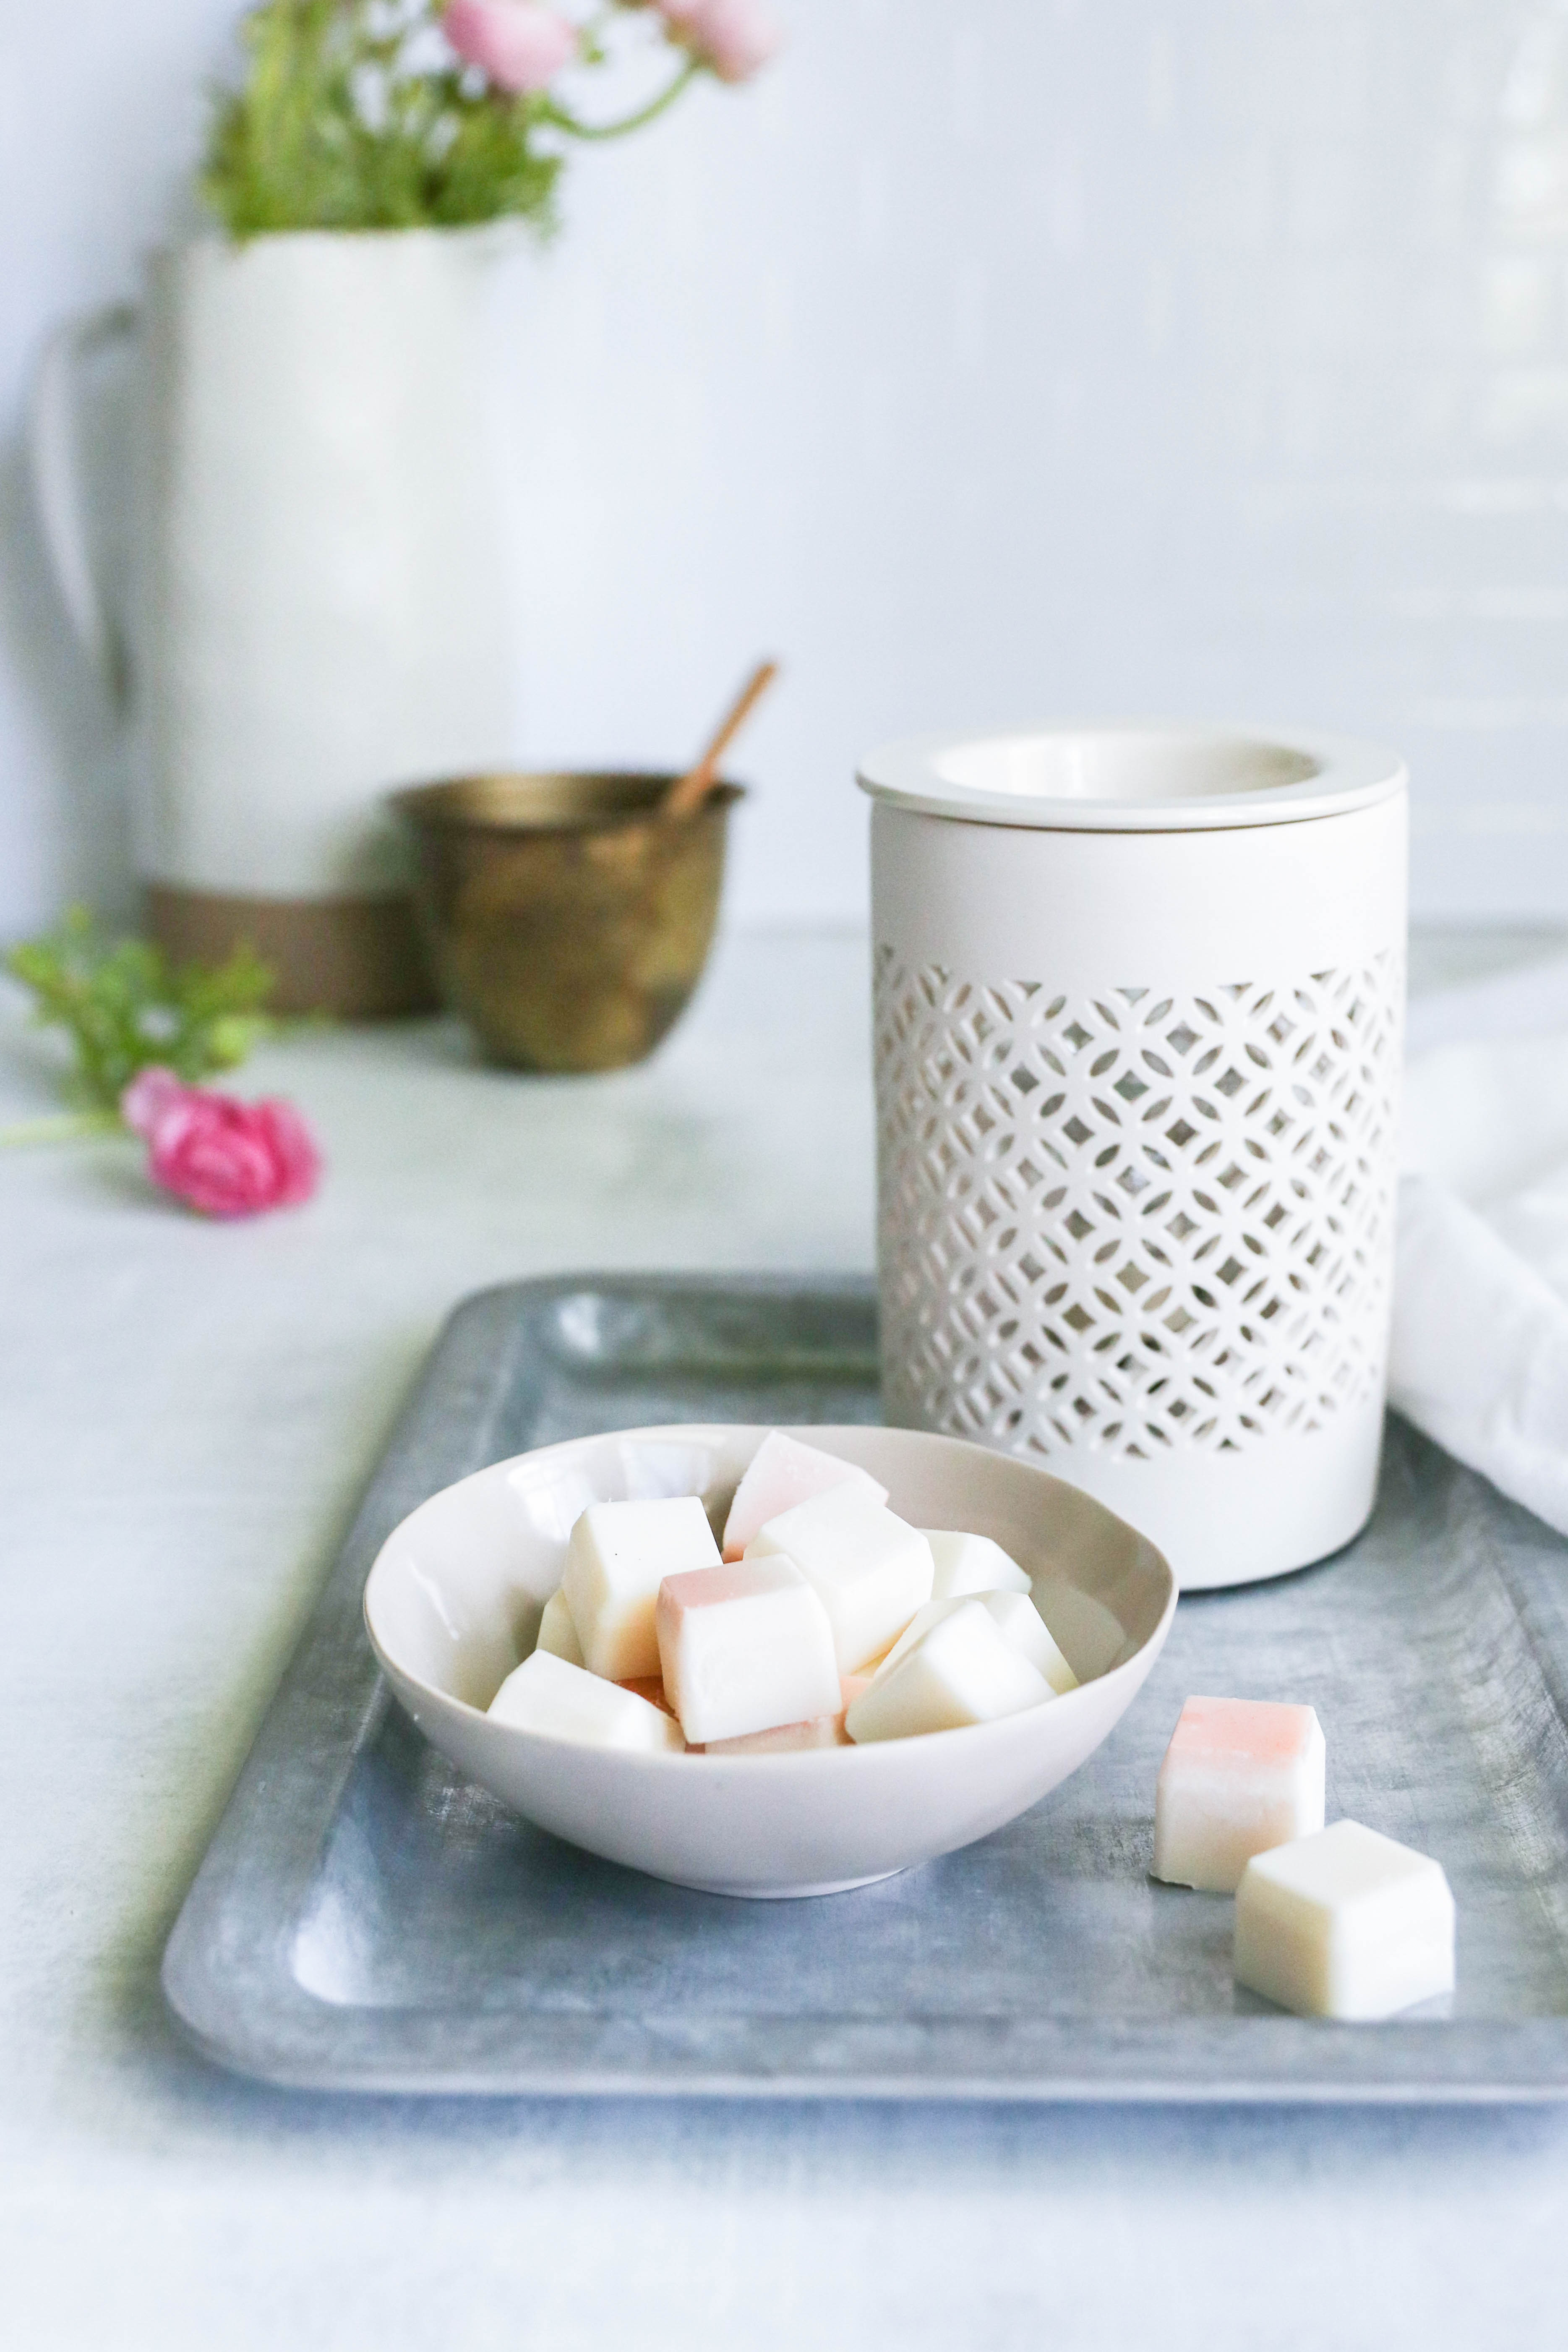
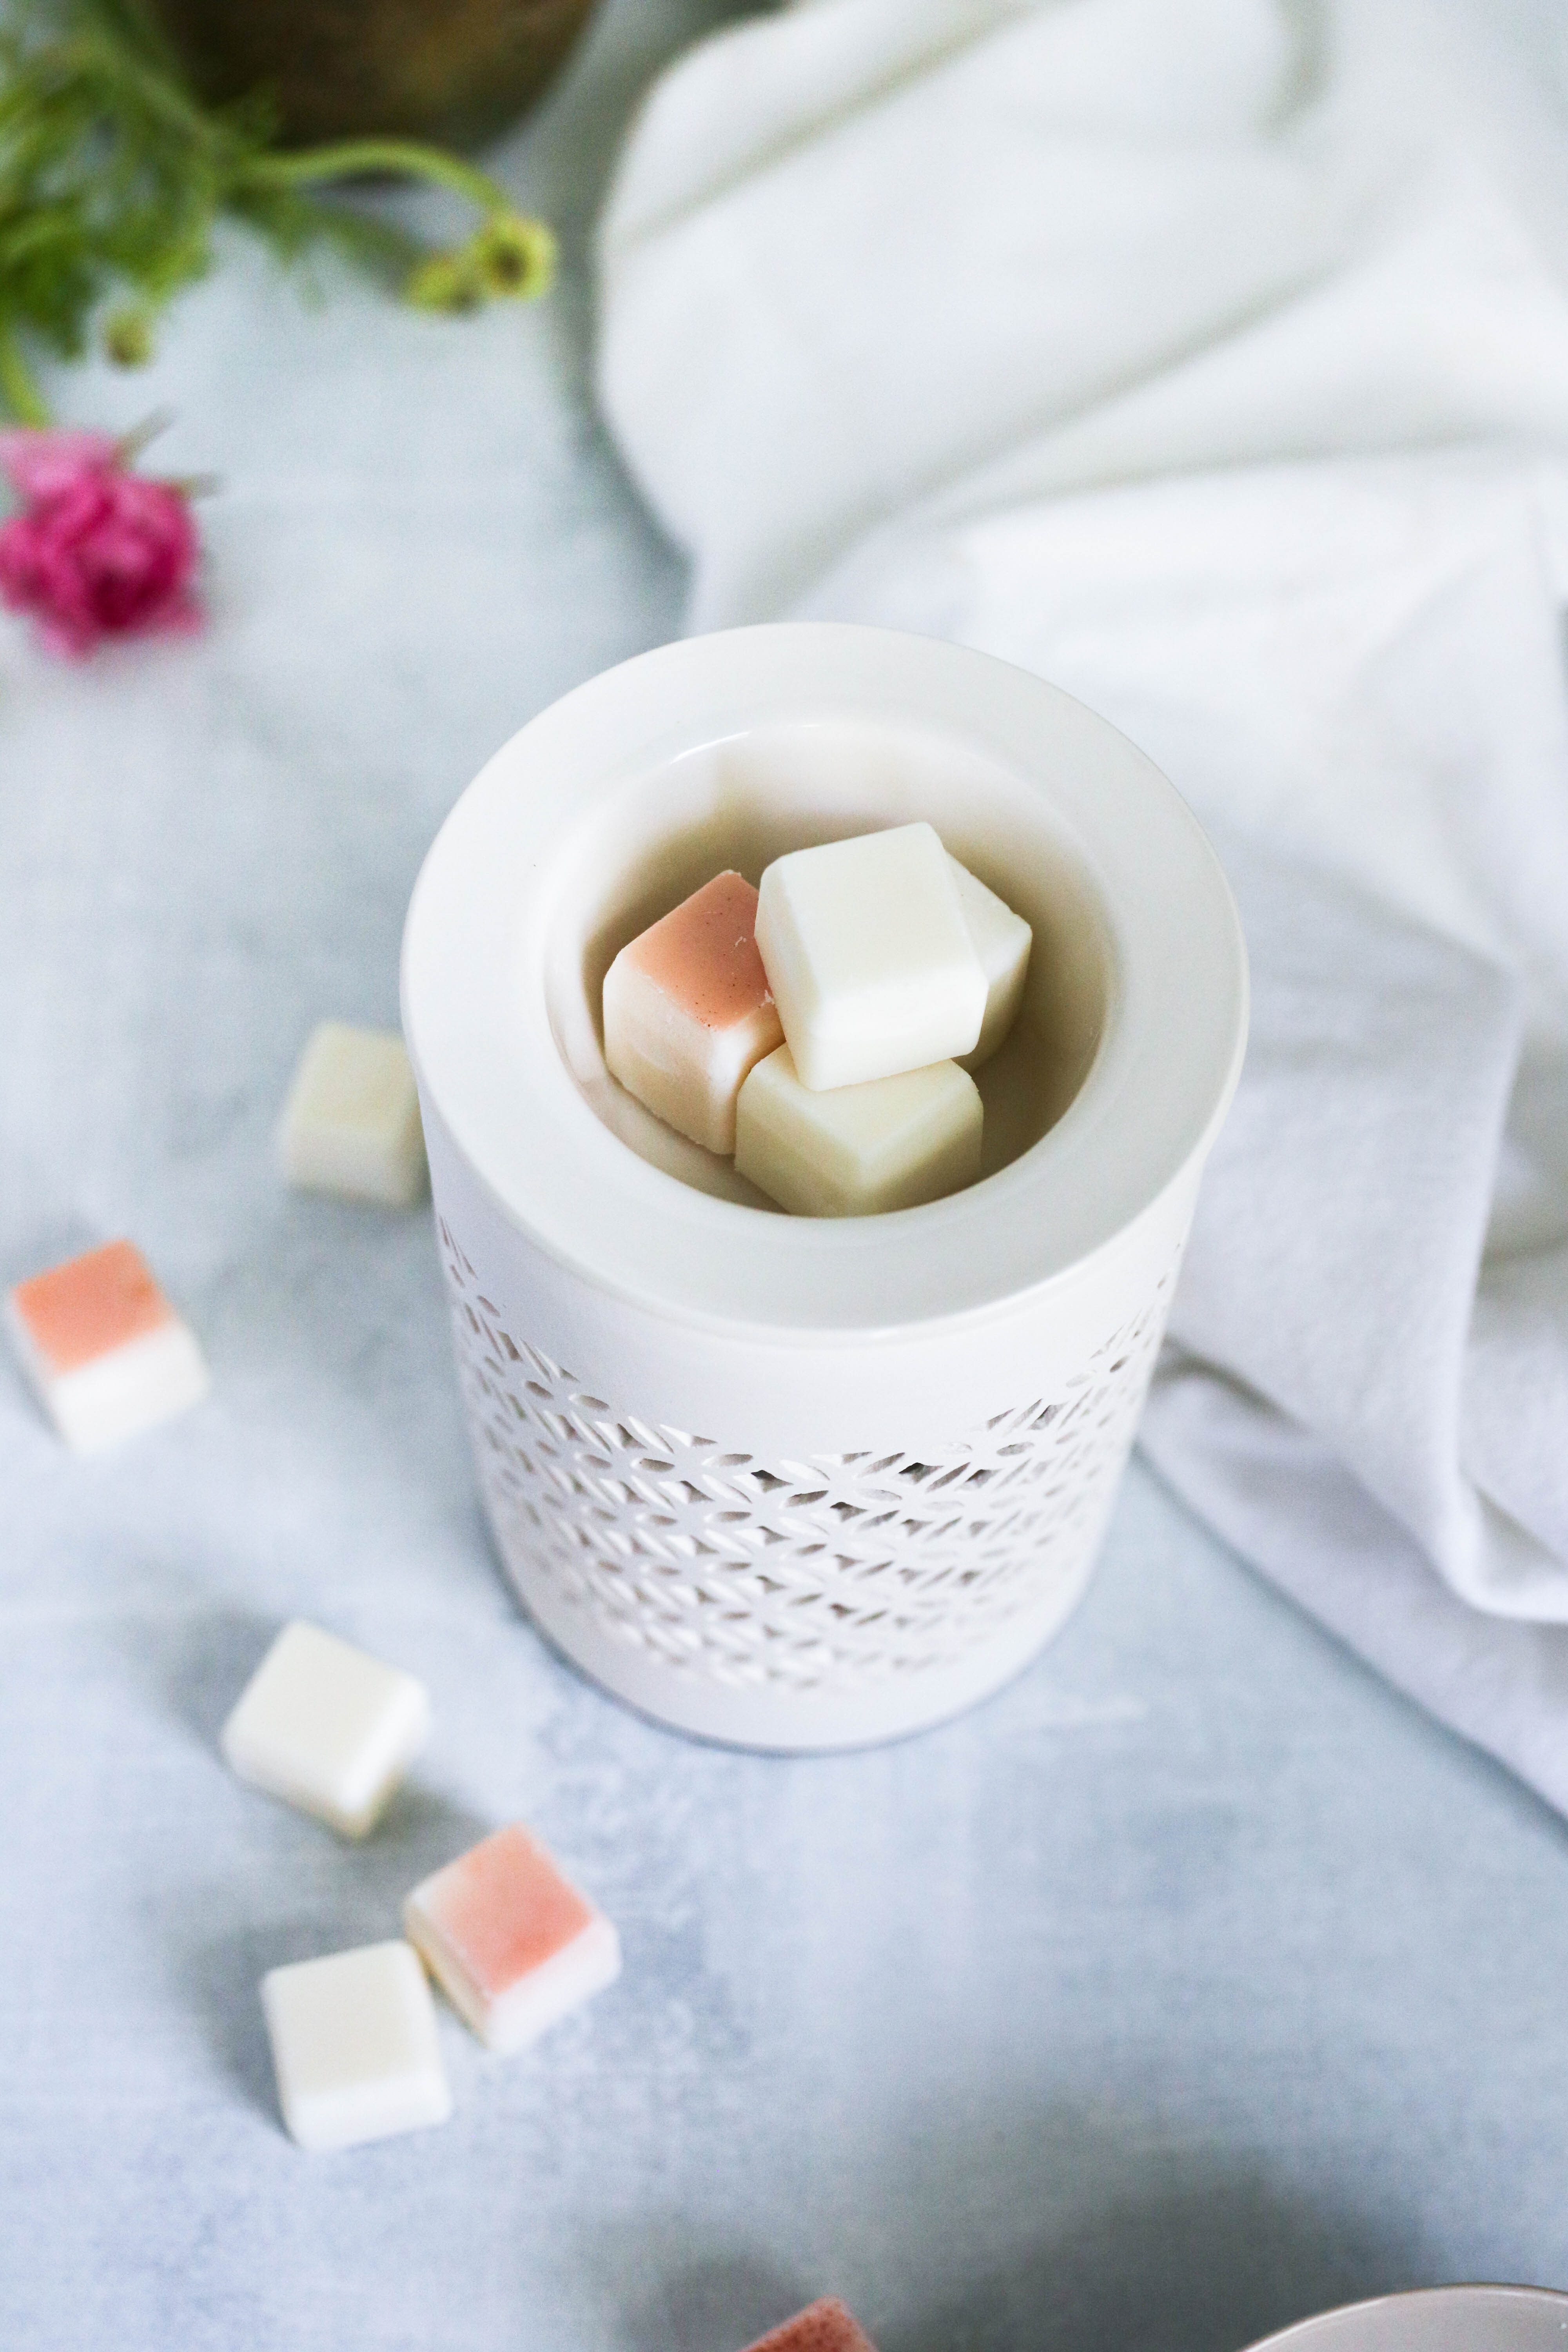
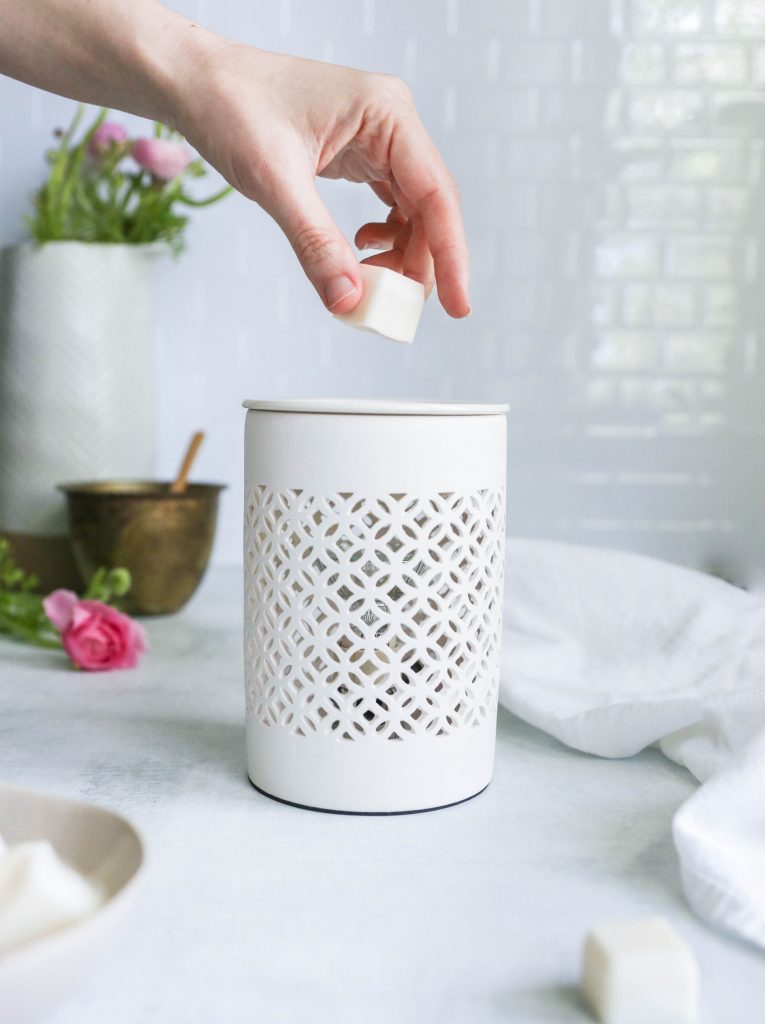
I want to hug whoever created those flameless soy wax melts that are everywhere these days. While I love candles, we live in an old house practically made of toothpicks, so I’m always looking for flame-free ways to scent our home. In case you haven’t heard of them, wax melts are essentially just cubes of wax you place in a warmer (ours is electric so there’s no open flame). And as they melt, they release their scent into the air just like candles.
Although they’re not super expensive to buy, making your own melts allows you to control what goes in ’em. These 3-ingredient soy wax melts are paraffin-free and contain only essential oils so you never have to worry about breathing in anything gunky.
DIY Soy Wax Melts
Thankfully, you don’t need a ton of supplies to make your own wax melts.
I use soy wax for mine because it’s non-toxic and easy to find at most craft stores. But I’ve seen these made with beeswax (a little pricier) or paraffin wax (iffy on the health front) as well. Since there’s no open flame, the wax needs to melt at a lower temperature so I add some extra oil. And lastly, I use a variety of essential oils to boost the aromatherapy factor. In order to scent the whole room, you’ll want to choose oils that are inexpensive and come in large bottles. I like lemon, grapefruit and lavender oils but go ahead and use whichever ones you prefer.
 Materials
- Silicon mold, ice cube tray or mini muffin pan
- 2 cups soy wax flakes
- ¼ cup almond or grapeseed oil
- 1-2 tablespoons essential oil of your choice
- Old 16 ounce glass jar
- Small saucepan
- Optional: Clay, ground herbs or beet root powder for natural color
Instructions
1. Place the soy wax flakes in an old heat-proof glass jar. Set the jar in a saucepan and fill the pan with water until it reaches about halfway up the sides of the jar.
2. Simmer on low until the wax melts.
3. Remove from heat and let cool for 2 minutes. Add the almond oil and essential oils, then stir to combine. While 2 tablespoons of essential oil sounds like a lot, your wax melts might still not be as fragrant as you’d expect, so add more oil if needed. If you’d like to add color to your melts, do so now.
4. Carefully pour the wax into the mold and let cool completely.
5. To use, place 2 or 3 melts in a warmer and allow the scent to fill your house as they melt.

 Materials
Celesti says
I add Palm Kernel Flakes instead of liquid oil to my wax melts. It’s less messy and easy to incorporate with the soy/beeswax.
Amanda Ann Milloy says
so instead of you using oil you used a quarter cup of palm kernel flakes?
Hannah says
It isn’t as easy as this, if you’re making them to sell, letting the wax cool for 2 minutes will cause the wax to become too cool to pour, it may still be runny but your melts will sink in the middle as they harden; this is due to the wax being poured at a too cool of a temperature and it grips the hot wax in the middle as it sets causing a crater in the middle
Sarah Woodhouse says
I have this problem too, what do you suggest?
M. Gorman says
Let the wax reach 180-185 degrees before rem adding anything. At that temperature remove from heat and immediately add the fragrance of your choosing, stir very thoroughly. When wax cools to 135-140 degrees it’s perfect time to pour into your mold . Let them cool at room temperature. once you remove the melts, store in an air tight glass jar until ready for use. I recommend waiting a few days to use so the scent is totally absorbed into the melt. This also works well for candle making. I prefer a coconut wax blend.
Jane Edmundson says
Why do you put oil in with the wax?