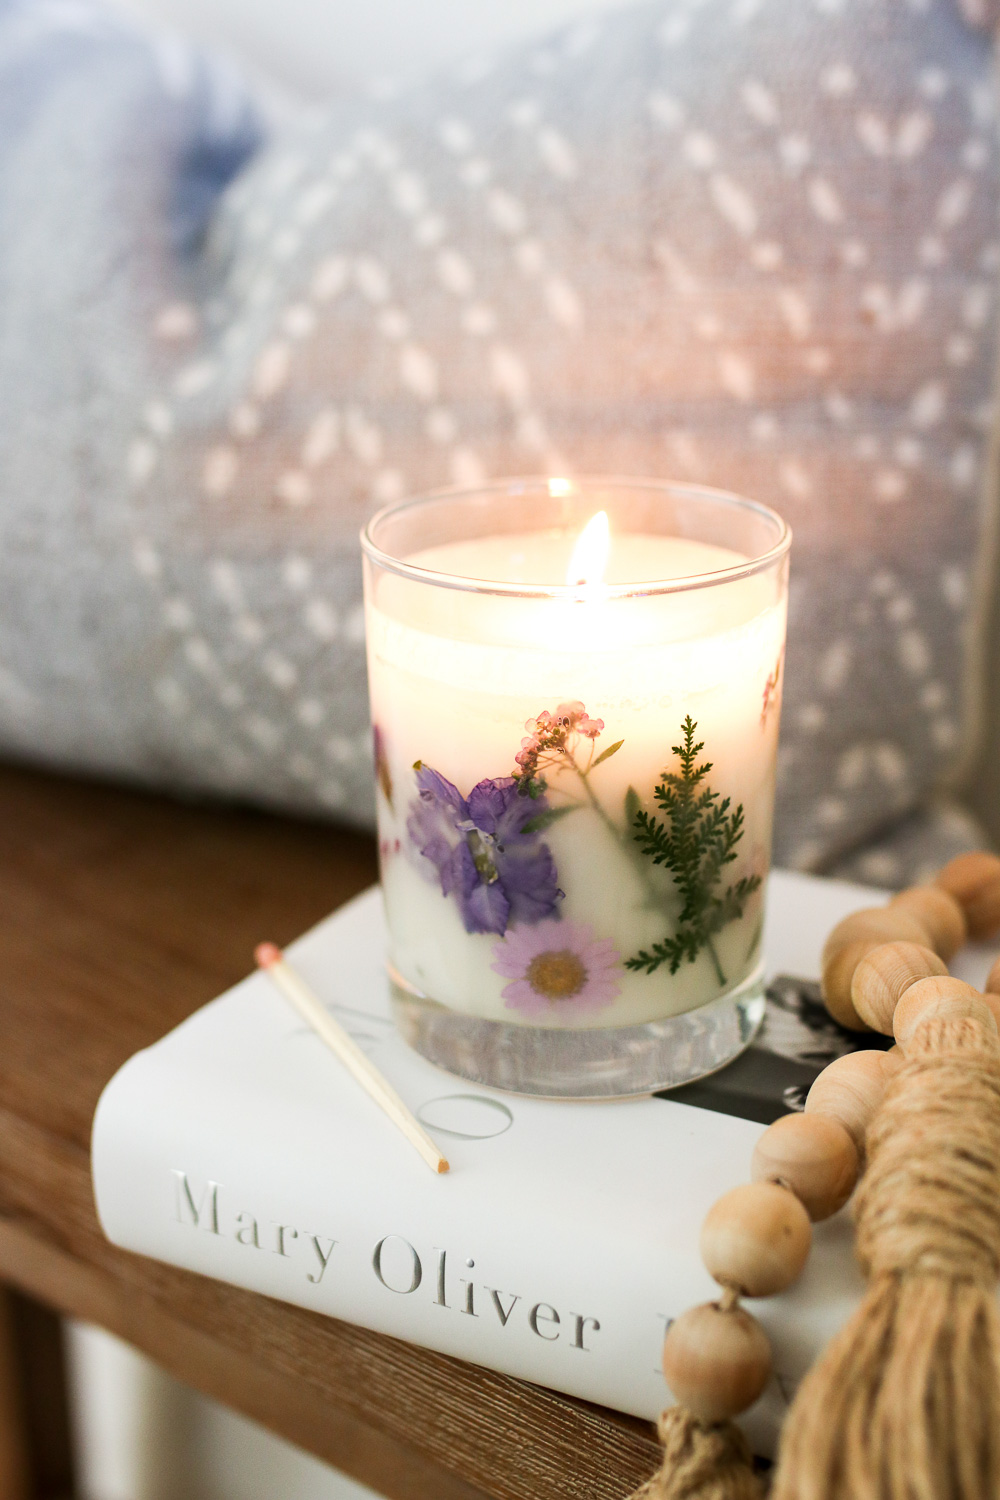
It’s candle season, you guys, and I couldn’t be more thrilled. Does anyone else live for this time of year? (According to Instagram that’s a silly question.) The only thing I love more than filling my home with gorgeous candles is making gorgeous candles because, well, they don’t last forever and they’re pricey.
This year I decided to experiment with making dried flower candles and, despite my tempered expectations, they turned out so much better than I envisioned.
Don’t let the number of steps fool you. They’re really pretty simple and with a few supplies and a little bit of know-how you can make your own botanical candles, just in time for holiday gift giving.
How to Make Dried Flower Candles
I won’t lie, I spun my wheels with these at first.
I looked up tutorials online and watched Youtube videos telling me to just put the flowers in the wax and let ‘em cool and, well, that didn’t work for me. My biggest problem was that no matter what I did, the flowers quickly became hidden behind a layer of wax. And since I used non-toxic soy wax, even a super thin layer became opaque once it cooled, completely hiding the flowers and making everything look sloppy.
So back to the drawing board.
Next I experimented with different wax. Beeswax is slightly less opaque than soy, but it’s expensive and you don’t really gain much in the way of visibility. So, I moved onto paraffin wax. While I’m not really a fan of paraffin (it’s a petroleum byproduct and especially hard on the lungs), I made an exception because it’s the only thing that really worked. In order to see the embedded flowers, you have to use a translucent wax from the start—and that rules out a lot of natural waxes.
That being said, if you’re not a fan of paraffin candles there is a workaround: use two different waxes.
To keep the flowers pressed against the side of the container, I first made a candle using a slightly smaller container and let it cool. Then I popped the candle out and placed it inside a larger container. I sandwiched the flowers in between the candle and the glass, and poured a second layer of wax.
If you’d prefer not to breathe paraffin while your dried flower candles burn, simply use soy wax for the first pour and paraffin wax for the second. That way you’ll end up with gorgeously visible pressed flowers and keep toxins to a minimum. A win-win.
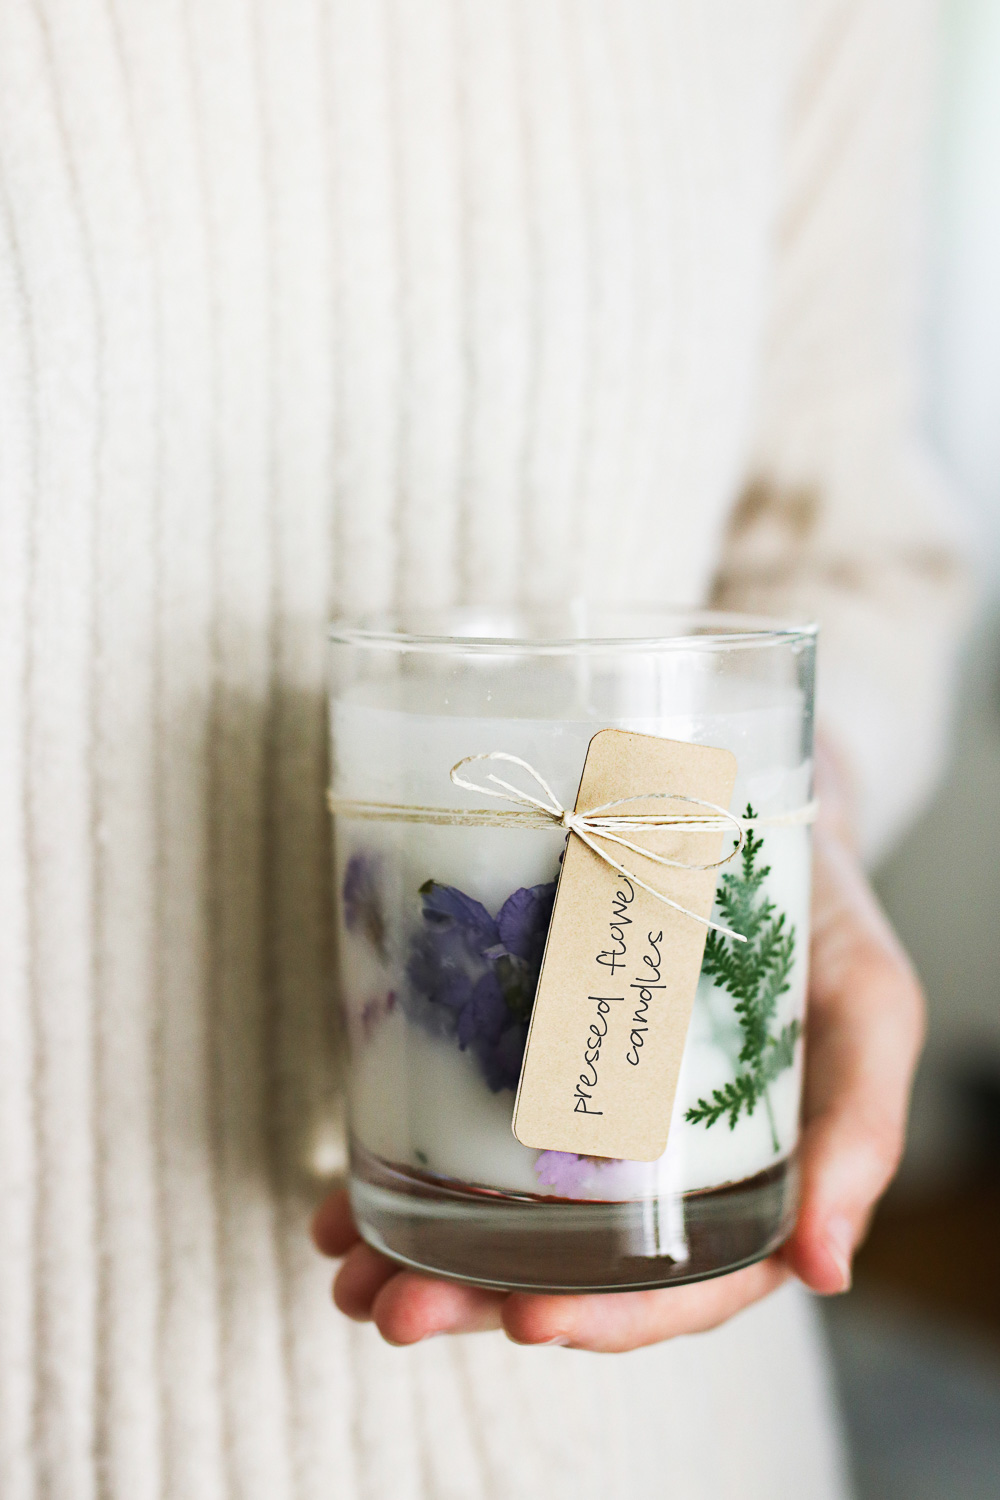
In the end, though, I love how they turned out and I’d happily put these babies in the “would make again” category. I tied ‘em with a simple jute cord and added a tag for fun because the holidays are coming up and a girl’s gotta be prepared, yes?
DIY Botanical Candles
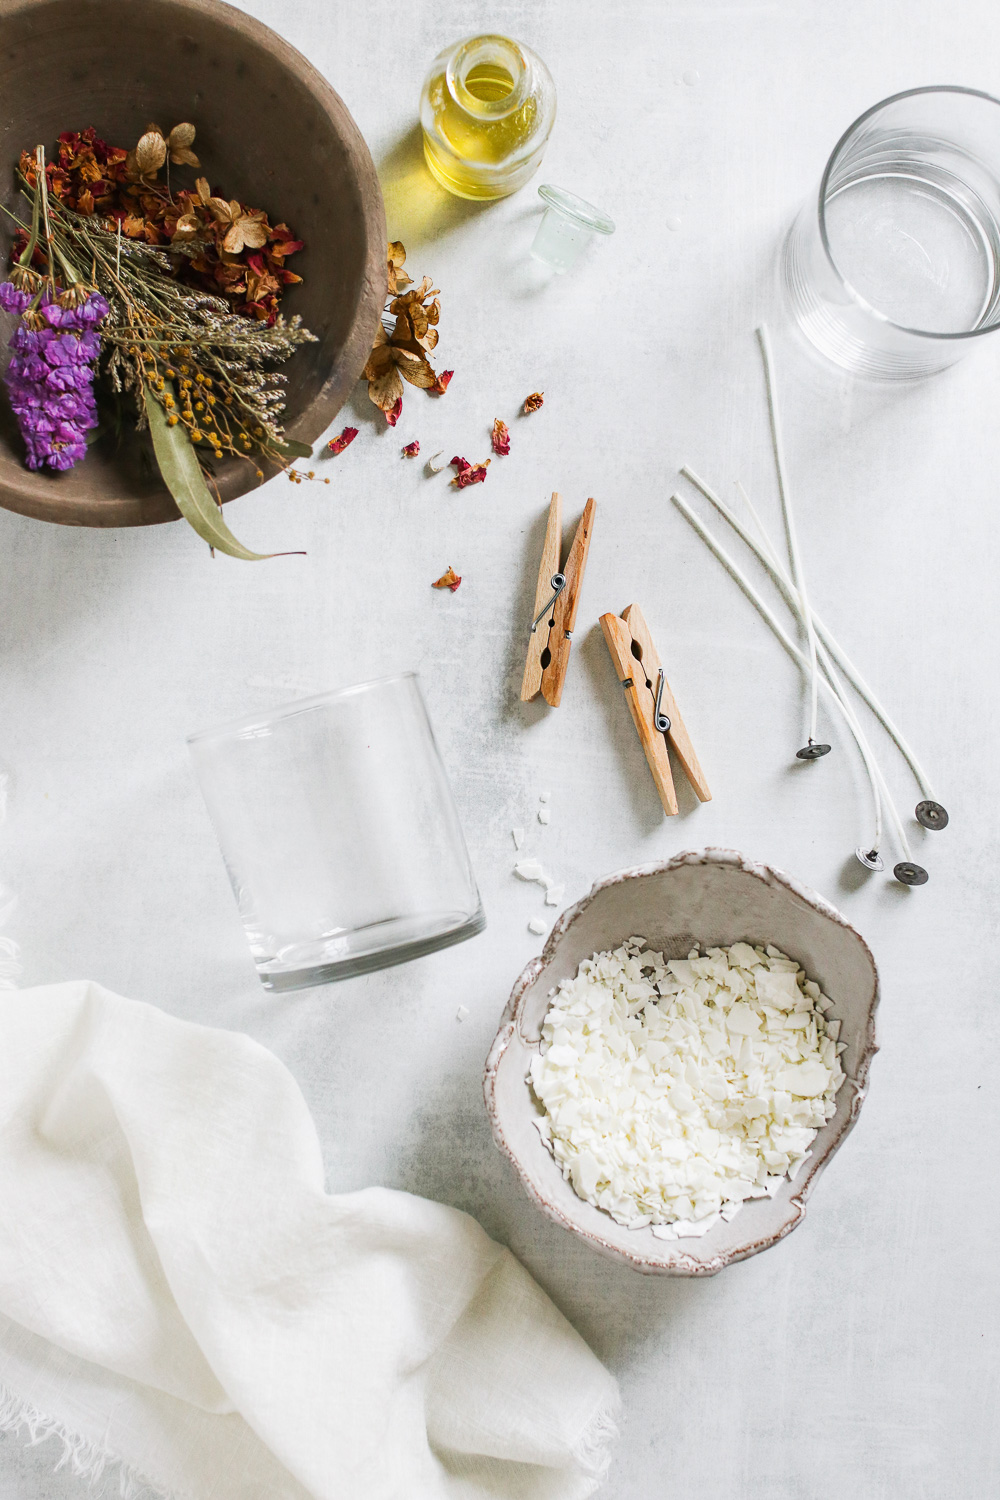
Supplies
- Dried, pressed flowers
- Paraffin wax
- Soy wax (optional)
- Cotton wicks
- Clothespins or chopsticks (for holding wicks)
- 30-40 drops essential oils of your choosing
- 8-ounce glass or see-through container
- A slightly narrower glass container with straight sides (it doesn’t have to be the same height, but this vessel should fit inside your 8-ounce glass and still leave a little breathing room around the sides)
- Pyrex measuring cup and a small saucepan (or a double boiler)
Instructions
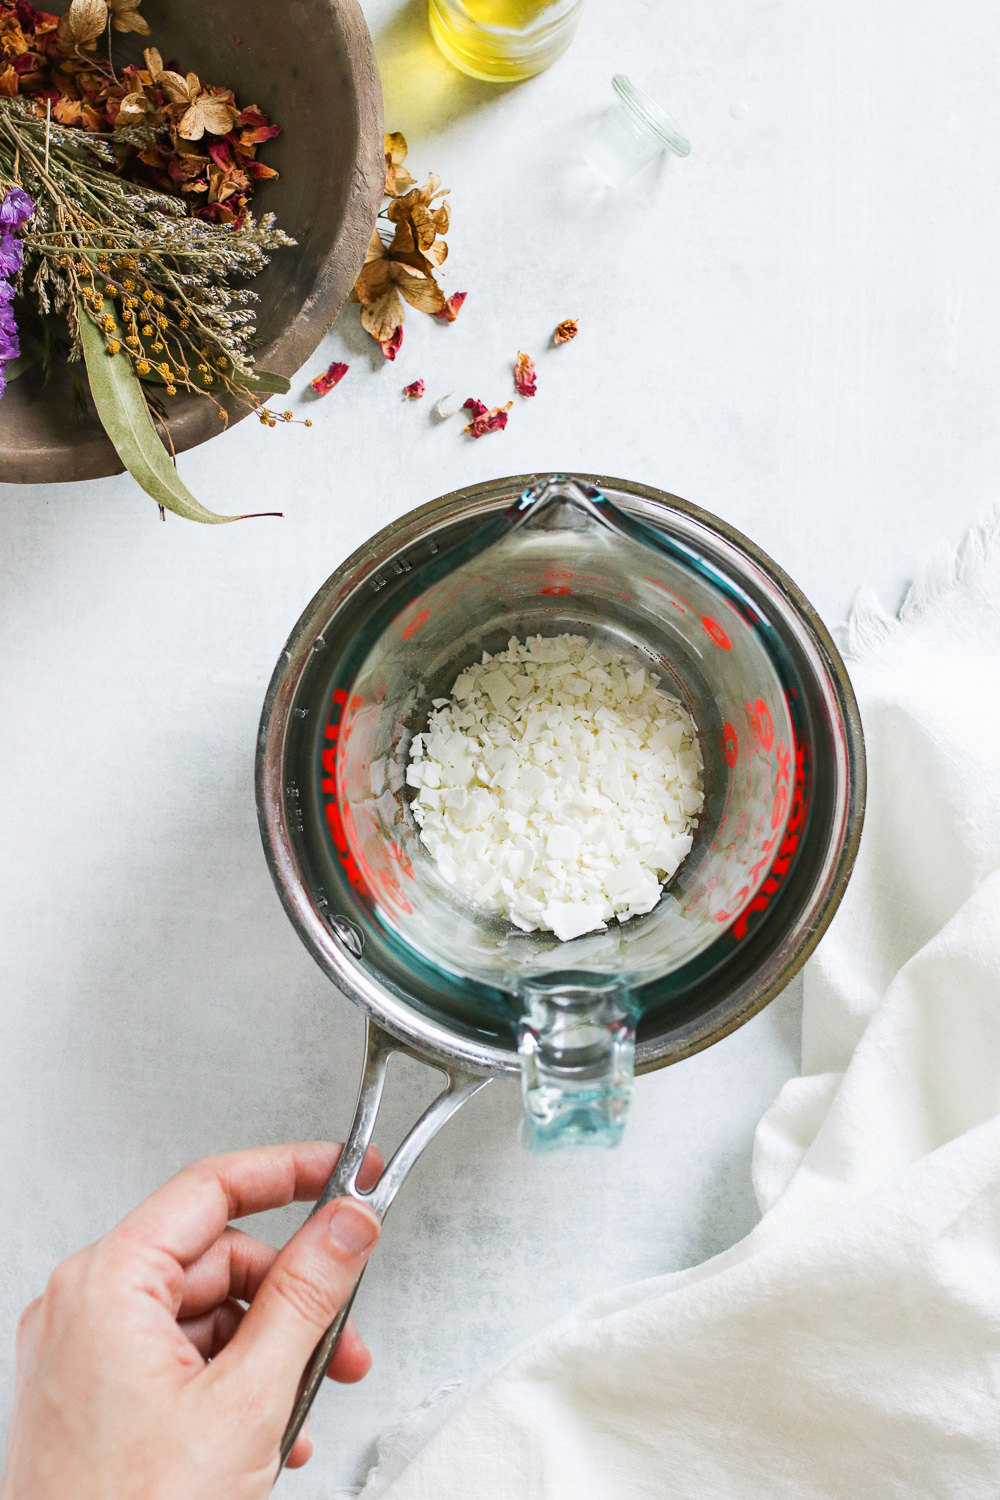
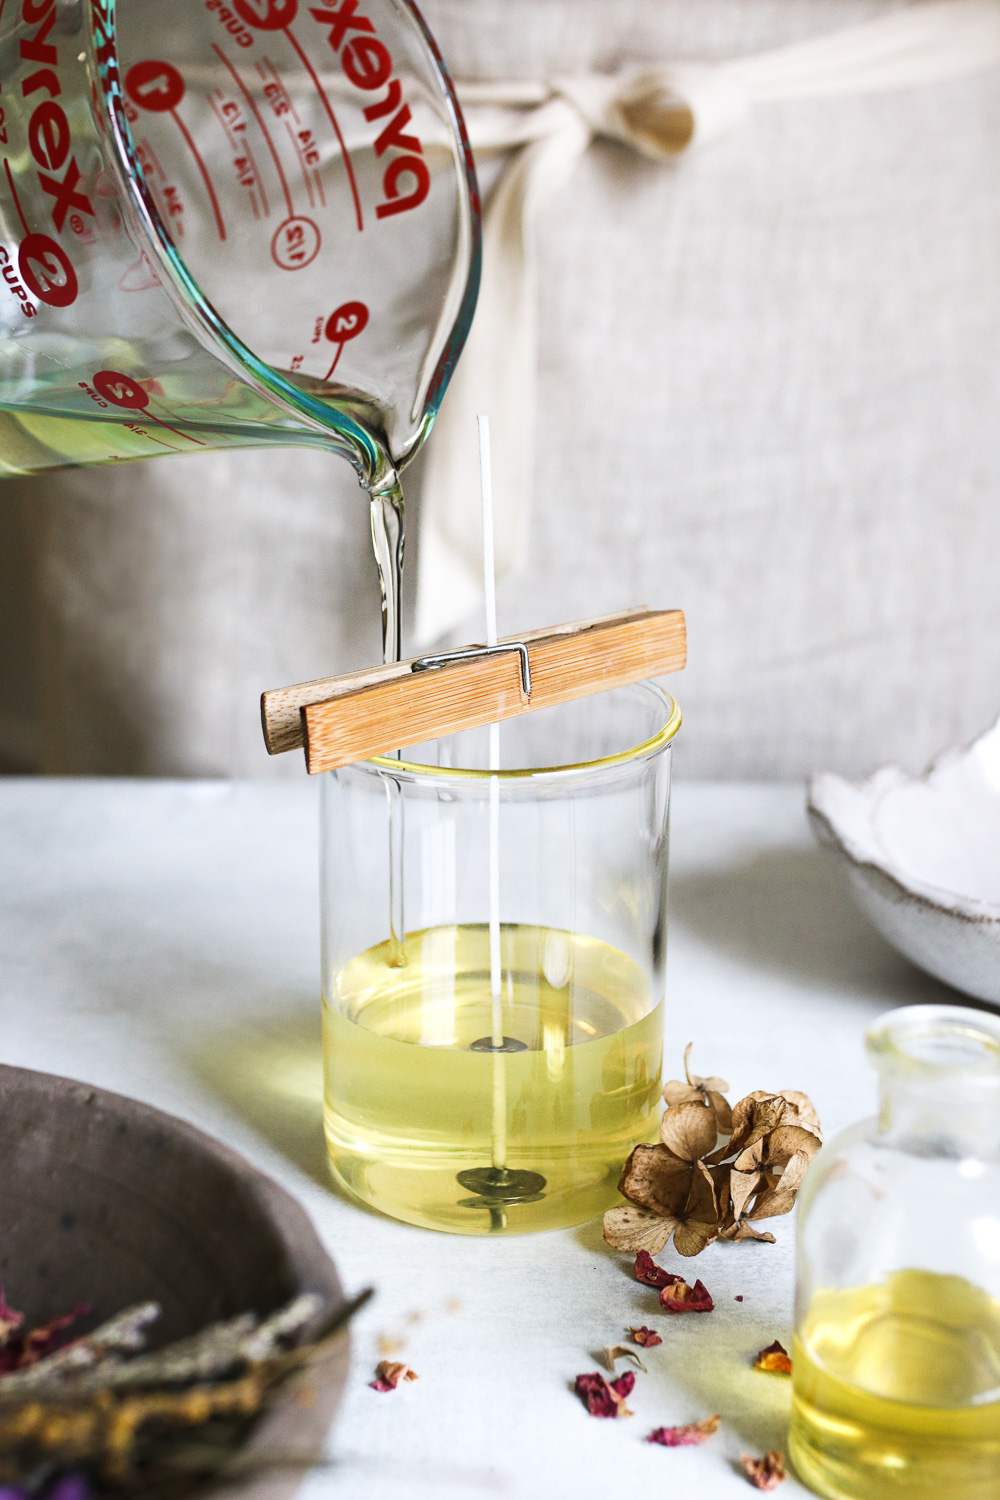
1. Put 1-2 cups of wax (if using soy wax for the center, melt that one now) in a Pyrex measuring cup and place it in the center of a small saucepan. Add enough water to the saucepan so that it reaches 1-2 inches up the side of your measuring cup. Simmer on low until the wax is completely melted.
If adding essential oils, add them now and give it a good stir.
2. Place a wick in the center of the narrower glass container and hold it in place with a clothespin. Pour the melted wax into the vessel and put it in the freezer until completely cool (45 minutes to an hour).
The wax should shrink slightly, making it easy to pop the candle out of the vessel.
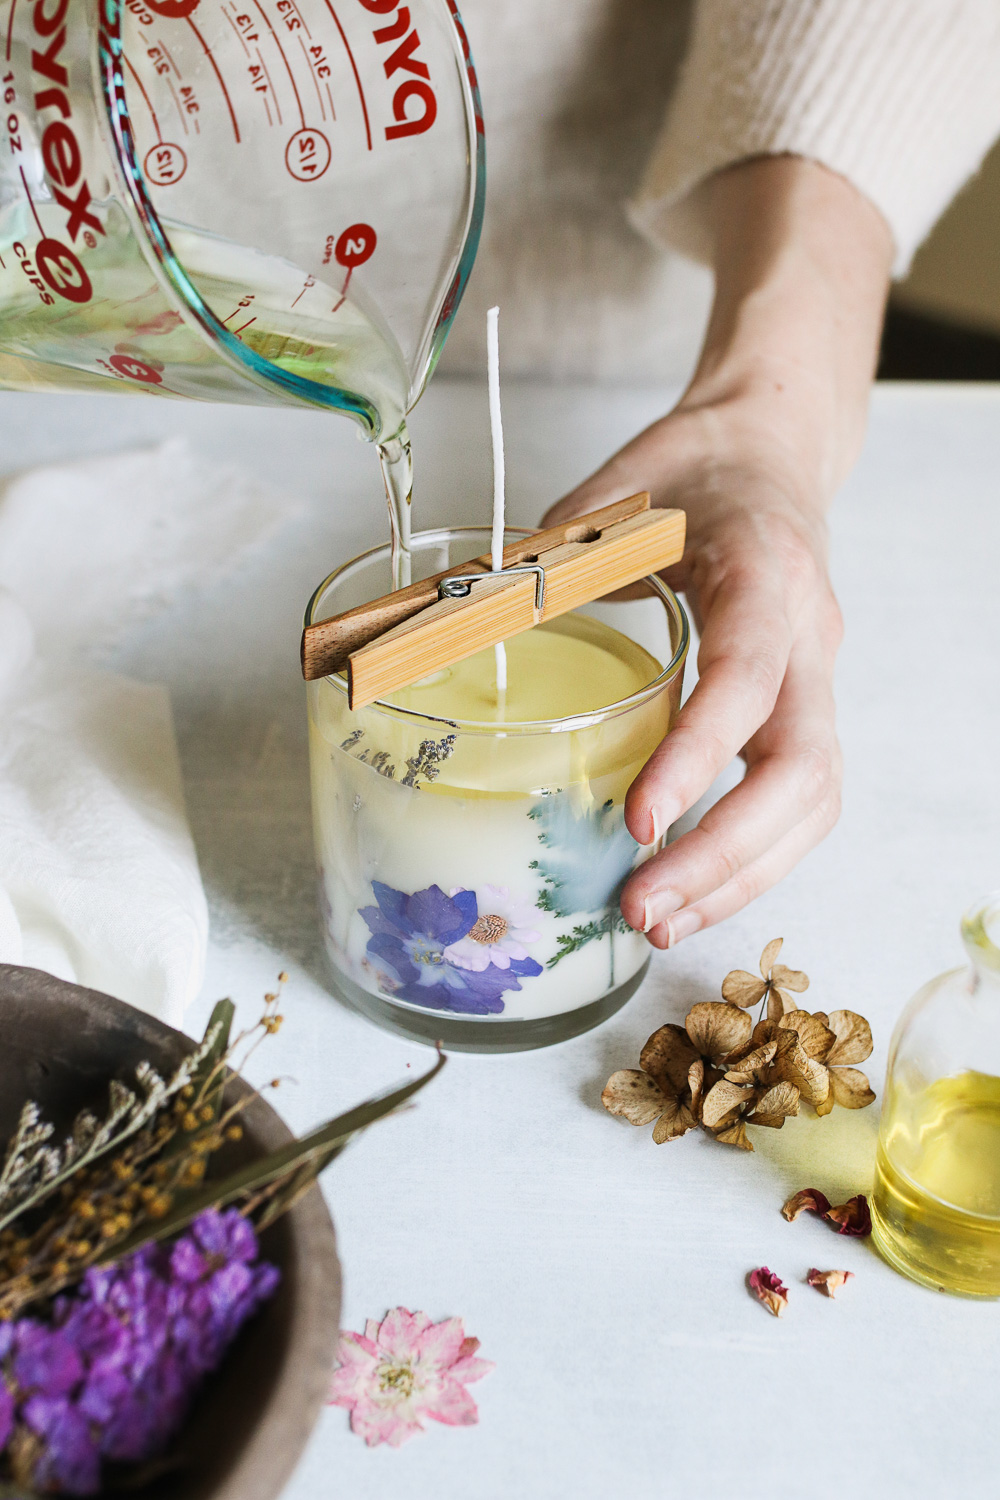
3. Place the candle in the center of your 8-ounce container and use a clothes pin to hold the wick in place. Sandwich dried flowers and greenery in between the candle and the glass.

4. Re-melt your wax (if you used soy wax originally, use paraffin for this second pour) and pour it overtop the candle, making sure to thoroughly coat the flowers. Allow it to cool completely before lighting.
Voila! Dried flower candles that are gorgeous and perfectly gift-able.

DIY Dried Flower Candles
Ingredients
- Dried pressed flowers
- Paraffin wax
- Soy wax optional
- Cotton wicks
- Clothespins or chopsticks for holding wicks
- 30-40 drops essential oils of your choosing
- 8- ounce glass or see-through container
- A slightly narrower glass container with straight sides it doesn’t have to be the same height, but this vessel should fit inside your 8-ounce glass and still leave a little breathing room around the sides
- Pyrex measuring cup and a small saucepan or a double boiler
Instructions
- Put 1-2 cups of wax flakes (if using soy wax for the center, melt that one now) in a Pyrex measuring cup and place it in the center of a small saucepan. Add enough water to the saucepan so that it reaches 1-2 inches up the side of your measuring cup. Simmer on low until the wax is completely melted. (If adding essential oils, add them now and give it a good stir.)
- Place a wick in the center of the narrower glass container and hold it in place with a clothespin. Pour the melted wax into the vessel and put it in the freezer until completely cool (45 minutes to an hour). The wax should shrink slightly, making it easy to pop the candle out of the vessel.
- Place the candle in the center of your 8-ounce container and use a clothespin to hold the wick in place. Sandwich dried flowers and greenery in between the candle and the glass.
- Re-melt your wax (if you used soy wax originally, use paraffin for this second pour) and pour it overtop the candle, making sure to thoroughly coat the flowers.
Garret says
As a warning, putting anything flammable other than a properly sized wick in a candle is a very big fire hazard. Also essential oils are not made for heat and will not have the smell you expect when you burn it (hot throw)
Vicki says
Why didn’t you just glue the dry flowers to the glass instead of going through all those steps?? You might want to try this method works perfect!
Love My Crystal Candle Lights
Jackie says
Wouldn’t the glue show or are you just putting a thin layer?
Sabrina says
That’s what I was thinking! Great minds!!
Shirley says
Do your dried flowers catch fire. My first attempt my candles turned into a torch.
Ellie says
Hi there, exploring some new ideas and think this looks like a fun project to do. I have 1 question regarding having pressed flowers in the candle. Does this allow pesticides on the flowers in the air from burning?
Jennifer says
What jars/containers did you use?