I never thought I’d say this, but faux leather is having a moment for me. Incorporated in subtle ways around the house, I think it adds a warm, rustic feel that you can’t get from other materials (especially when you love gold, white and ceramic as much as I do).
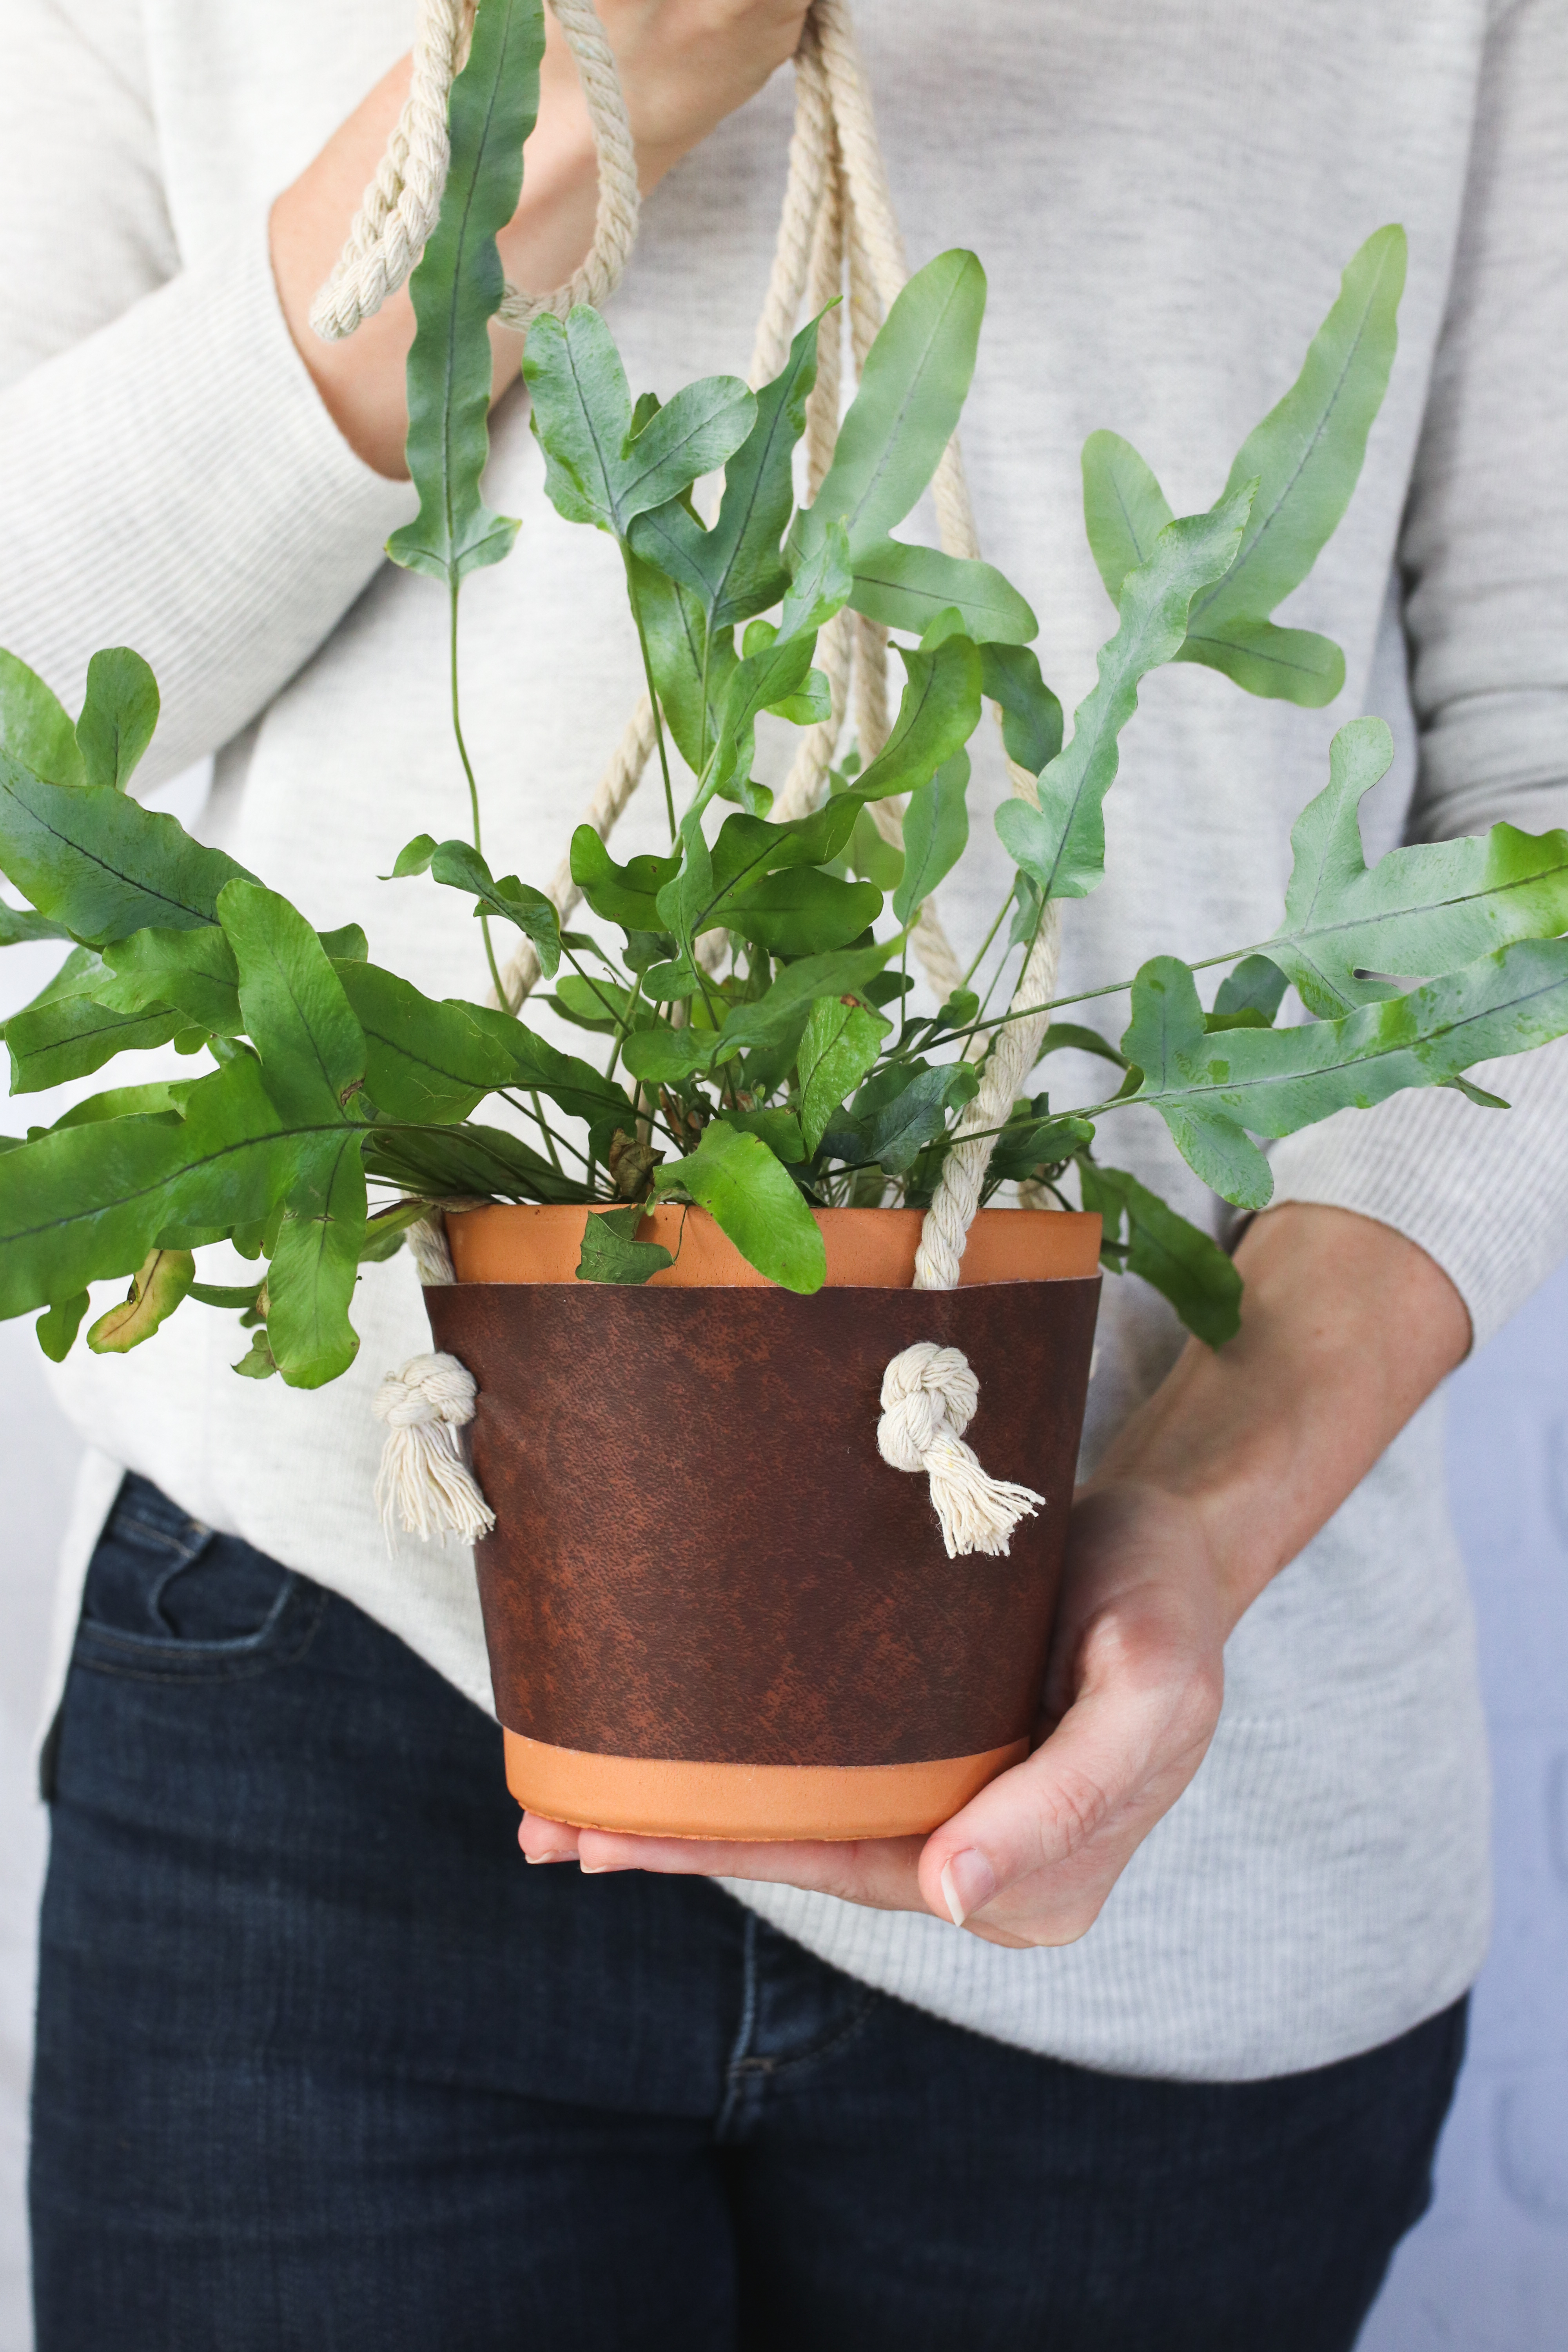
When looking for ways to add touches of leather to my décor, I ran across some really cool leather hanging planters. They seemed easy enough to make but they didn’t quite have the look I was going for. I really wanted the feel of those simple leather-wrapped vases that have been popping up everywhere, only in planter form. And that’s how these leather hanging planters came to be.
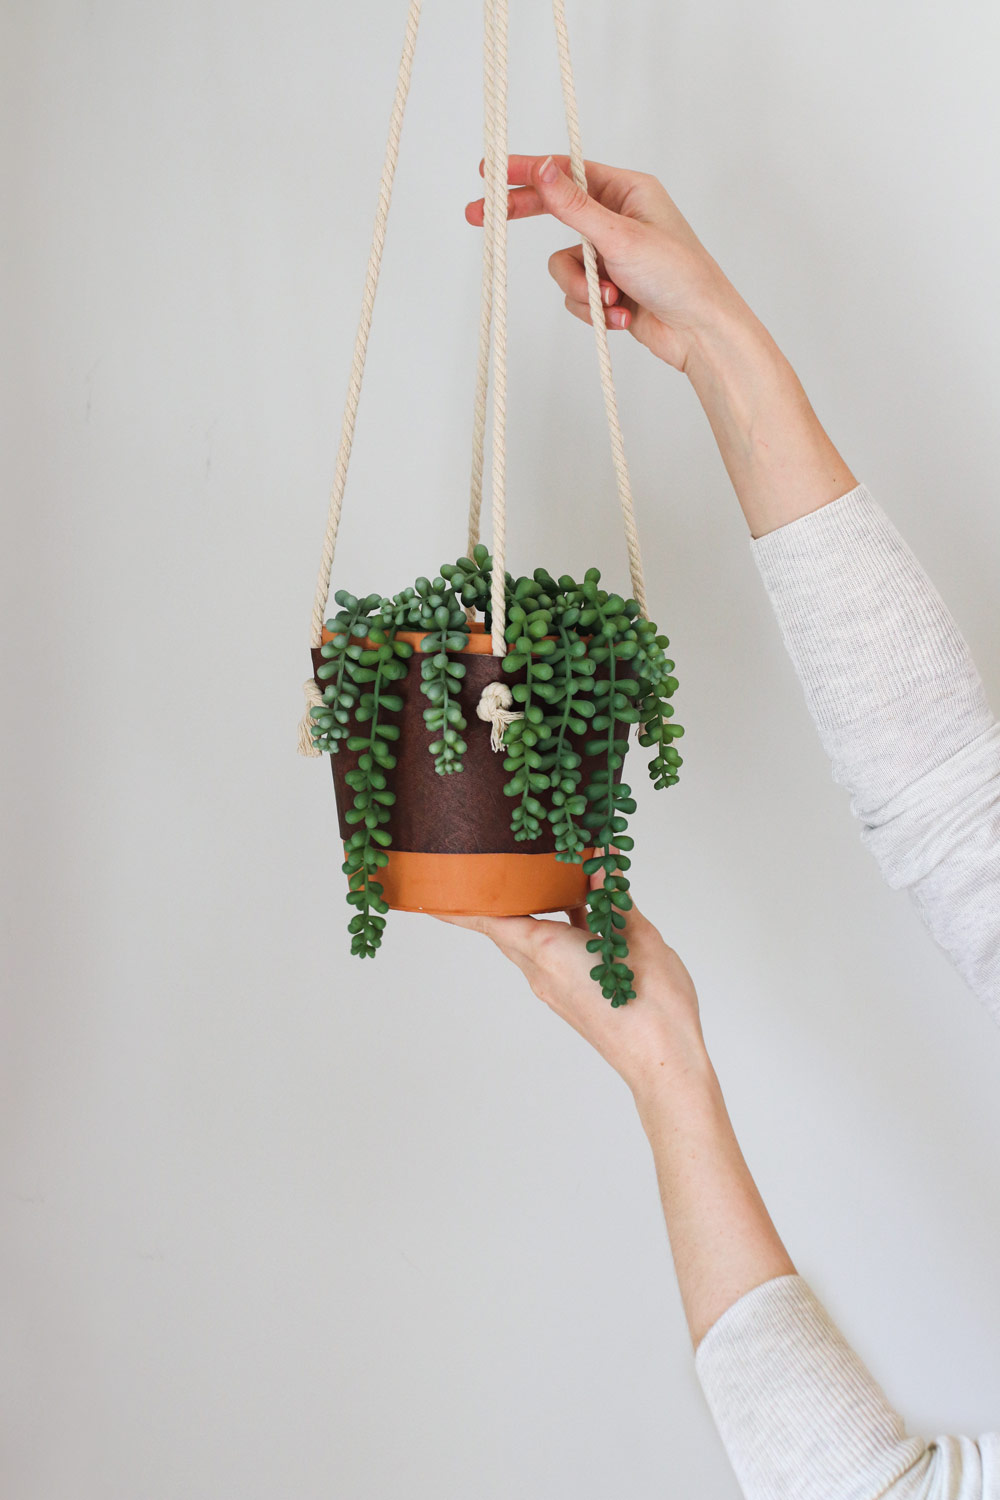
If you go the faux leather route like I did, these babies only take a few minutes to make and don’t require any sewing or special equipment. I used old terracotta pots from Hobby Lobby and some faux leather leftover from another project, making it super easy and cost effective. But if you need to buy supplies, you can find faux leather, planters and metal rivets online or at any local craft store. Buying everything new might run you about $10 a planter.
And you know what that means? They’re perfect for holiday gifts!
Just pop in a drapey succulent or hanging fern and you’ll have a an awesome last-minute gift for all the lingering folks on your list.
How to Make a DIY Leather Hanging Planter
Supplies
- 1/4 yard faux leather
- 2 – 3 metal rivets
- Terracotta pot
- Scissors
- 2 pieces rope, each approximately 40” long
- Straight pins
Instructions
1. Cut a piece of leather that comfortably wraps all the way around your planter with a few extra inches on all sides.
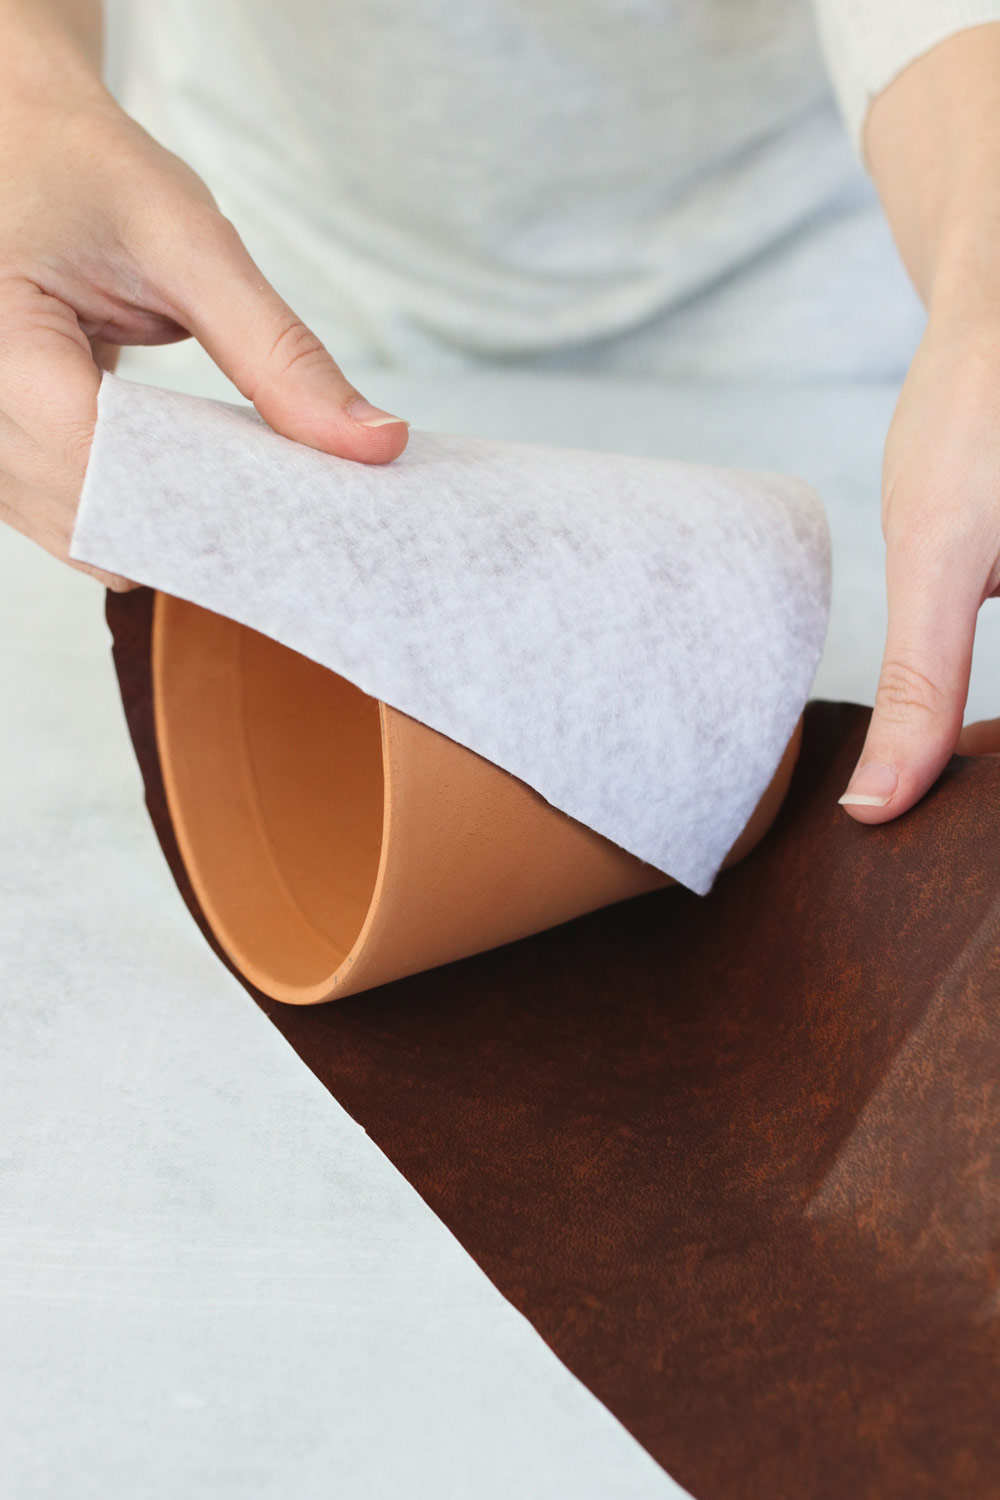
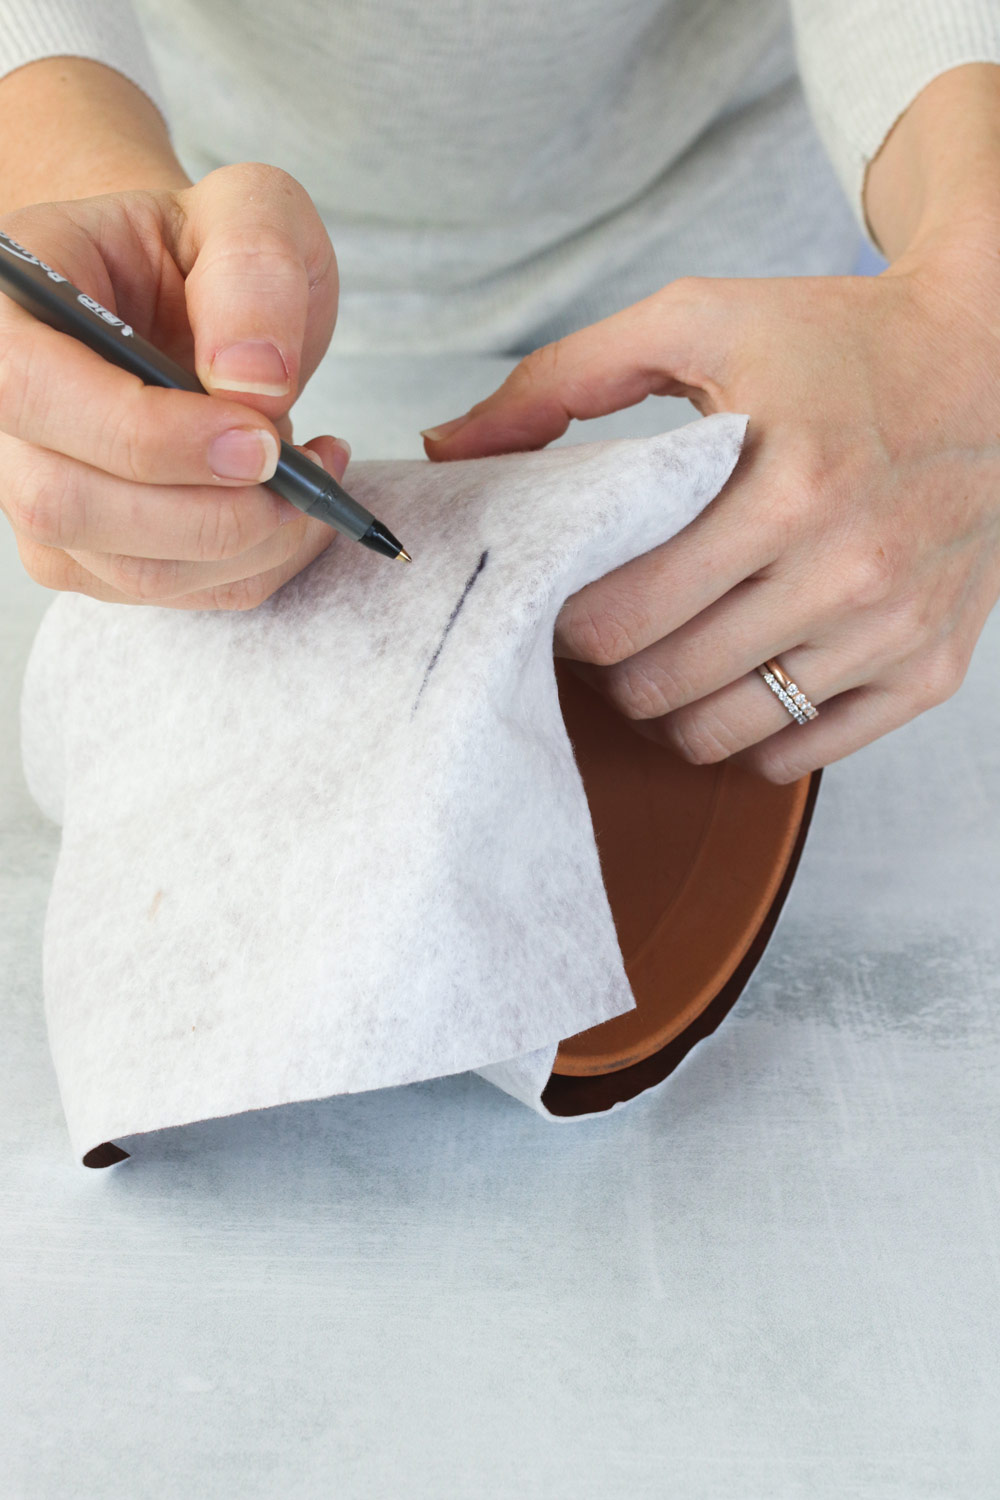
2. If your planter doesn’t have perfectly straight sides, you’ll need to cut your leather with a slight arch so it lies flat when wrapped around your planter. To do this, wrap the leather right-side down around your pot. Fold the edges over so you know where the edges of the pot are. Freehand draw a line about 1 inch from the top edge. Then do the same with the bottom edge.
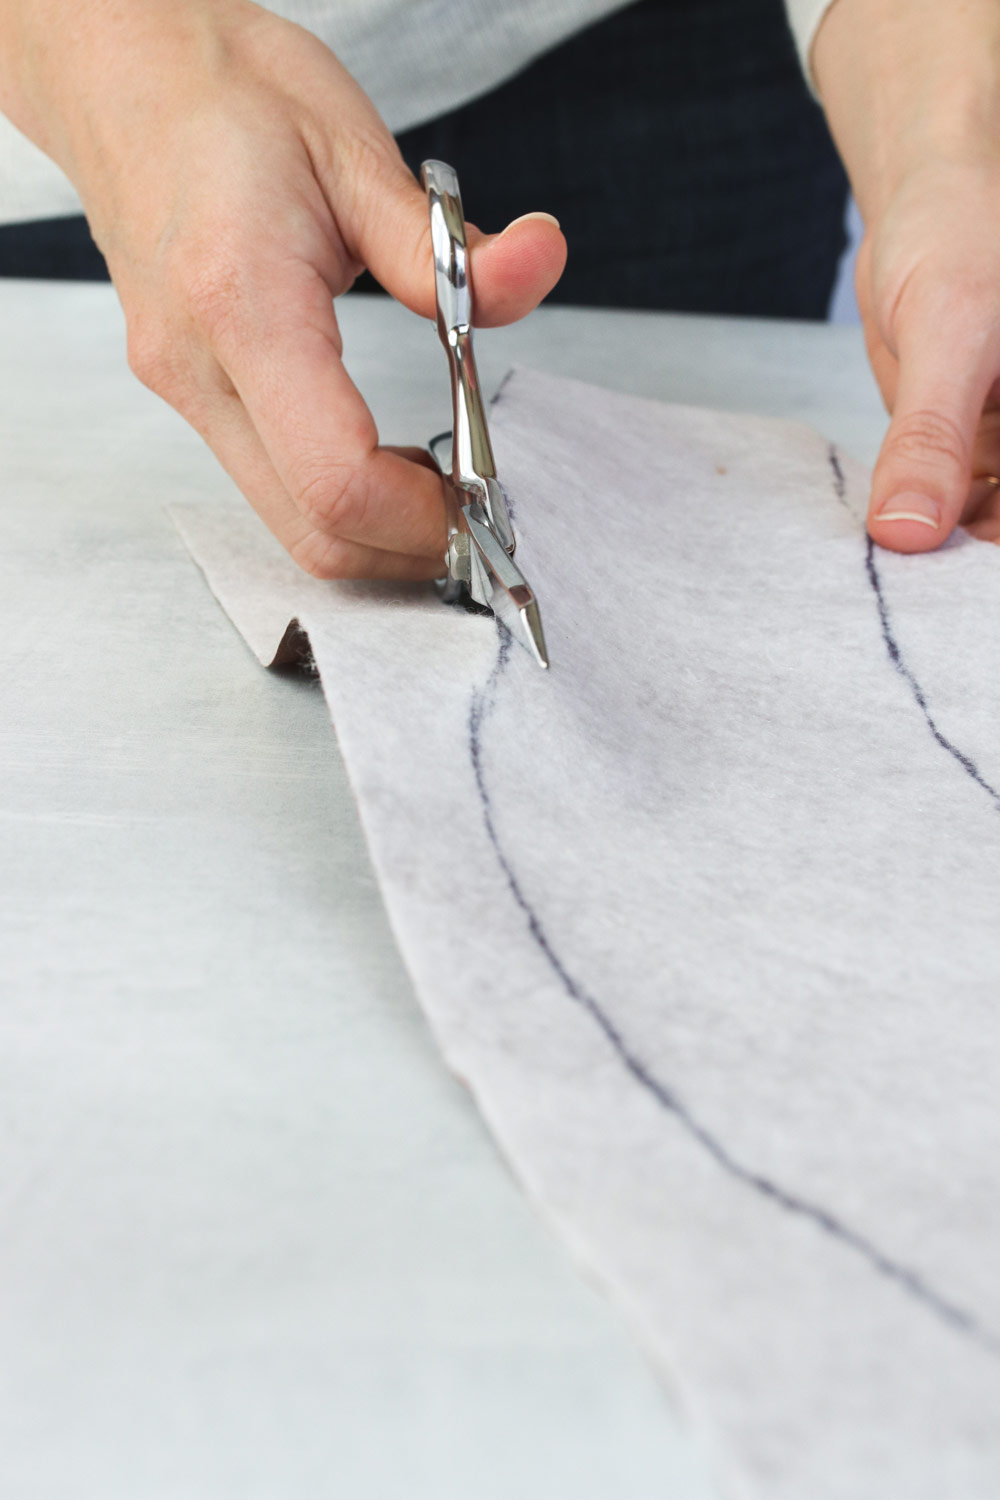
3. Unwrap the leather and lay on a flat table. Using sharp scissors, cut along the arch your just drew.
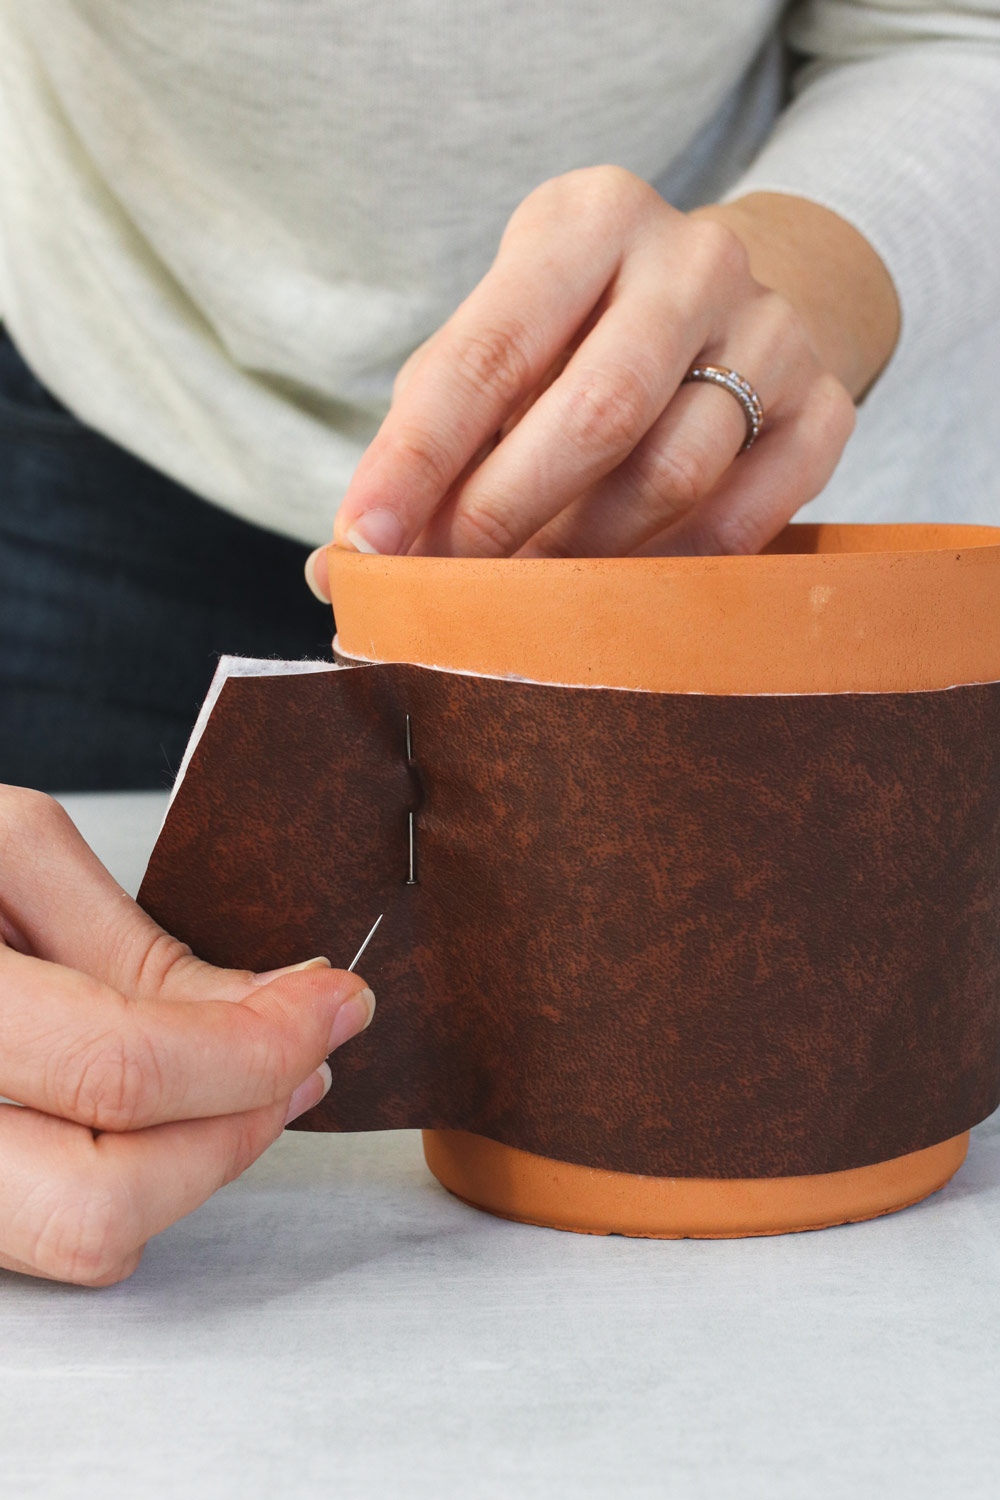
4. Take the leather strip and wrap it around your pot. Use straight pins to hold the leather in place.
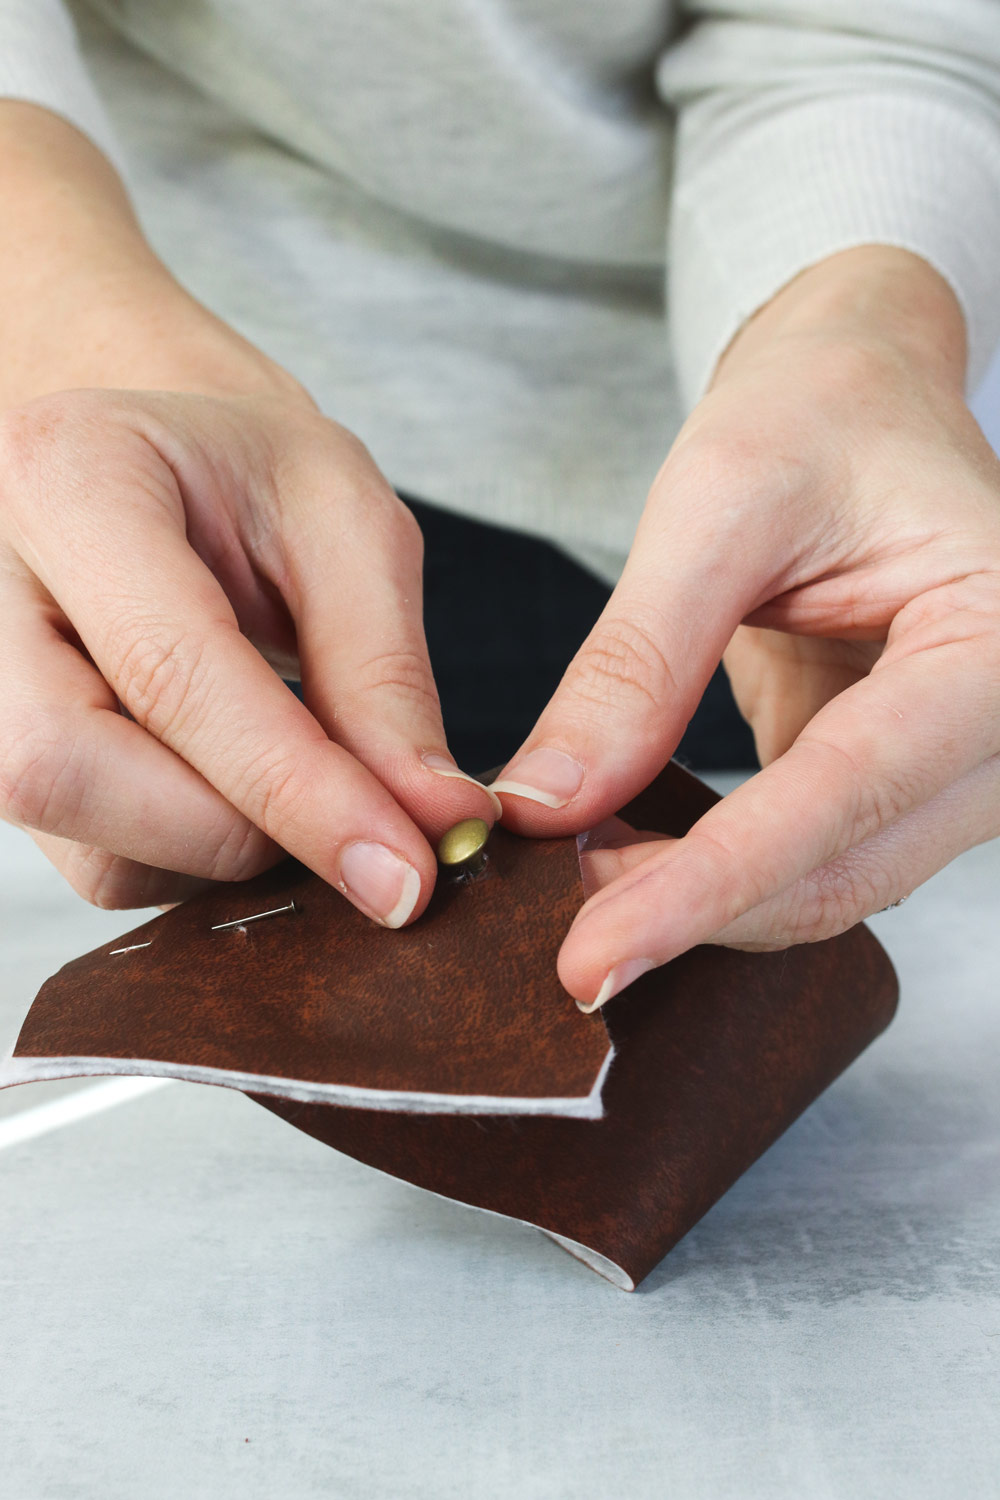
5. Slide the leather off the pot. Use sharp scissors to create 2 – 3 small holes and attach your rivets in place of the pins.
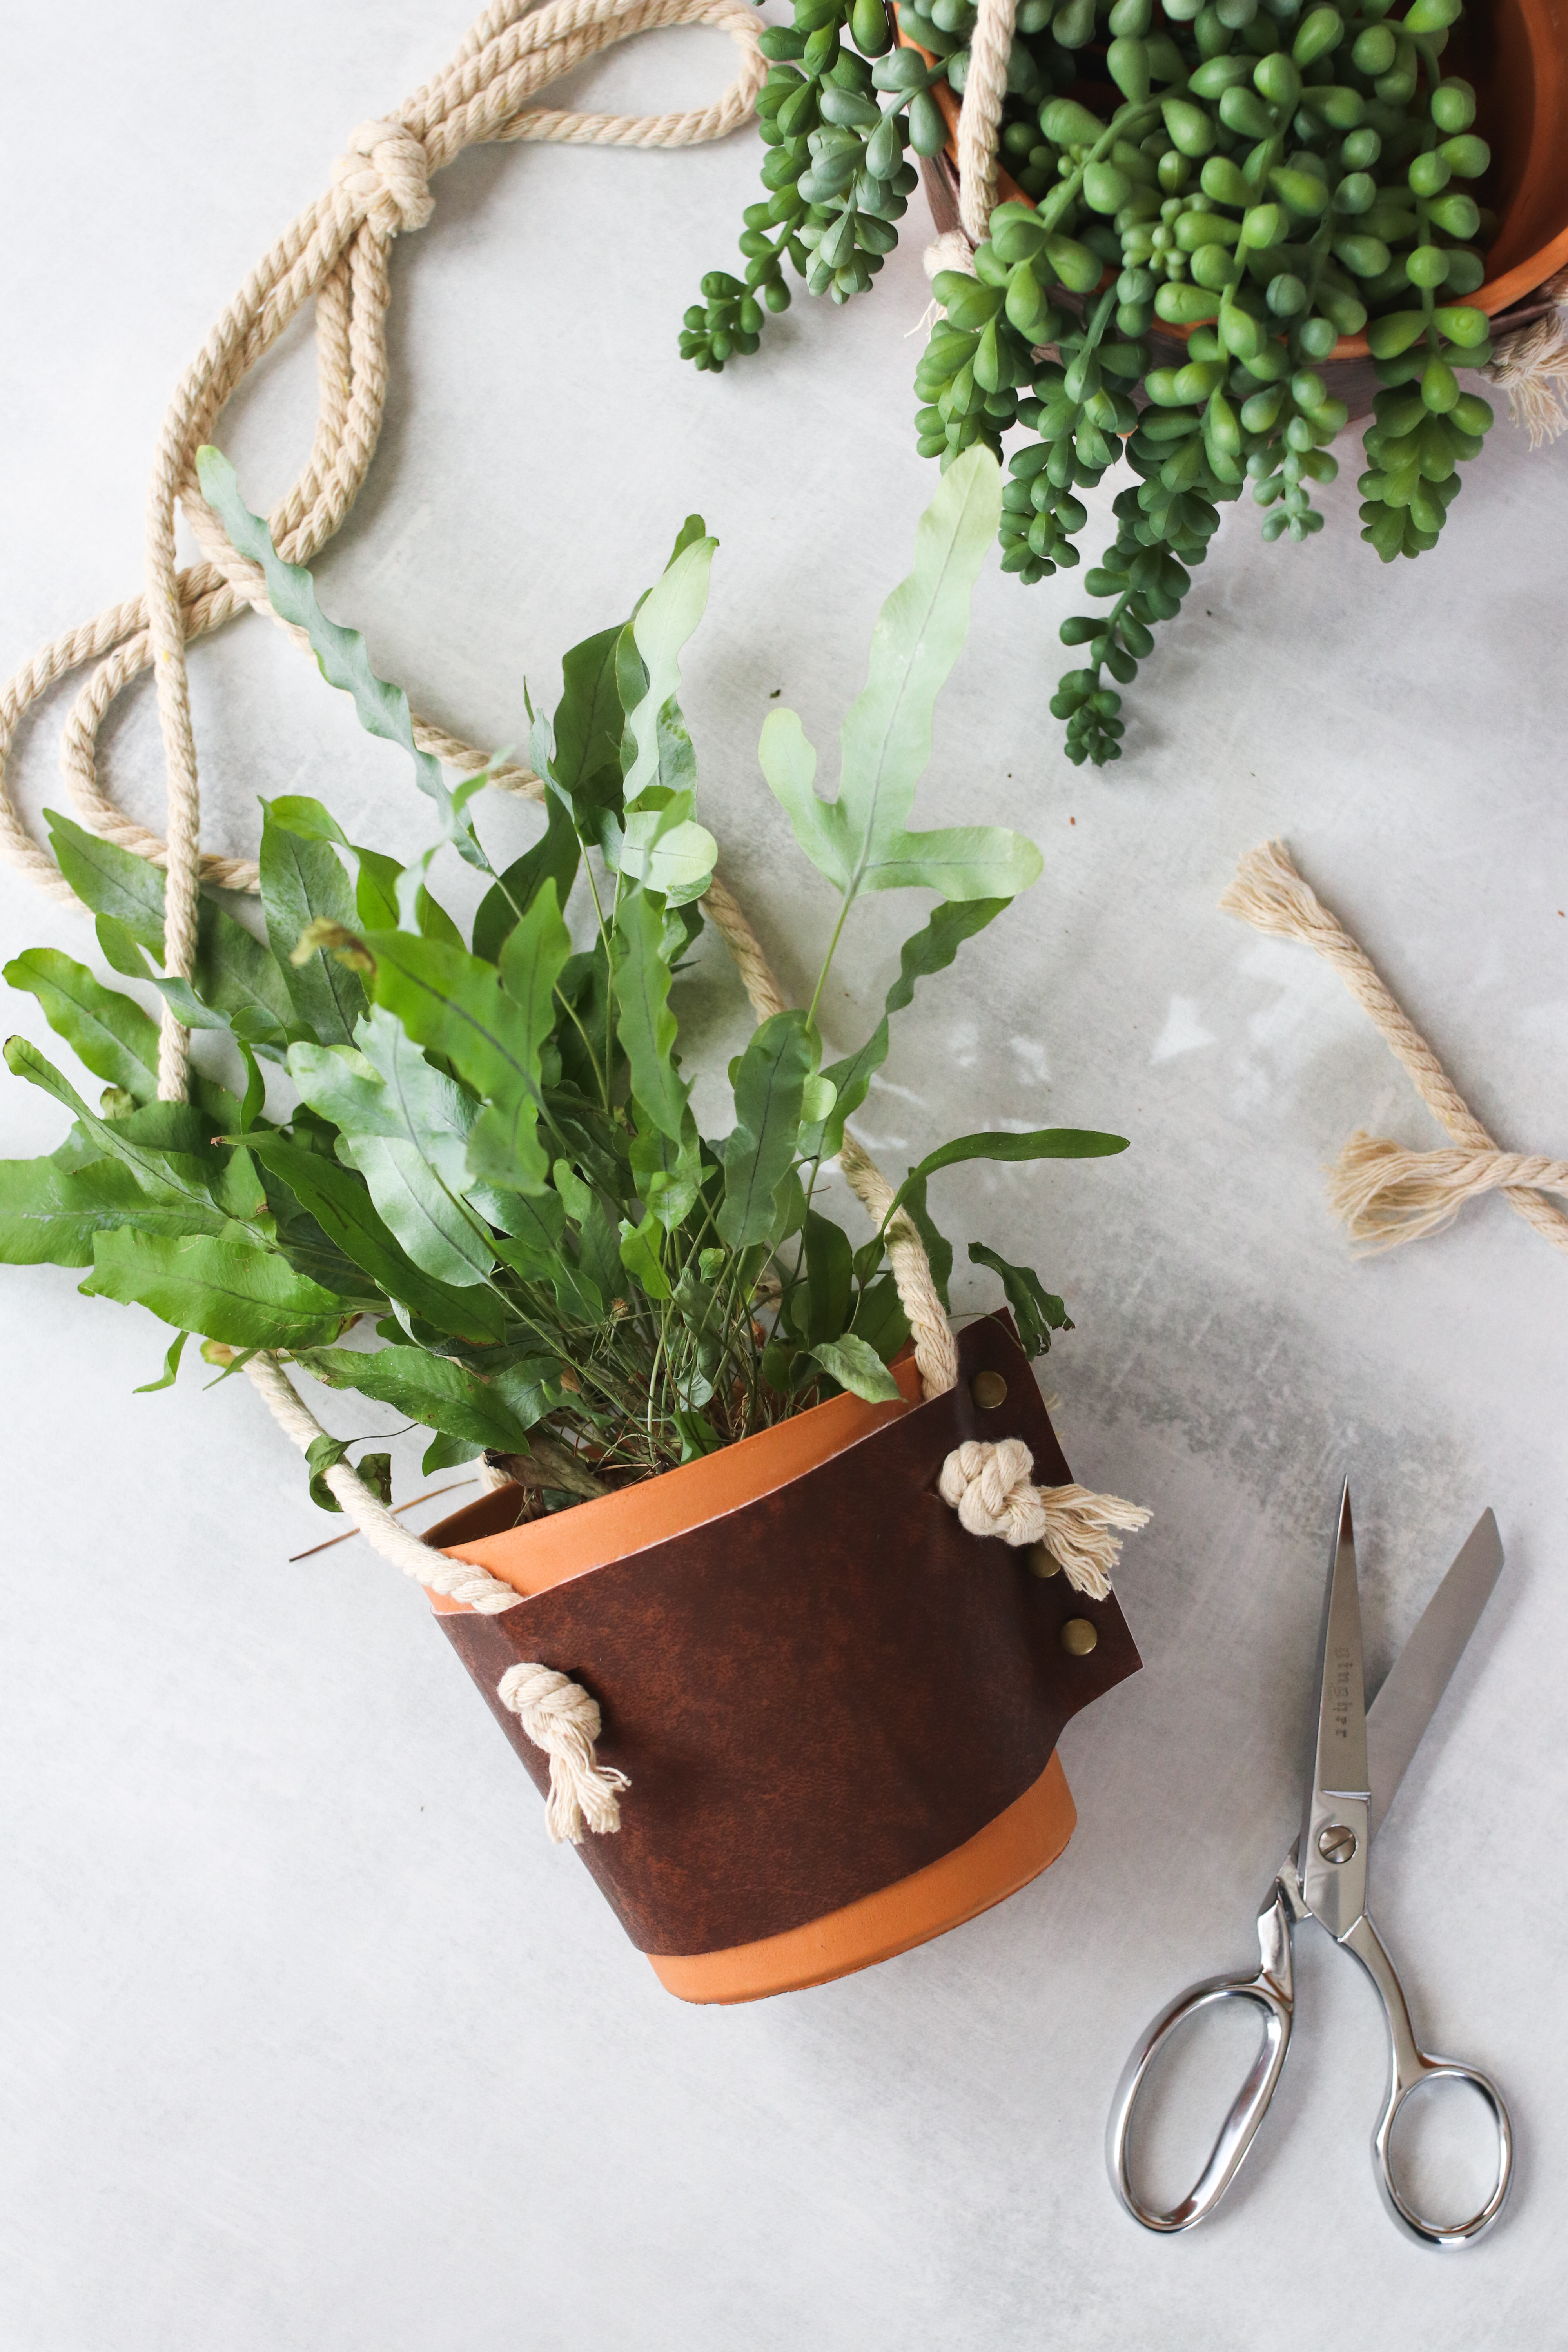
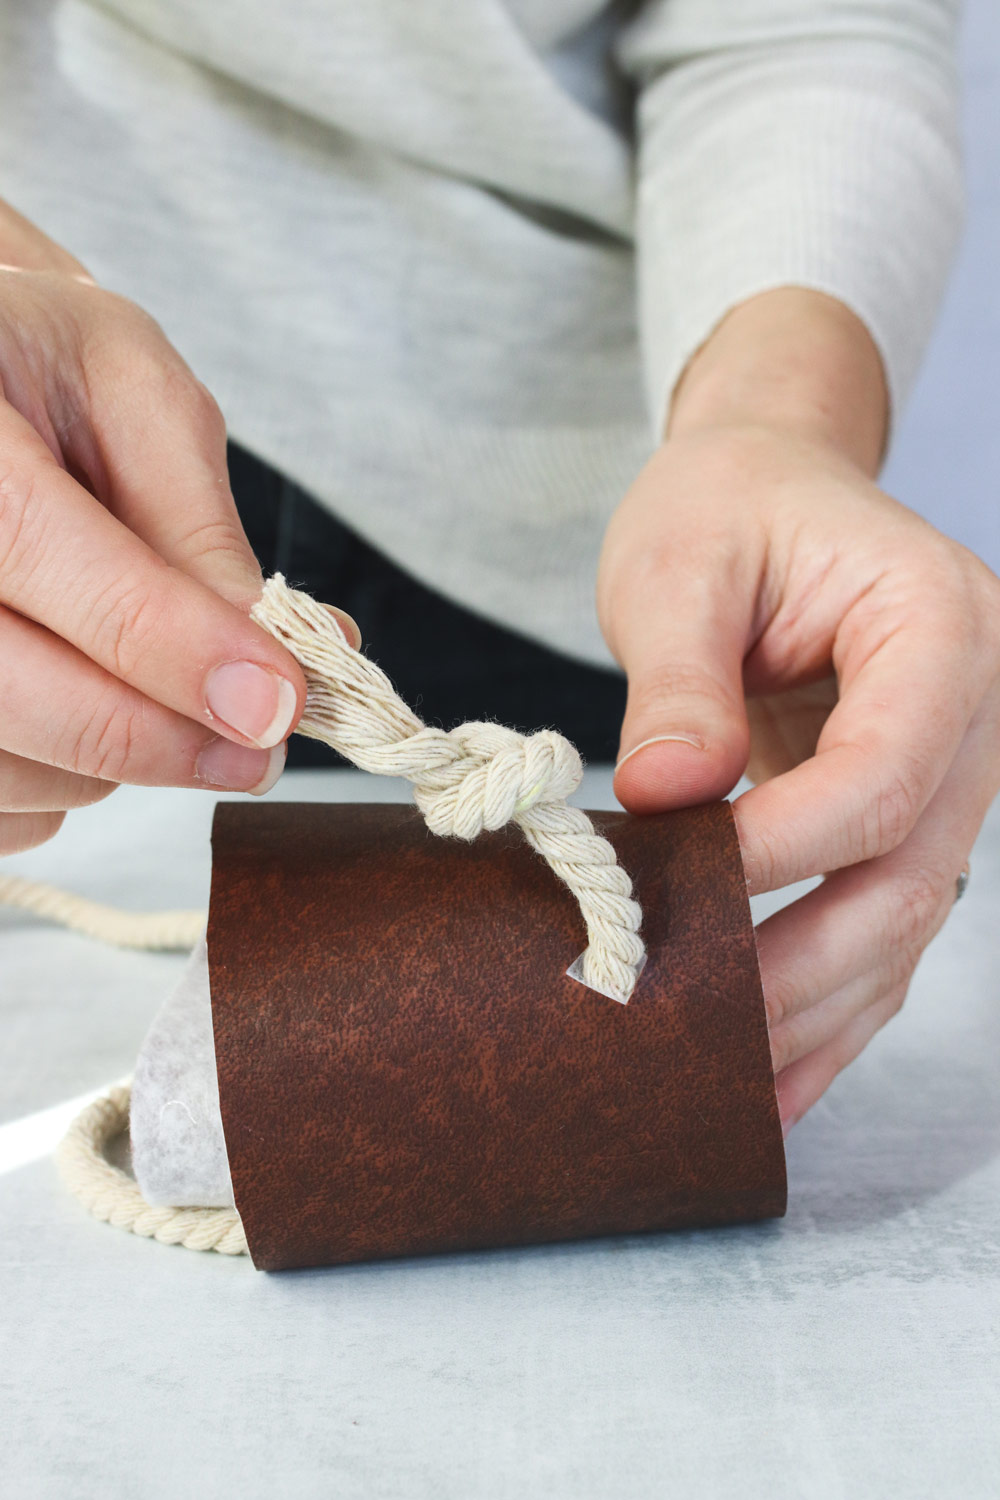
6. Using scissors, create 4 equally spaced holes just large enough to slide the rope through. Feed the rope ends through the holes and tie knots to secure.
7. Slide the leather back onto your pot and hang.
DIY Hanging Leather Planter
Ingredients
- 1/4 yard faux leather
- 2 – 3 metal rivets
- Terracotta pot
- Scissors
- 2 pieces rope each approximately 40 inches long
- Straight pins
Instructions
- Cut a piece of leather that comfortably wraps all the way around your planter with a few extra inches on all sides.
- If your planter doesn’t have perfectly straight sides, you’ll need to cut your leather with a slight arch so it lies flat when wrapped around your planter. To do this, wrap the leather right-side down around your pot. Fold the edges over so you know where the edges of the pot are. Freehand draw a line about 1 inch from the top edge. Then do the same with the bottom edge.
- Unwrap the leather and lay on a flat table. Using sharp scissors, cut along the arch your just drew.
- Take the leather strip and wrap it around your pot. Use straight pins to hold the leather in place.
- Slide the leather off the pot. Use sharp scissors to create 2 – 3 small holes and attach your rivets in place of the pins.
- Using scissors, create 4 equally spaced holes just large enough to slide the rope through. Feed the rope ends through the holes and tie knots to secure.
- Slide the leather back onto your pot and hang.

Leave a Reply