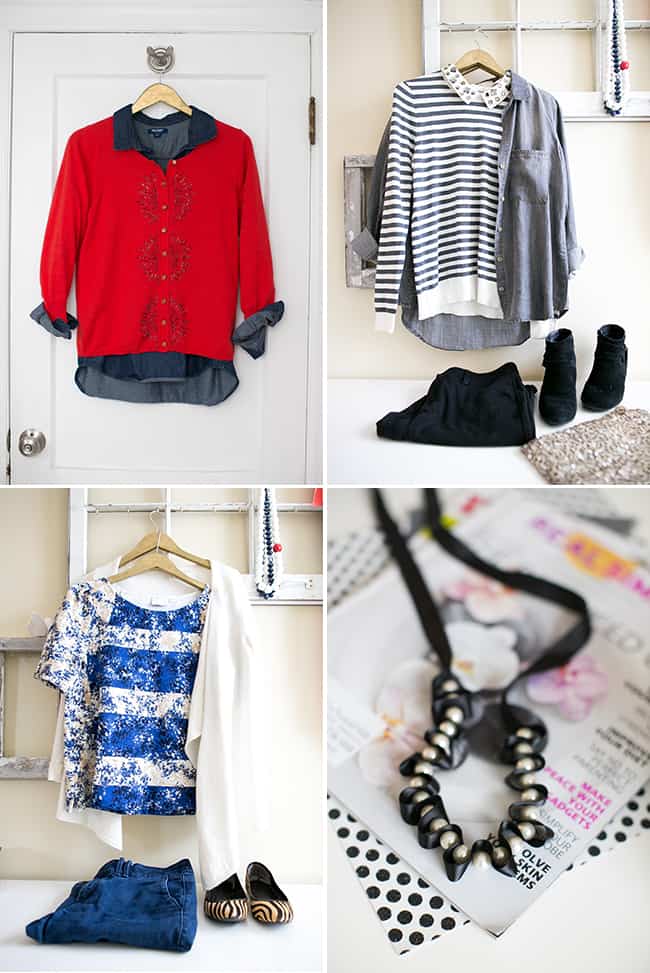
This has been one of those weeks when nothing went according to plan. Inevitably, everything seems to go wrong precisely when I have lofty aspirations. Posts to write, crafts to make, adventures to go on – all replaced with sick kiddos and takeout dinners. Is it a lesson in humility? Mainly it feels like a cruel joke! But it does make my one accomplishment this week – cleaning out my closet and jewelry – all the more satisfying.
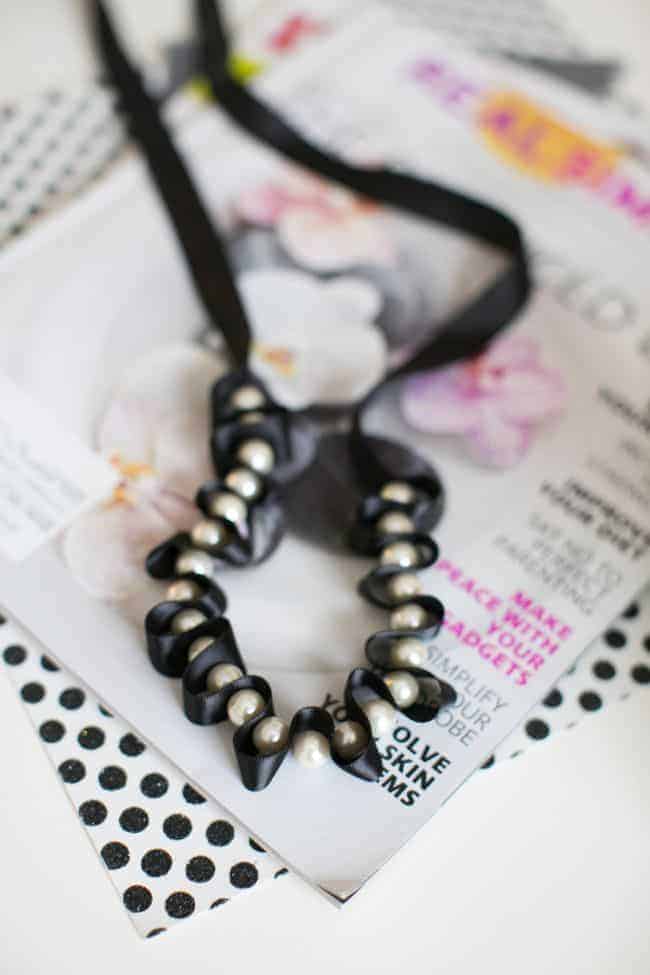
 Supplies needed:
- Center drilled pearls (try Wal-Mart for cheap versions)
- Black ribbon
- Black thread
- Needle


 Instructions
Step 1
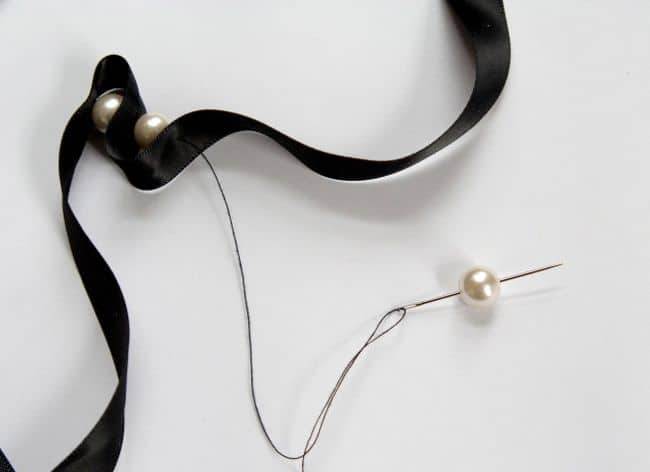
Pull out a length of the ribbon but don’t cut it yet. Thread the needle and measure to 12 inches on the ribbon. Poke the needle through the middle of the ribbon and make a small stitch to secure the thread. Make sure you have plenty of excess thread length though!
Step 2
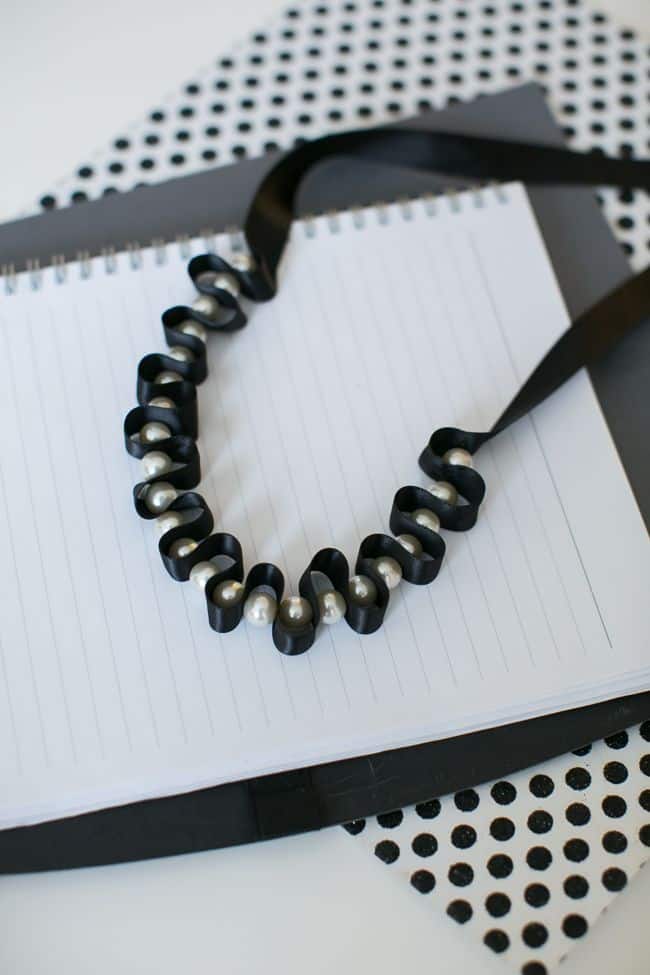
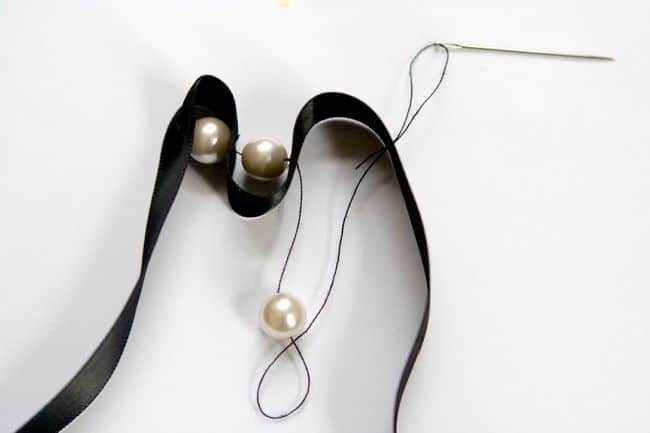
Thread on a pearl and pinch a bit of ribbon with your finger. Push the needle through the ribbon and pull it tight with the pearl in the center. I tried knotting the thread after each pearl to keep things tight, but it didn’t work like I had hoped. So just do your best to keep the ribbon tight. Things will inevitably move around some after you’re done, and that’s fine.
Step 3
Thread on another pearl and pinch the ribbon again, this time in the opposite direction. It was kind of impossible to be precise with the ribbon folds so don’t stress it too much. I liked the bit of variance in size!
Step 4
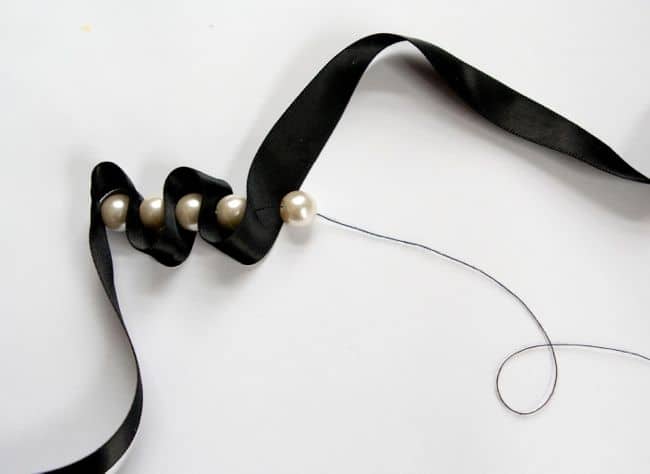
Keep going with the pearls – I added 23. After the last one make a stitch on the ribbon to secure it and cut the thread.
Step 5
Then you can cut the black ribbon so that each side is an equal length. To wear the new necklace, just tie it in a bow behind your neck. Adjust the folds after you put the necklace on to get them to lie flat.

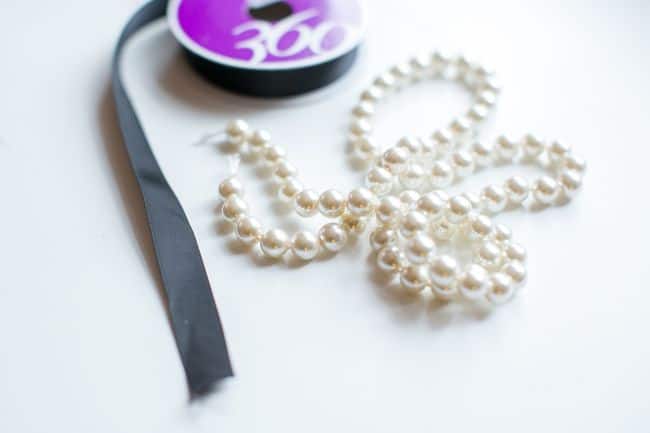 Supplies needed:
 Instructions
Marine says
Love your creativity and spirit! This is just a gorgeous necklace, and the possibilitiyes with various beads and “weights” of ribbons are endless. Clothes-wise, may I ask what 10 essential pieces you ended up keeping?
Thanks and congratulations on your wonderful blog!
Lori says
Thank you for sharing this. What size of ribbon works best ? I am assuming satin goes thru easier ? Thank you for your time .
gerbermom says
Yes, I used a shiny satin ribbon, which worked great!