I learned a laundry hack in college that I still swear by to this day: keep a stain stick in your bedroom and rub it on things like sweat stains, makeup and dirt before tossing your dirty clothes in the hamper. While they’re waiting for laundry day, they’ll “pre-soak” and come out good as new without any additional elbow grease or pre-treating needed on your part. It’s genius and I swear it saves me hours a week trying to get rid of tough stains.
The only problem? I’m not a fan of traditional laundry products. They’re always packed full of chemicals and fake scents that give me a headache, so I’ve been making my own DIY versions for years now. I love this homemade stain remover stick because it works like a charm, it’s easy to make, and it lasts for-ev-er.
How to make your own Stain Remover Stick
Coming up with a stain stick recipe is a lesson in Goldilocks’ caliber patience. Most recipes are too grainy and don’t spread evenly. Others are too greasy and make stains worse. The ideal recipe isn’t grainy or greasy, but it is thin enough to spread lightly over fabric and it rinses cleanly in the wash without leave a ring or residue.
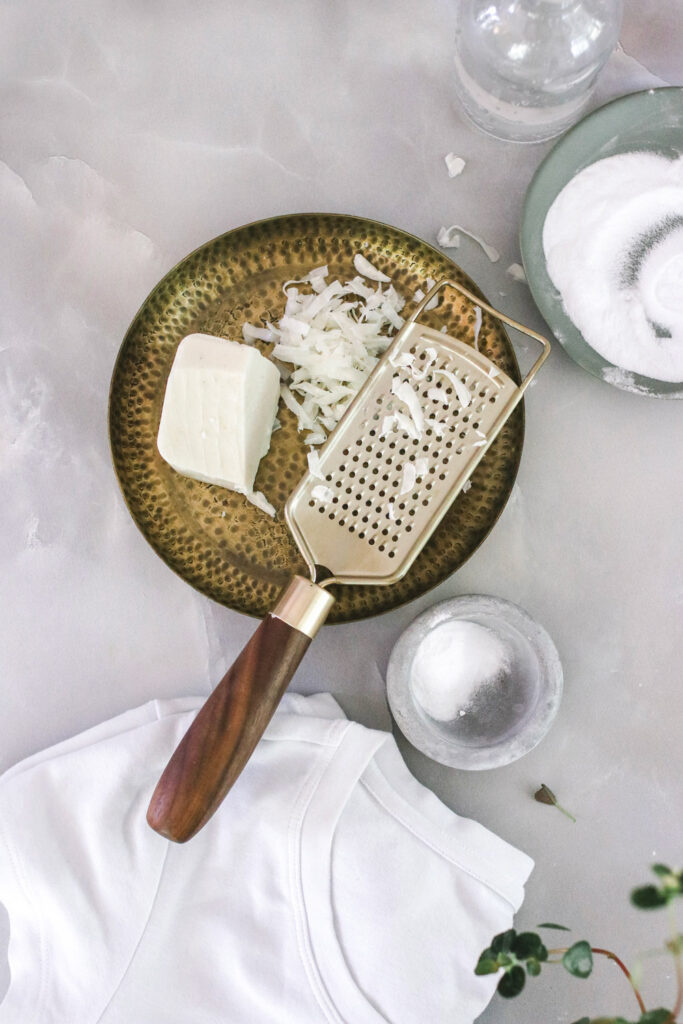
My favorite recipe uses a bar of laundry soap or castile soap as the base. Soap is, after all, the active ingredient most traditional stain sticks, so it makes sense to use it in your homemade version as well. But since bar soap tends to harden as it cools, you’ll need to add other ingredients in order to get a spreadable bar you can apply to clothes.
Here’s what’s in mine:
Dish soap—helps break down grease so even the toughest stains rinse cleanly without leaving a noticeable ring.
Washing soda and Borax—well-known laundry boosters and stain fighters, washing soda and borax help boost your stain stick’s effectiveness so it can break down tough stains.
Water—helps thin out the mixture and dissolve the powder so it spreads evenly.
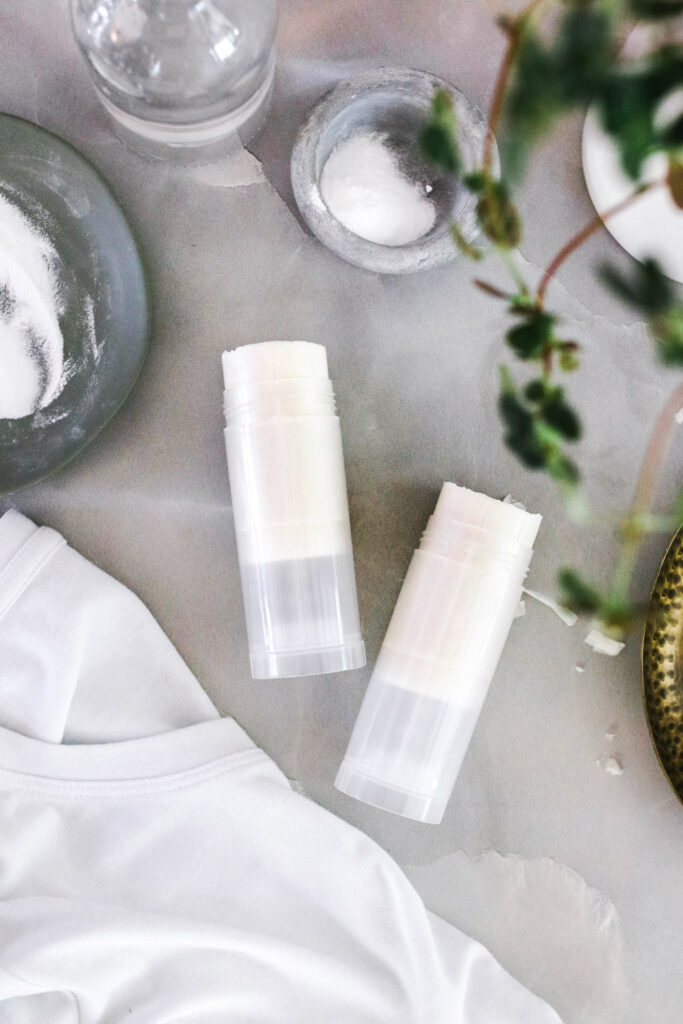
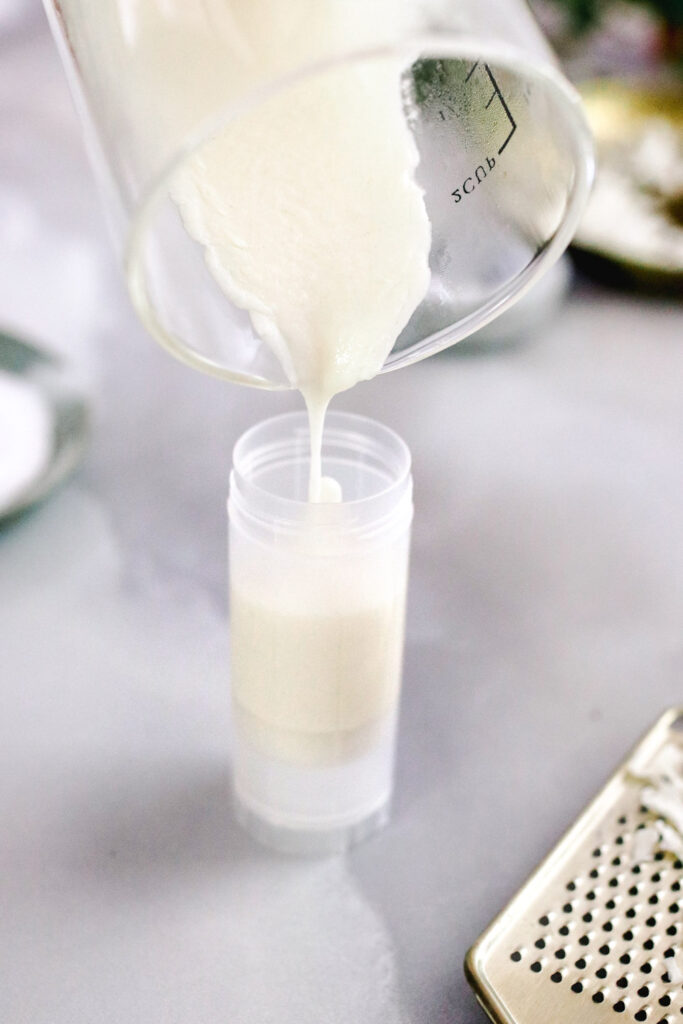
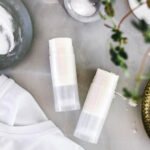
To make, all you need to do is melt your ingredients and pour them into an old (clean!) deodorant tube. I used these plastic deodorant tubes I found on Amazon because they look like the stain sticks I’m used to and there come 6 to a pack, so you can make a bunch in one fell swoop. But any empty twist-up tube should do the trick.
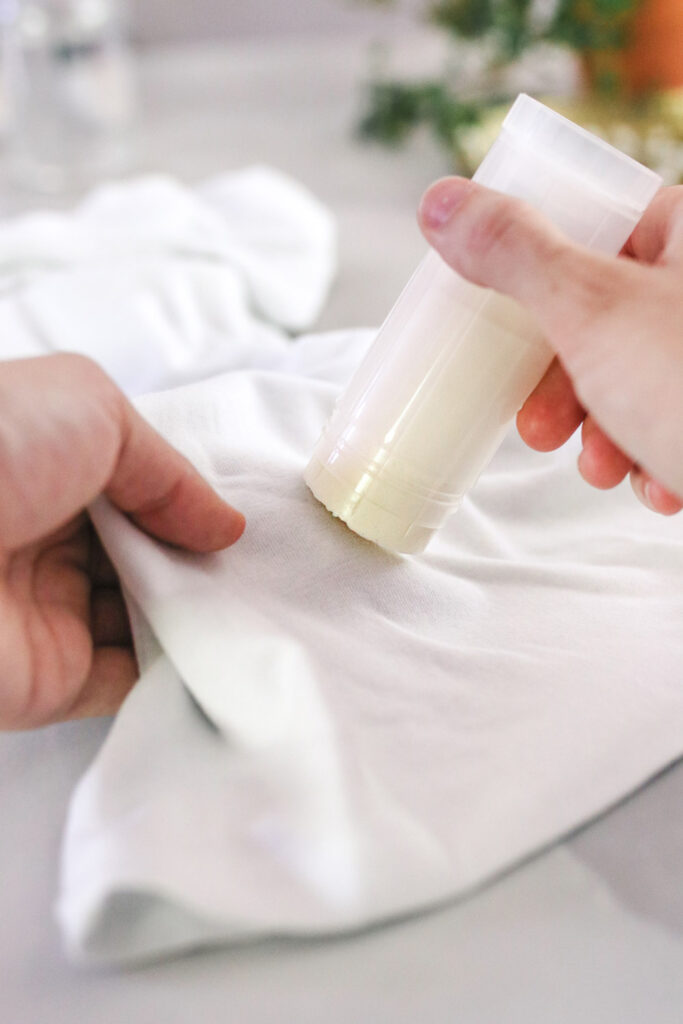
Once you’ve made your sticks, go ahead and use them exactly like you would use the commercial kind. If you notice a stain that you don’t have time to wash immediately, grab a stick and rub it liberally over the stain (if it doesn’t glide evenly, quickly run it under warm water to soften the soap).
Then toss the clothing into your hamper until laundry day, at which point you can wash it like you normally would. The stain should be gone after the first wash, but if it isn’t, apply a little more stain stick and let it sit before washing again. Just make sure the stain is gone completely before tossing your clothes in the dryer.
DIY Stain Stick
Ingredients
- 1 bar laundry soap or castile soap
- 1/4 cup washing soda
- 1/4 cup Borax
- 2 tablespoons liquid dish soap
- 6 tablespoons water
- Twist up tube with lid
- Small sauce pan
- Wire whisk
Instructions
- Chop the bar soap into small pieces and place in a sauce pan. Heat over low until completely melted, then remove from heat.
- Add the remaining ingredients and whisk to combine.
- Pour the soap into the tube and let cool.
- To use, apply stain stick to fresh stains and let sit for at least a few hours (or up to a week). Wash and dry clothes as you normally would.
- Stain stick should last indefinitely, just make sure the cap is screwed on tightly to keep it from drying out.
Chelsi Brashears says
Hi! Does this work on grease stains?
haley lafontaine says
Hi there, love this recipe! If i were to replace the solid castille soap bar with liquid castile soap, how much should i use and how will the intrusions change,
niecie2k says
SORRY-just re-read your recipe and see that it calls for 6 tbl of water. I suppose i could heat the water and dissolve the granular ingredients in it first. Was thinking of adding some sodium percarbonate to the water as well.
niecie2k says
LOVE THIS RECIPE BUT IT DOESN’T SAY HOW MUCH CASTILLE OR BAR SOAP TO USE. CAN YOU CLARIFY? BARS COME IN DIFFERENT SIZES AND CASTILLE SOAP IS LIQUID SO HOW MUCH OF EACH? ALSO THE GRANULAR ITEMS NEED WATER TO DISSOLVE DON’T THEY? THANKS FOR THIS RECIPE. CAN’T WAIT TO TRY IT.