• Skip to primary navigation
  • Skip to main content
  • Skip to primary sidebar

Hello Nest

The Art of Making a Home

  • Green Cleaning
    • Air Fresheners
    • Bathroom
    • Bedroom
    • Kitchen
    • Laundry
  • Natural Living
    • Homemade Recipes
    • Essential Oils
    • Plants & Flowers
    • Zero Waste
    • Organizing & Simplifying
  • DIY & Decor
    • Candle Projects
    • Holiday Projects
    • Sewing Projects
  • About
    • Contact
    • Privacy Policy
  • Nav Social Menu

    • Facebook
    • Instagram
    • Pinterest
    • YouTube

DIY Zipper Clutch with Monogram or Pom Pom

0 · Dec 9, 2013 · Stephanie Gerber · 2 Comments

Confession time: I’m terrified of zippers. Where do they go? How do you sew them properly? How do you hide the ends? I have no idea! If you share my phobia then this easy zipper clutch is just for you. Trust me, if I can do it then you totally can too.
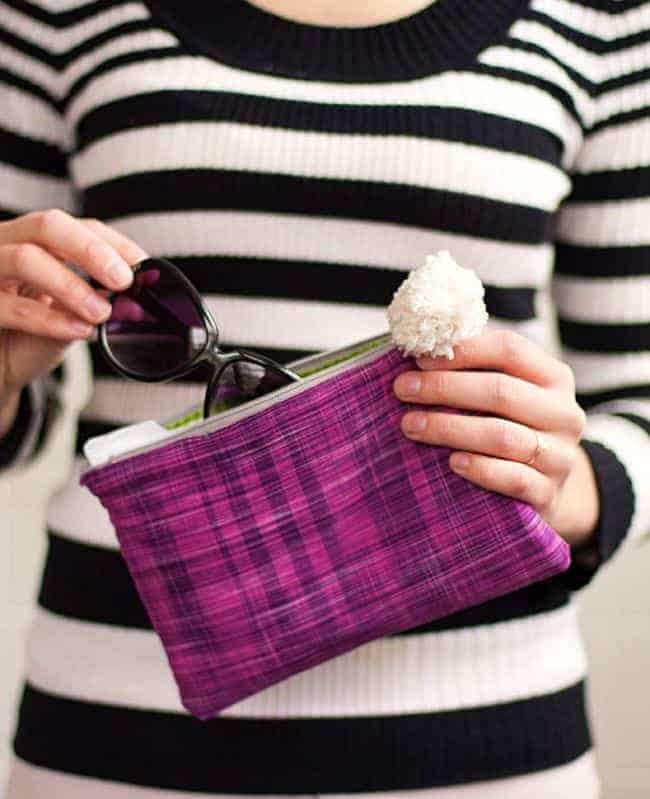
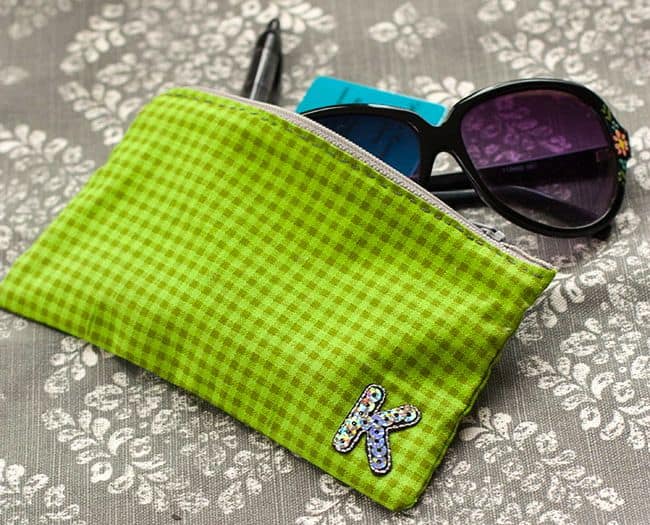
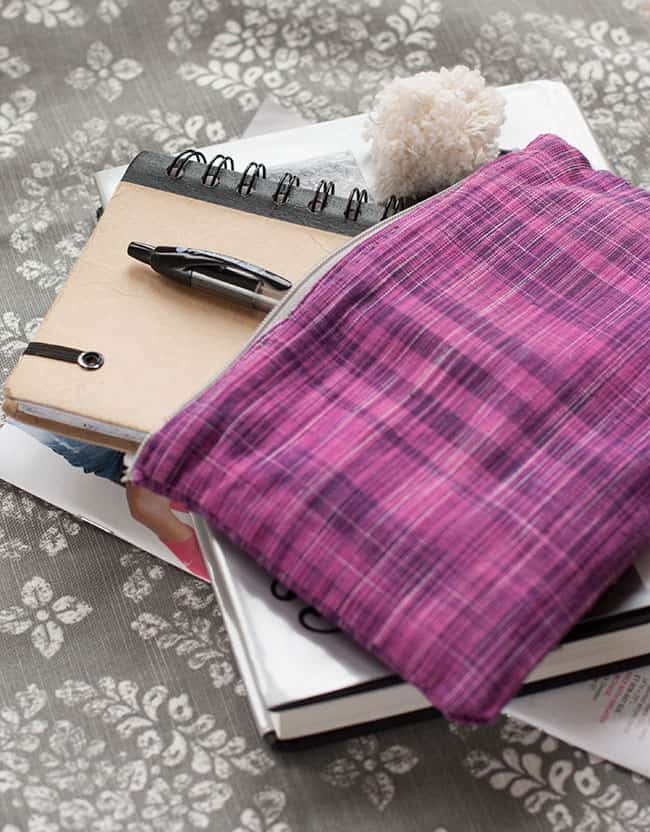
DIY Pom Pom Clutch | Hello GlowAs a sewing newbie I decided to hand stitch the clutch. And this worked really well because I was able to go slower and have more control over the stitches and zipper placement.

DIY Monogram Clutch | Hello GlowGive it a go and you’ll have perfect holiday gifts. An you might discover that although zippers have teeth they certainly don’t bite. (Pun. Ha!)

Fearless Zipper Clutch

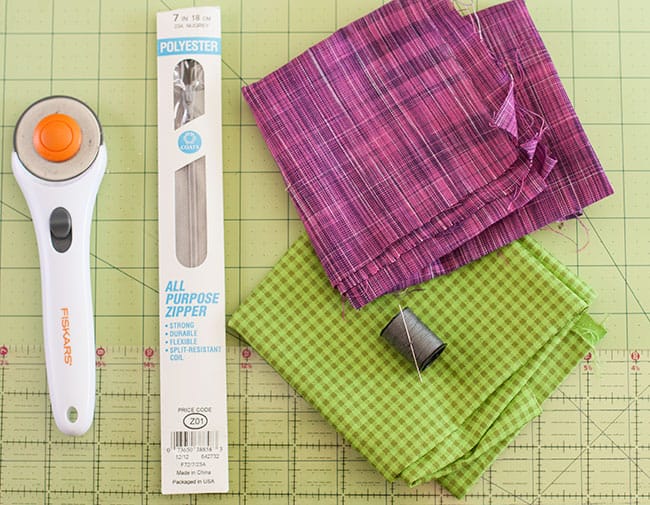
DIY Zipper Clutch | Hello GlowSupplies needed

  • 7-inch zipper
  • Needle
  • Thread
  • Cutting board
  • Fabric cutter
  • Fabric ruler
  • Two different colored fabrics that are at least 9.5 inches x 14.5 inches
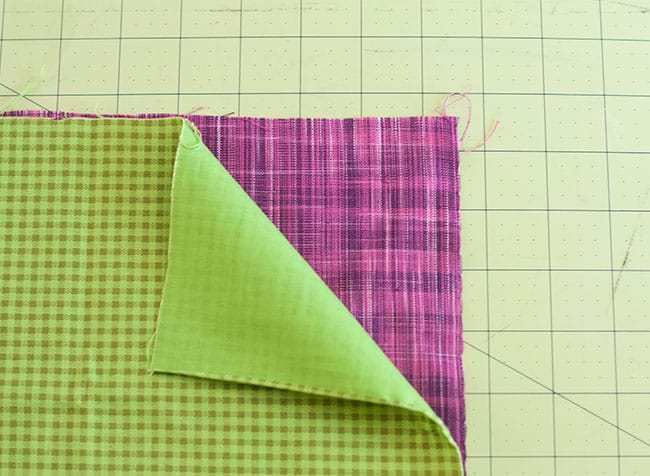
DIY Zipper Clutch | Hello GlowLay the two pieces of fabric on top of one another and line up the edges. The fabric that goes inside the pouch should be on top.

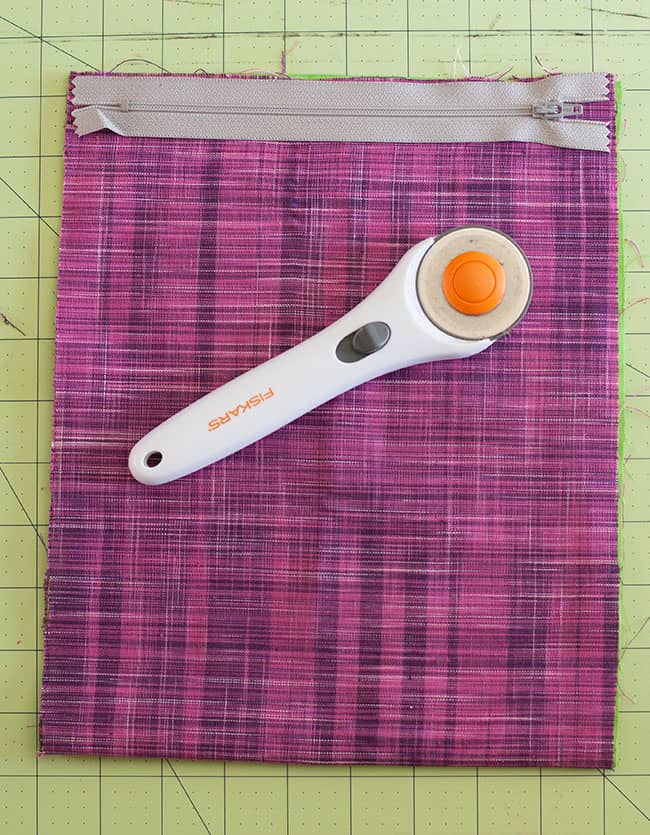
DIY Zipper Clutch | Hello GlowUnwrap the zipper and position it across the top of the fabric against a corner. Use the fabric cutter to trim the fabric down to the length of the zipper. As you can see, I folded my fabric in half vertically to save time. If you used a 7-inch zipper then you should now have two pieces of fabric that are around 9.5 inches wide.

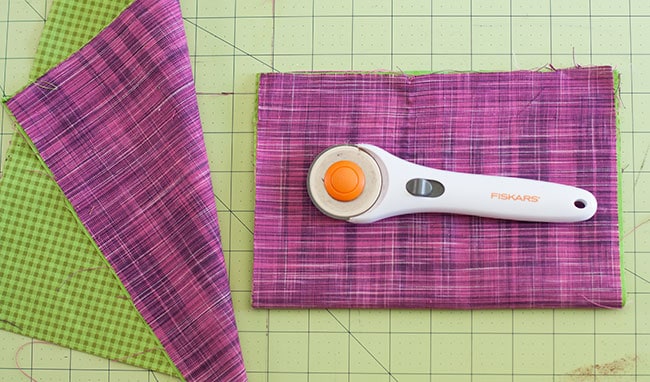
DIY Zipper Clutch | Hello GlowOnce you’ve trimmed the width of the fabric you’ll want to trim the length. This is up to you depending on you deep of a clutch you want but I went with 14 inches long. Again, I folded the fabric in half before cutting to save time.

See also
No Sew DIY Dish Towel Apron

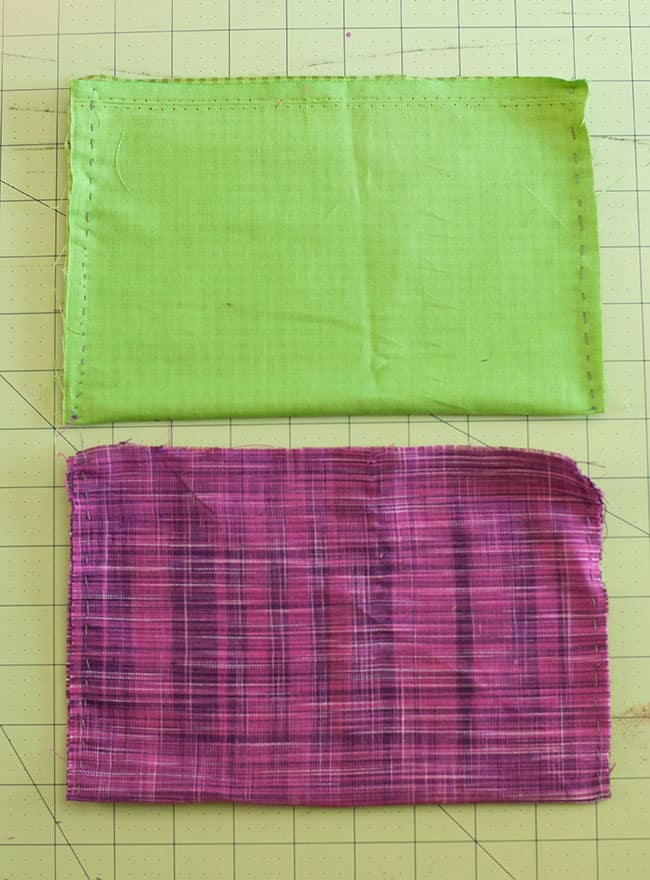
DIY Zipper Clutch | Hello GlowYou should now have two pieces of fabric that are roughly 9.5 inches by 14 inches. Take each piece of fabric and fold it in half vertically with the pattern side facing in. Use a sewing machine or a needle and thread to sew the three outer sides, leaving the top edge open.

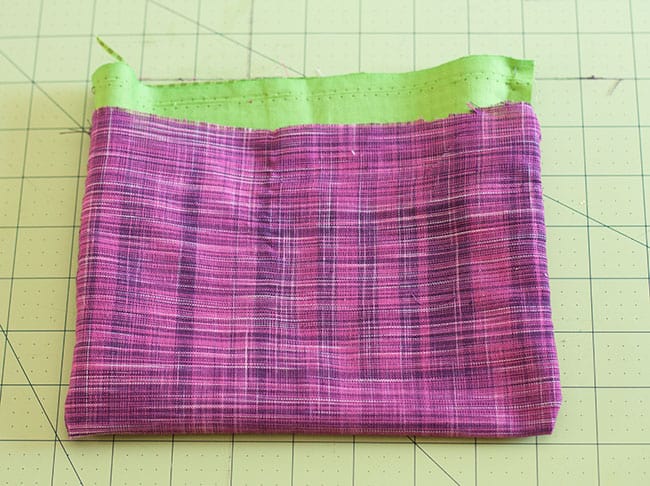
DIY Zipper Clutch | Hello GlowNow flip the outside pouch right side out and place the other pouch inside it. Are you beginning to see your pouch come together?

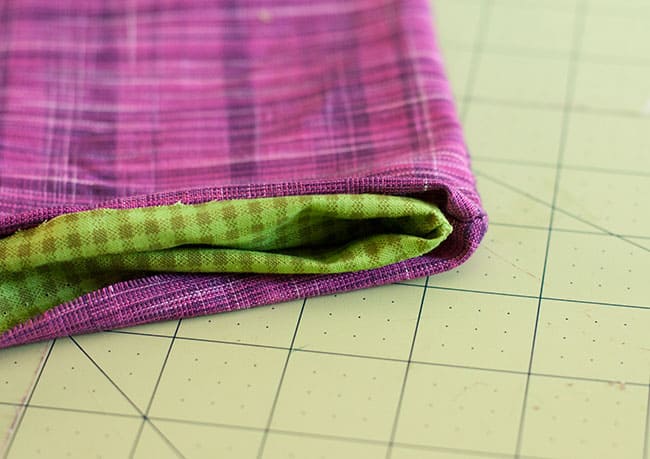
DIY Zipper Clutch | Hello GlowGo around the top of pouch and fold the ends in towards each other. This can be a little tricky but using an iron really helps the folds stay in place.

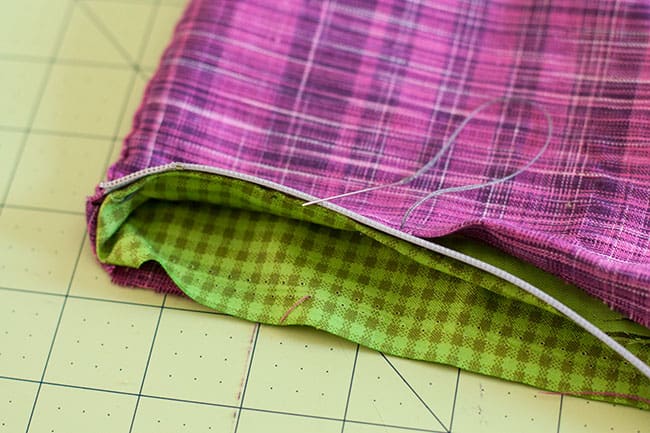
DIY Zipper Clutch | Hello GlowOkay, time for the zipper. Don’t freak out; you can do this! Unzip the zipper and line one end up with the side seam of the two pouches. Slide the zipper half in between the two folds of fabric (teeth side up) and stitch it in place. Go slowly and watch out for unfolding fabric.

DIY Zipper Clutch | Hello GlowContinue stitching until you’ve reached the other side seam of the pouch. Looking good, right? This zipper stuff isn’t that hard!

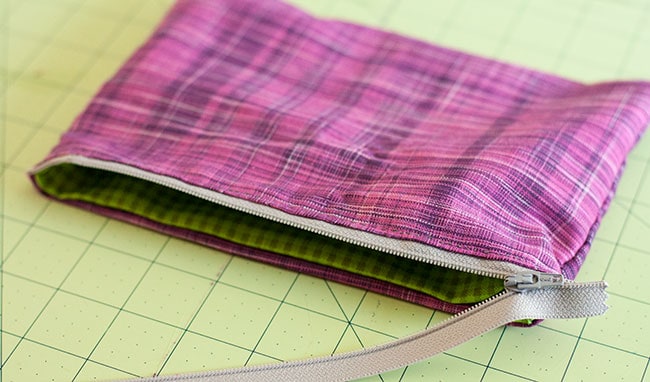
DIY Zipper Clutch | Hello GlowFlip the pouch over and repeat on the other side.

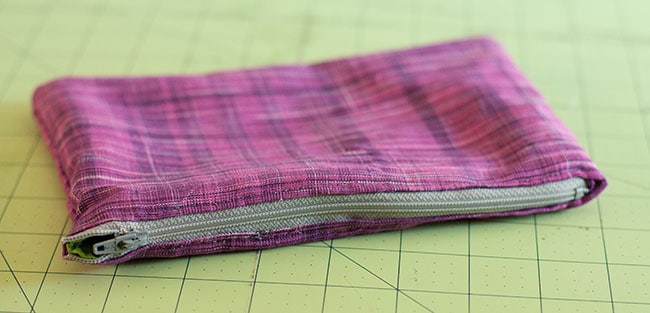
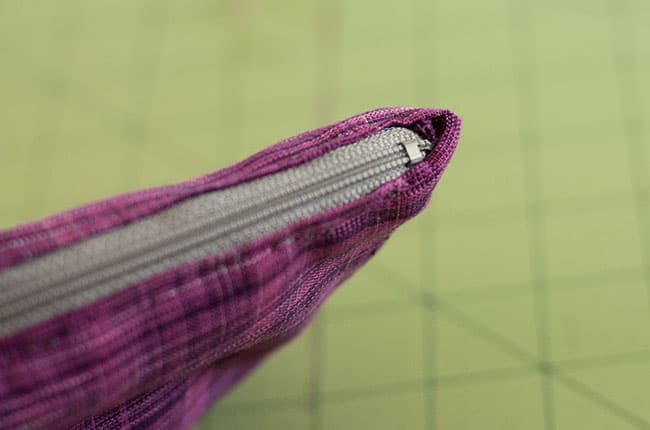
DIY Zipper Clutch | Hello GlowIf there is any extra zipper left at either end tuck it down in between the fabric folds. For fun, you can add a fuzzy pom pom to the zipper pull or a sparkly applique.

DIY Monogram Clutch | Hello GlowDIY Pom Pom Clutch | Hello Glow

Share this:

  • Click to share on Facebook (Opens in new window)
  • Click to share on Twitter (Opens in new window)
  • Click to share on Pinterest (Opens in new window)
  • Click to email a link to a friend (Opens in new window)

Sewing Projects jan

More Posts from Sewing Projects

  • How to Sew a Simple Envelope Pillow

  • No Sew DIY Dish Towel Apron

  • How To Make Your Own Reusable Paper Towels

  • A DIY Dog Coat Your Furry Friend Will Actually Enjoy Wearing

  • How To Sew An Apron (Video Tutorial)

  • How To Make Upcycled Cloth Napkins


Reader Interactions

Comments

    Leave a Reply Cancel reply

    This site uses Akismet to reduce spam. Learn how your comment data is processed.

  1. Elisa @ Fancyfreeme.com says

    December 9, 2013 at 10:29 pm

    love it! I’m terrified of zippers too. Totally trying this one girl.

    Reply
  2. Jane says

    December 11, 2013 at 2:55 am

    Thank you for this. I’m not really a sewing newbie, but zippers do freak me out a bit. I will give this a go with a look of determination on my face!!!!

    Reply

Primary Sidebar

Get updates + more!

Get the exclusive content you crave straight to your inbox.

Featured DIY

We’re Kind of Obsessed With This DIY Charcoal Hand Soap

Essential oils to disinfect

These Are the Best Essential Oils to Disinfect Your Home

DIY Refrigerator Deodorizer Tabs Made with Essential Oils

How to repel spiders with essential oils

Get Rid of Spiders for Good with Essential Oils

5 Laundry Hacks to Make Your Life Easier

More

We are a participant in the Amazon Services LLC Associates Program, an affiliate advertising program designed to provide a means for us to earn fees by linking to Amazon.com and affiliated sites.
  • Contact
  • Privacy Policy
  • Hello Glow
  • Hello Veggie

Copyright © 2023 · Seasoned Pro