I come from a long line of Italians growing their own food, and so when I sat down to write this article, I could think of no better resource than my own father. Springtime in our house meant that every sun-lit corner was filled with seed trays with wee spindly vegetable sprouts peeking out of the soil.
When the weather warmed, we’d help truck the plants out onto the deck for some heat and sunlight, only to bring them back in at night when there was a risk of frost. Eventually, around late May, the herbs would be moved to their summer home in large clay pots along the deck.
The fragile young vegetable sprouts would be planted in careful rows in our back vegetable garden. While most vegetables need a large soil footprint and plenty of direct sunlight, herbs and baby greens can thrive indoors if properly tended to.

Herbs are very easy to grow, and really don’t mind being pot/container bound. Whether you’re working with a corner near a widow, or have a windowsill wide enough to support a rectangular-shaped trough, your plants will be happy if there is plenty of warmth and sunlight.
The first thing you’ll need to decide is what kinds of herbs you’d like to cultivate. Depending on the kind of cuisine you are most often cooking up, you’ll want to select those you would use the most:
for Italian cooking, you would likely want to have parsley, basil, and oregano on hand;
for Mexican, you’d use more cilantro;
for Thai, find some purple basil, lemongrass, and mint;
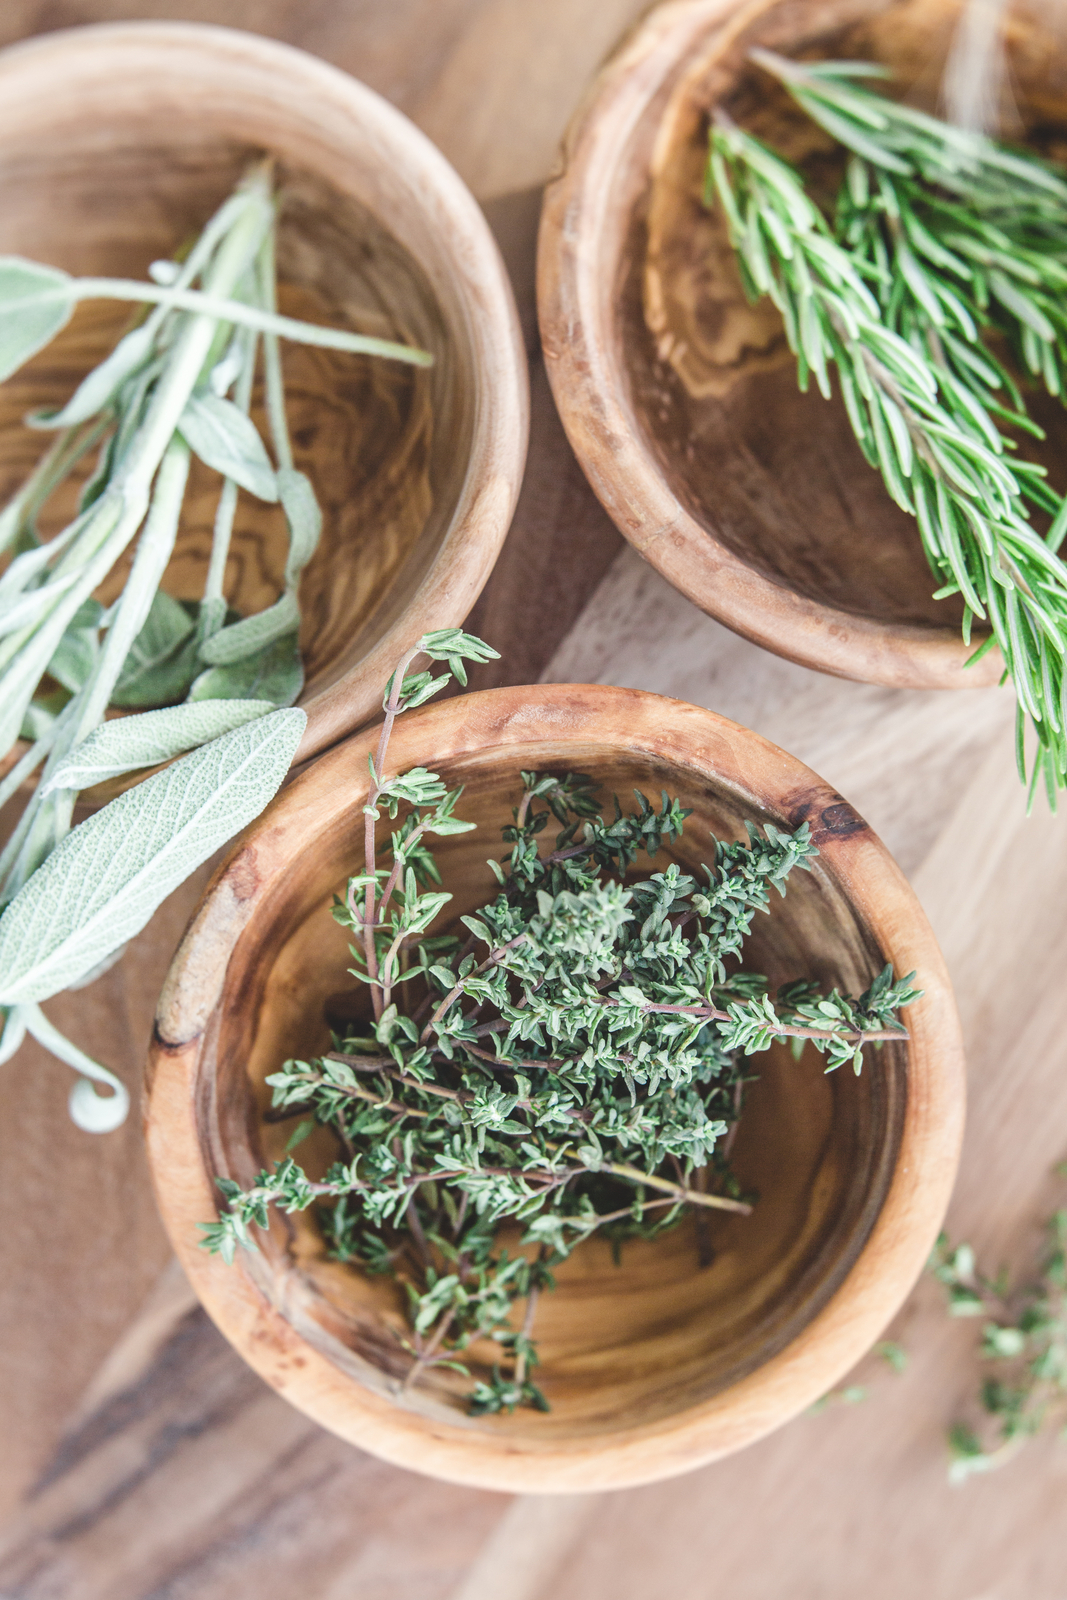
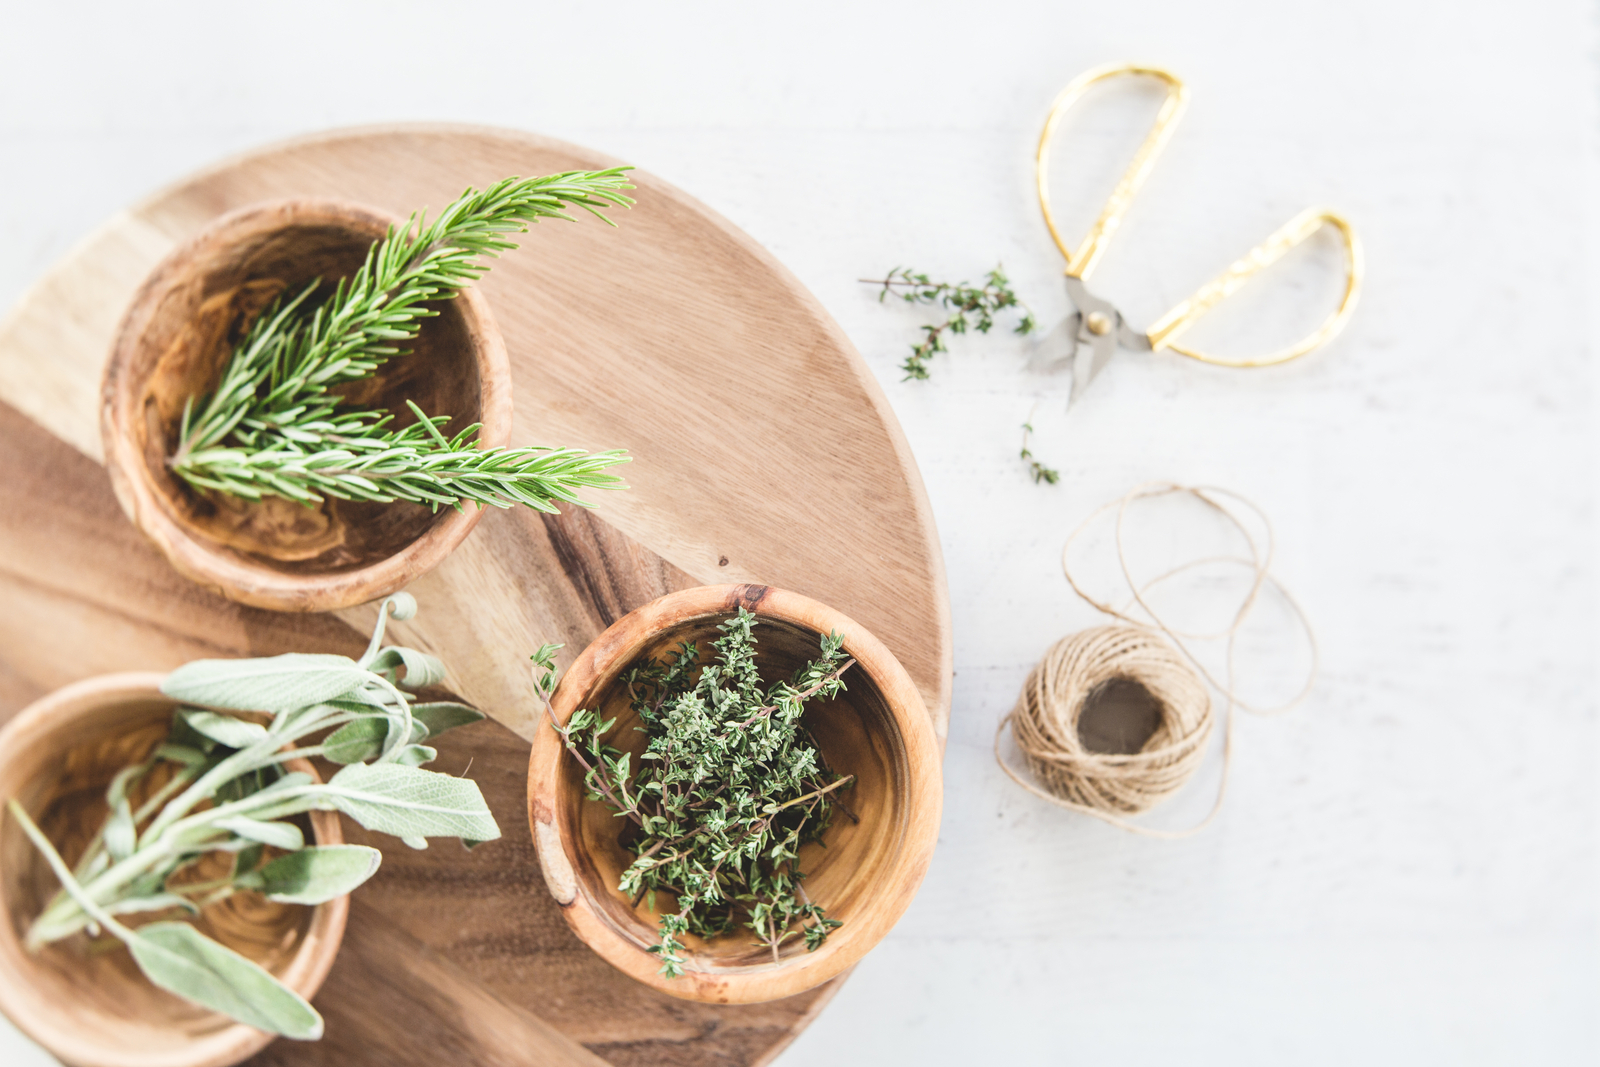
for lots of oven-roasted foods, you’d definitely be looking for sage, thyme, rosemary, and chives.
Your potted garden can be a customized mixture of your favorites.
According to my father and his green thumb, here are some things to keep in mind when growing potted herbs indoors:
Tips for Gardening in Small Spaces
Starting seeds
Either start your herbs from seed and plant them individually in small cells with good quality seed-starting soilless mix (mixture of peat moss and vermiculite, plus fertilizer) and moisture.
Keep the tray covered and warm—my dad always started the germination by putting the seed trays on top of the refrigerator—and only move the trays into sunlight once they have sprouted. If you have a nursery nearby, you can also purchase small plants rather than seeds.
The right pots
Use natural clay pots so water can naturally evaporate, either finding large ones where you could plant multiple herbs together, or smaller pots for individual plants that could be spaced more easily around your home. I’ve successfully grown five smaller herb plants in an 18-inch diameter pot, but you can also plant them in a tidy row in a more rectangular container.
Transfer your seedlings or repot store-bought plants, and space them out well, planting them directly into your pots filled with soilless mix—potting soil is too dense and heavy.
Watering
Water only as needed—be careful not to over water, and ensure that the pots have adequate drainage or the roots will rot. An easy way to also add humidity and moisture to the air around your plants is to place the pots upon a shallow pebble tray.
Fill a low tray with rocks/pebbles, and add water just enough to rise towards the top of them. Set the potted herbs atop the stones, but be sure they are not submerged in the water.
Fertilizer
If you plant your herbs in seed-starting soilless mix, they will have enough nutrients to thrive for a while. Once your seedlings are a few inches tall, you can begin to fertilize. When the pot is dried out it’s time to water them; if possible, choose an organic fertilizer like fish oil, and use at half-strength of the recommended ratio.
Temperature
Be sure that the temperature of the room is warm, and keep away from cold drafts. Herbs love the heat!
Sun
Your plants will need a lot of sunlight and setting them near windows with southern exposure is best, but the partial sun found with east/west can work too if needed. If you are limited in terms of light exposure, your plants will need specialized LED gro-lights which can be set up to shine directly upon them.
If you have a porch, balcony, or yard, and do decide to move your indoor pots outdoors or to a garden when the weather warms, you’ll need to slowly adapt them to the direct sunlight over the span of about a week. Start with only one hour in the bright sun, followed by a few days of 2 hours, then 4 hours.
Then they should be okay to leave them out as long as there is no risk of a frost at night. You would also want to be sure that you are placing your pots in a protected spot outdoors, as they will not do well in a windy spot.
Trimming
As your herbs begin to grow larger, pinch back any excessive growth to keep them thick and robust, especially if they are shooting up and looking spindly and “leggy.” You’ll also want to keep them from going to flower, so pinch off any buds to keep the leaves healthy and tasting great! (If you’ve ever eaten cilantro after it’s gone to flower, you’ll know what I mean! Yikes.)
If you decide to plant mint, keep it separated in its own pot. Mint has a really aggressive root system that shoots out runners and can take over wherever it’s planted; if you decide to move your herbs to an outdoor garden during warmer weather, keep your mint securely potted, and don’t let it go to flower or you’ll be finding it everywhere!
Now that you have a bunch of herbs on your hands, here are some ways to use them.
What about vegetables?
I asked my dad what varietals he’d recommend for growing indoors, and his advice is to limit your small-spaces, pot-bound garden to baby lettuces and leafy greens—think microgreens, spring mix, baby spinach, endive, or radicchio—and green onions. These will all grow well in containers, but will tend to thrive in temperatures that are cool, though like the herbs, they will also need lots of sunlight or a gro-light to help out if needed.
Larger vegetables need space, deeper soil, and numerous plants to produce a reasonable yield, but with just one large pot, you can cultivate enough greens to make some great salads! Kale and romaine can also grow in containers, but can tend to be tough and bitter when grown in warmer temperatures, so choose the more tender, leafy sorts.
These can also begin as seeds germinated in a starter mix, or can be purchased as young plants, and would be fertilized and watered similarly to the herbs.
When your greens/lettuces have grown and matured enough to eat, take a pair of clean kitchen scissors and cut off the leaves near the base as if you’re giving the plants a haircut. This will allow the root systems to remain undisturbed so they can shoot up some new growth and regenerate into another bowl of salad soon enough.
For green onions, buy your first bundle from the grocery store, chop only what you need until about half way down the stalks, and then plant the remaining scraps root-side-down in the soil around your herbs or lettuces, or—here’s another great space-savvy option—set them standing up in a shallow bowl or jar of fresh water on your window sill and watch them regrow! Like the lettuces, you can just cut what you need from the top of the stalks using your scissors.
While you can plant garlic indoors, it needs a cold, dormancy period in order to fully develop into a bulb, which means that while your clove won’t transform into a whole head of garlic, it will still shoot up some delicious green garlicky sprouts which can be used in the kitchen as a fresh and zesty herb.
If you live in a home with limited to no outdoor space in which to plant a vegetable garden, you can still find ways to grow your own food. With the right soil, temperatures and light, your potted gardens can thrive, adding vibrancy to your living space as well as supplementing your culinary adventures.
6
Chrissy says
I love my mason jar window herb garden. I’ve tried using little pots but they get too rootbound, the mason jars work perfectly!