Composting is the controlled process of decomposing organic matter into a nutrient-dense material that can be used to enrich new plant life. Not only does it help you to save money that you might otherwise spend on chemical fertilizers, compost helps your soil to retain moisture so there’s less watering needed, and it helps to reduce the overall burden on landfill (nearly half of all landfill is organic/compostable material which, when left to inorganically break down in garbage piles, increases harmful greenhouse gas emissions.)
If you’re sold on the idea of zero waste living but lack the space to build your own garden compost pile, you’re in luck—indoor composting is simple! Here’s what you need to know to get started.
Indoor Composting 101
How to make your own compost bin
You can head to your local hardware store and pick up a bin that’s been specially designed for the purpose of indoor composting, or you can follow our guide below and make your own.
Pick up a plastic bin with a tight-fitting lid (one to two people could use a 10-gallon bin, but a family of four would likely need a 20-gallon container). Find a plastic tray (needs to be slightly larger, like a washing machine drain pan) to place beneath the bin in the event of leaks.
Drill a grid of small holes on the top of the lid. A healthy compost needs plenty of oxygen in order to decompose properly.
To reduce the chances of your compost becoming a fruit fly feast, use a glue gun and attach a cut-to-measure mesh or screen to the inside of the lid.
Begin your new compost project with some damp, shredded paper/cardboard, and a cup of soil. Compost bins need a mix of “brown” materials such as shredded paper, dry leaves, straw and wood chips which are high in carbon, and nitrogen rich “green” materials such as food scraps, plant cuttings, and cut grass.
A healthy compost bin will have an optimal ratio of 2:1, green to brown. Brown materials take longer to break down than green.
Keep a small hand trowel or hard garden rake nearby to use when your compost needs mixing.
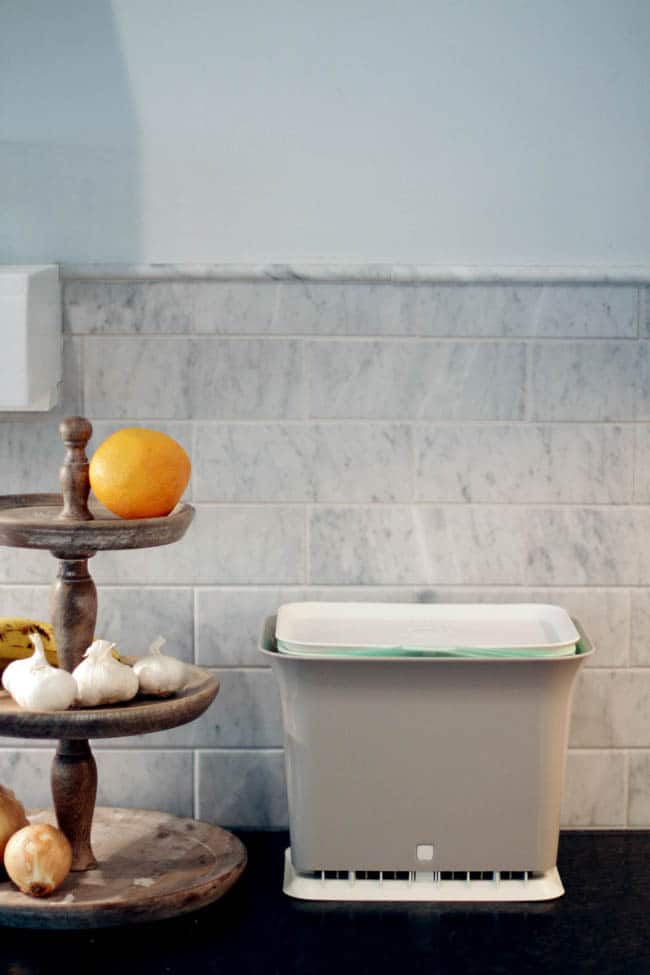 Find a place in your kitchen to keep your bin (such as beneath your sink, or tucked in an out-of-the-way corner). If you’d rather store it in another part of your living space, keep a smaller container with a lid in your kitchen for a hassle-free way to toss your food scraps.
Indoor Composting basics

What to add & avoid
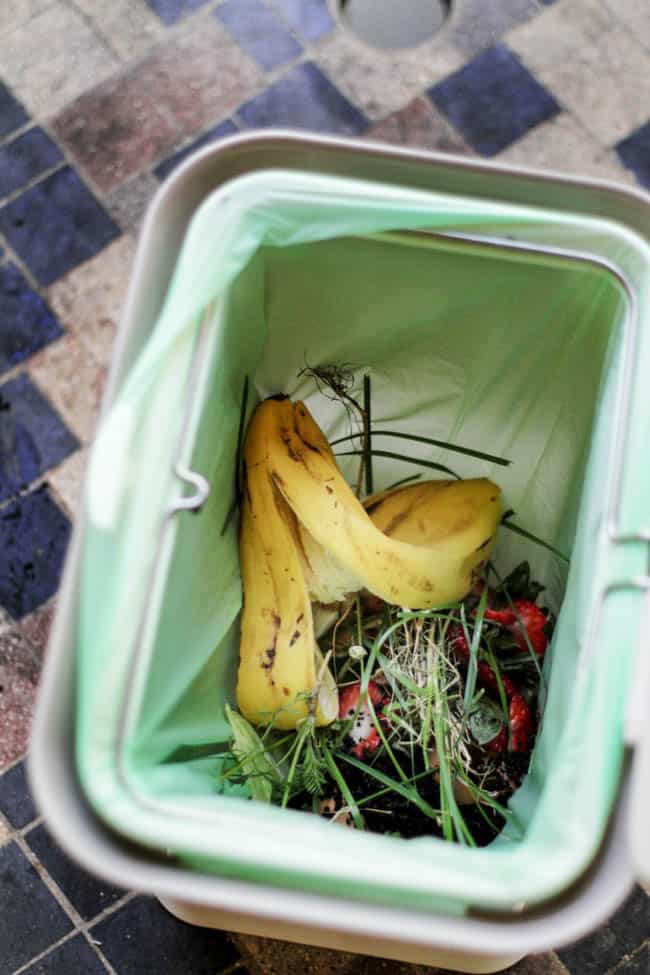
Add in any raw plant matter (think peels, pits and cores, rotten fruit/veg, plant cuttings, coffee grounds and used paper filters, nut shells, tea bags- without plastic and string). It is generally recommended for basic indoor composting that you avoid adding meats, bones, fats, cooked food, or dairy, as they can encourage pests and are slower to break down. One exception that I’ve had no trouble with is rinsing out egg shells and crushing them in to the mix.
Aerate frequently
Tumble the contents around very thoroughly at least once per week. The decomposition process requires a lot of aeration, and turning the mixture will help to increase air circulation. When the bin is not being added to or mixed, however, keep the lid firmly in place. Your compost is a living ecosystem that needs to breathe, but does best in the dark!
Keep it moist
Keep the mixture moist, like a damp sponge. If it gets too soggy or begins to smell sour, toss in a few good handfuls of “brown” contents and combine well. If, on the other hand, your compost dries out, the decomposition will be stalled. Adding in a bit of water or watery scraps (i.e. melon, squash) can help kick-start the process once again. If you keep it at the right moisture level, it really shouldn’t smell badly at all.
Compost tea
If any of the compost fluid (“compost tea”) leaks on to the base tray, don’t throw it out—pour it on to your plants! It has earned the reputation of being a “liquid gold” in the gardening world. If you’d like to intentionally make compost tea, drill a few holes through the bottom of the bin in addition to the ones meant for aeration at the top, and decant from the collection tray.
What Goes In and What Stays Out
For your compost ecosystem to have what it takes to effectively transform your organic waste, you’ll need to establish the right balance of “green” and “brown” items—too much green and your mixture will become soggy and smelly, whereas too much brown means you’ll lack the moisture necessary to break down the scraps.
Here’s a quick guide to help you know what goes in to the bin, and what stays out:
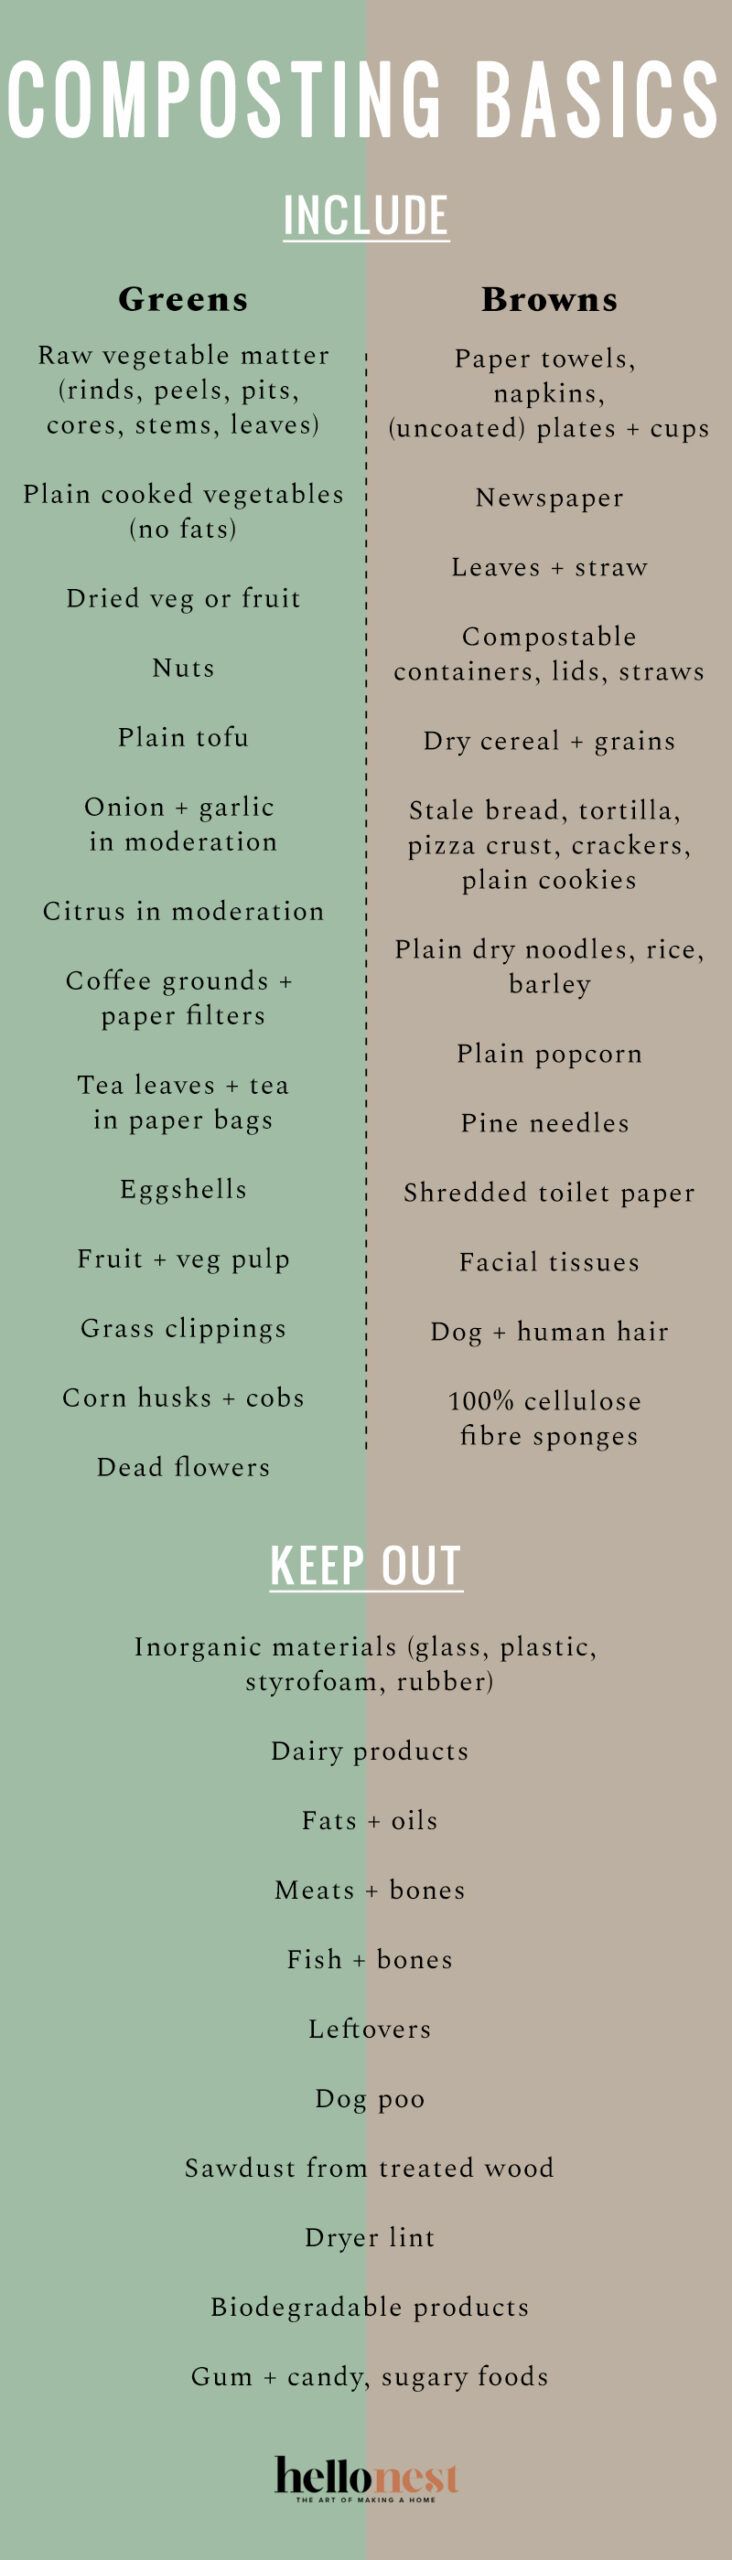
What to include in your compost bin:
Greens:
-raw vegetable matter including rinds, peels, pits, cores, stems, and leaves
-plain (cooled) cooked vegetables (boiled/steamed, no added fats or dressings)
-dried vegetables or fruit
-nuts
-plain tofu
-onion/garlic in moderation (too much can kill the natural microorganisms that help to break down the scraps)
-citrus in moderation (too much acidity can throw off the ideal pH balance necessary for decomposition)
-used coffee grounds as well as the paper filters
-loose leaf tea, or tea in paper bags (note: some tea is packaged in a fine plastic mesh and cannot be included)
-egg shells
-fruit and veg pulp
-grass clippings
-corn husks and cobs (though they will take a long time to break down)
-dead flowers
Browns:
-paper towels, paper napkins, uncoated paper plates and cups
-newspaper
-leaves, straw
-any compostable containers/lids/straws or sugarcane styrofoam from eco-friendly takeaway
-dry cereals and grains, stale bread/tortillas/pizza crust/crackers, plain dry noodles/rice/barley, stale plain/dry cookies such as digestives (bury these scraps deeper in your mix)
-unbuttered popped or unpopped popcorn
-pine needles
-shredded toilet paper or paper towel rolls
-facial tissues
-dog and human hair after cleaning out the brushes
-100% cellulose fibre sponges
Things to keep out of your compost:
-inorganic materials such as glass, plastic, styrofoam, rubber
-dairy products (cheese, yogurt, butter, etc.)
-fats and oils
-meat and bones
-fish and bones
-leftovers (any food–raw or cooked– that has been prepared with meat or dairy, oils, sauces, or dressings)
-dog poo
-sawdust from treated wood
-dryer lint
-biodegradable products (not the same thing as “compostable”)
-gum and candy, sugary foods
*Note: for those looking to compost cooked foods and meats, it is possible but you’ll need to use a different method.
What to do with your compost
It can take anywhere from two to four months for the contents to break down into a rich, soil-like material. When it has, there are a few different ways you might put your final product to use:
- add it to your own garden bed to help it retain moisture and to feed your plants
- make your indoor plants happy by adding compost to their potting soil
- pass it on to a neighbor with a garden
- donate it to a school or public garden
- bring to a compost drop-off
If you have some outdoor space, you may want to consider keeping a corner of it open as a place to pile up your completed compost so it’s ready for you to use when you need it.
Why get overwhelmed by products marketed to composting, or by the many different ways to go about it, when it really can be as easy as a plastic bin, some organic scraps, and a mixing tool? There’s something very satisfying about aiding in the natural process of decomposition and seeing first hand the boost it can bring to new life. Give it a try; we’d love to hear about your own composting tips and tricks!
21
Leave a Reply