I’ve been trying to cut back on plastic in the kitchen for years. Not only is it full of untested chemicals that can wreak havoc on our bodies, but it’s horrible for the environment (don’t get me started on the poor sea turtles!) So needless to say, I’ve slowly been replacing things like Tupperware, stadium cups, plastic bags and straws over time. But plastic wrap has been one of the hardest switches to make. It’s just so, so convenient. Luckily, eco-friendly replacements like beeswax wrap makes the transition a little easier – especially if you make it yourself in bulk.
Here’s how to make your own nontoxic beeswax wrap DIY at a fraction of the cost.

Beeswax Wrap DIY
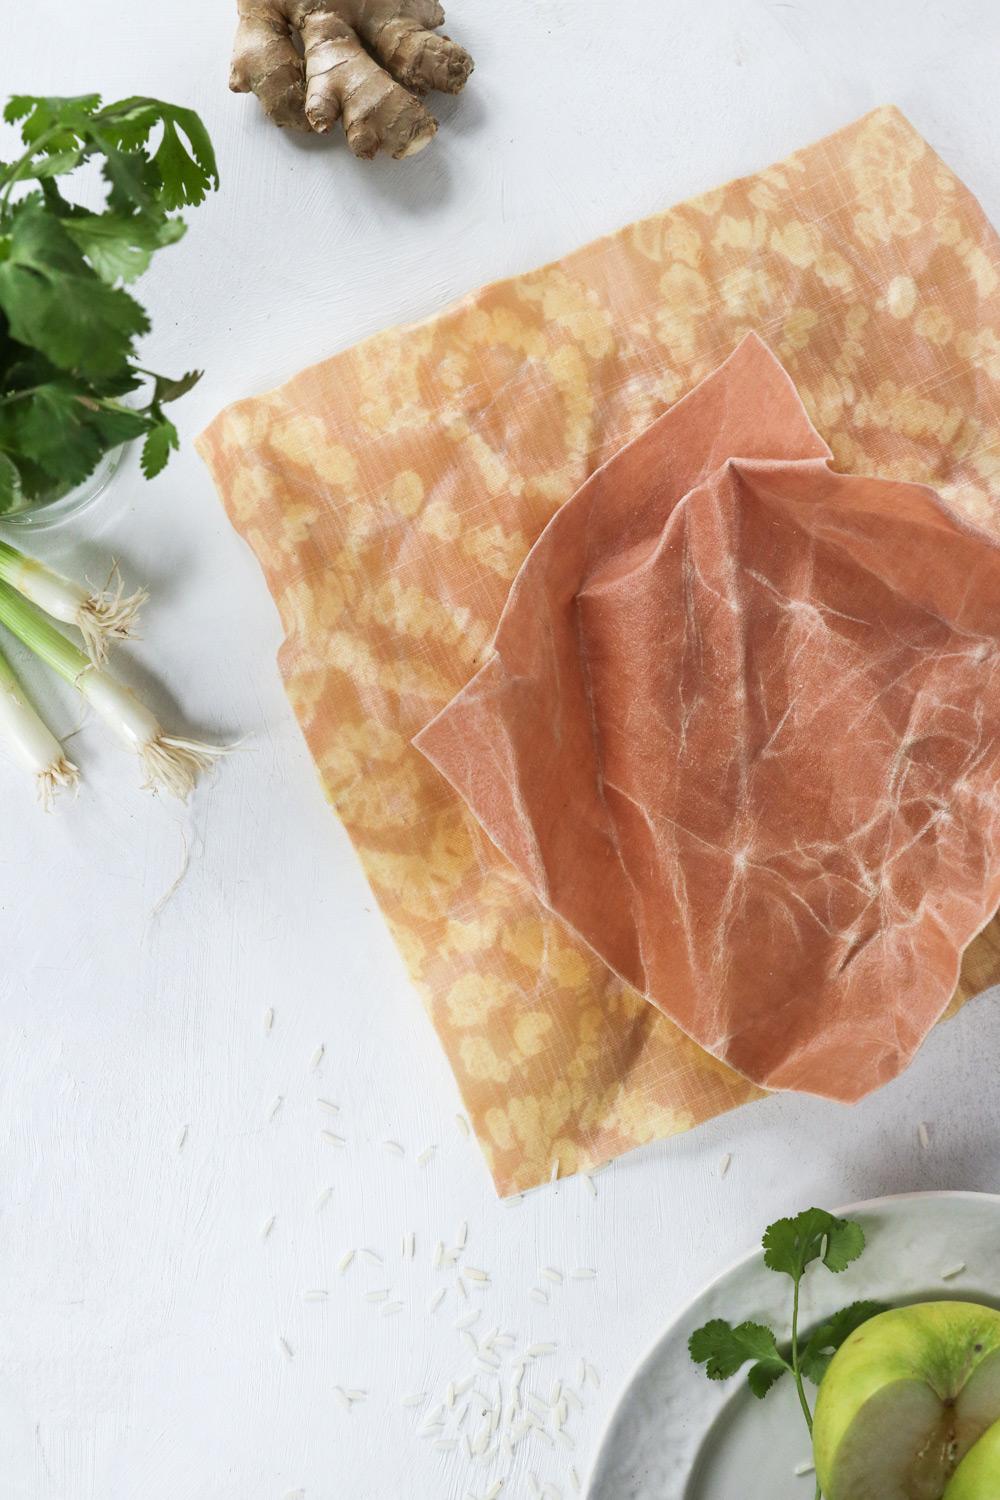
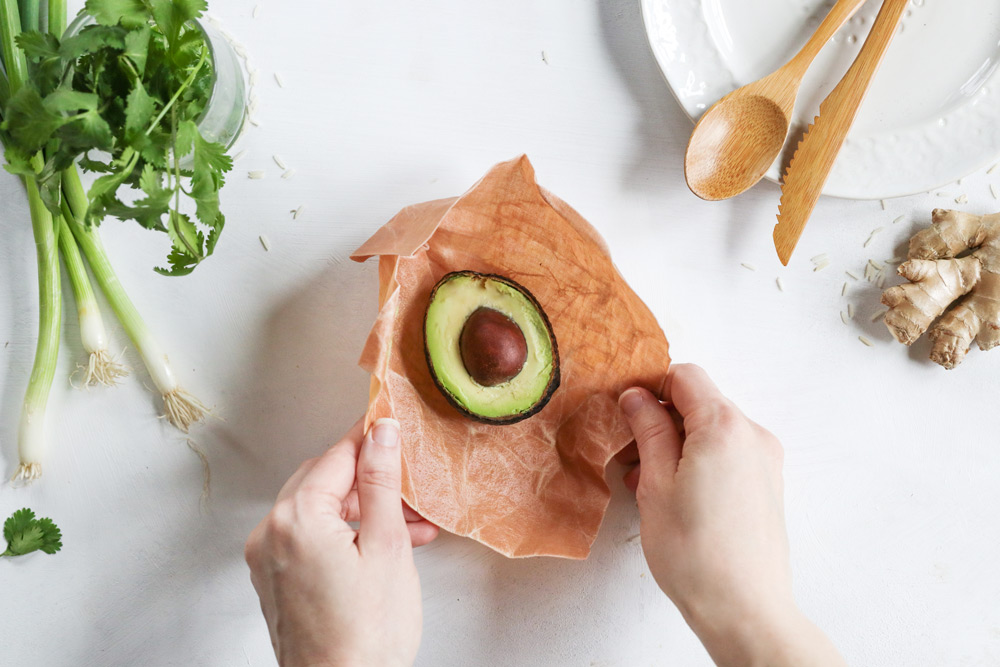
The easiest way to make bee’s wrap is simply by coating organic cotton fabric in melted bees wax and letting it dry. The wax sinks into the fabric and, once solidified, creates a water-tight, moldable fabric you can wrap around food or place over dishes and containers. And because beeswax is water-repellent and naturally antibacterial, it locks in moisture, keeps bacteria at bay and helps keep food fresh longer, just like plastic wrap.
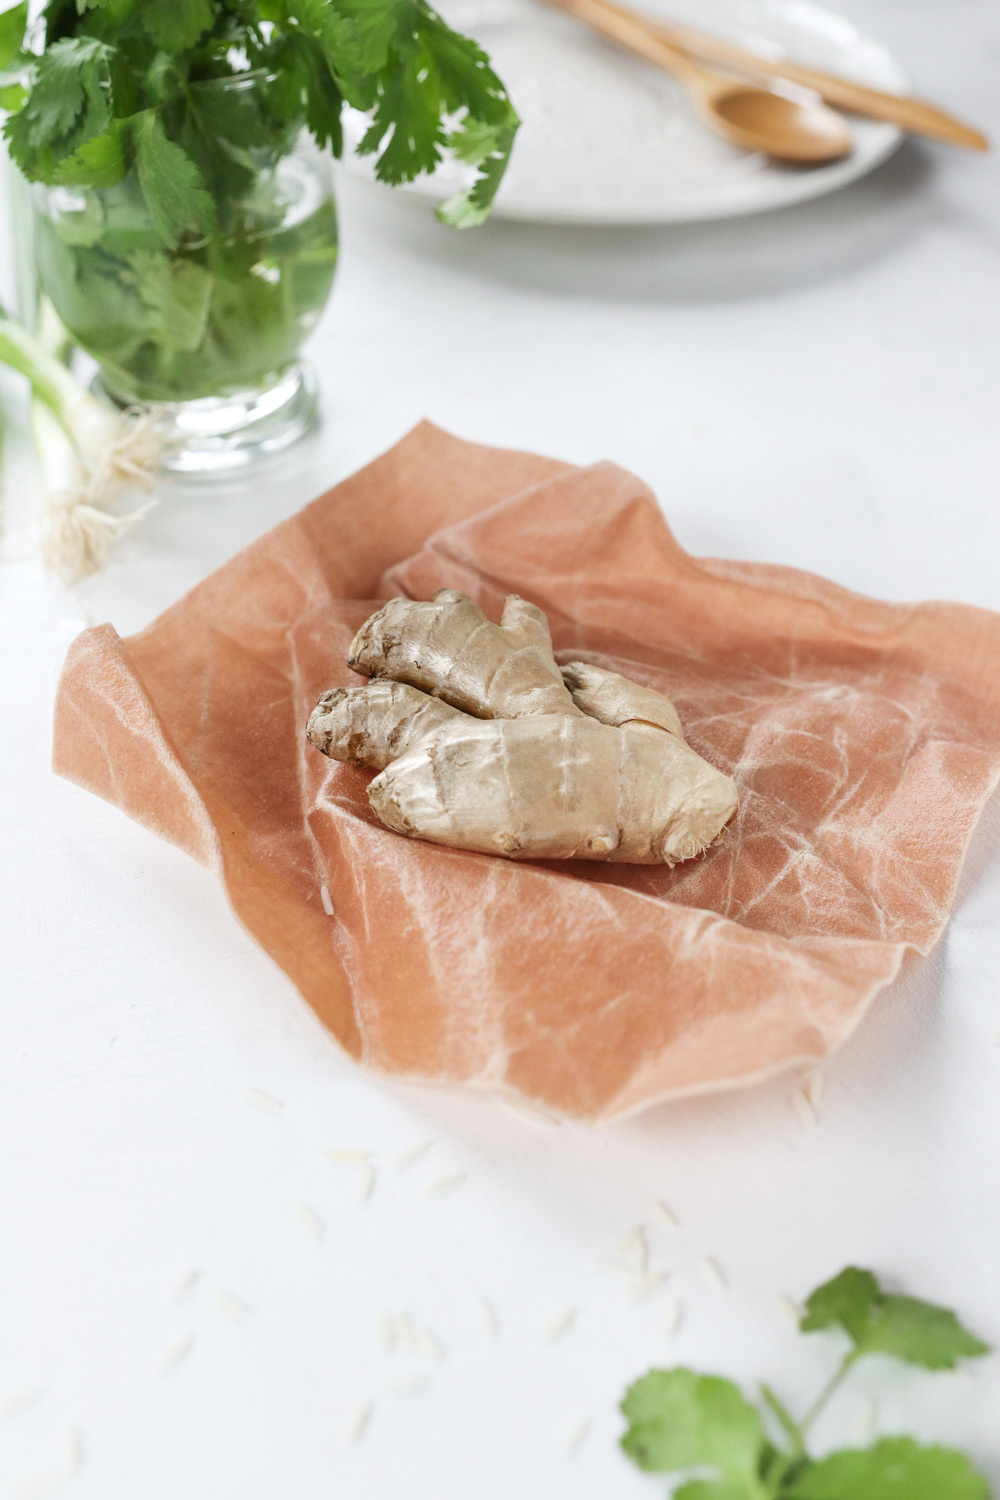
When choosing fabric, it’s best to use 100% organic cotton fabric if you can find it. Since ditching chemicals is one of the reasons for going plastic-free, you don’t want to simply replace the chemicals in plastic with the chemicals in traditional fabrics (think flame retardants, pesticides and solvents). Organic cotton will help keep the chemicals to a minimum.
Some DIY tutorials recommend using pine resin to make the wrap a little clingier. I don’t know if I’m just a cheapskate or if I don’t know what I’m missing, but I skip the resin when making my wraps. I find that straight beeswax provides just enough hold to keep food fresh. And while it doesn’t cling to bowls quite like plastic wrap, if you soften the wax a little with the heat from your hands, it gets the job done.
If you’d prefer the clinginess of store-bought bee’s wrap, go ahead and combine ¼ cup pine resin, 2 tablespoons jojoba oil and ½ cup beeswax in a double boiler. Melt completely, then brush the mixture on your fabric until it’s fully coated. Then let dry.

Beeswax Wrap DIY Tutorial
Ingredients
- Beeswax pellets you’ll need 2-3 tablespoons per wrap
- 1 - 2 yards 100% organic cotton fabric cut to size
- Parchment paper
- Cookie sheet
- Paint brush
Instructions
- Preheat the oven to 250F.
- Line a cookie sheet with parchment paper and place pre-cut fabric (I usually cut mine in various sizes such as 8" x 8" and 12" x 12") on the parchment.
- Sprinkle the fabric with a a couple tablespoons of beeswax (a little goes a long way so you don’t need a lot).
- Place the pan in the oven and check after 4 - 5 minutes to see if the wax has melted.
- When the beeswax is just melted, remove from oven. Spread wax with a paintbrush to remove excess and coat any bare spots.
Maegen Phillips says
How do you clean these to re-use them?
Hellen Anderson says
I just use warm soapy water 😊