I’ve always loved experimenting with natural dyes such as turmeric, beets, and tea. They leave behind a soft, elegant color you won’t find with chemical dyes, and they’re super easy to work with. Just toss ’em in a pot and let them steep. But lately I’ve been itching to experiment with more vibrant colors using flowers. Enter flower dyeing!
Although flowers are one of the main sources of pigment for the dyes we use today, making my own dye with fresh flowers just seemed like a lot of hard work. And there’s nothing quite like getting in way over your head with a “simple DIY project.” So instead of jumping in, I decided to dip a toe in and try flower pounding.
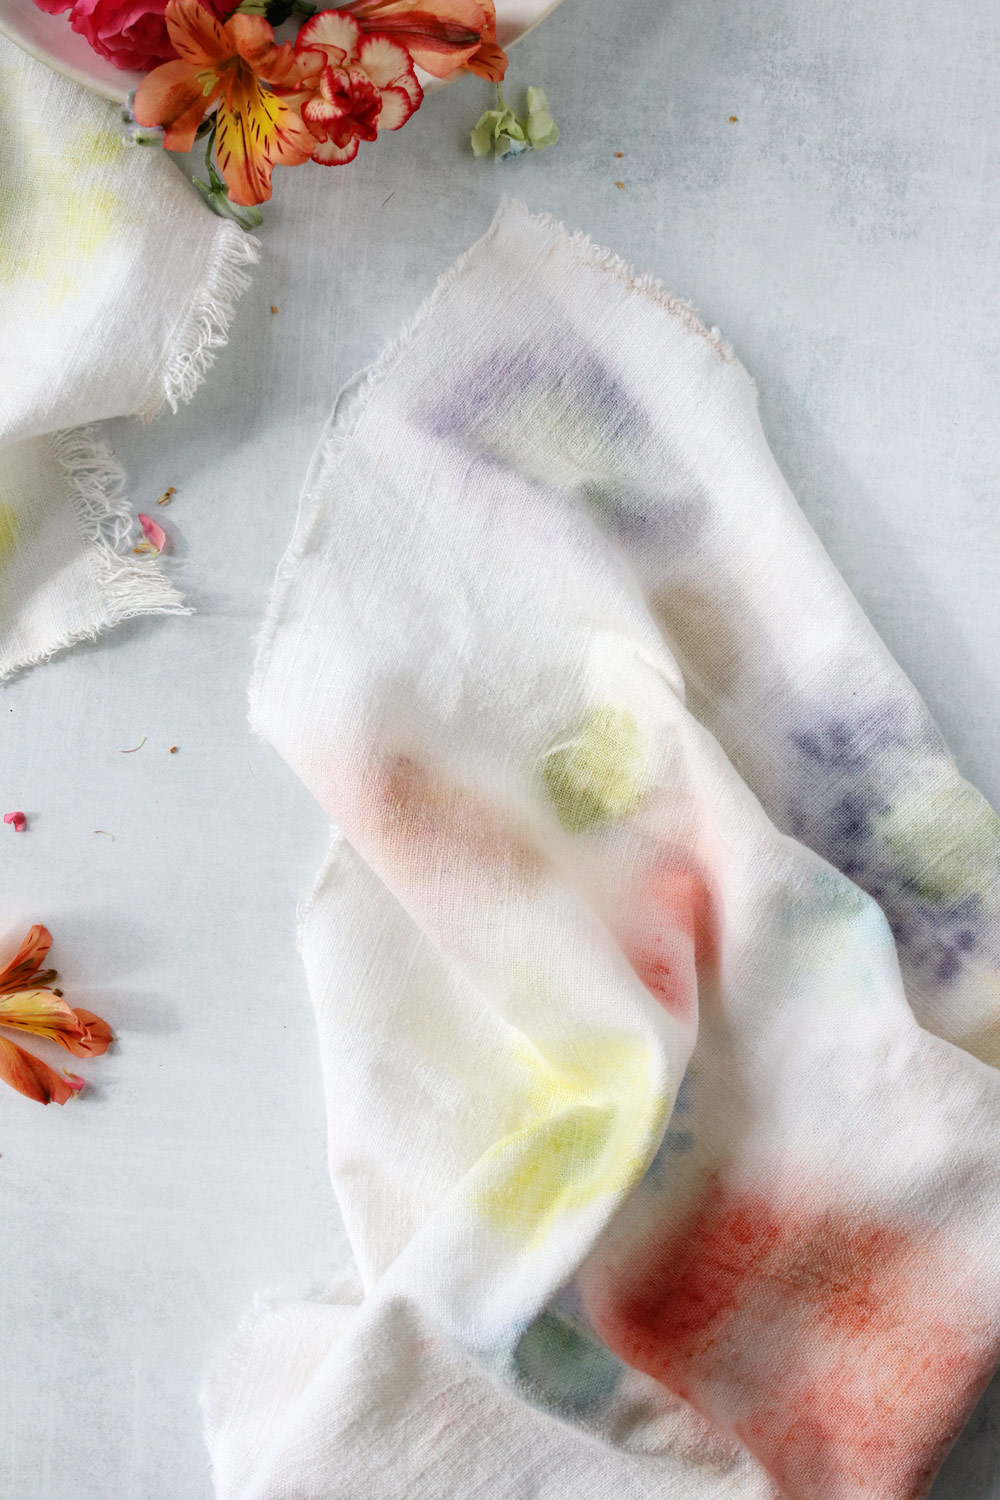
Flower pounding is a way to transfer and preserve the colored pigments of flowers using a hammer and fabric. With the help of alum salts, you can make a color-fast dye that’s brighter and more vivid than many vegetable and spice dyes. And depending on the supplies you choose, the end result can be anything from watercolor-like dyes to full on floral prints, so they’ll work for a variety of projects.
Here’s how to make your own watercolor napkins using fresh flowers.
DIY Watercolor Napkins with Flower Dyeing
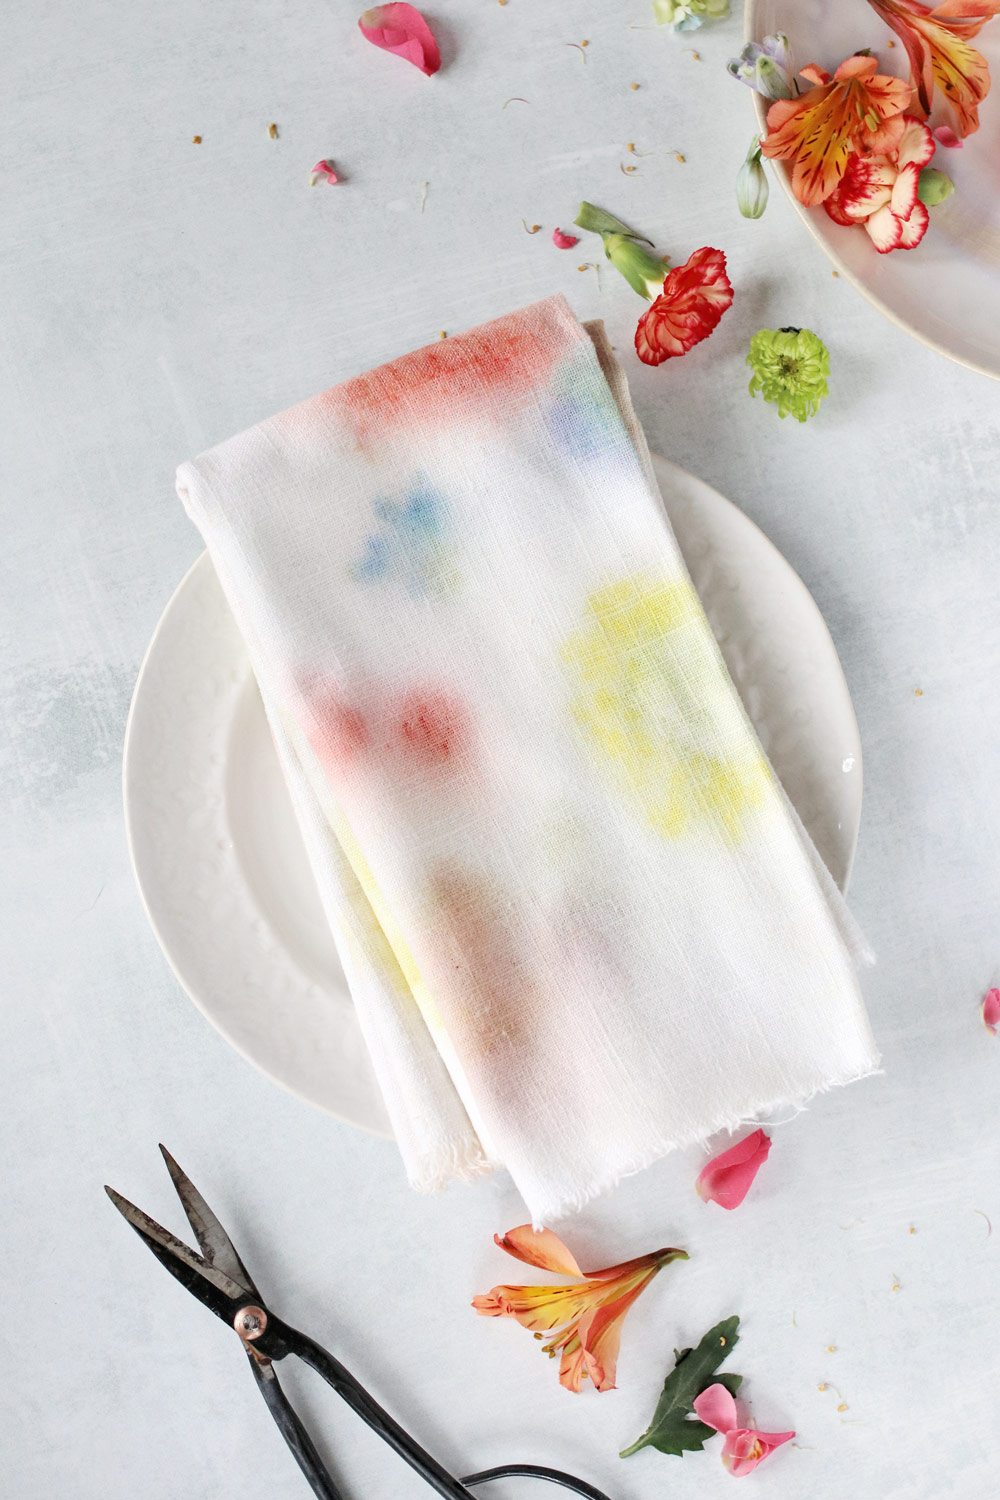
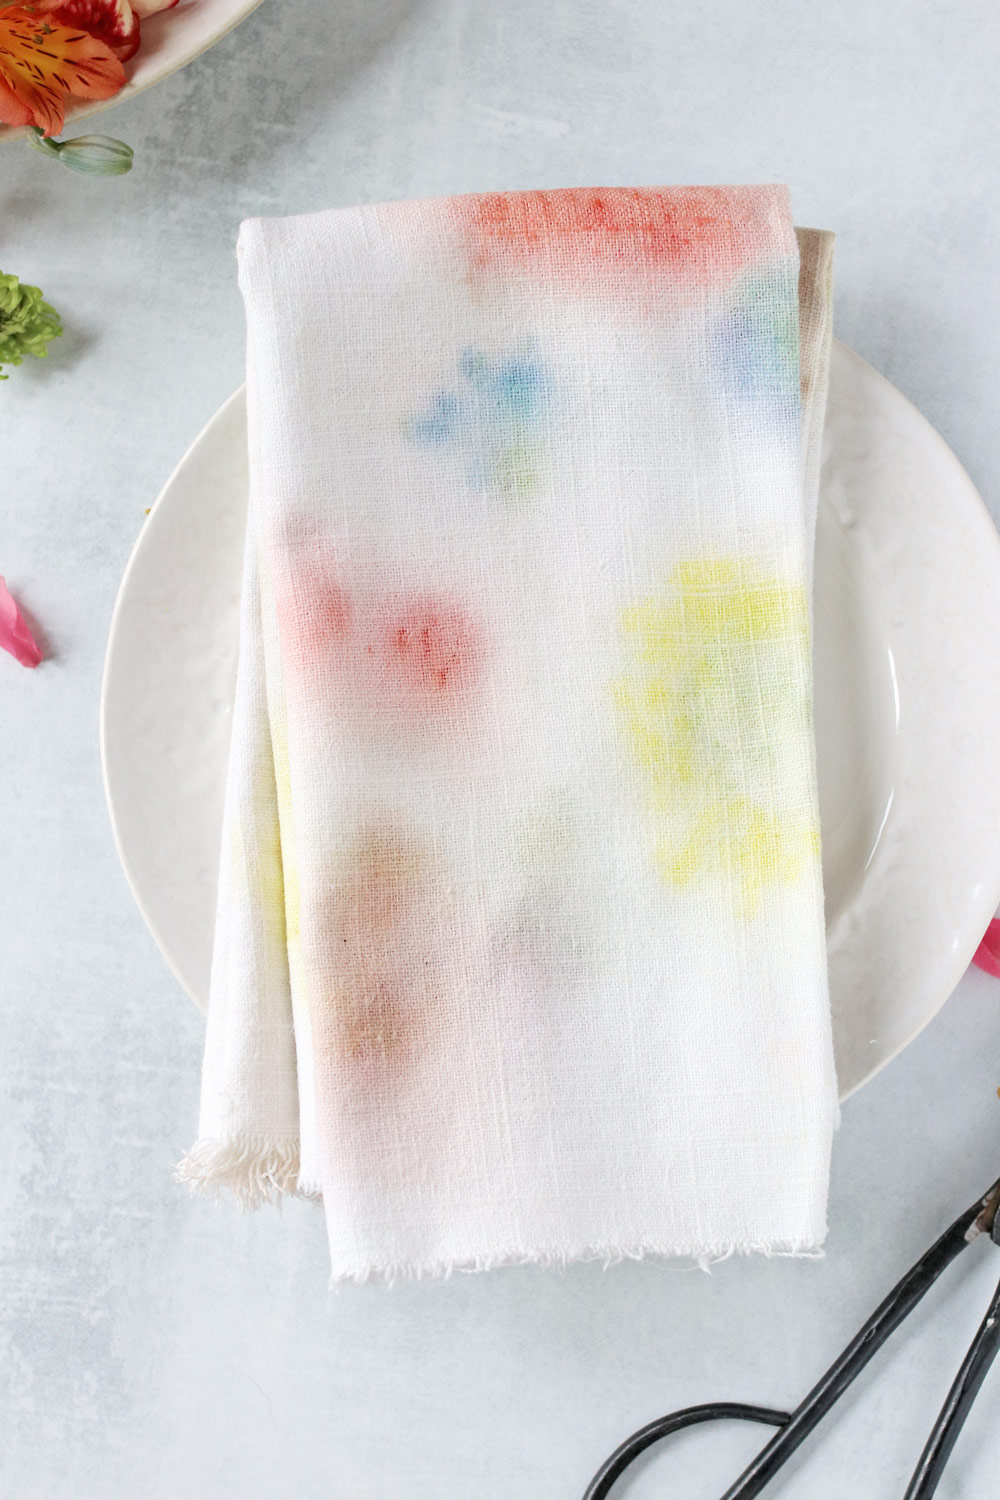
With nothing more than some fresh flowers, a hammer and alum-water spray, you can make these pretty watercolor napkins in less than an hour.
When it comes to flowers, I recommend choosing the most vibrant colors you can find. Black eyed Susan, deep red roses and red geranium petals work really well. I also had a lot of luck with ferns and geranium leaves for a bit of added greenery. While you might have trouble finding these flowers at the store, you can usually find them at a local greenhouse or in a friend’s garden, depending on the time of year.
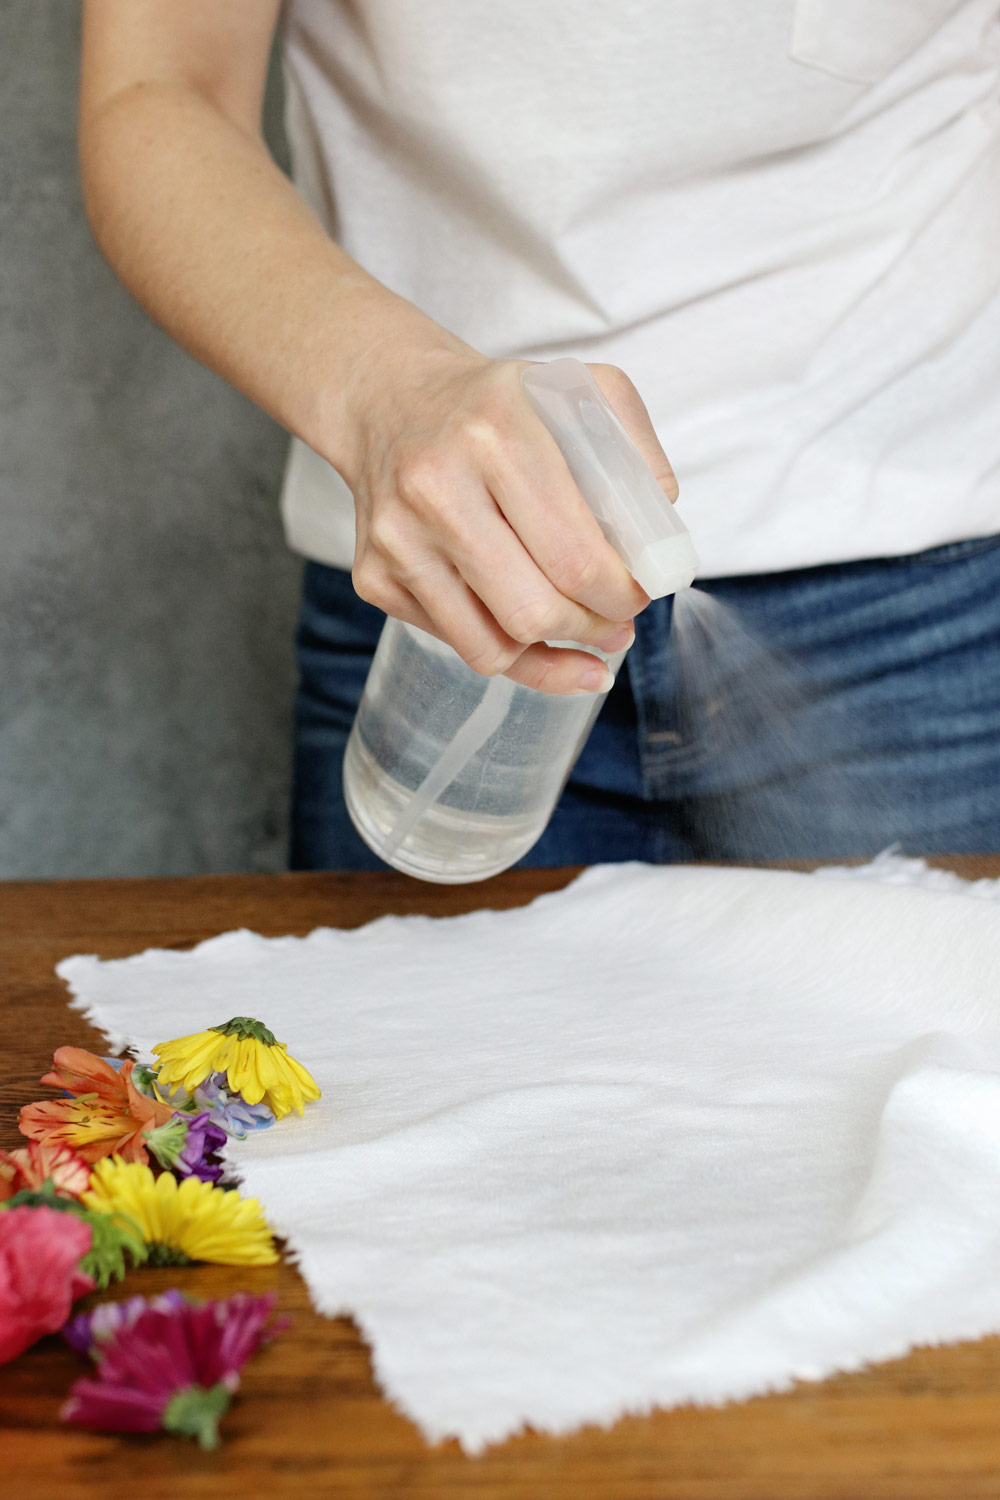
To make sure the color doesn’t fade, you’ll want to use alum salt as a fixative. Either combine the salt with water in a large pot and simmer your fabric for an hour. Or do what I did and dissolve the alum in a small spray bottle. Spritz the fabric before and after you pound a flower to help ensure that the color lasts through several washings, at least.
And to be honest, a lot of online tutorials show a much more distinguishable flower shape as the end result. Maybe it was the fabric I chose (a medium weight linen) or the alum spray I used (too much, perhaps?) but mine left a much subtler floral silhouette, which got slightly fainter as it dried. I still love them and the impressionist painter vibe they give off. But when I was done I couldn’t help but wonder what I might do differently next time (more flowers, less alum spray and definitely don’t iron).
How to Flower Pound on Fabric
Supplies
- A collection of flowers and leaves
- Hammer or rubber mallet
- Alum salts
- Glass spray bottle
- 100% cotton napkins (I used linen)
- A hard surface
Instructions
1. Wash and dry your fabric.
2. While you’re waiting, make your alum spray by dissolving 1 tablespoon alum in warm water. Transfer to a glass spray bottle and fill to the top with water.
3. Spread out a few flowers on a hard surface. When you’re happy with layout, place a napkin overtop of the flowers.
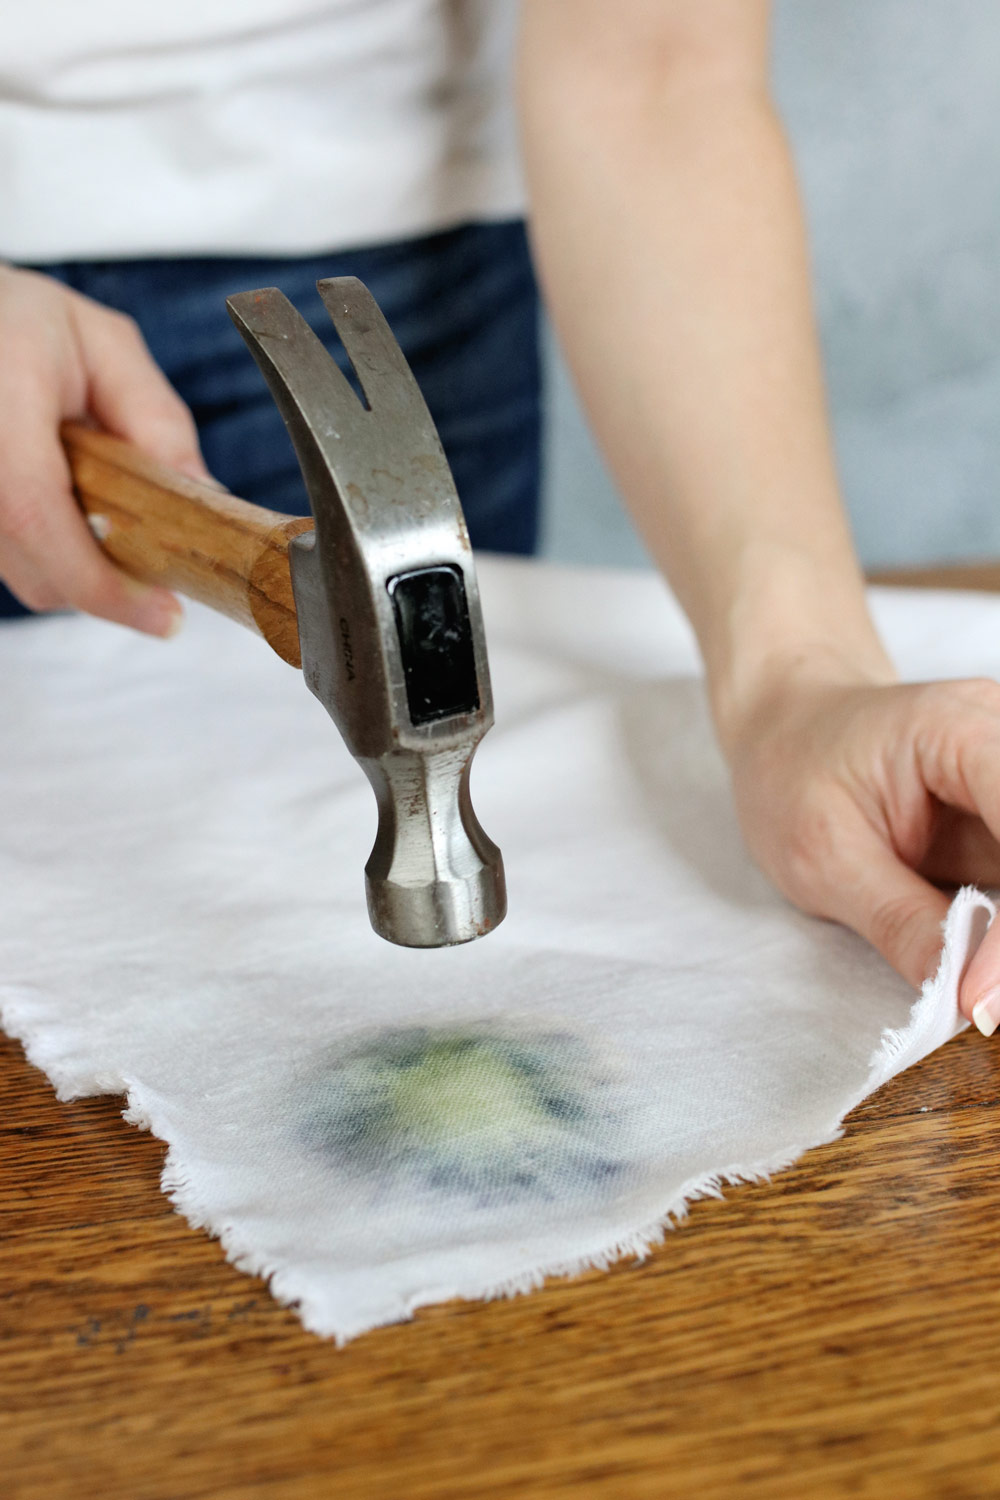
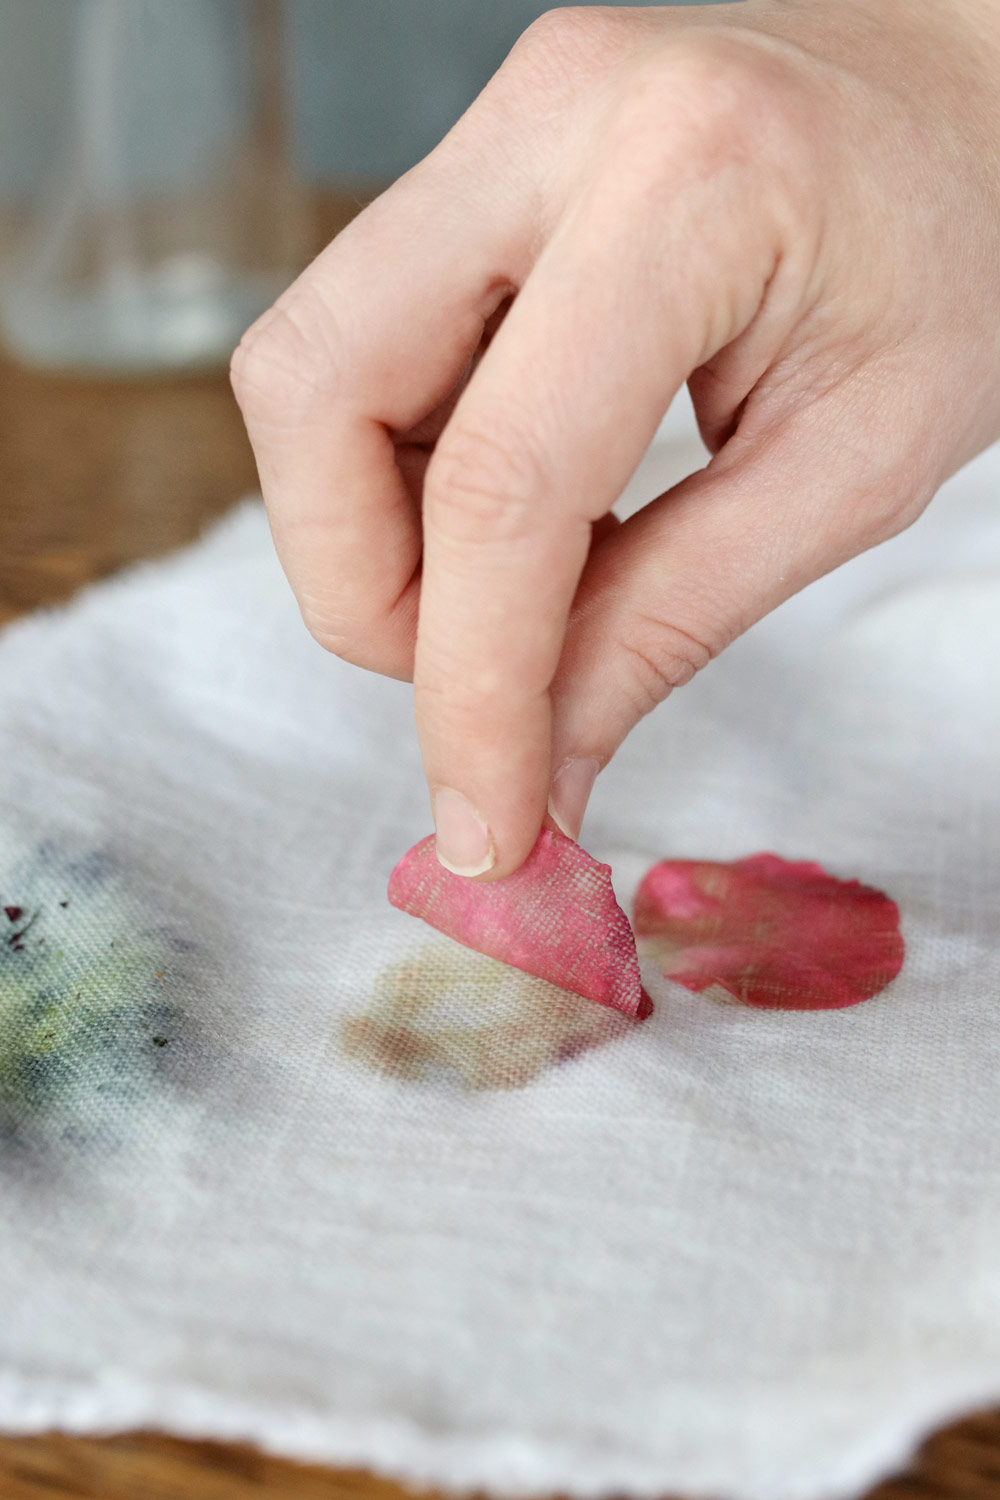
4. Spray the fabric with the alum water until color starts to show through. Hold the fabric firmly in place and start hammering the petals. You will quickly see the dye starting to come through. Continue until you have the amount of pigment transfer that you like. Then lightly mist again with alum.
5. When you are happy with your finished product, wipe off the flower petals and lay your napkins out to dry. A lot of tutorials say to set the dye by ironing it on the highest setting for 5 minutes. I found that this burned my napkins and singed what flower residue was left in fabric, but you might have better luck with this than I did!
Will you try flower dyeing for yourself?
Kaz says
Love the way u can dye using natural flowers great tip i am going to use the info