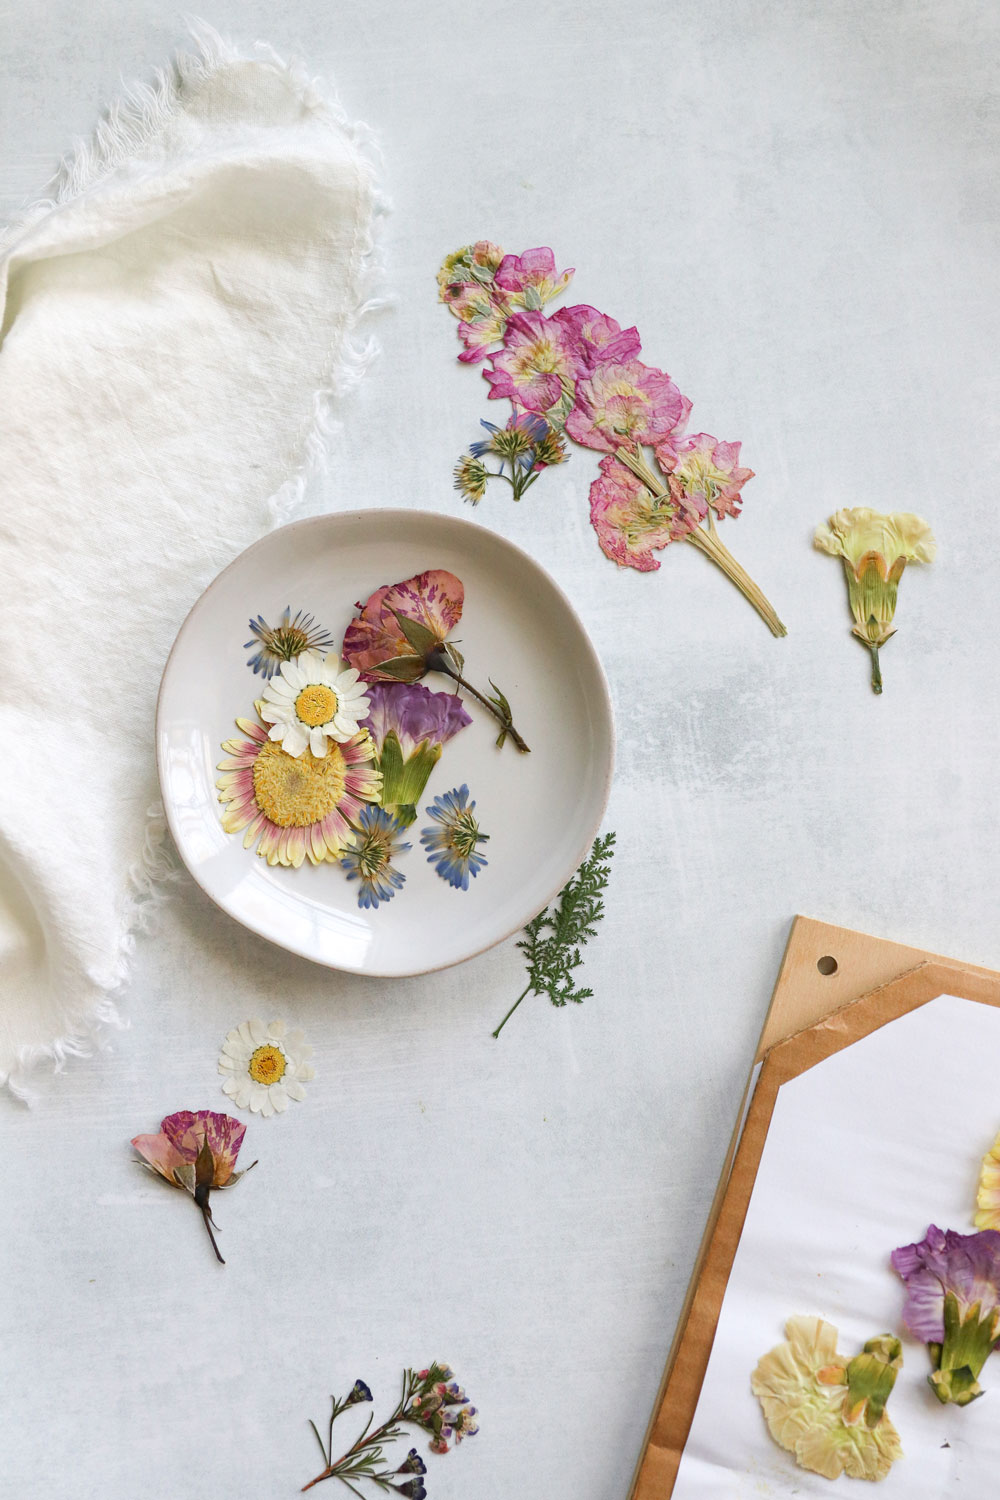
One of the first pieces of artwork my parents ever bought was an arrangement of dried flowers pressed between two pieces of glass. I remember staring at it as a kid and vowing that I’d own one (or just take theirs) someday. Although the dream’s still alive, lately I’m more about pressing my own flowers for fun. It turns out that pressed flowers aren’t just pretty to look at—they’re a great way to preserve nature’s beauty long after spring has passed. Plus, you can put them to use in all sorts of art projects (like these pressed flower Easter eggs).
And trust me, you don’t need a fancy flower press to make them (although that’s fun, too). If you’d prefer to skip the press, you can simply use a couple items you already have lying around to make perfectly pressed blooms.
How to Press Flowers
Choose your flowers wisely
The newest and freshest flowers (think bright and firm) are the only ones worth pressing, so be choosy when selecting your flowers. Some of my favorites are dhalias, marigolds, zinnias, pansies, poppies, borage and delphiniums. But if using a mixed bouquet from the grocery store, just make sure to choose the freshest looking blooms you can find.
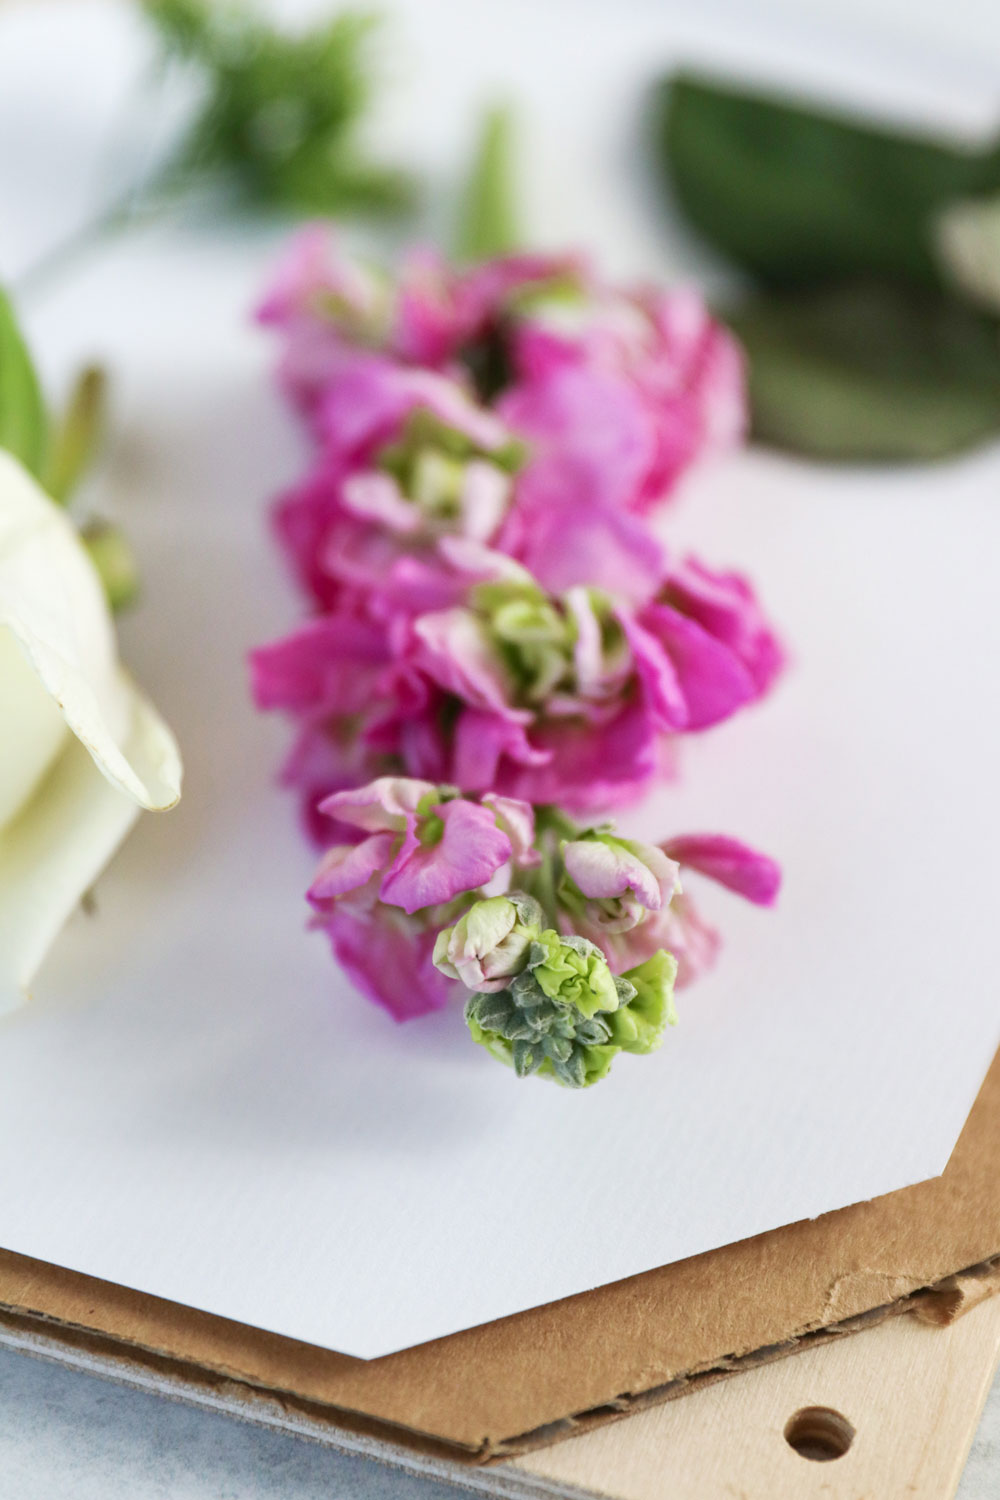
The drier the flowers are, the better they’ll turn out when pressed. It’s best to pick flowers in late morning or early evening when flowers are dry and dew has evaporated. Never pick flowers when it’s raining and always give them a day or two to dry out after a summer storm before picking them.
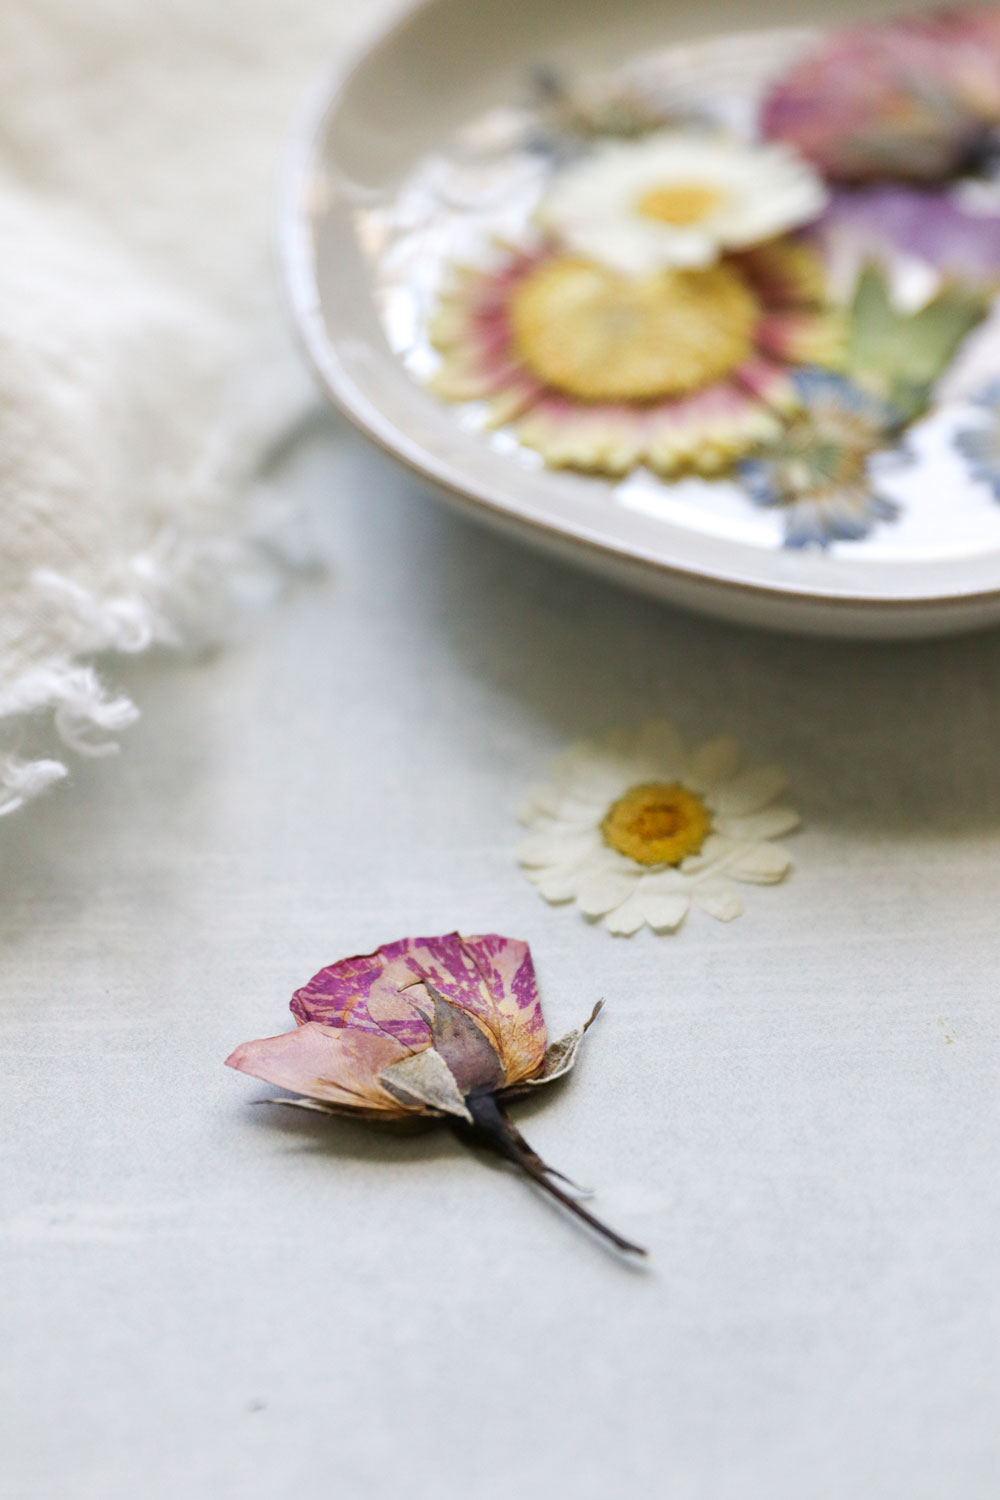
Press with a book
By far, the simplest way to press flowers is with an old book.
Start by collecting clean, dry flowers and laying them face down between the pages of a heavy book (a telephone book, dictionary or large cookbook work well). Close the book and place several heavy books on top of it. Set it somewhere where it will be undisturbed for about a month.
Note: A lot of folks recommend lining the pages with parchment paper or plain white printer paper before pressing. Honestly, I rarely do this and I’ve never run into any issues with sticking or smudging. But it’s always best to test a few flowers first to make sure.
Press with a flower press
Personally, a flower press is my favorite way to press flowers. While a store-bought press is always an option, it’s much cheaper to make your own with some plywood, wing nuts and a few pieces of cardboard. If you don’t have access to a saw (to cut the wood to size), you can always purchase pre-cut plywood from the hardware store or online for an easy 5 minute press without the tools.
Here’s how to make your own flower press:
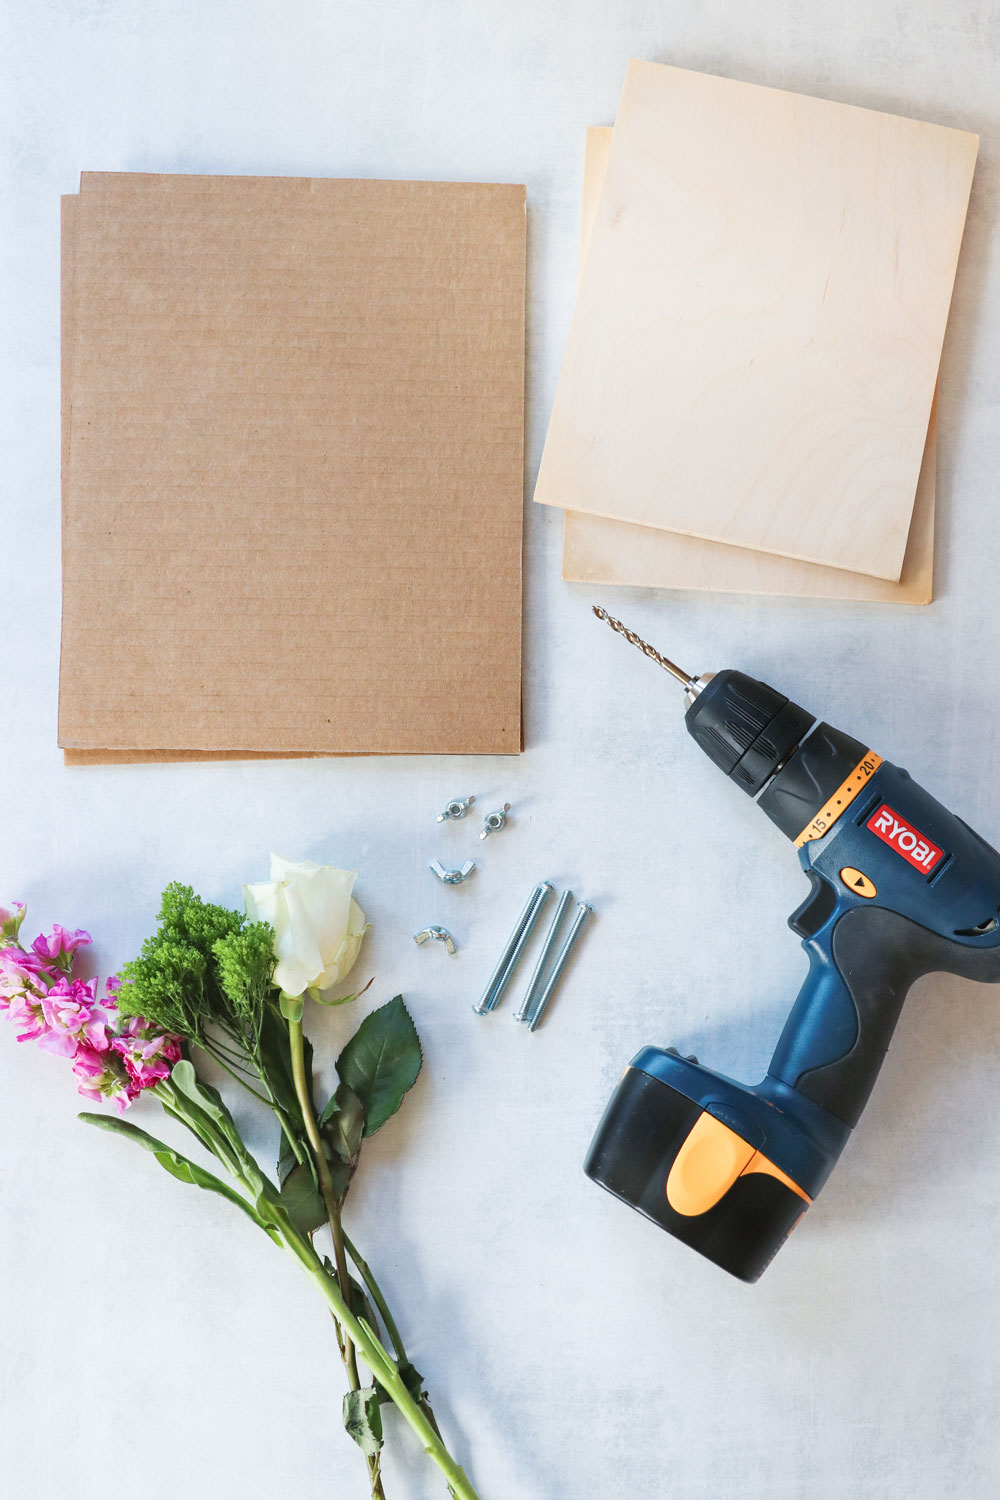
Supplies
- 2 pieces of plywood of equal size (mine was 9”x12”)
- 4 bolts
- 4 wing nuts
- Cardboard (about 8 pieces cut to the same size as your plywood)
- White printer paper (cut to the size of your plywood)
- Drill
Instructions
1. Cut two pieces of plywood for the top and bottom layers of the press. I cut mine to 9″x12″ but you can make them as big or small as you want them. Just make sure they’re the same size.
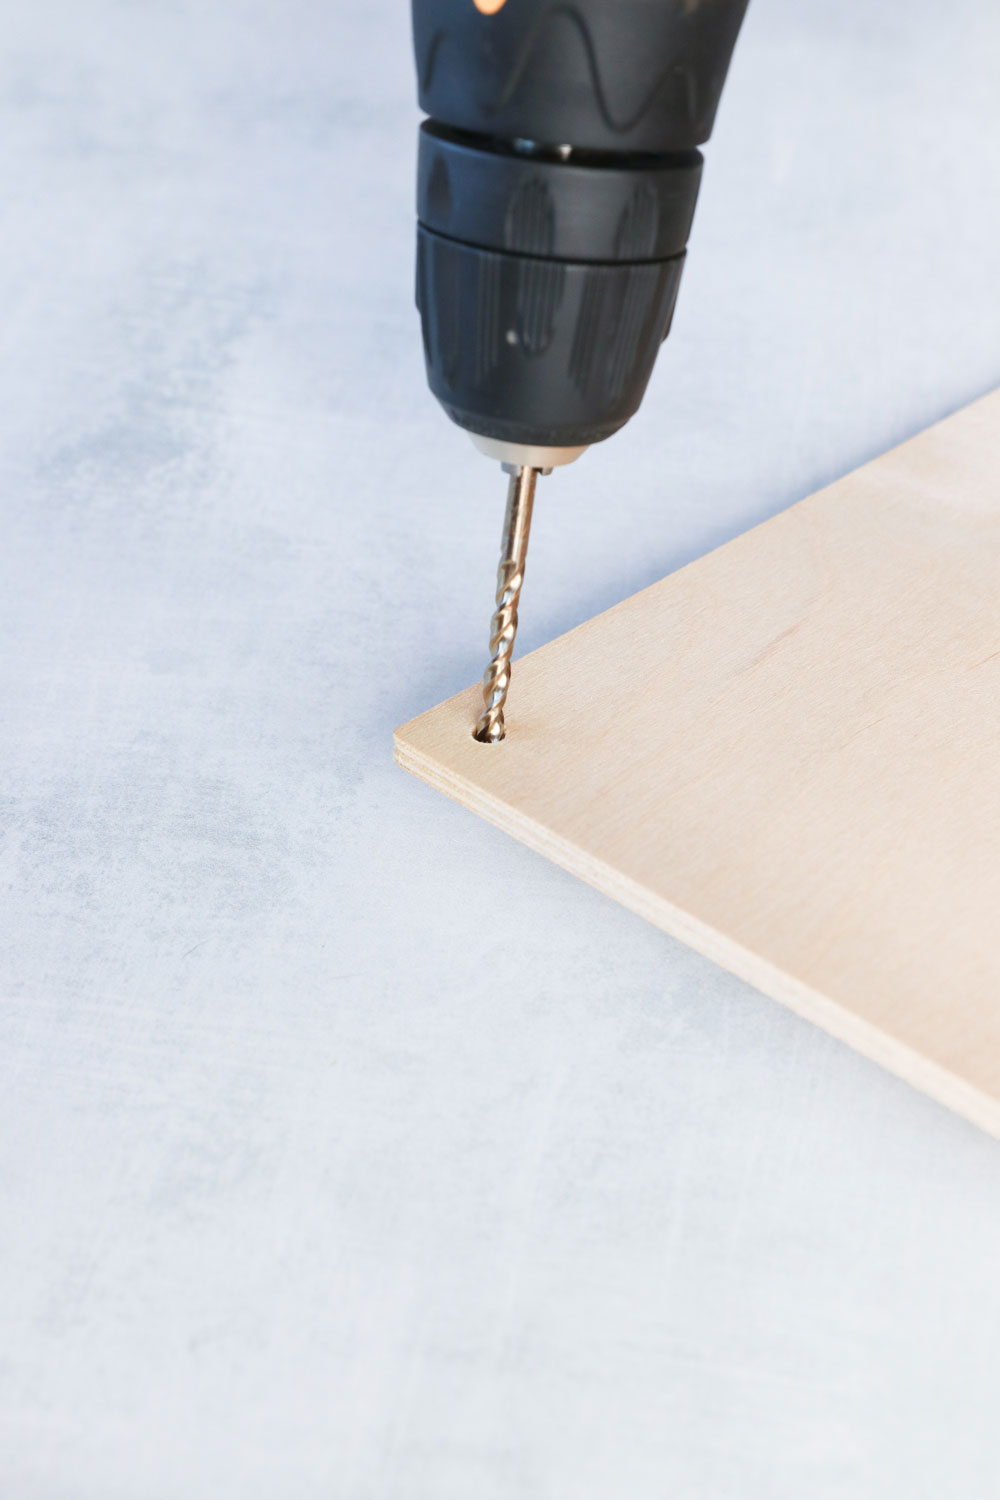
2. Using an electric drill, drill a hole in each of the four corners of the plywood (both top and bottom). The holes have to be large enough to accommodate your bolts.
3. Insert the bolts through the holes in one piece of plywood.
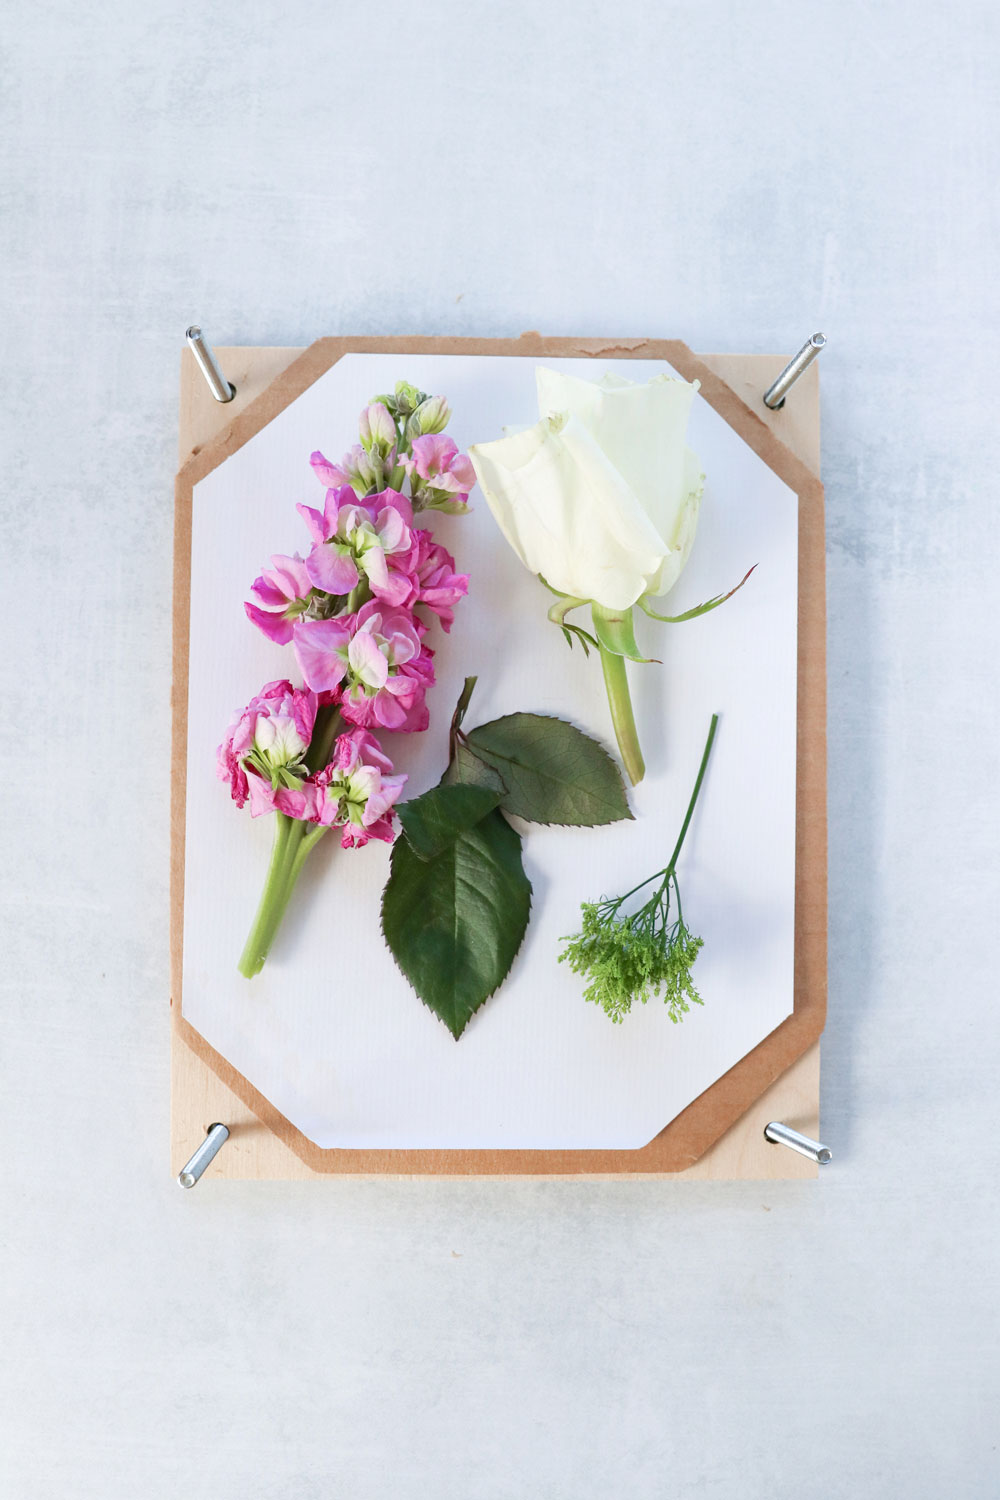
4. Cut the corners off all 8 pieces of cardboard. Lay down a piece of cardboard followed by a piece of paper. Arrange your fresh flowers on the paper, then top with a second piece of paper and cardboard. Continue adding layers until you run out of flowers.
5. Place the top piece of wood onto the press, threading the bolts through the holes.
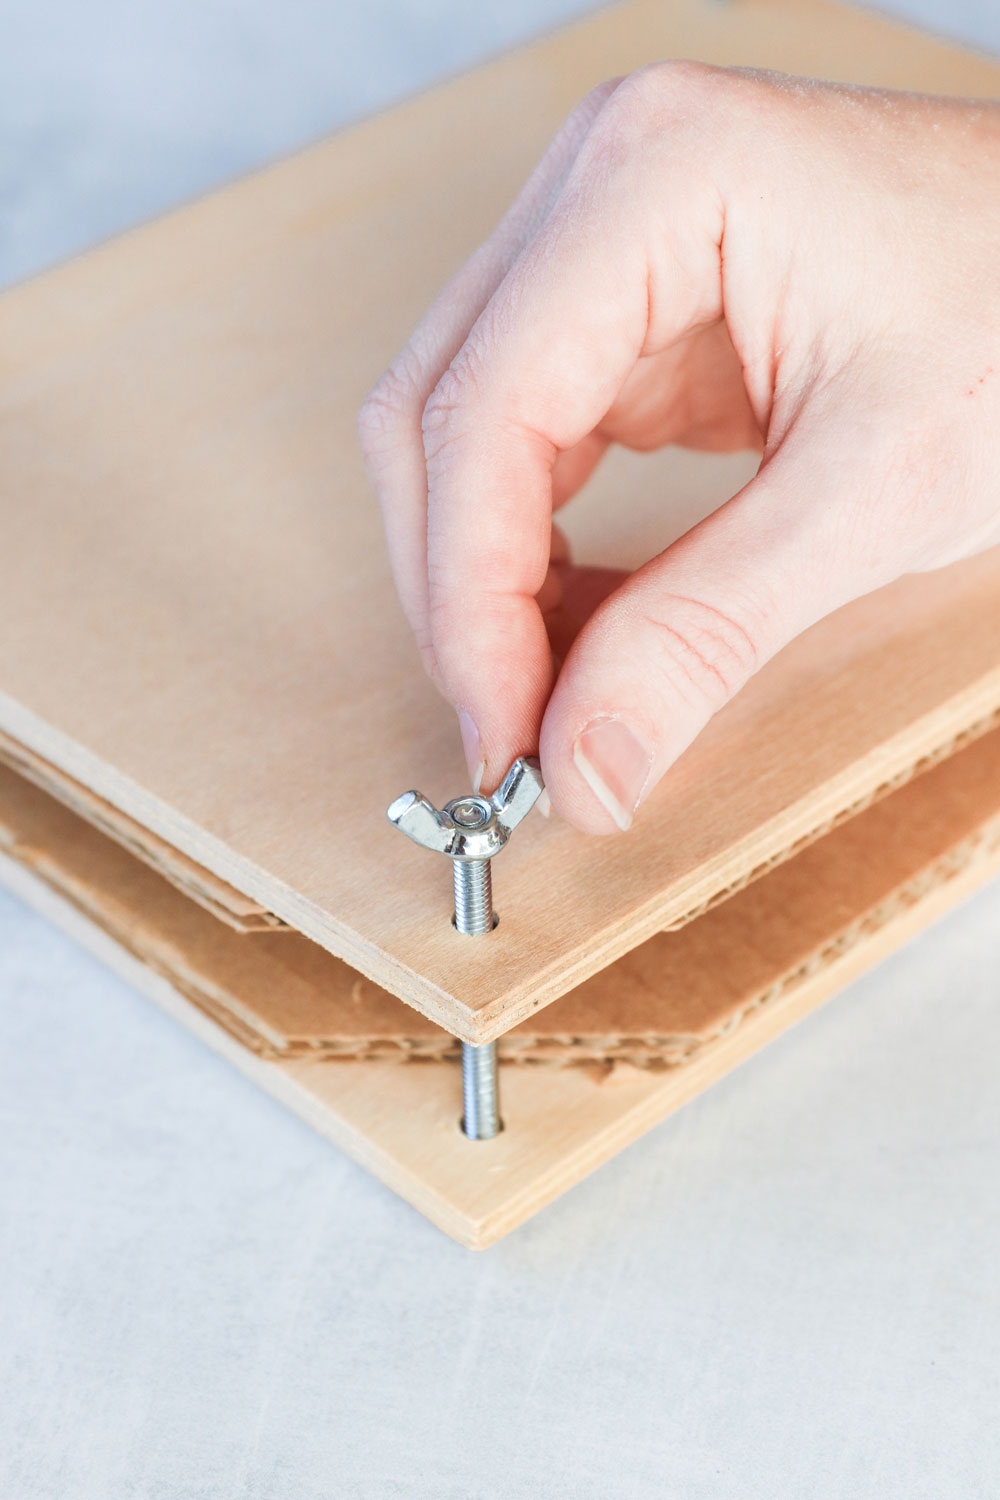
6. Finish by tightening the wing nuts as much as you can.
Just like with the book-drying method, set your press somewhere where it won’t be disturbed for about a month.
90
Lucie says
Thank you so much for this! My dad made a flower press for me last year but I could not find how to use it properly. Your post has given me all the tips I need. Happy Spring 🙂
Kelly Rowe says
So incredibly genius! Thanks so much for sharing. -xo