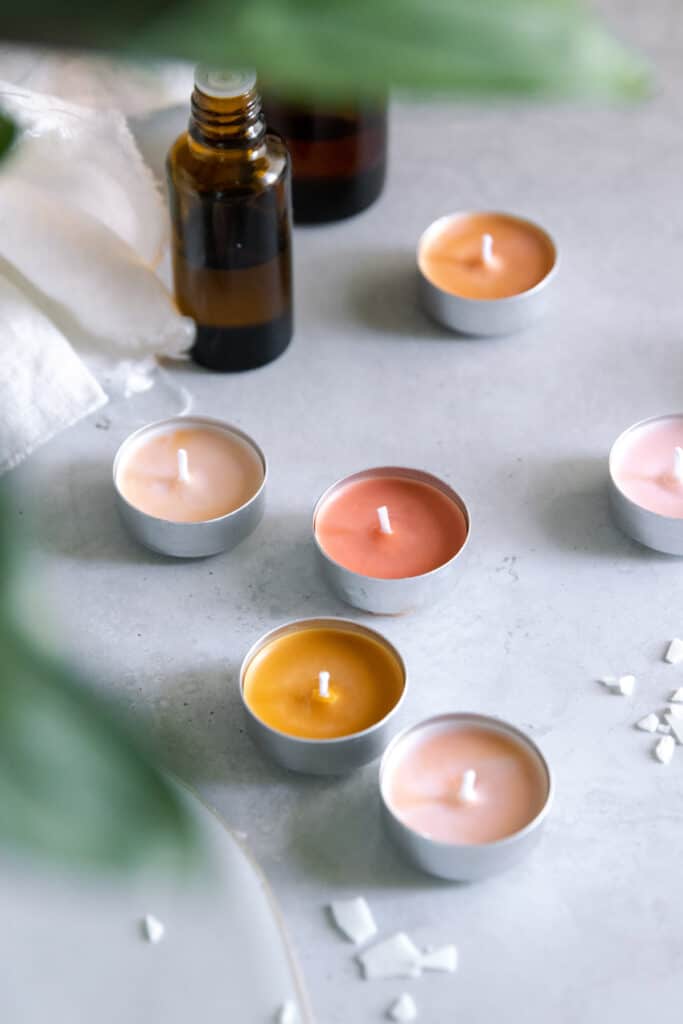
Candles do it all, don’t they? Whether you’re using them as décor, aromatherapy, ambient lighting, or as a form of self-care, the mood-boosting benefits of candles are endless. The large, multi-wick versions are getting their time in the limelight, but I think it’s time to sing the praises of their long-forgotten cousins, the tea lights.
Tea lights have traditionally been a popular choice for accent lighting, romantic dinners, and swanky parties. But, like breaking out the fine china, I believe they have more everyday appeal than most people give them credit for.
Because they emit a small amount of light, you can burn several simultaneously to create a soft, festive ambiance. They’re also a great way to test out scents, colors, and wax combinations without wasting too much time or money. And most importantly, they’re just fun. Something about them just elevates the everyday routine, and I think we could all use a little more of that in our lives.
Here’s how to make your own.
How to Make Tea Light Candles
If you’ve ever made candles before, making tea lights is similar, but not exactly the same. You need a little know-how and a couple of extra supplies to make them successfully.
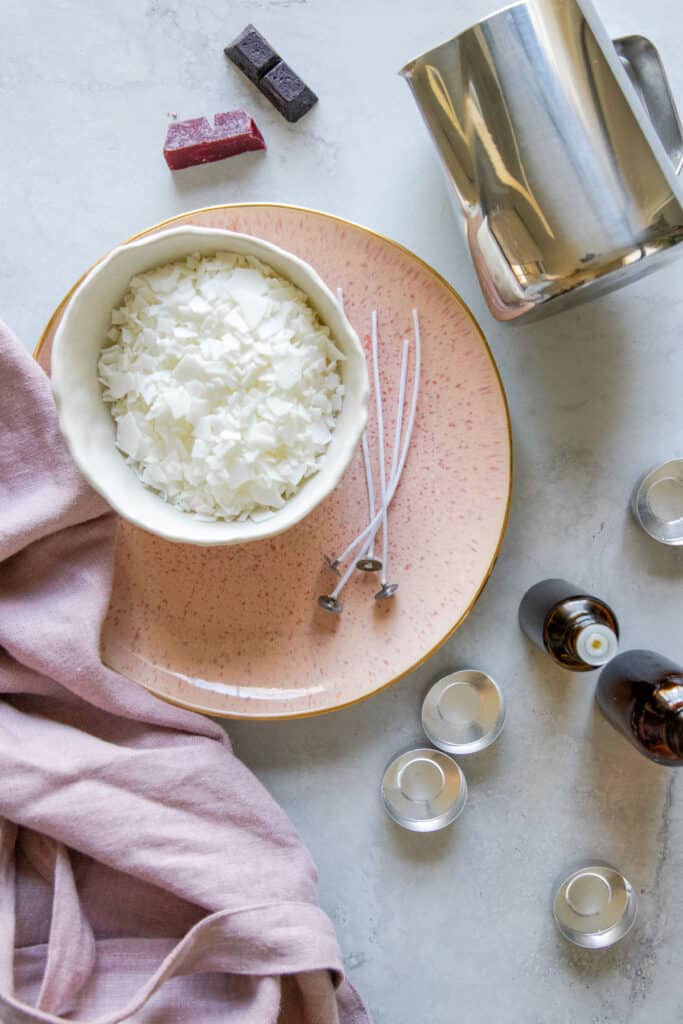
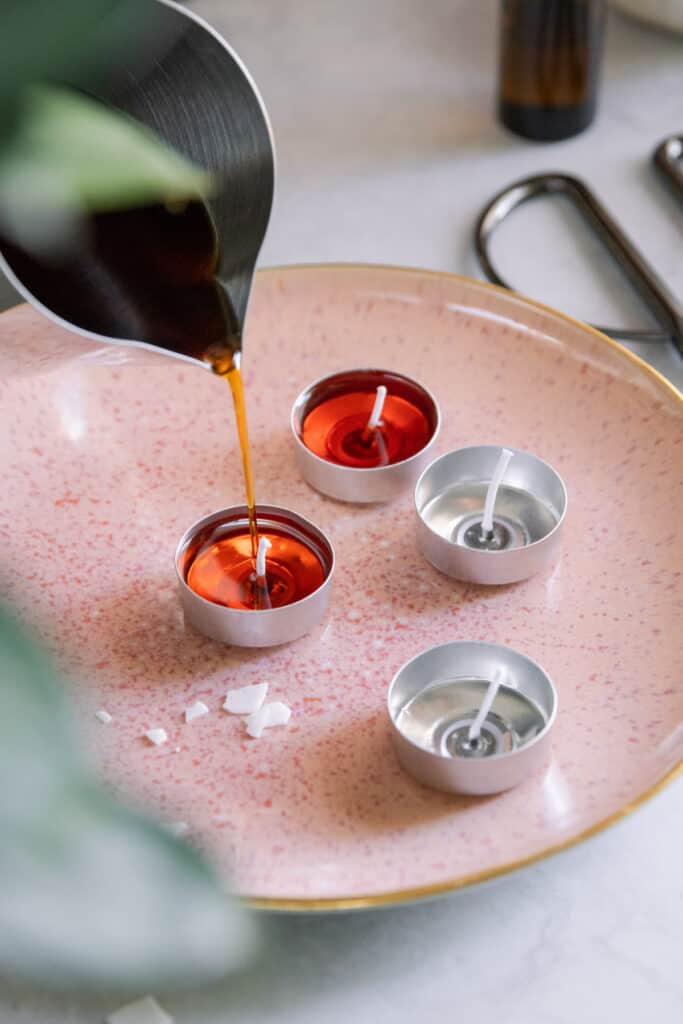
When tea lights are lit, the candle wax usually melts within minutes. To keep them from making a mess (or worse, starting a fire), you’ll want to use tea light cups to keep things contained. Tea light cups can be metal or plastic, and they come in several sizes. But if you want to create traditional tea lights, I recommend using 1.5” cups.
You’ll also need wick adhesive stickers to prevent the wick from floating when the wax melts and the tea light cup gets hot.
The essential oils you use can be your choice. Set the mood by coordinating the dye color with your favorite scent, green with pine or eucalyptus, yellow for chamomile or lemon. The possible combinations are endless!
Finally, I recommend grabbing some candle dye to create festive colors. While you’re free to use things like crayons or food coloring to dye your candles, pigment-based colorants can clog your wick and prevent the candle from burning properly. It’s not always a problem with larger candles, but with tea lights, pigments can more quickly clog the wick and cause issues.
How to Clean Your Candle Making Supplies
Thankfully, soy wax is incredibly soft, and it’s easy to clean off from most surfaces. While the wax is still warm, wipe off your utensils, wax melting pitcher, and thermometer with a paper towel.
For everything else, place your utensils in a saucepan with water and bring to a simmer. Once the wax has melted and dispersed throughout the water, pour it outside or down the drain (make sure to have hot tap water running). Then wash your supplies as normal in hot, soapy water.
How to Use Tea Light Candles
Tea lights can burn for between 4 and 6 hours, depending on how large their cups are.
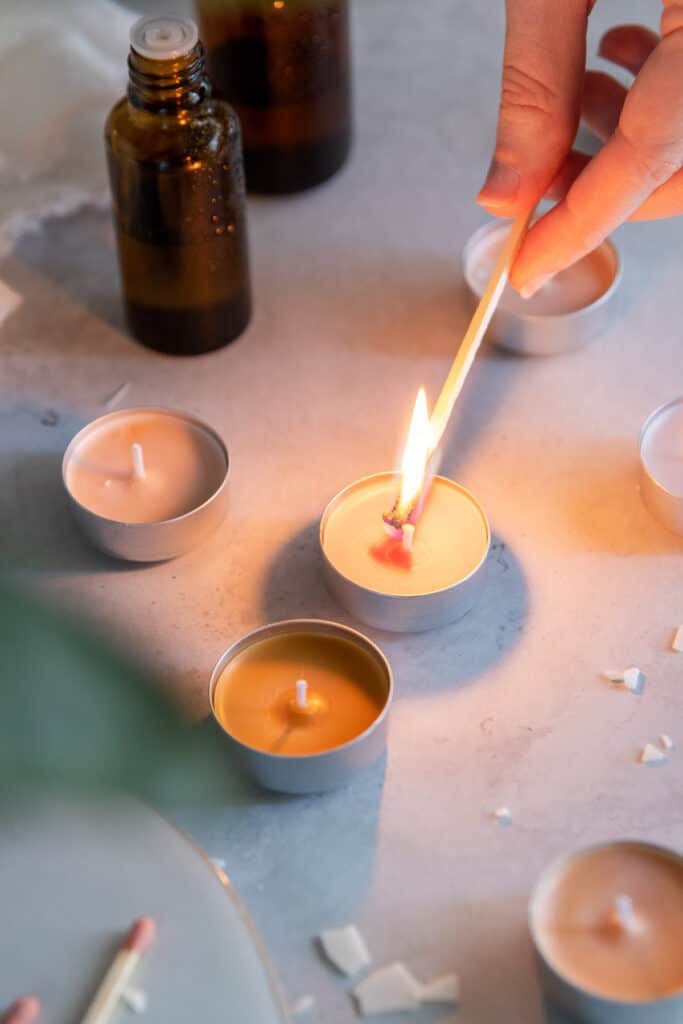
To use, place several candles on a non-flammable, heat-proof surface or place them in tea light holders and light. Keep them away from flammable materials such as tablecloths, lamps, or curtains and, of course, out of the reach of children and pets.
To extinguish tea lights, make sure to use a candle snuffer as blowing them out can cause the wax to splatter.
DIY Tea Light FAQs
Can I reuse the tea light cups once the wax melts?
Yes, you’re free to reuse tea light cups! If they’re metal, you can clean them by placing them in hot water and melting the wax. Wash them with hot soapy water to remove any lingering wax. Then replace the wick and fill with fresh wax.
Can I use another wax besides soy wax?
If you don’t want to use soy wax, paraffin wax may be your best bet because it has a low melting point—so does soy wax. But the melting point of hard wax, like beeswax, is too high to make good tea lights.
Will the wick float if it isn’t glued down?
If not glued down, the wick may come unattached from the bottom of the cup and move around as the candle melts. For obvious reasons, this isn’t a good thing! So I recommend always using a wick adhesive when you’re making tea light candles.
3


Leave a Reply