A few years ago, my sister-in-law gifted me a set of the most gorgeous drinking glasses made from old wine bottles. Because they were upcycled from what I can only assume were recycled bottles, they came in all different colors and sizes, and had a touch of handmade charm to them. Needless to say I’ve been obsessed with them ever since.
Then I learned a few months ago that you can actually make them yourself and turn them into candles. Not only do I often have a plethora of old wine bottles lying around, but I’m always looking for good DIY gift ideas for the holidays, and well, these babies live up to my high DIY standards. Here’s how to put those old bottles to use and make wine bottle candles—just in time for the holidays.
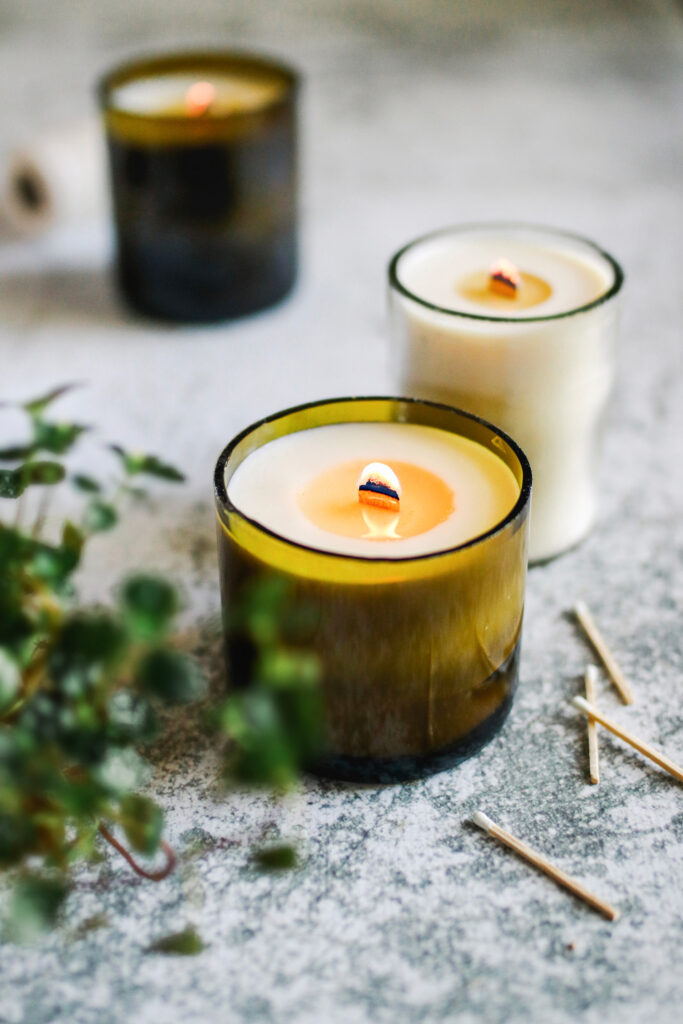
How to Make Wine Bottle Candles
The good news is that these candles come together quickly and easily once you get the hang of it. But the bad news is that you may want to devote a couple days to trying different methods and honing your craft. I learned the hard way that there are a lot of tutorials online that promise easy, instant results. But the only thing really worked for me was some good old fashioned trial and error.
I first tested out the string method (where you wrap string around the bottle and light it on fire to heat up the glass) and the knife scoring method (where you simply create a score mark using a knife, then heat up the bottle using boiling water). After a few unsuccessful attempts in which I almost lost a finger and set the house on fire, I moved on. In the end, I wound up purchasing a bottle cutter, which worked perfectly after 1 or 2 tries.
You don’t have to purchase a bottle cutter, but I highly recommend it. Especially if you’re having trouble with any of the free methods sprinkled around the internet, a relatively cheap bottle cutter is worth its weight in gold.
But first things first: to make wine bottle candles, you need to start by collecting some wine bottles. I used ones I already had, which gave me a decent mixture of shapes and colors to test. Since all of mine were roughly the same size (volume wise), I didn’t have any issues cutting them down. But I do recommend sticking with the standard sized bottles and avoiding the 1.5 liter bottles, which may affect how well your cutter blade contacts the bottle.
From there, gather the rest of your supplies and start playing around. It only took me a couple of attempts with the bottle cutter to master it and get a clean cut every time.
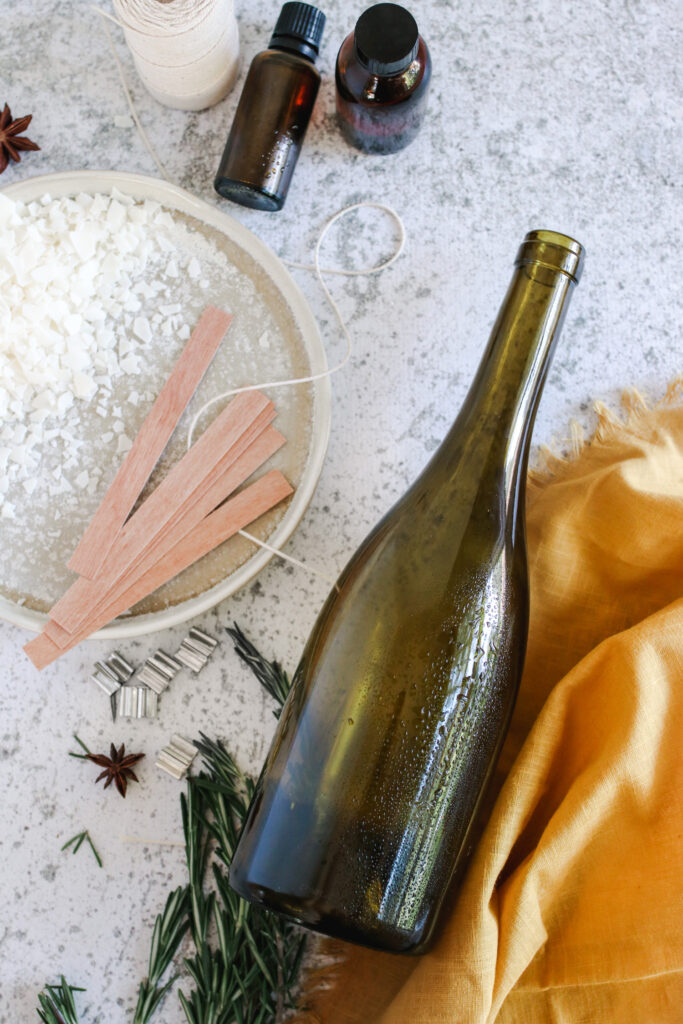
Supplies
- Candle wicks (I used these eco-friendly wooden wicks but you can also use standard candle wicks)
- Soy wax
- Old wine bottles
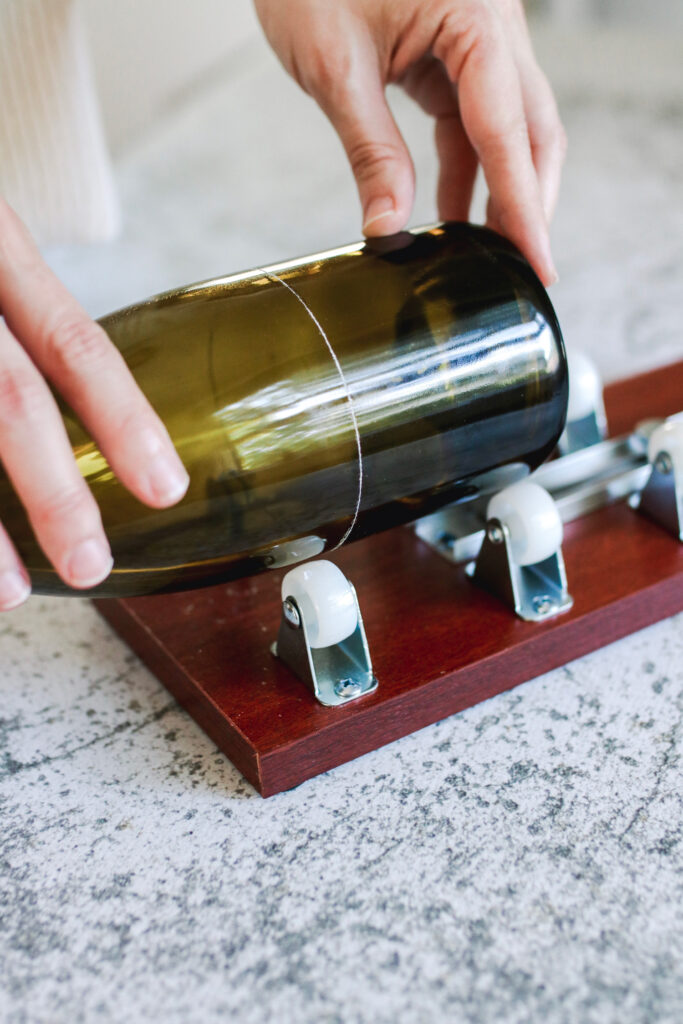
- Bottle cutter
- Fine sand paper (some came with my bottle cutter)
- Clothespins to hold your wicks
- Large pot or tea kettle filled with water
- Sink filled with ice water
- And for a spicy fall scent, I used clove, vanilla, sandalwood and bergamot essential oils
Instructions
1. Start by removing the labels from your bottles and washing off any adhesive. While this isn’t totally necessary, you’re not supposed to cut through the label because the glue can gum up your cutting blade. I chose to remove my labels because they covered most of the bottle face and were hard to work around.
2. Place as much ice as you can in a sink or large bowl and fill it with water. Next, place water in a tea kettle or a large pot and bring it to a boil.
3. Score your bottle using the instructions on your bottle cutter. I found this part to be the most important step in the whole process. An uneven line will create jagged edges when your bottle separates, so you want to be very careful when making your score line. And although the instructions said not to, I found that rotating the bottle 2 or 3 times to reinforce the line created much deeper cut and resulted in a cleaner edge.
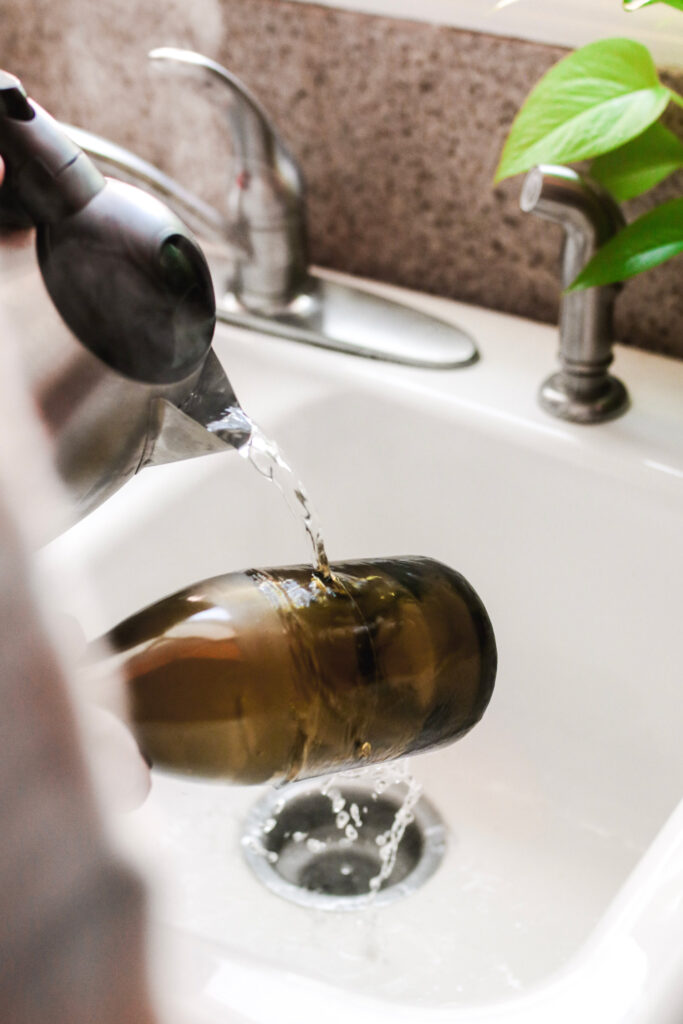
4. Once you have a clean cut, you’re going to alternate exposing the score line to boiling and freezing water. Start by holding your bottle over the sink and pouring boiling water on the score line while you rotate the bottle (you can also simply dunk the bottle in a pot of boiling water, just make sure the score line is completely submerged.) Do this for about 15 seconds.
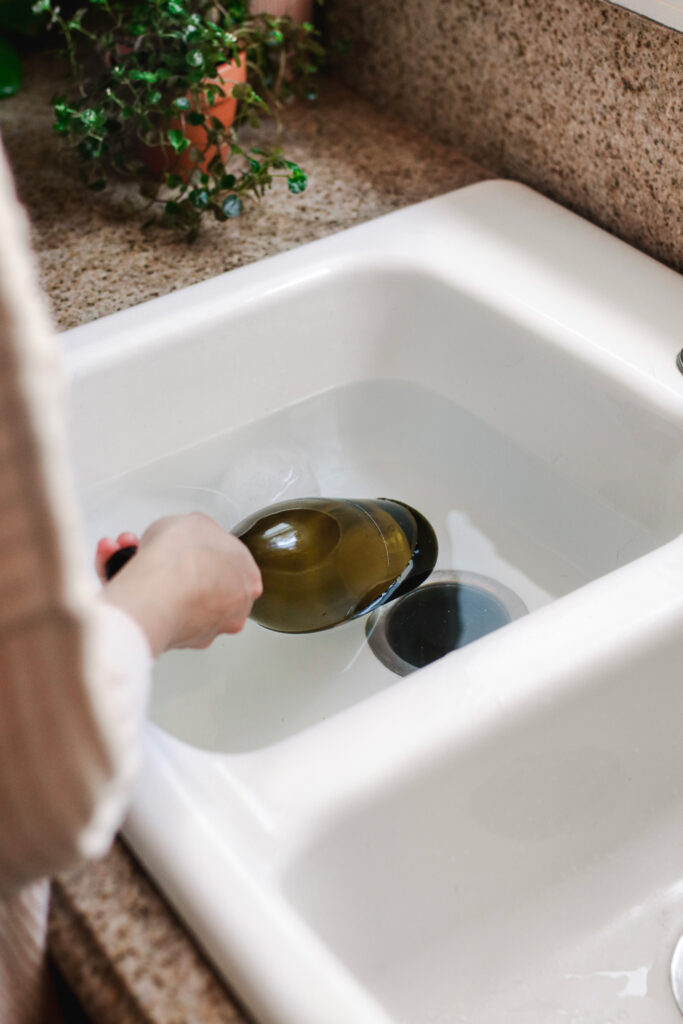
5. Then submerge the bottle completely in the sink filled with ice water and hold it there for about 15 seconds.
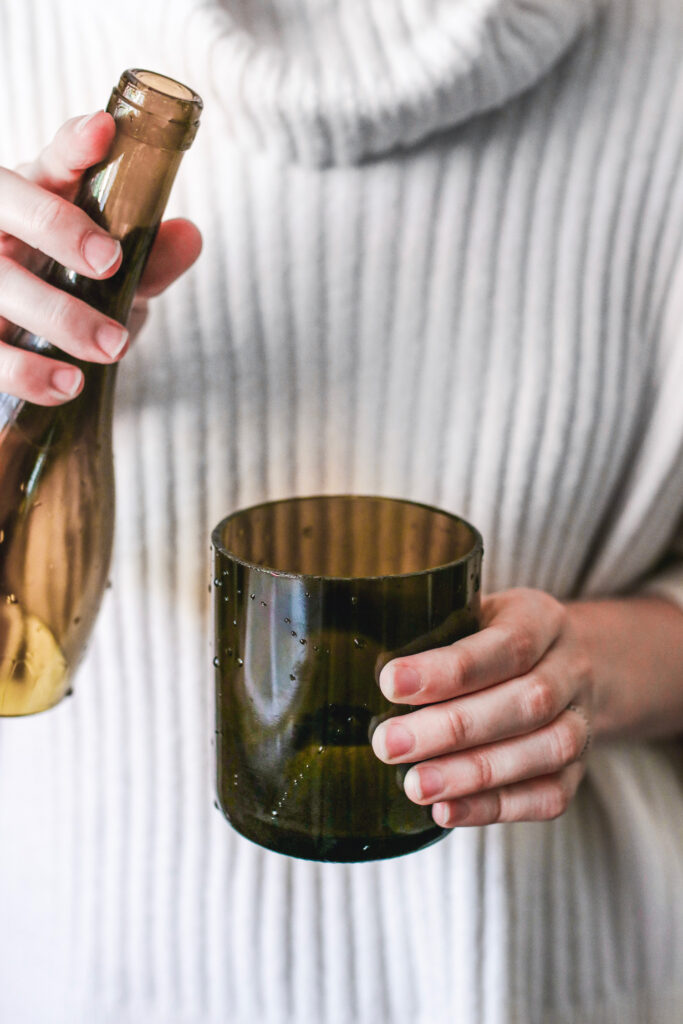
6. Continue alternating between hot and cold water until the bottle breaks cleanly. If you made your score line deep enough, it should eventually separate in two. If needed, use fine sand paper to smooth the edges.
7. To make your candles, melt the soy wax in a double boiler.
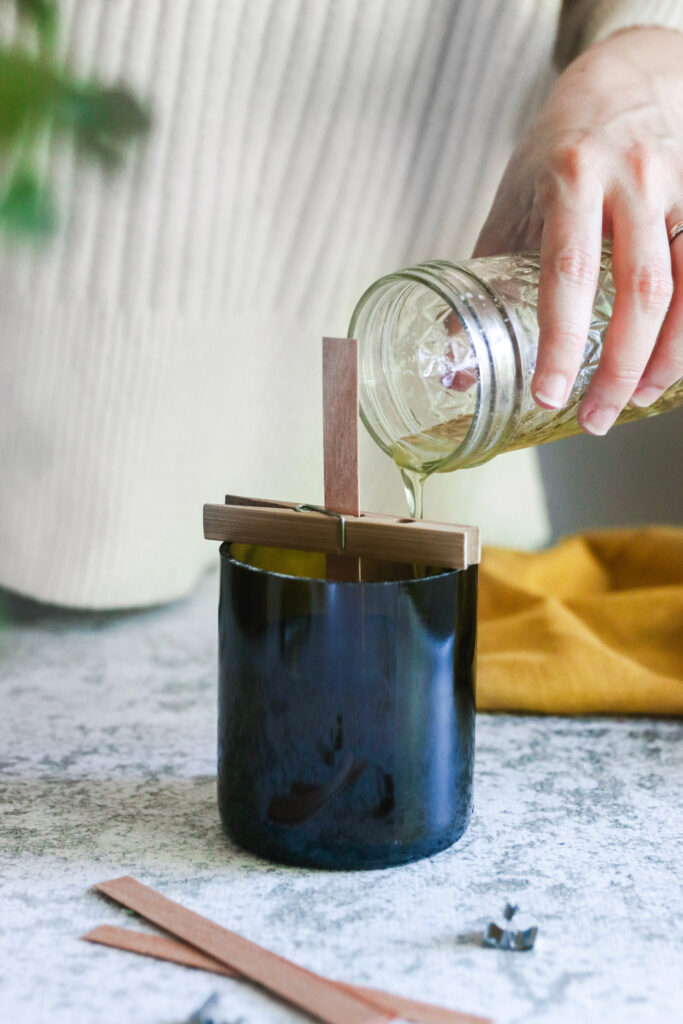
8. While the wax melts, set up your wooden wicks in the bottom of the glass using a clothespin to hold it in place. If your bottles are small enough, I found that the wick fits perfectly in the center of the clothespin, which then rests on either side of the glass.
9. Remove your melted wax from the stovetop and let it cool for a minute before adding your essential oils. I used about ½ teaspoon of each essential oil per candle to make sure the scent wouldn’t fade once the wax cooled.
10. Pour the wax into the glass container and let cool completely hours before lighting. Your wine bottle candles are ready.
11. Wrap with kitchen twine and a note to give as holidays gifts.
115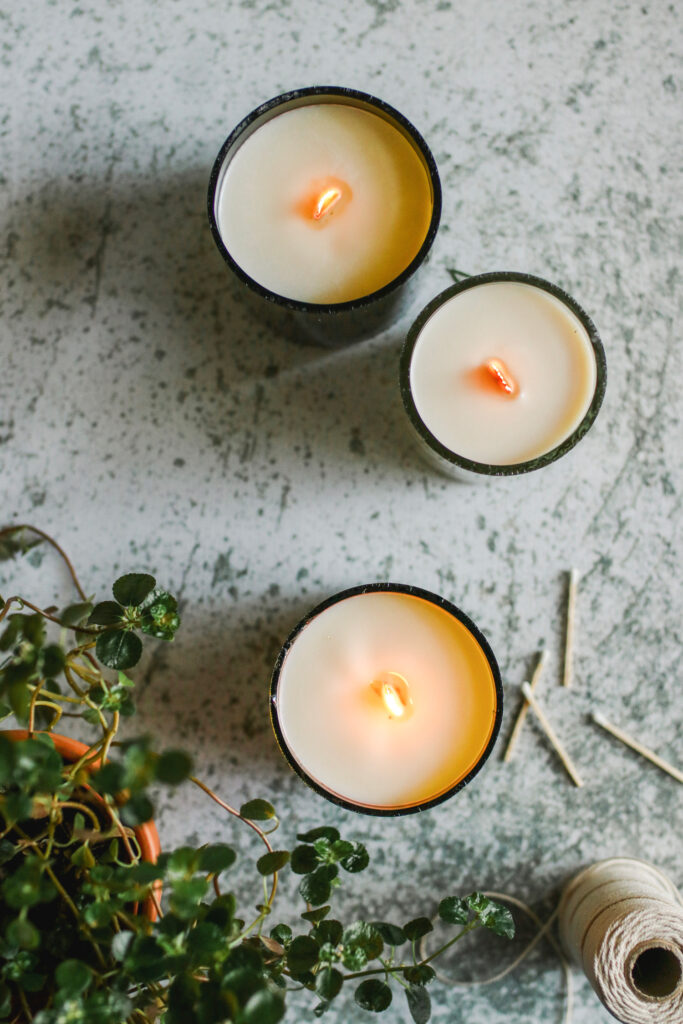
Eve Cabrera says
Awesome, I want to try this method! Did you find the bottles to be heat resistant? I’ve had someone tell me they break….
Emily says
I love this idea, but did you find you waste wax a the bottom of the jar as the ‘butt’ in the bottom of the wine bottle??? do you have any ideas of how we could avoid wasting the wax? could you fill the bottom of the jar with something??