One thing many of us have personally experienced during this pandemic is the psychological weight of having to spend extended periods of time confined to small spaces, and so we’ve also been buying plants to brighten our rooms and freshen up the air, doing whatever we can to uplift our spaces (and happily there are plants that will thrive with even the most limited access to light and water!)
A thought I had recently is that eventually, after spending a long time in the same small pot, our plants also get that cramped feeling in their own way—they slow their growth despite good care, the soil seems to dry out too quickly, their roots start to push down out the drainage hole or pop up above the soil, or they just get too big for their pots and start toppling over.
While we may not be in a position to upsize our own spaces, we can definitely help our green friends to thrive with the right pot upgrade, which should be done with care. Here’s everything you need to know in order to successfully transplant your favourite pot-bound plants into new homes.
How to repot your house plants without killing them
What you’ll need:
Note that some plants may be repotted back into the same pot if it still works relative to the overall size of the plant. In this case, you’d be following the same steps of prepping new soil and tending to the roots, and just be reusing the older pot.
Generally, plants do well to move up a size in pot (1-2” in diameter larger) after about a year, and we recommend repotting in spring time when plants naturally begin to wake up and move into a fresh growth cycle.
1) New soil—the soil should be the appropriate mix for the plant you’re repotting. Some require more drainage than others, and this is usually indicated on the soil bag at your plant shop. Generally, you’ll want good aeration in your soil, so a potting soil that has perlite in it will help to keep it from packing in too tightly around the roots.
2) A pot—if you’re going up a size in pot, you’ll need to decide if you want to go with clay or plastic. Clay pots allow water to evaporate naturally from the soil throughout, and is a good choice for those who tend to overwater their plants, and are good choices for plants that need a heavier/sturdy weighted base.
Plastic pots are lighter (easier to knock over, but also easier to move around, if this is a concern), but will hold on to moisture longer so they are a good choice for those who tend towards the water-negligent! In both cases, be sure that the drainage hole at the bottom has clearance, so you’ll want to sit it in a dish or base, and slightly elevate it within.
If you’re moving up to a large clay pot, the drainage hole will also be larger; one trick I’ve learned from my plant-obsessed father is to break an old clay pot or any crockery, and use a curved shard to cover the hole before you put in the soil. This will keep more of your soil in and still allow the water to drain out.
3) A knife or pruning shears
4) Newspaper or a garbage bag to work on
5) Water
How to Repot Houseplants
If you’re using a new clay pot, we recommend that you go ahead and soak it in water overnight before repotting so that the clay fully absorbs this moisture rather than pulling it away from your fresh transplant. Simply wipe it off and carry it to your workspace when you’re ready to go.
1. Water the plant in its original container before repotting a few hours before you begin so that it is easier to manoeuvre and you’re less at risk for breaking roots.
2. Take your plant in its original container over your newspaper/garbage bag covered workspace and turn it on its side, or if it’s small, you can hold it upside down. Holding the plant at the base of its stems in one hand and the pot in the other, gently ease it out of the pot. If it’s stuck in the pot, knock the edge of the pot against a hard surface a few times while it’s upside down to loosen it (be careful not to break your pot!)
3. Lay the plant down carefully and loosen up and shake off the old soil using your fingers. If your plant is severely root-bound (if the soil and roots have formed a solid mass and there spiralling tendrils of roots surrounding the entirety of soil and rootball) you’ll need to carefully tend to this with a knife so that your plant doesn’t get choked by its own root overgrowth. Here’s a great article detailing how to do this without damaging your plant.
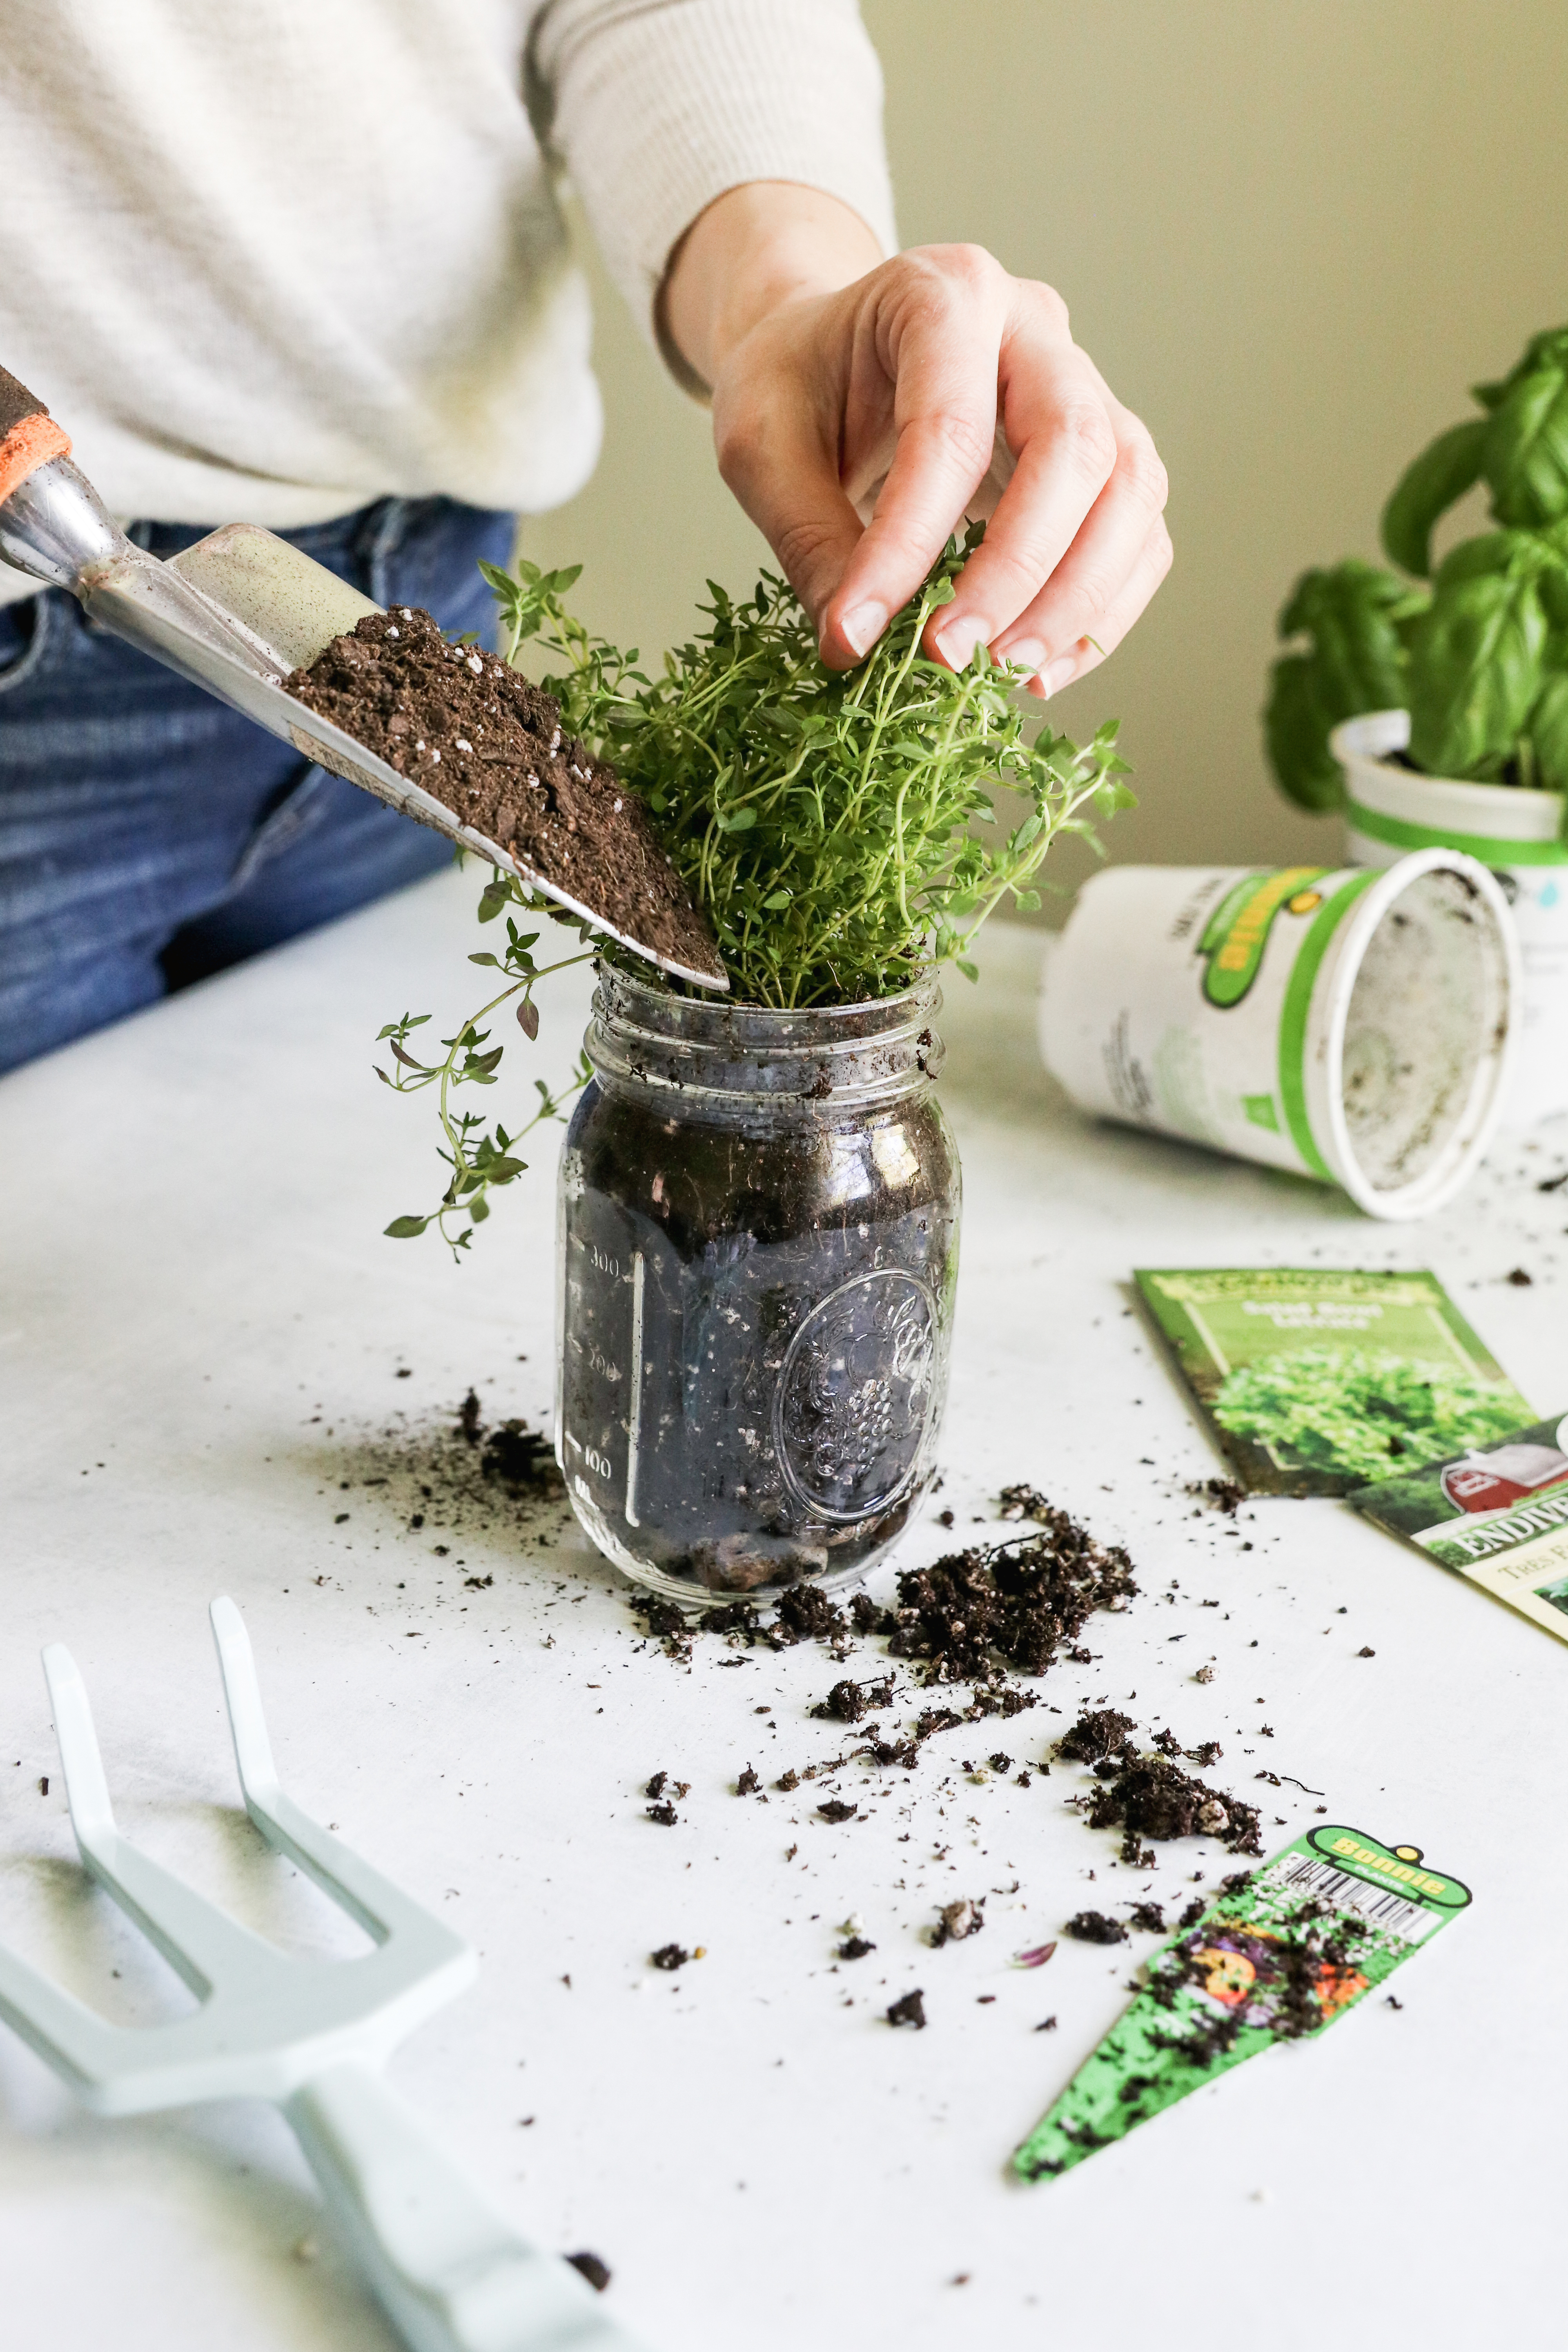
4. Pour in enough fresh, pre-moistened soil into the bottom of the pot so that if you were to set the rootball on top of it, you’d have about an inch of clearance from the top of the rootball to the top of your pot. If you’re reusing your pot, clean out any old soil first.
5. Set your plant into the pot atop the new soil layer and hold it centered while you begin filling in the space around the rootball with fresh soil. Gently tamp down, and avoid excessively compacting the soil. It should be able to hold up the plant without being too tightly packed.
6. Water your plant.
Now that your plant rests happily in its new home, keep up with the appropriate watering schedule for the type of plant and the pot style you’ve chosen, set it in an area of your home with the light levels for its particular needs, feed it with some fertilizer during the spring and summer growing season, and you’re all set to enjoy its healthy, beautiful, air-purifying presence for years to come.
While we might not be able to swap out our own abodes for the next size up, our plants can really help us to elevate them into becoming more welcoming, restorative, livable spaces.
3


Leave a Reply