During the pandemic, in a state of sheer boredom, I took up natural dyeing. I have always had a passion for dyeing (mainly of the Rit variety), but I’ve lately started gravitating to the slower, Earthier techniques. Ones that focus on fiber fabrics and repurposed or naturally-occurring dyes became a pandemic favorite because they require care and patience, both of which were easy to come by during lockdown.
And let’s just say the outcome it so worth it.
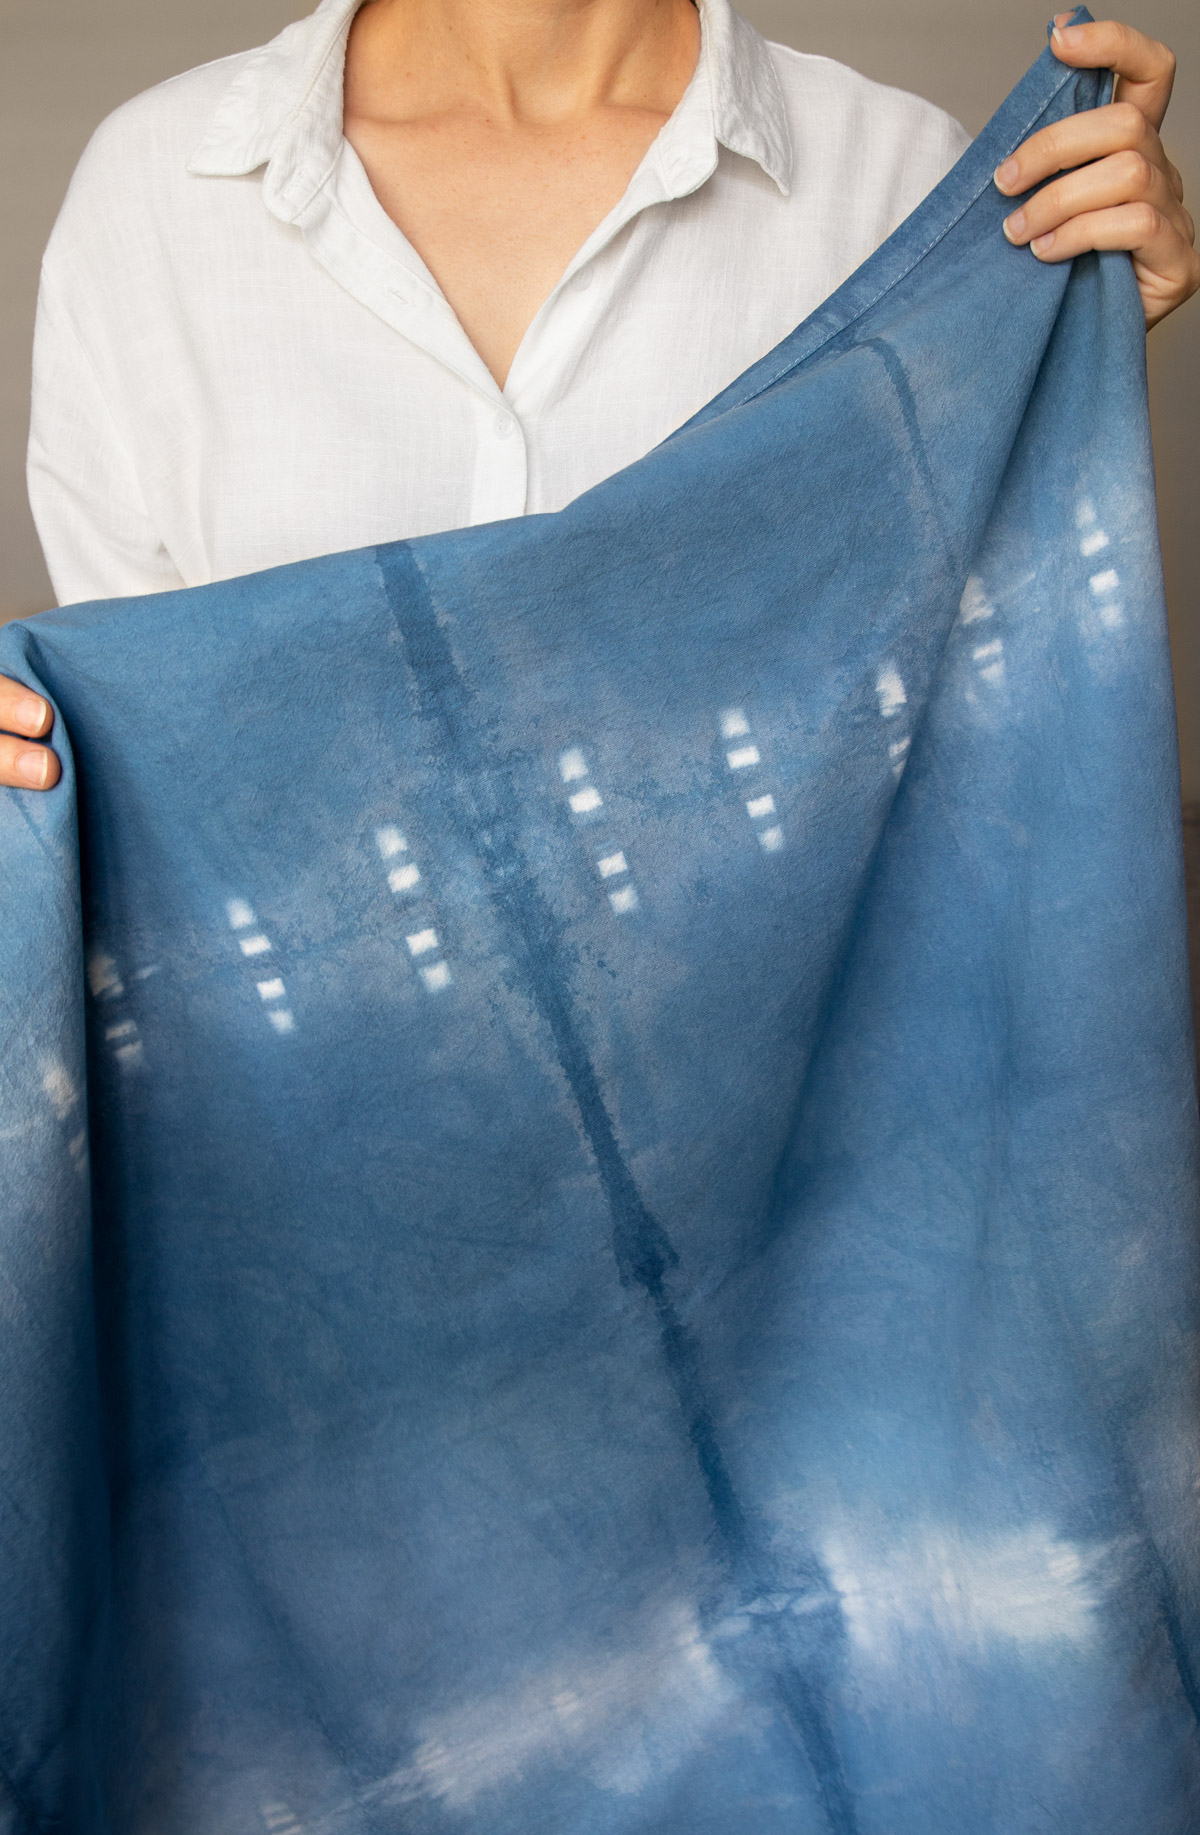
One of my favorite techniques is shibori, a Japanese dyeing process that involves folding or bunching fabric, then dipping it in indigo dye to create beautiful patterns. Yes, it’s a lot like tie dying, except without the summer camp vibe. The classic blue-black color of indigo paired with traditional Japanese patterns makes this an upscale technique a must-have for throw pillows, dish towels, clothing, or what have you. And while it does require patience, it’s actually pretty easy to do.
How To Do Shibori
Like tie-dye, shibori is a method for making patterns on fabric by repelling dye in some places and allowing dye in others. That means shibori is all about the preparation: treating the fabric, folding, tying or sewing patterns, and preparing the dye vat. Once everything is ready to go, the actual dying process is really easy.
That being said, natural dyeing requires its own supplies, many of which are non-negotiable. You don’t want to be eating dye later, even if it is “natural”, so it’s best to buy supplies specifically for your dyeing projects. And I recommend always using a particle mask and long gloves to protect your lungs and skin from burns.
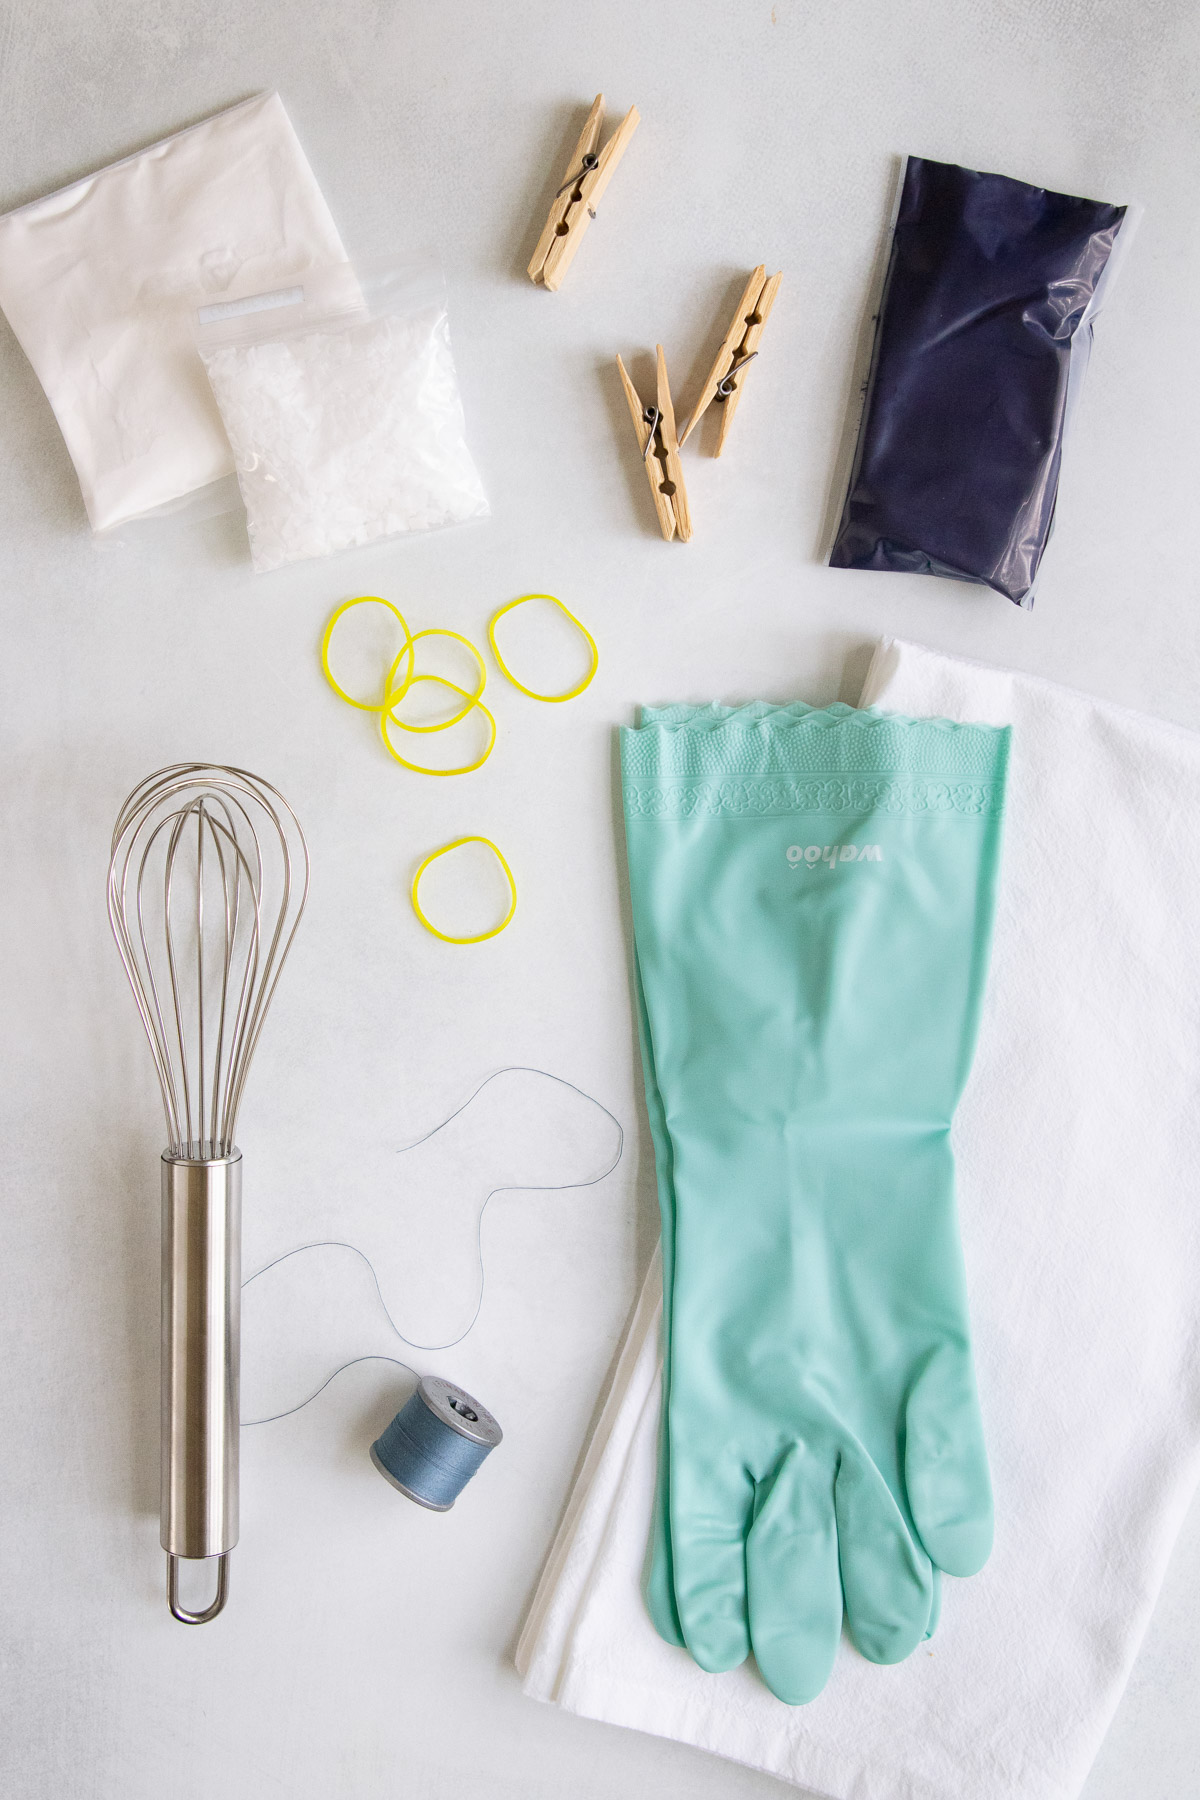
Supplies
- Dish soap and washing soda for pre-washing fabric
- Natural fabric, such as 100% cotton, silk, hemp or linen
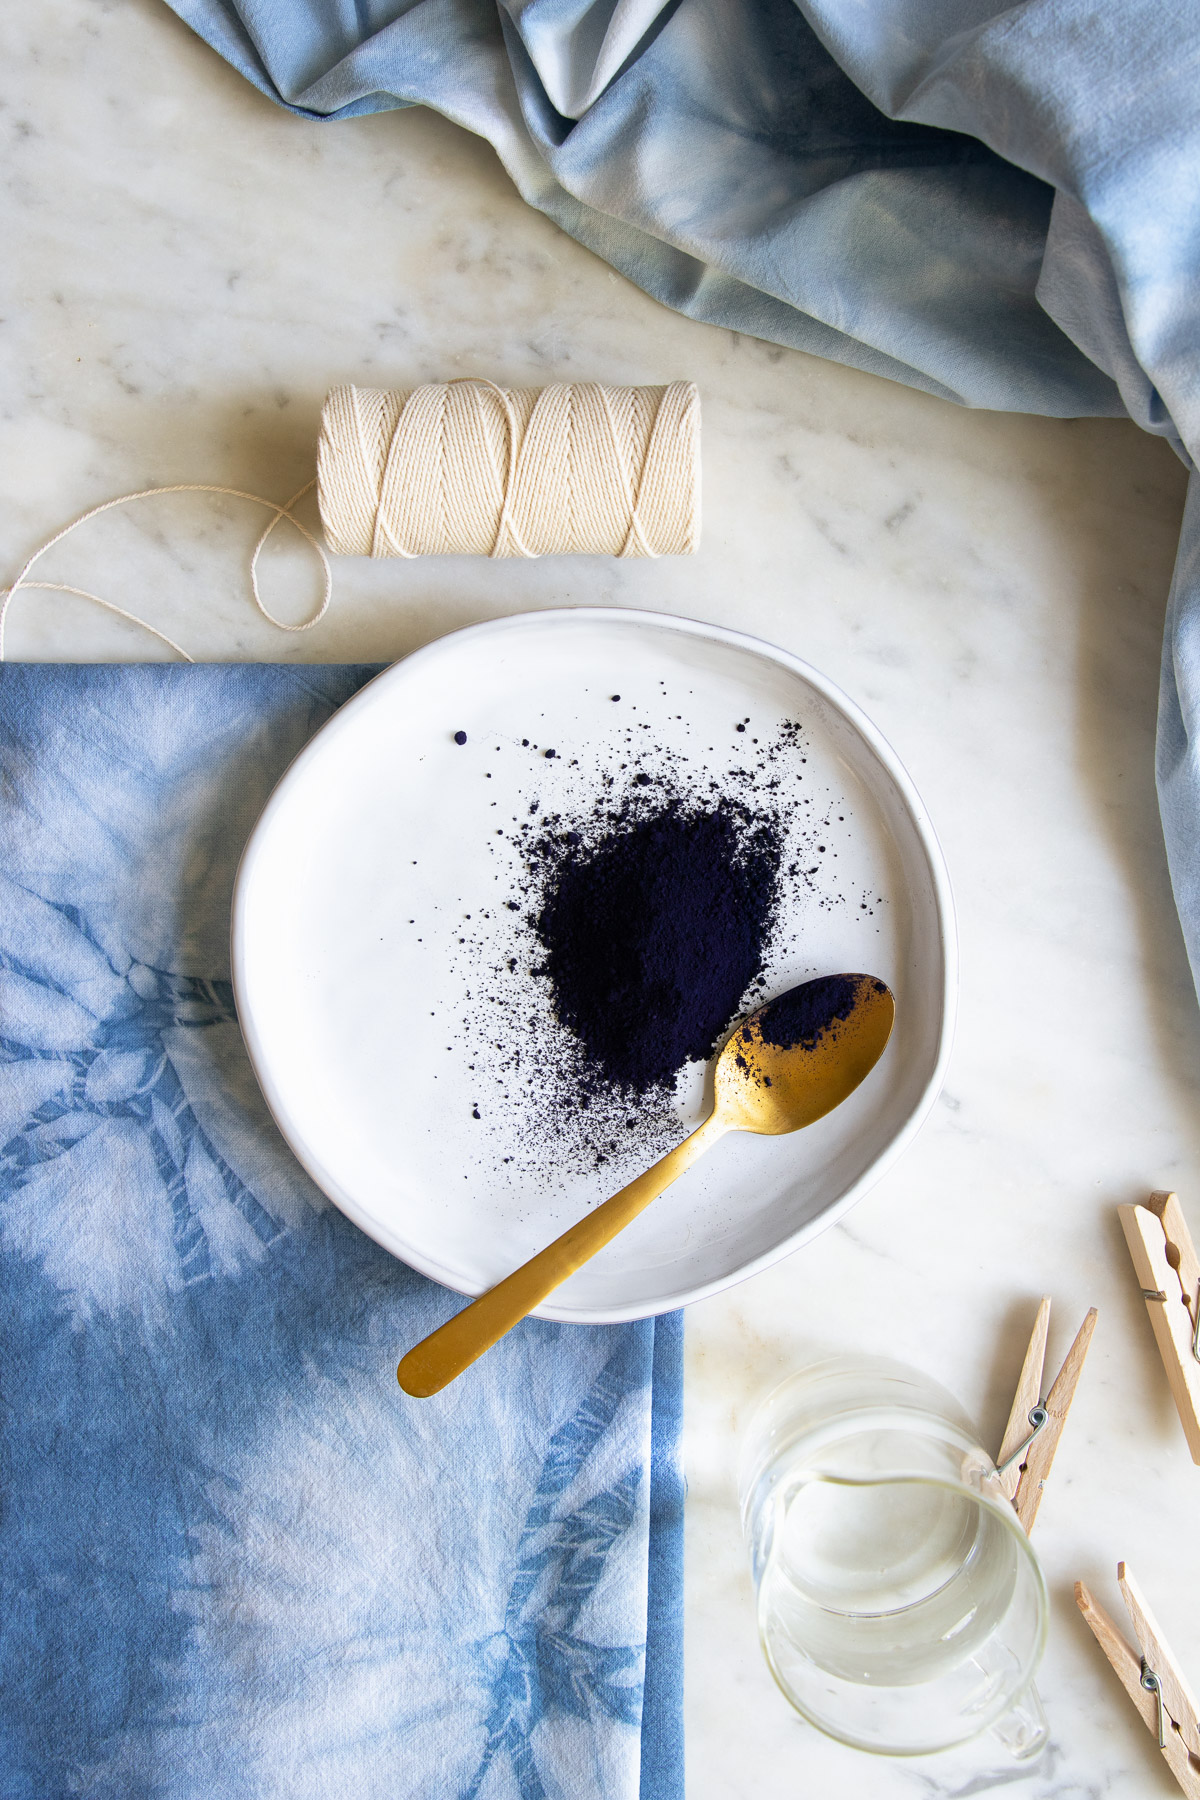
- Shibori dye kit (if you prefer to purchase separately, you’ll need indigo dye, soda ash and caustic soda, all of which can be found online)
- Particle mask (this is a non-negotiable)
- 5-gallon plastic bucket
- Long rubber gloves
- Stainless steel whisk or wood mixing stick
- Plastic drop cloth to protect against splashes
- Rubber bands
- Polyester thread
- Clothespins
- 2-foot PVC pipe
Step 1: Prepare your fabric
Before you get started, make sure to wash your fabric to remove any residue or coating that may interfere with the dye. Place the fabric in the base of the washing machine along with 3 tablespoons dish soap and 1/4 cup washing soda (these will help scour the fabric and dissolve any oil-based residue). Wash on hot.
If you don’t have washing soda or dish soap, wash fabric 2-3 times with regular laundry detergent.
Step 2: Create your patterns
I experimented with 5 different tying techniques. They’re relatively easy to do, but they take time. Don’t feel like you need to do all of these. Simply pick the ones that speak to you.
1. Kumi Fold
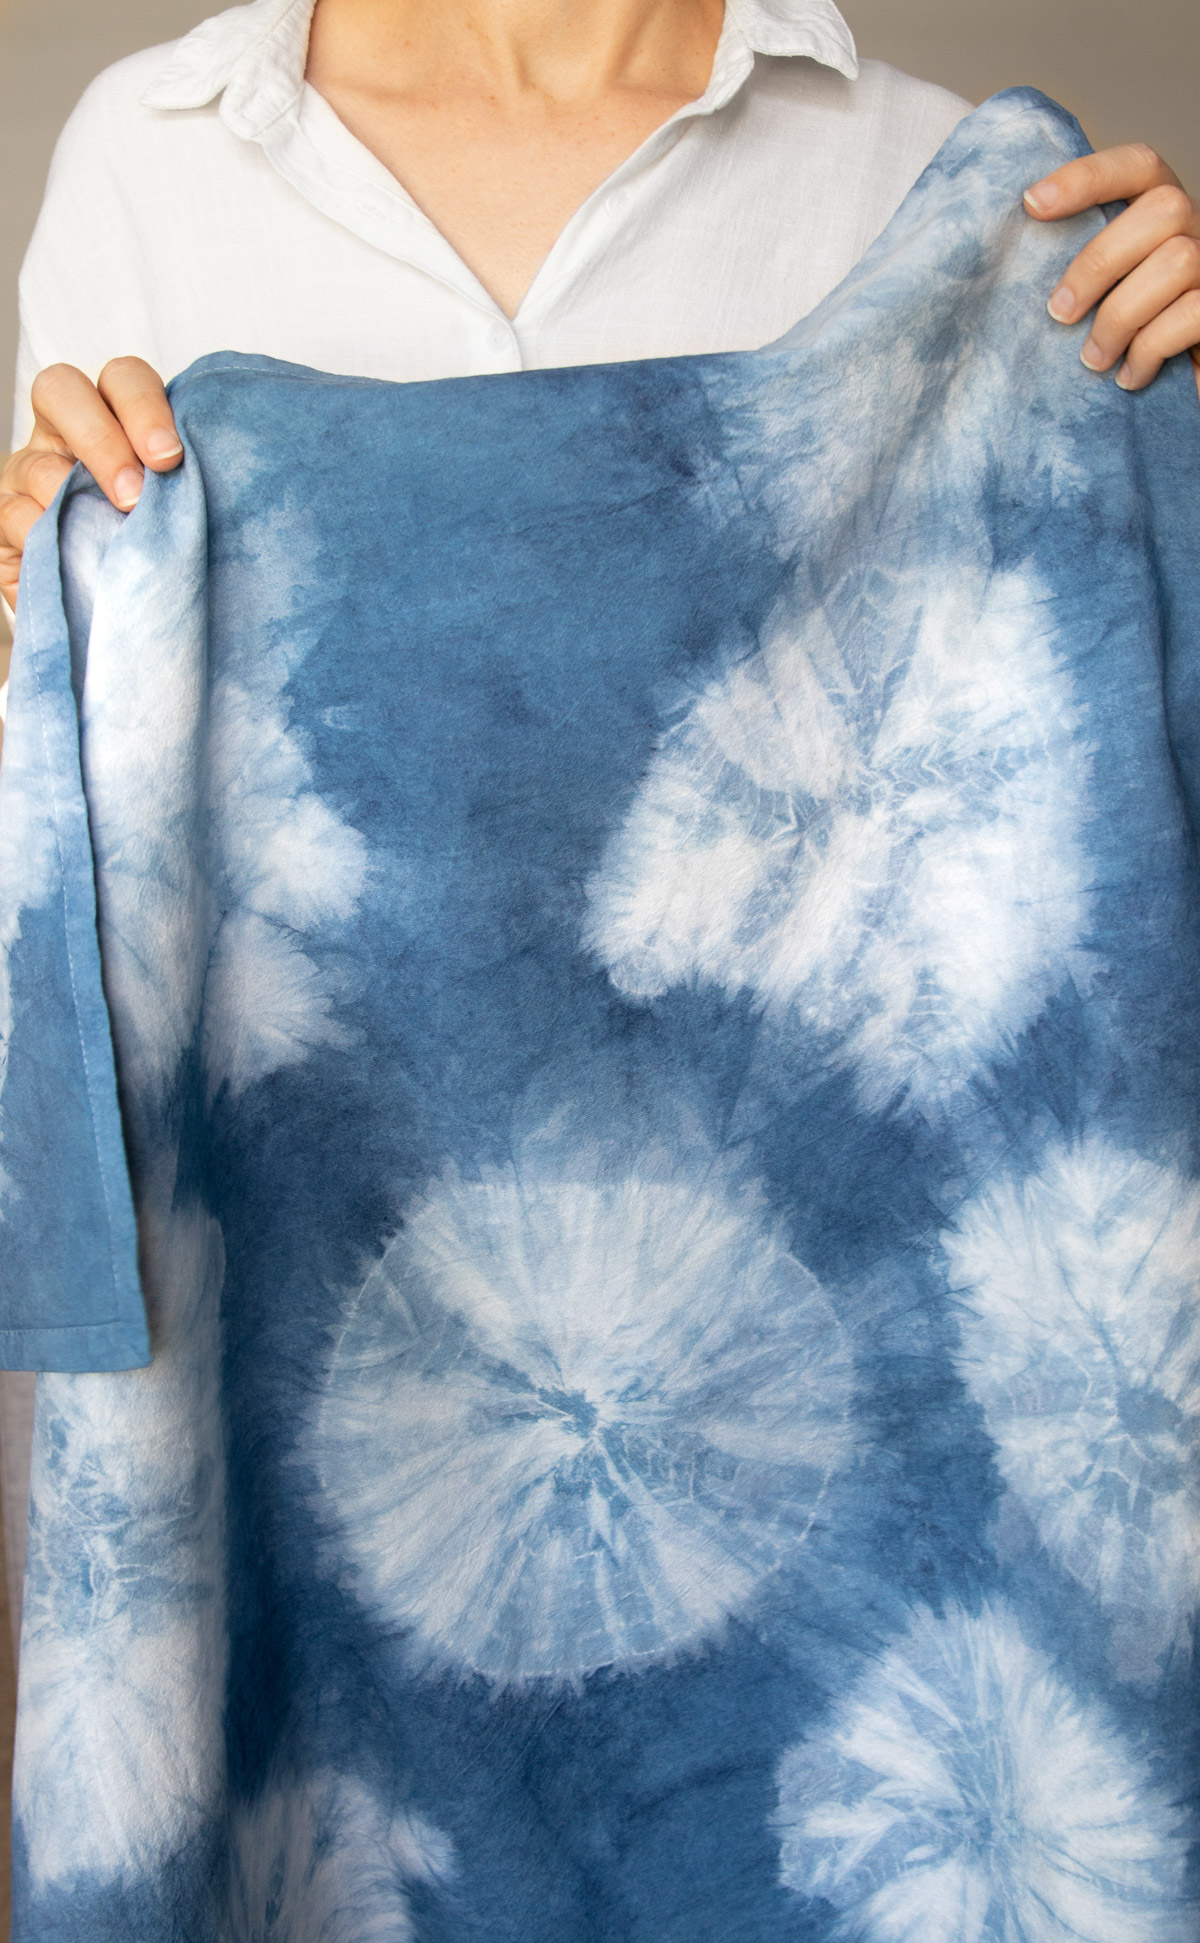
Most techniques use different folds to create patterns, but this one uses a bunching technique to create flower-like patterns. Vary the size of the bunches and place them in random spots to add interest.
Instructions
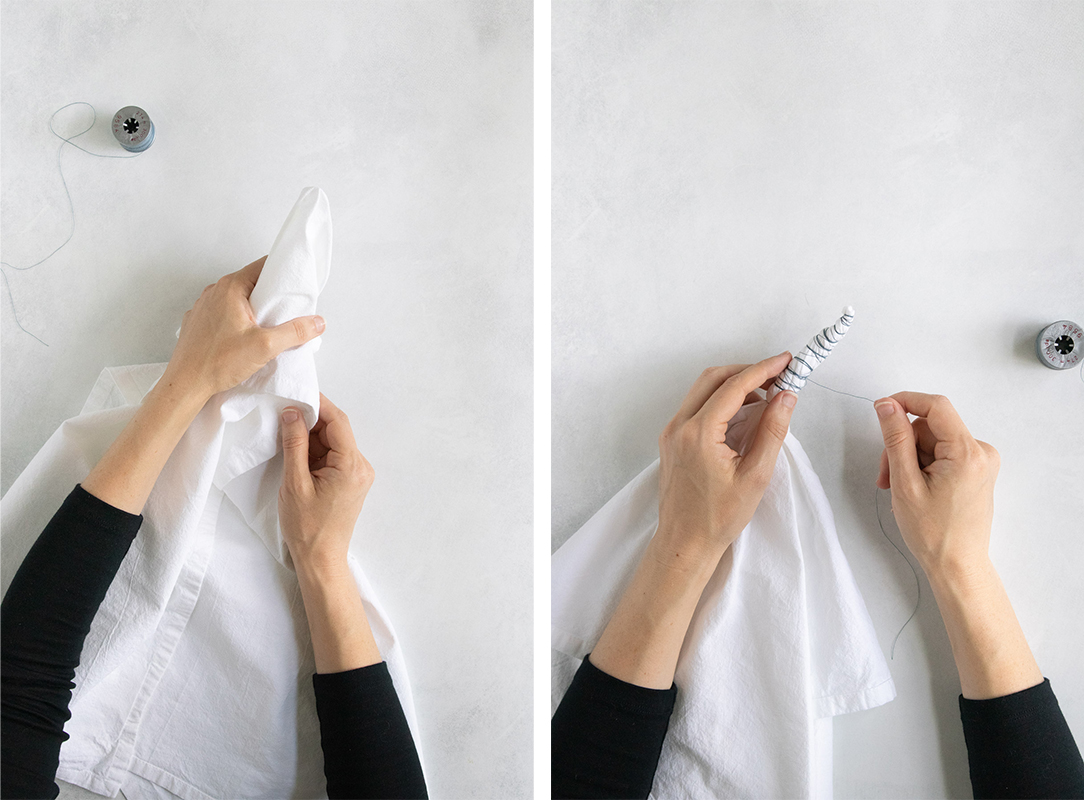
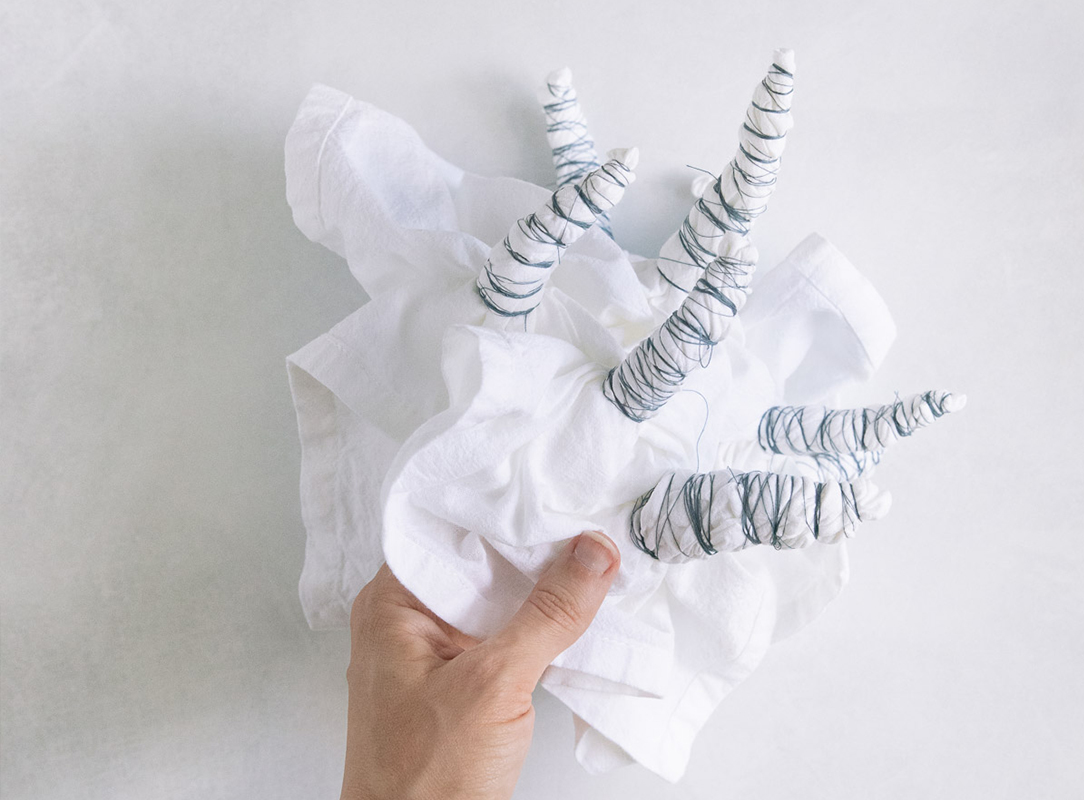
Pull a 3-inch section of fabric up through your fingers, creating a cone. Starting at the middle of the cone, wrap thread up to the tip of the cone, back down to the base of the cone, then finally back to the middle of the cone. Secure the loose of the thread with a slipknot.
Continue wrapping cones this way all the fabric has been wrapped.
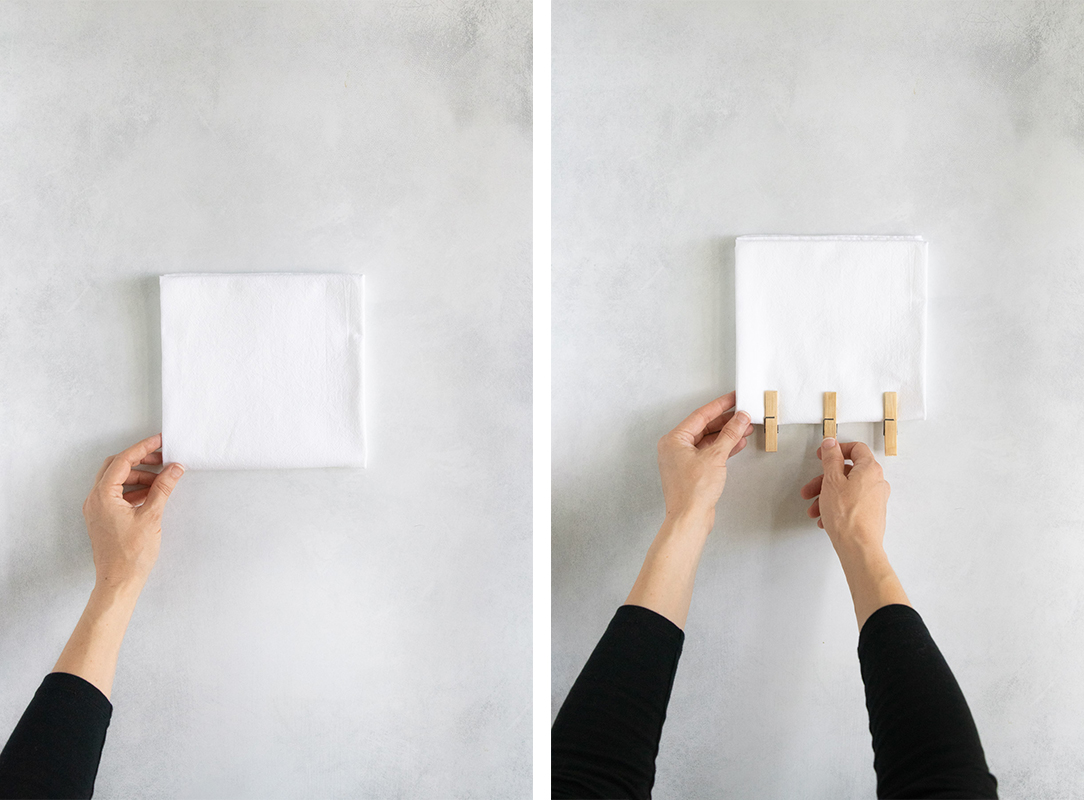
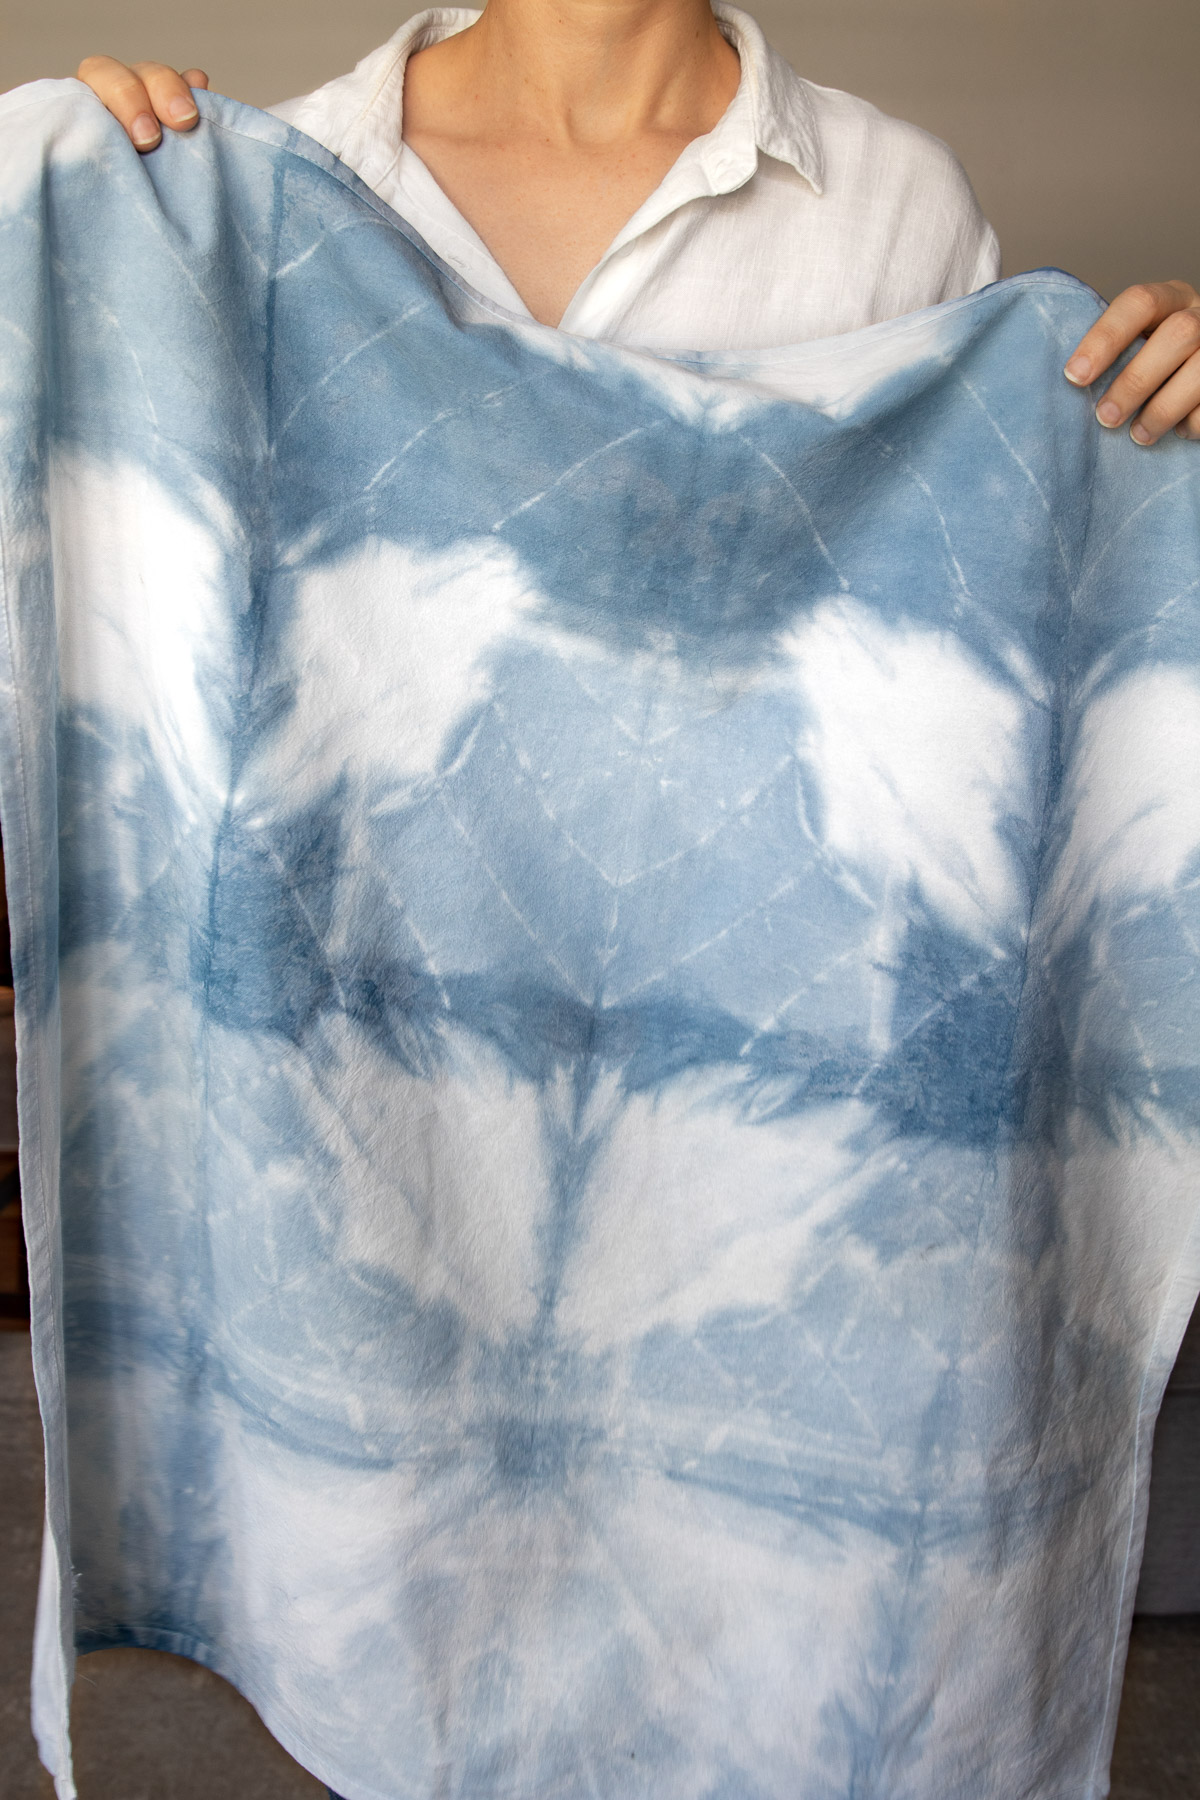
2. Clothespin Fold
One of the easier methods, this technique will give your fabric a simple dotted pattern wherever you place the clothespins.
Instructions
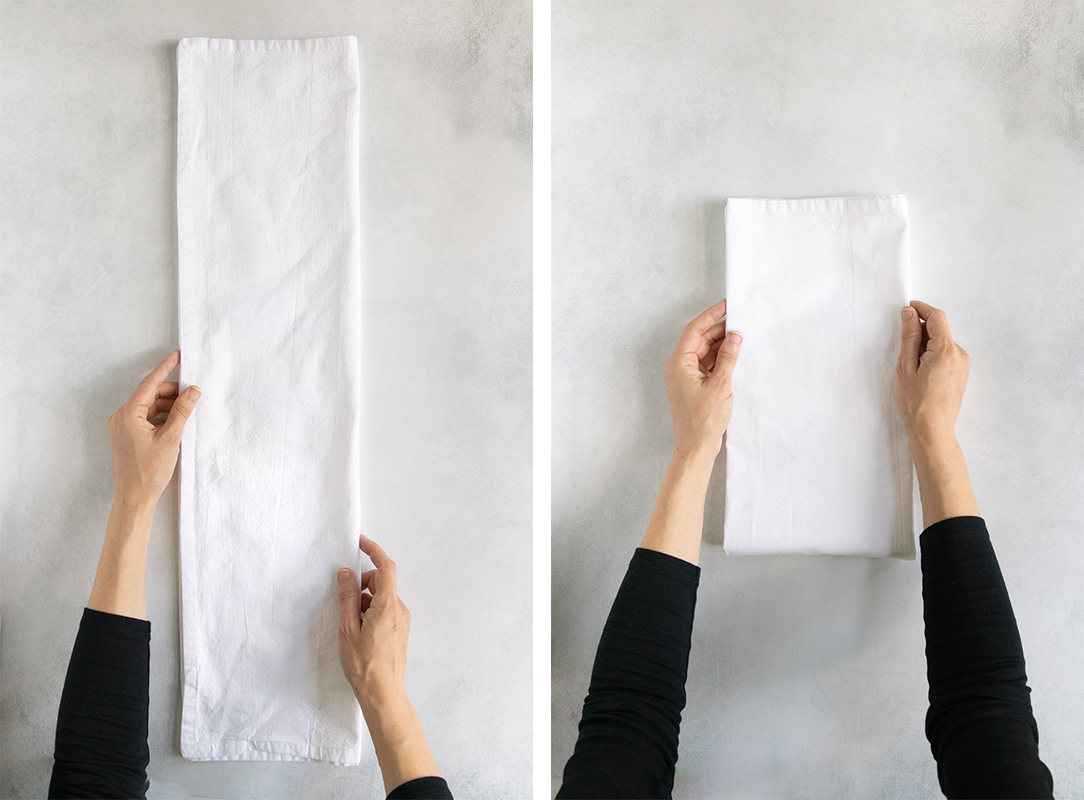
Start by folding the fabric twice vertically. Then fold it in half by bringing the bottom edge to meet the top.
Fold it in half again, creating a square. Clip 3-4 clothespins along the folded edge (as opposed to one of the open edges).
To mix up the pattern, add more clothespins along the other edges.
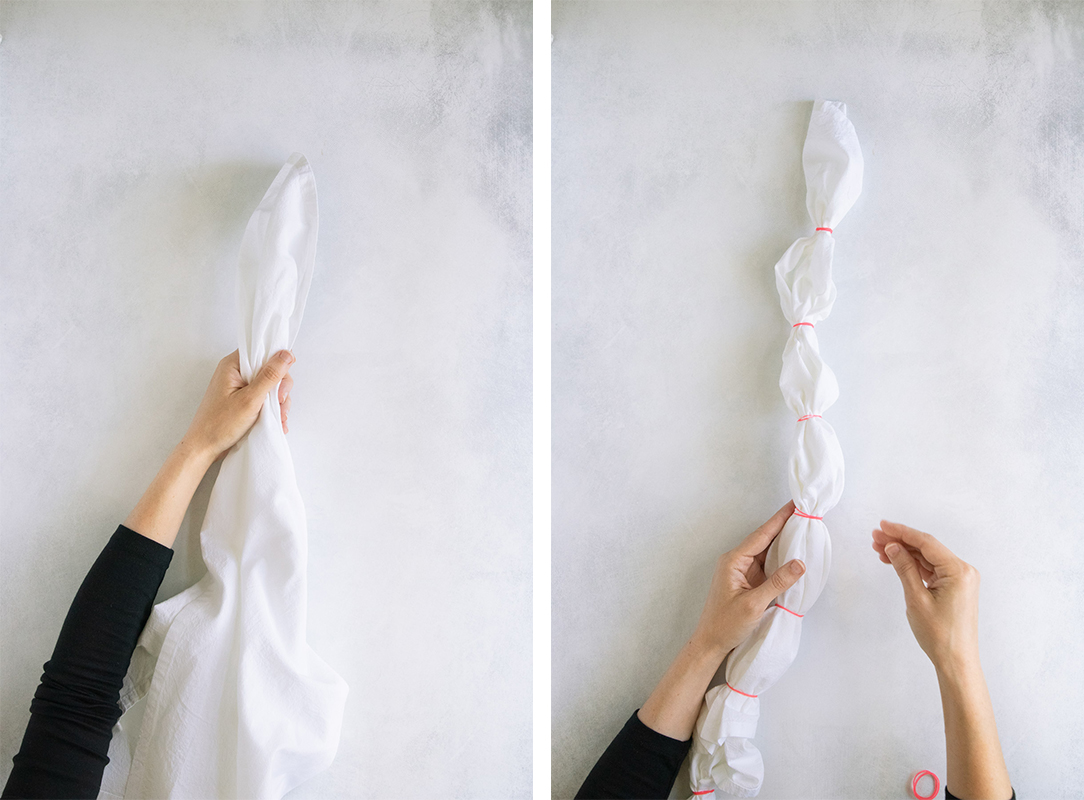
3. Kanoko Bunch Fold
Kanoko shibori involves using thread or rubber bands to create patterns. How you fold the fabric as well as how you wrap the thread yields different results.
Instructions
Starting at one corner of the fabric, use your hand to bunch the fabric randomly.
Place rubber bands at even intervals (or at random) along the length of the fabric.
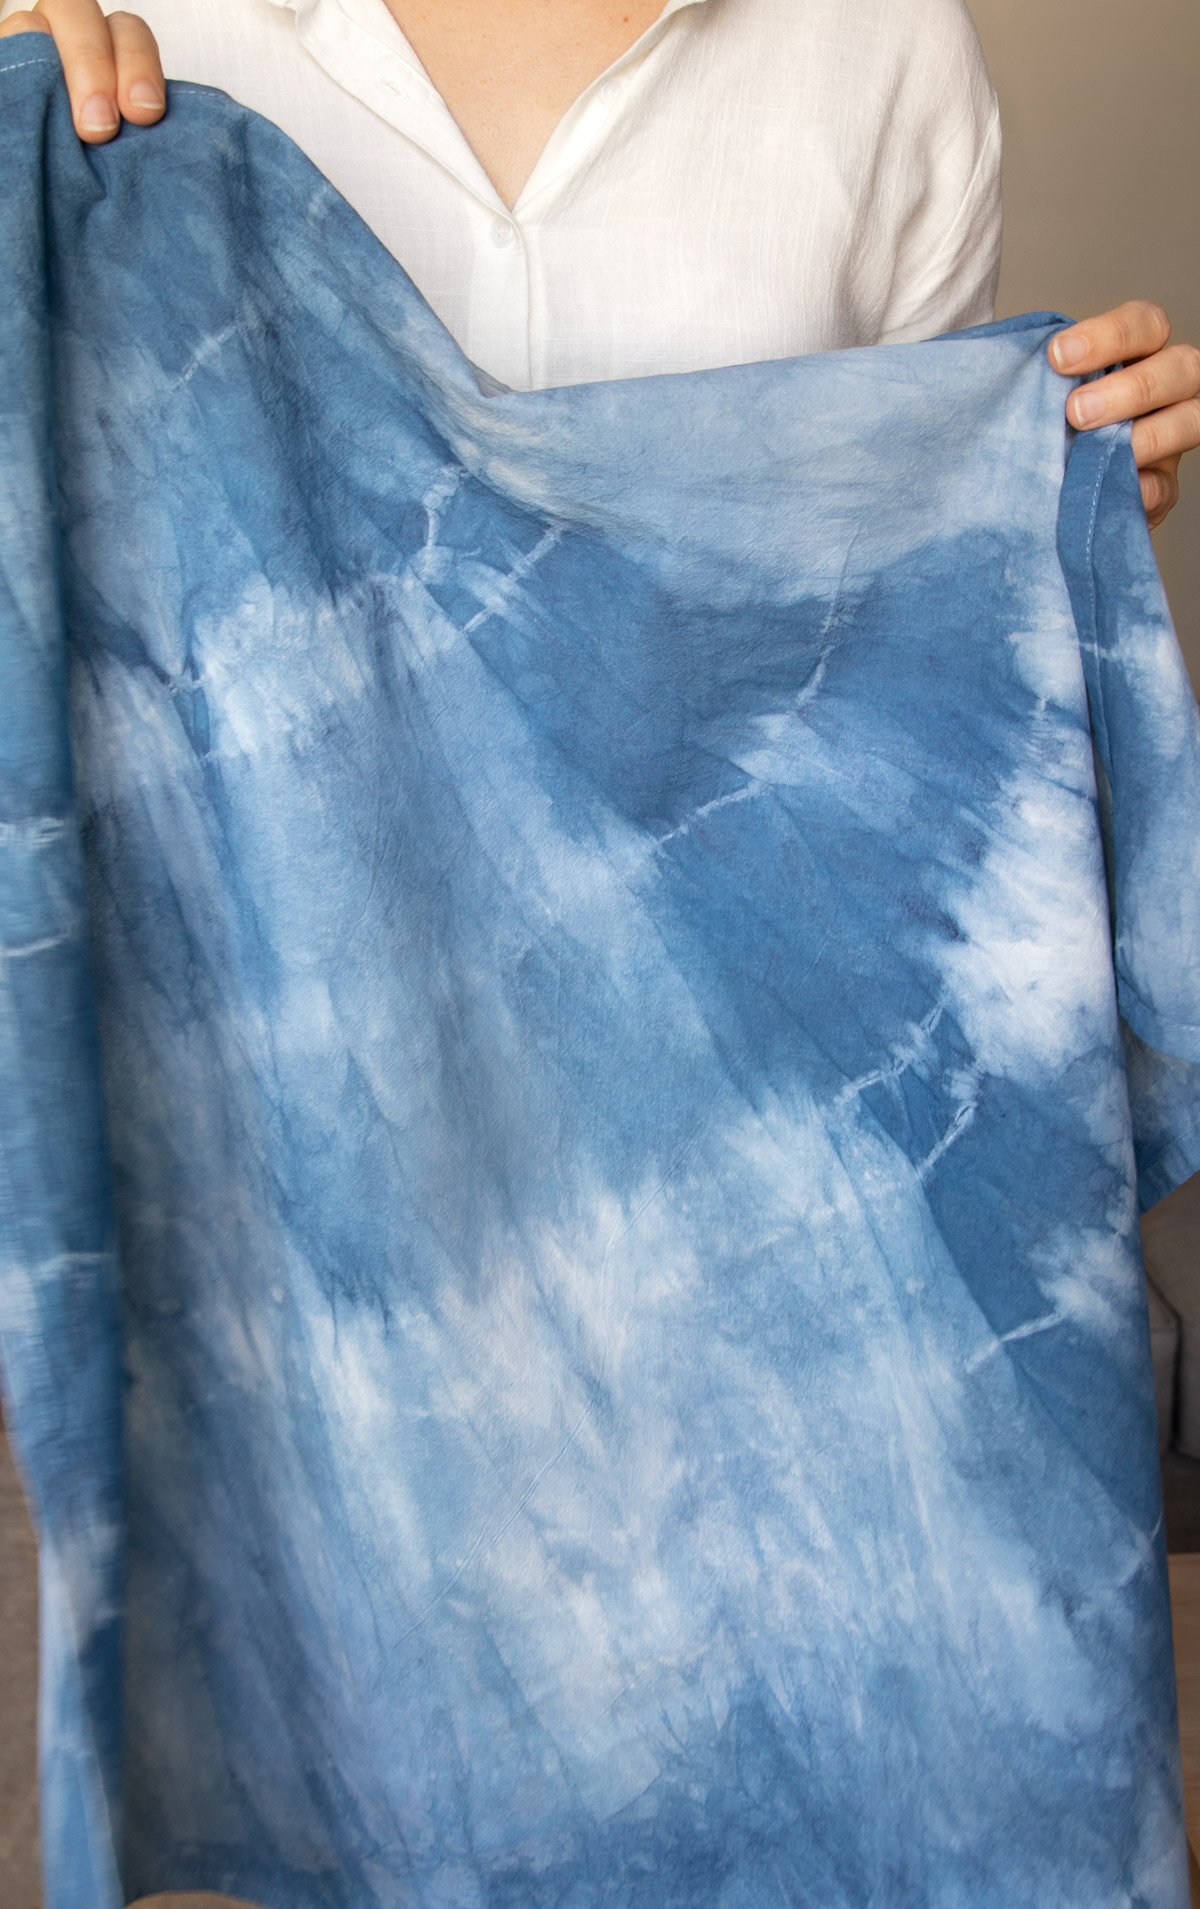
4. Kanoko Triangle Fold
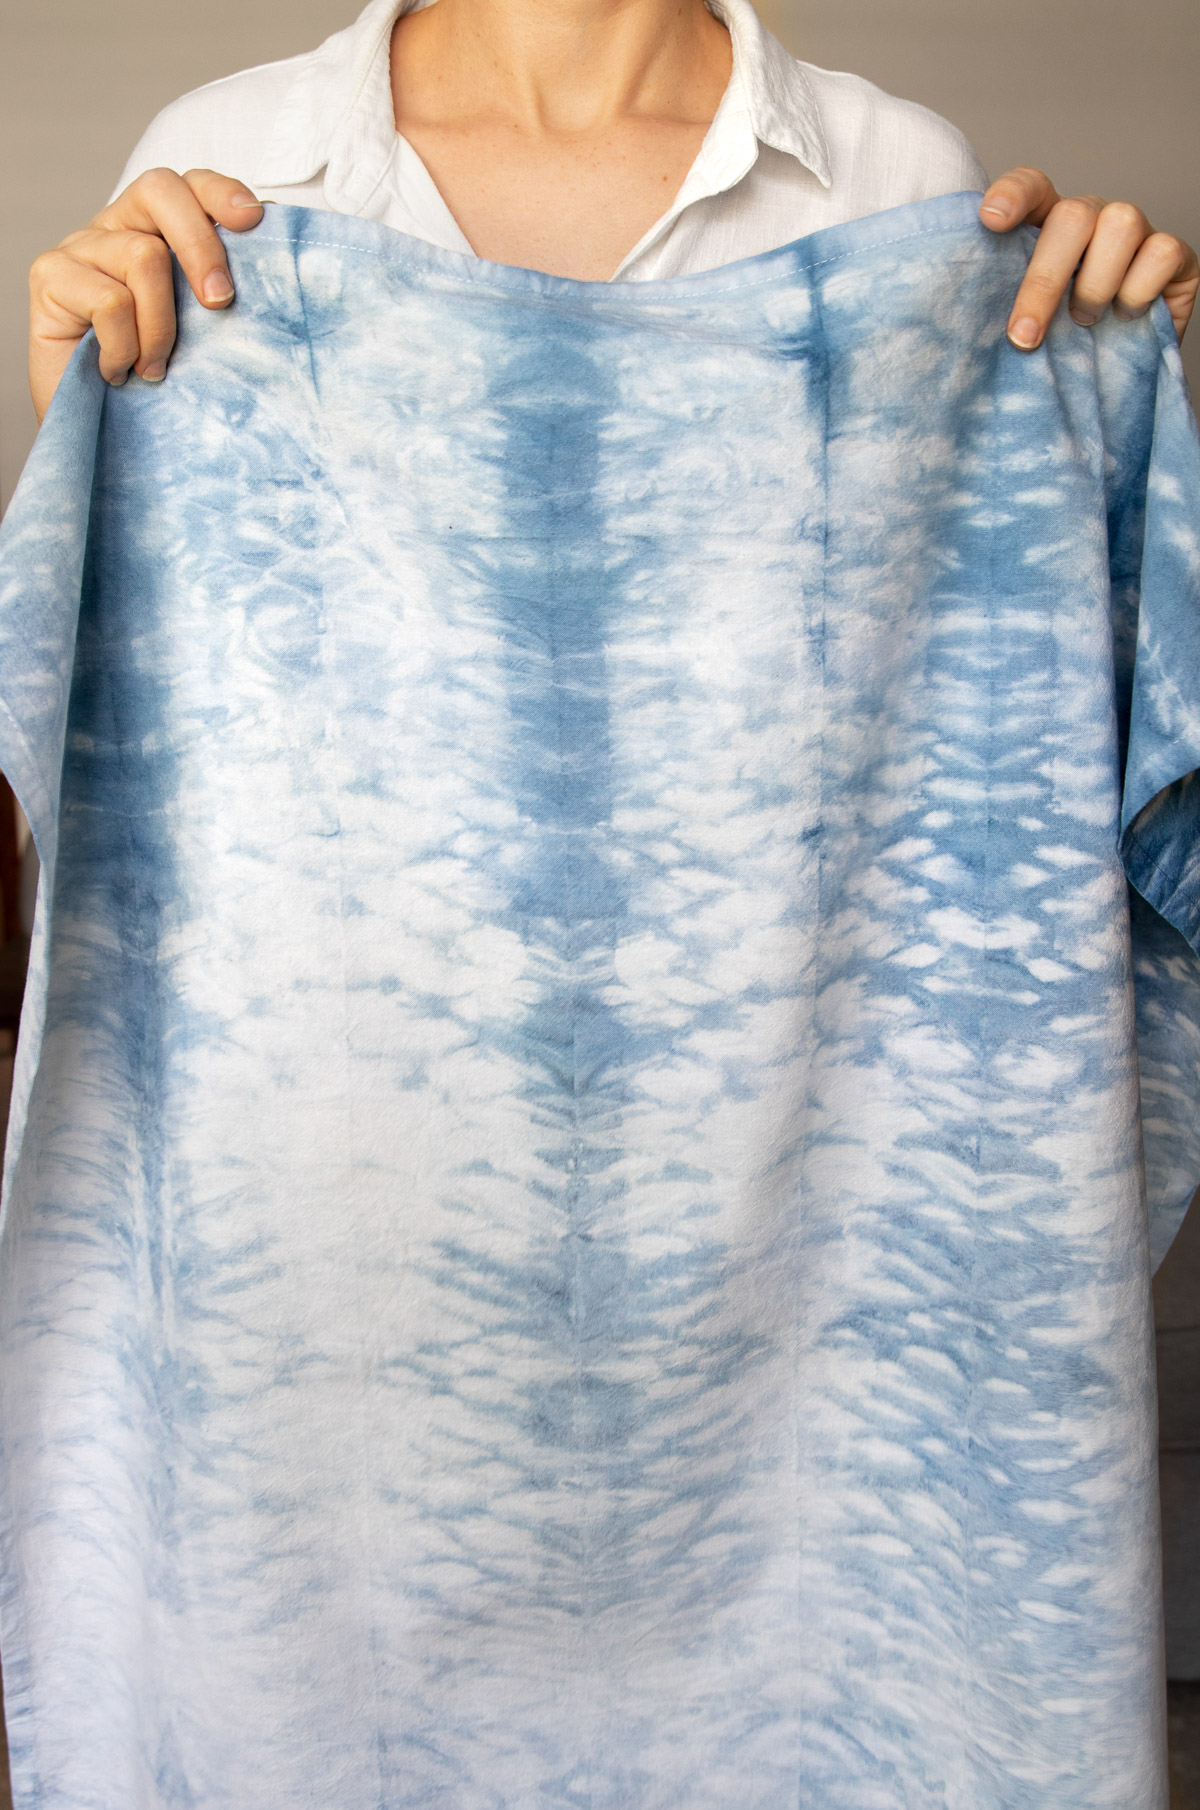
Unlike the other Kanoka fold, this one creates a striking light/dark pattern that looks like wings.
Instructions
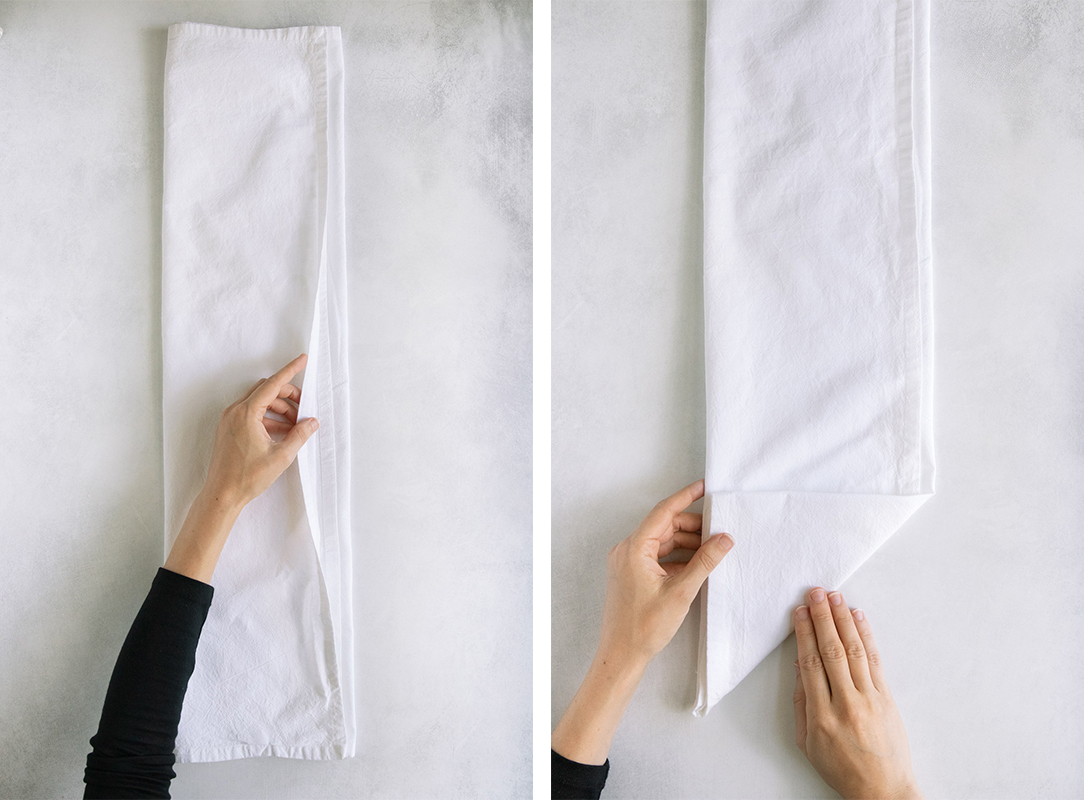
Fold the fabric twice vertically. Take the bottom right corner and fold it to the left, creating a small triangle.
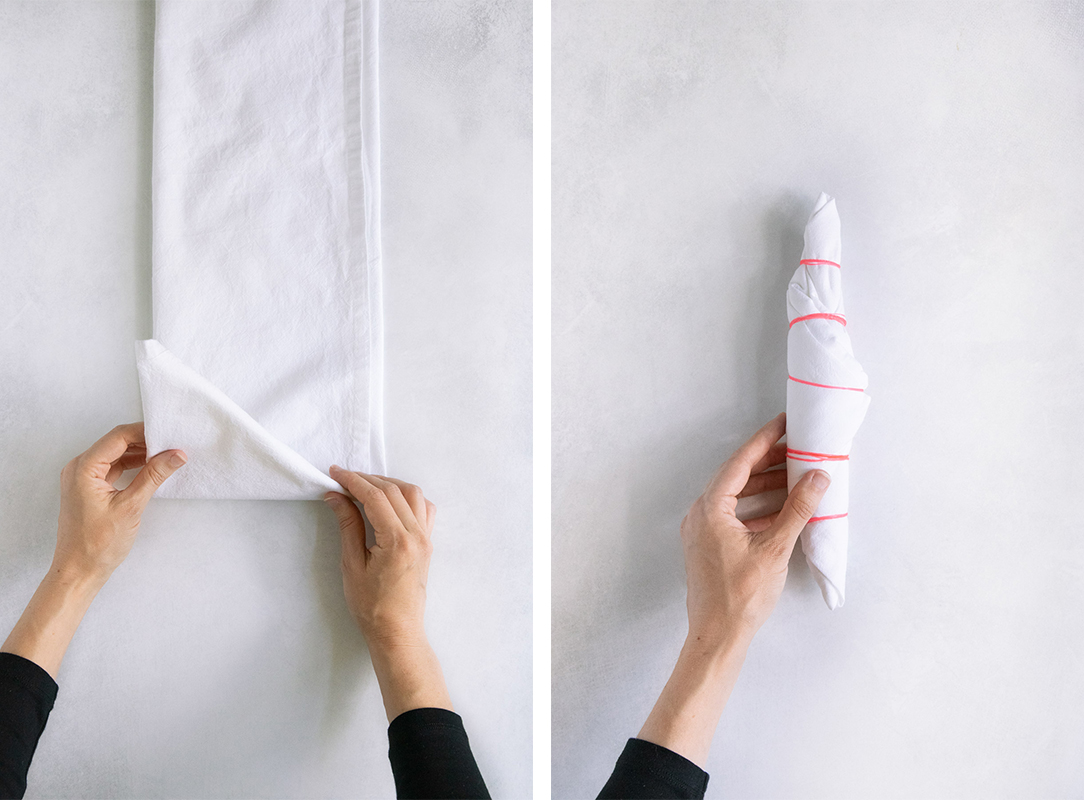
Fold the triangle upward. Continue folding the triangle upward and over until you’re left with a single triangle.
Roll the long edge of the triangle into a cylinder. Place rubber bands at random intervals.
5. Pole Wrapping
By wrapping and bunching the fabric, this method results in a busy, almost tiger-like pattern.
Instructions
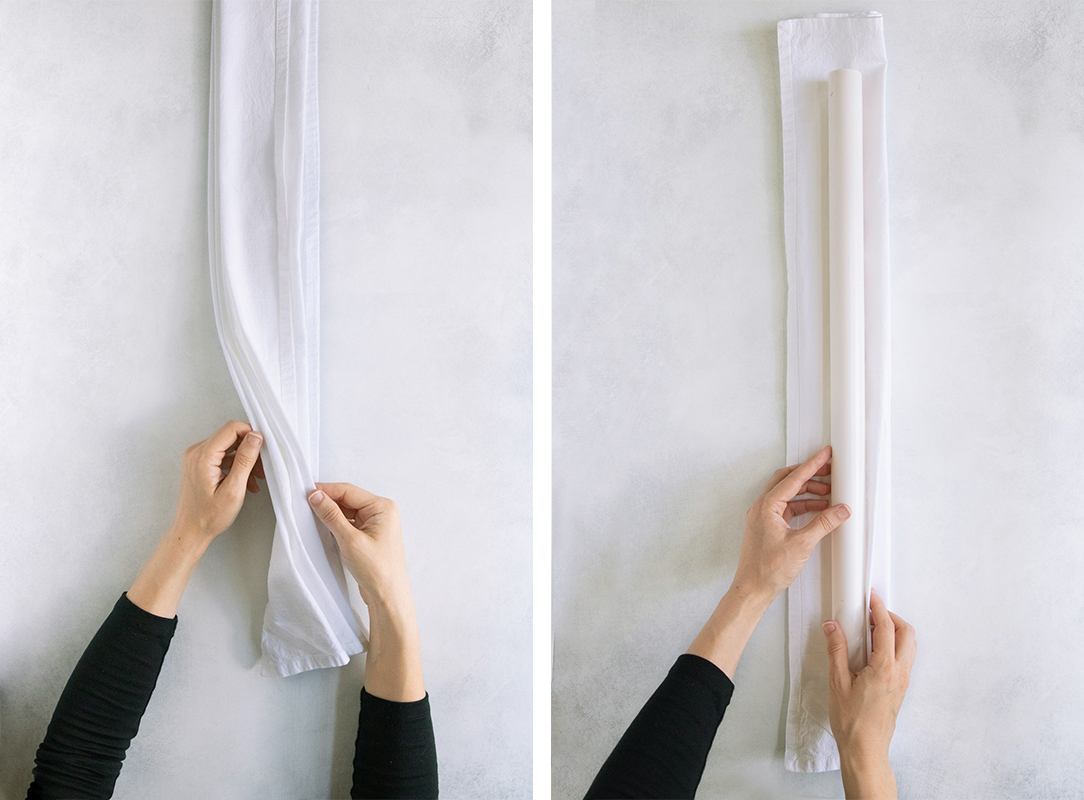
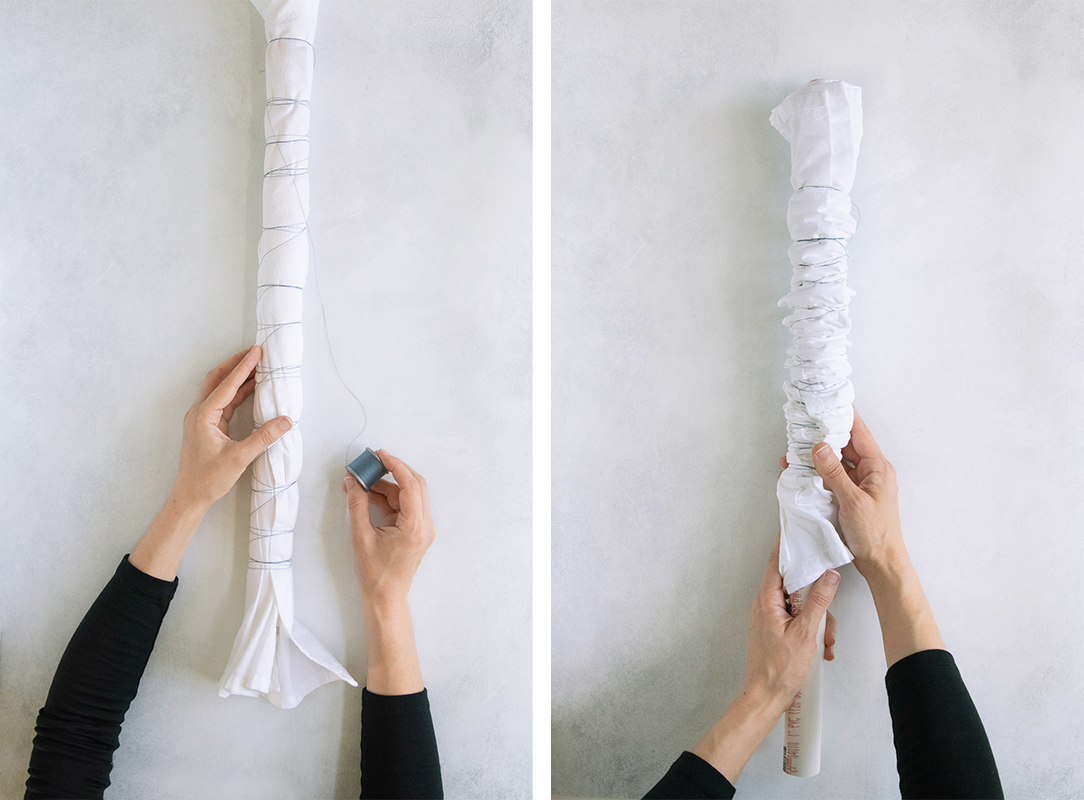
Accordion fold the fabric into 2” pleats. Place the PVC pipe in the middle of the fabric.
Roll the fabric around the PVC pipe, making sure to slightly stagger the pleats. Wrap polyester thread around the fabric, making sure to wrap 3-4 times at the same spot before moving upward and wrapping 3-4 times at another spot.
Bunch the fabric at one end of the pipe. If needed, secure a couple rubber bands at either end of the fabric to help hold it in place while you dip it in the dye.
Step 3: Dye the fabric
Always follow the instructions on your shibori dye kit when making your dye bath. And make sure to wear dark clothes, rubber gloves and a particle mask!
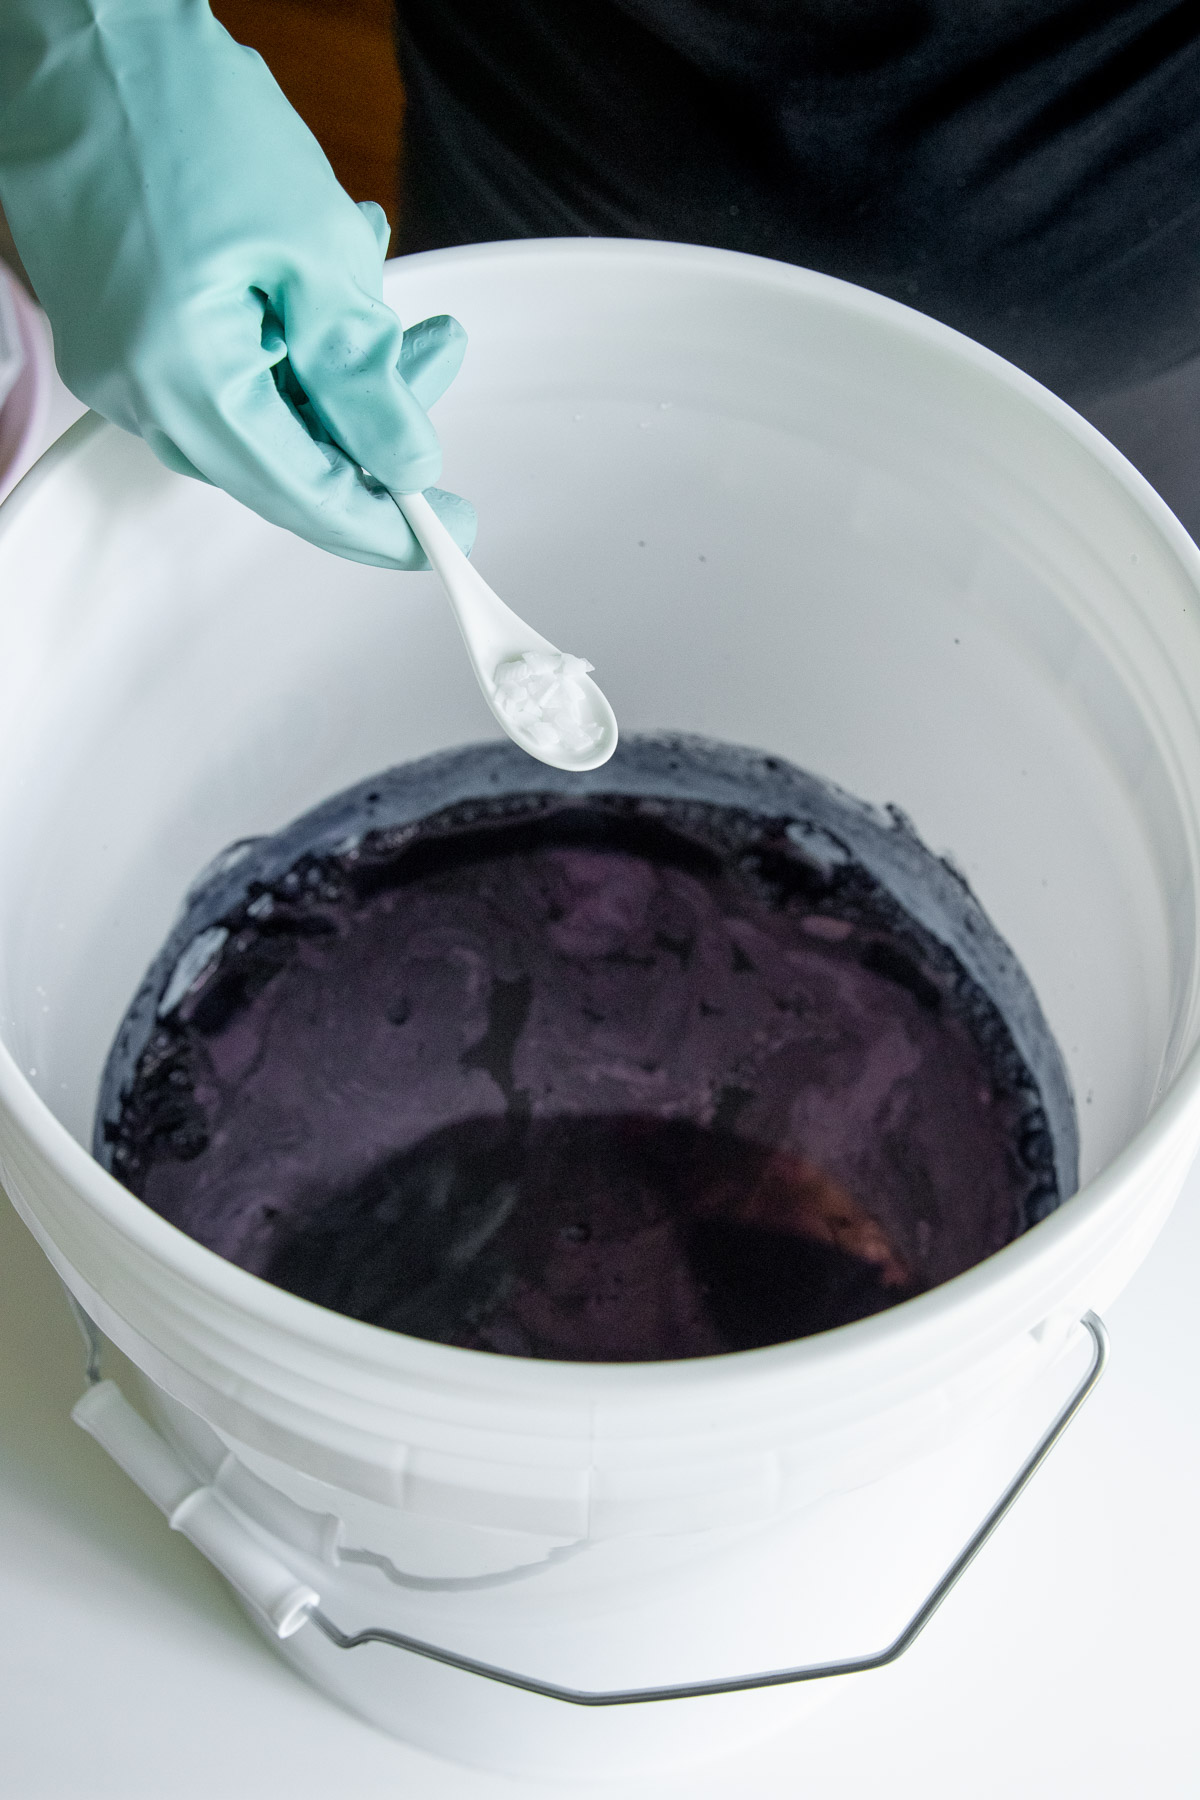
If you didn’t purchase a kit, then mix 3 teaspoons Indigo dye with 3 teaspoons Hydosulphate in a gallon of hot tap water (using your 5-gallon bucket). Or scale the recipe up to make a larger dye bath. Let sit for 10 minutes before adding 1 teaspoon caustic soda. The dye with turn a blue-green in color — this is normal.
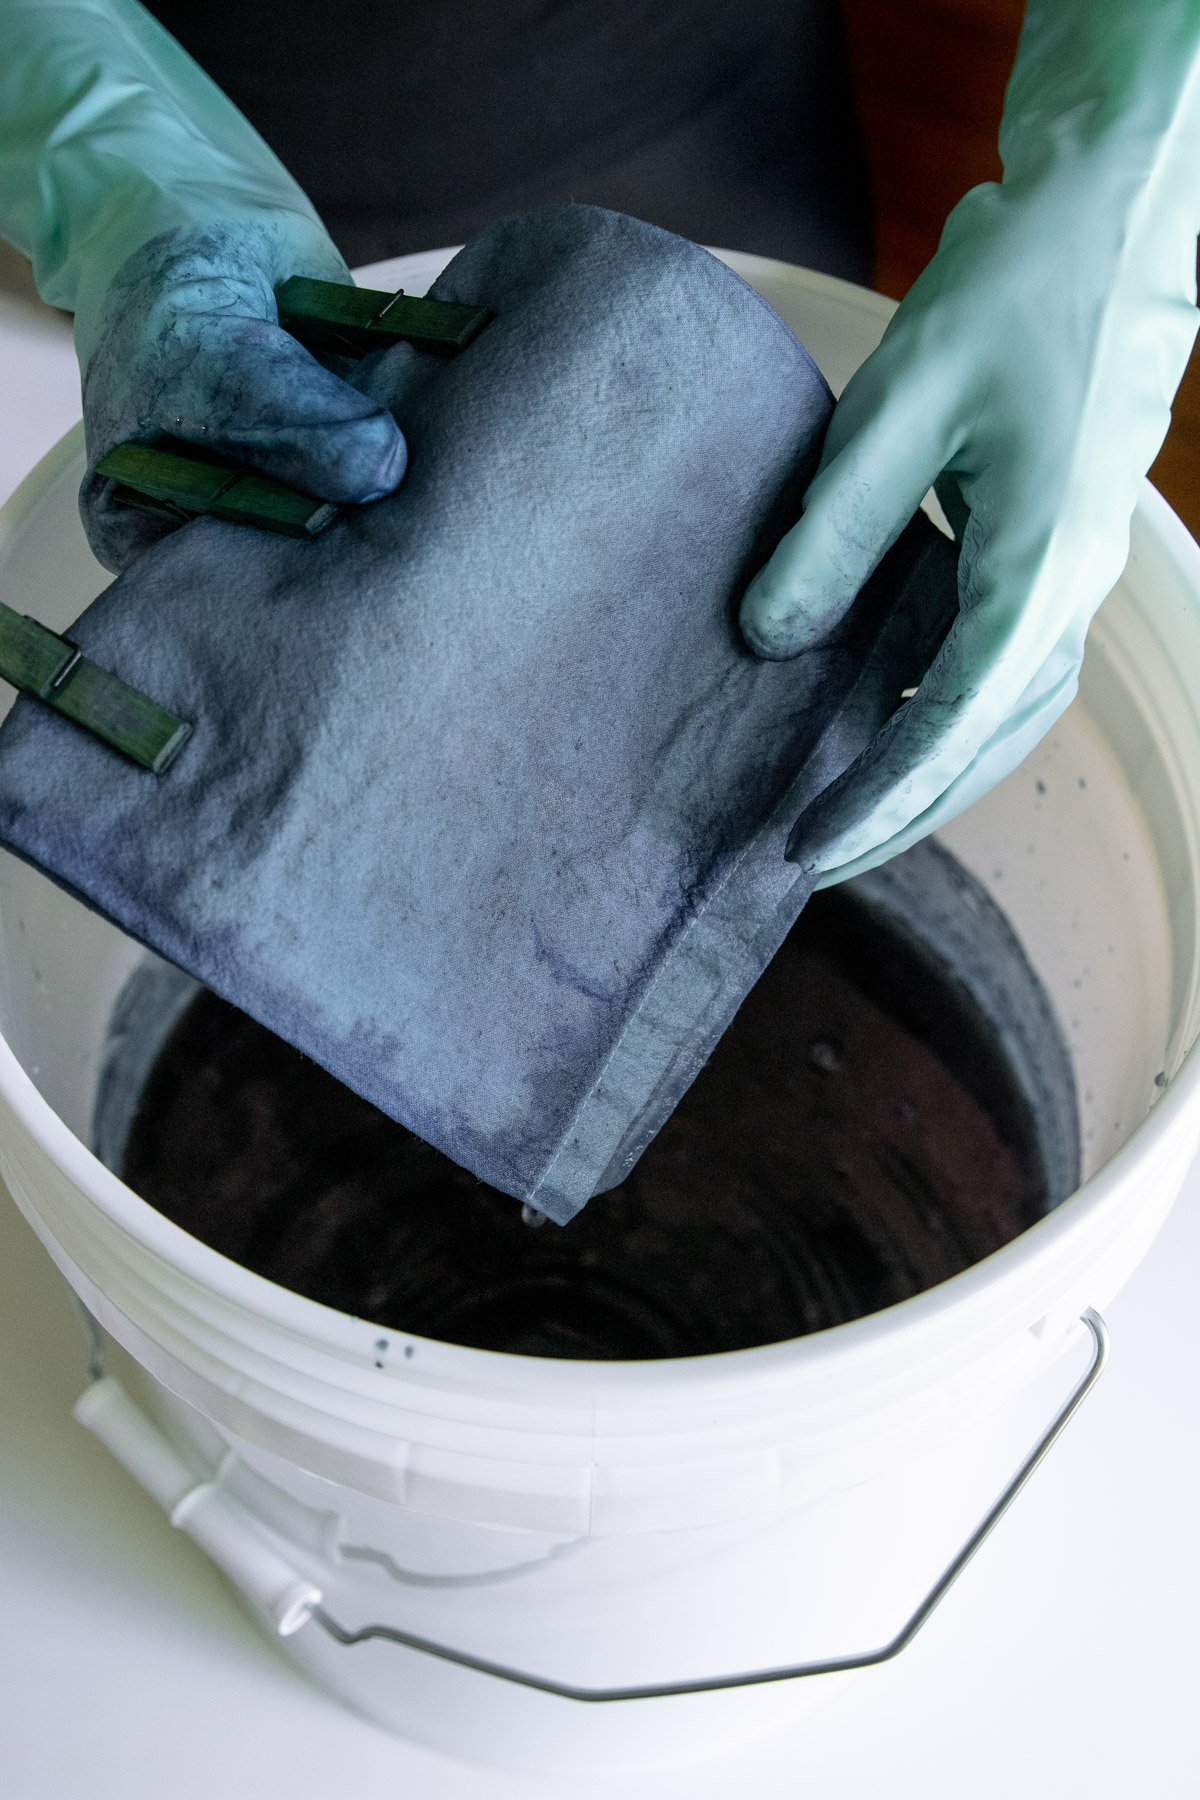
Dip the fabric in the dye vat and let it sit for 1 minute. Remove the fabric (I place mine in a second 5-gallon bucket) and let it oxidize, which will turn it from a green-blue to a dark indigo color.
Continue dipping the fabric in the vat for 1 minute, then removing it to oxidize until the ideal color is reached.
Step 4: Let the fabric air dry
Remove the rubber bands or thread.
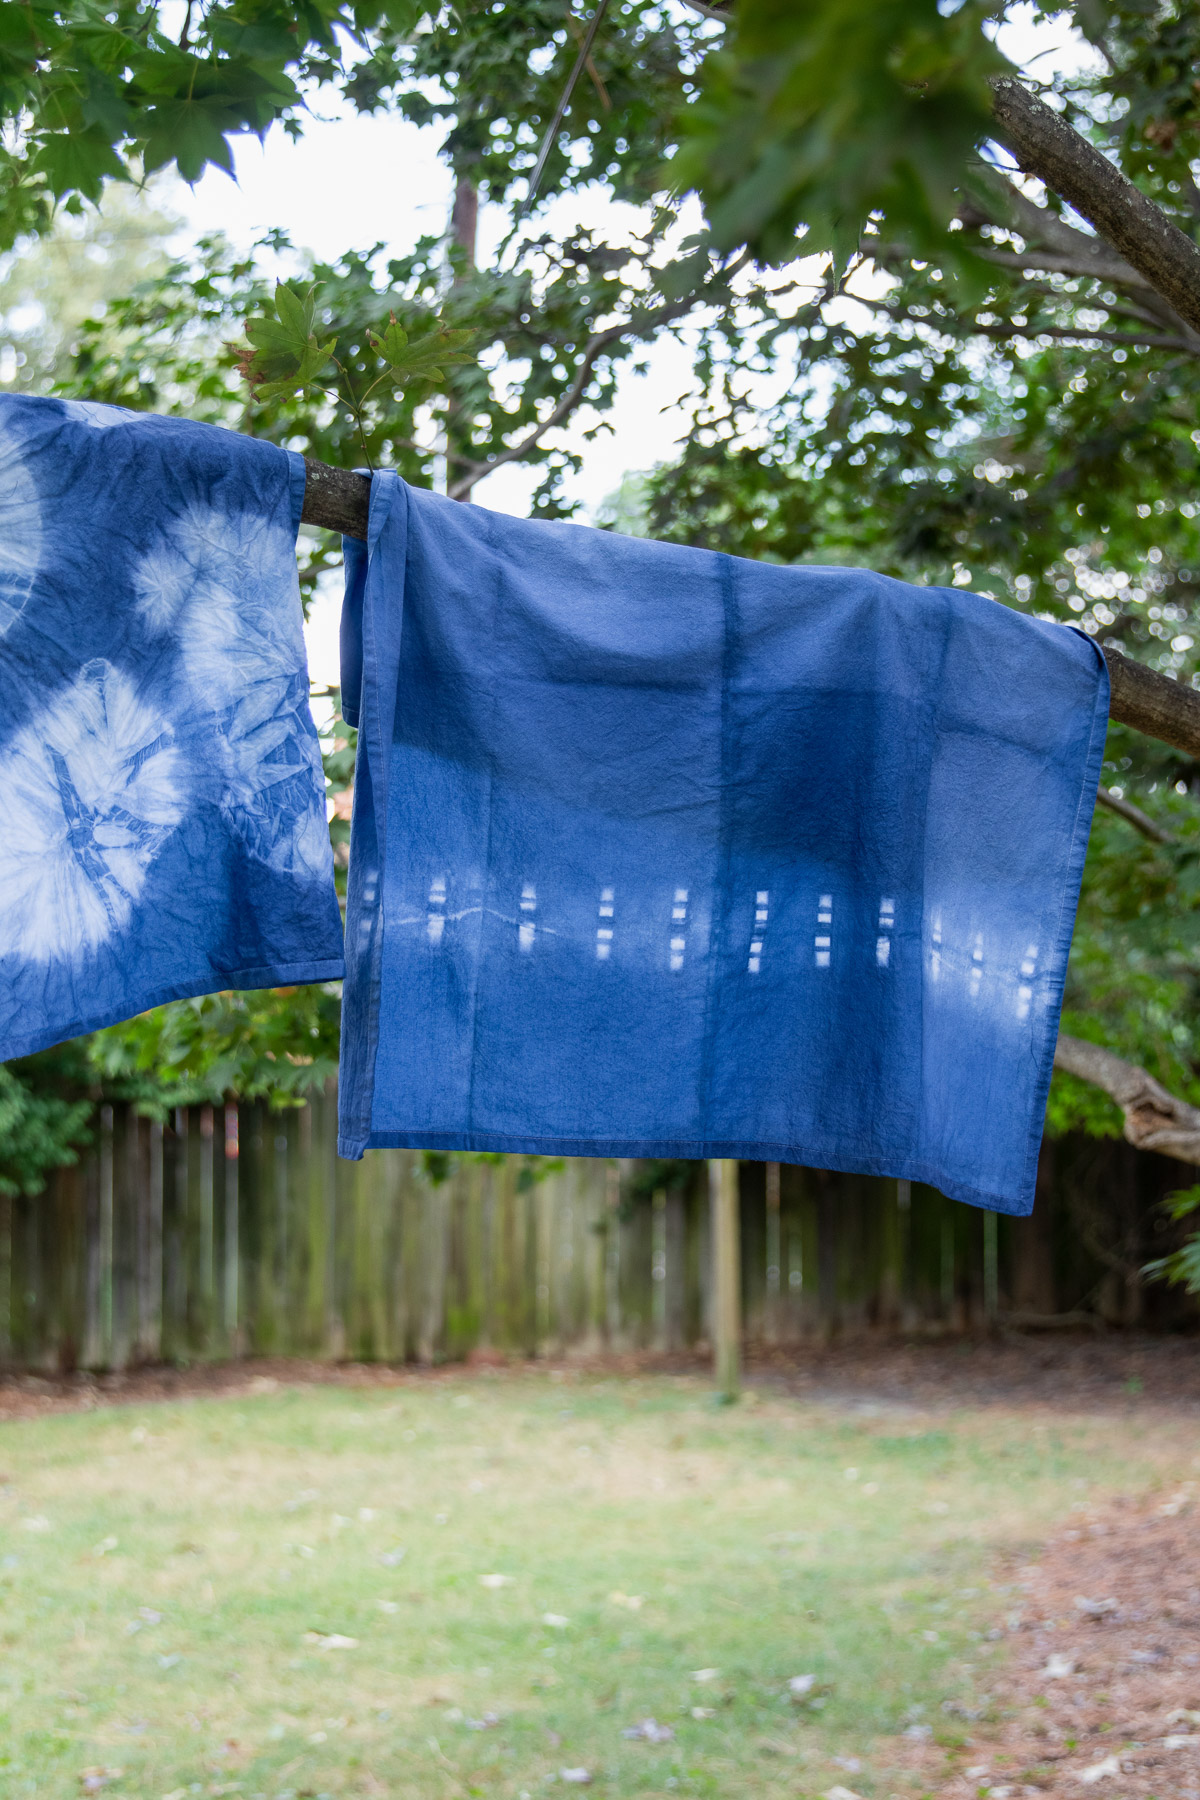
Hang your fabric outside to air dry. I draped mine over a tree, but you can hang it from a clothesline or even hang it in the laundry room, just make sure to protect the floor from drips.
The color will lighten as the dye oxidizes and dries.
Step 5: Wash and dry
Rinse the fabric with cold water. Then wash it with regular detergent on hot. Dry on medium heat.
Your fabric is ready to use!
2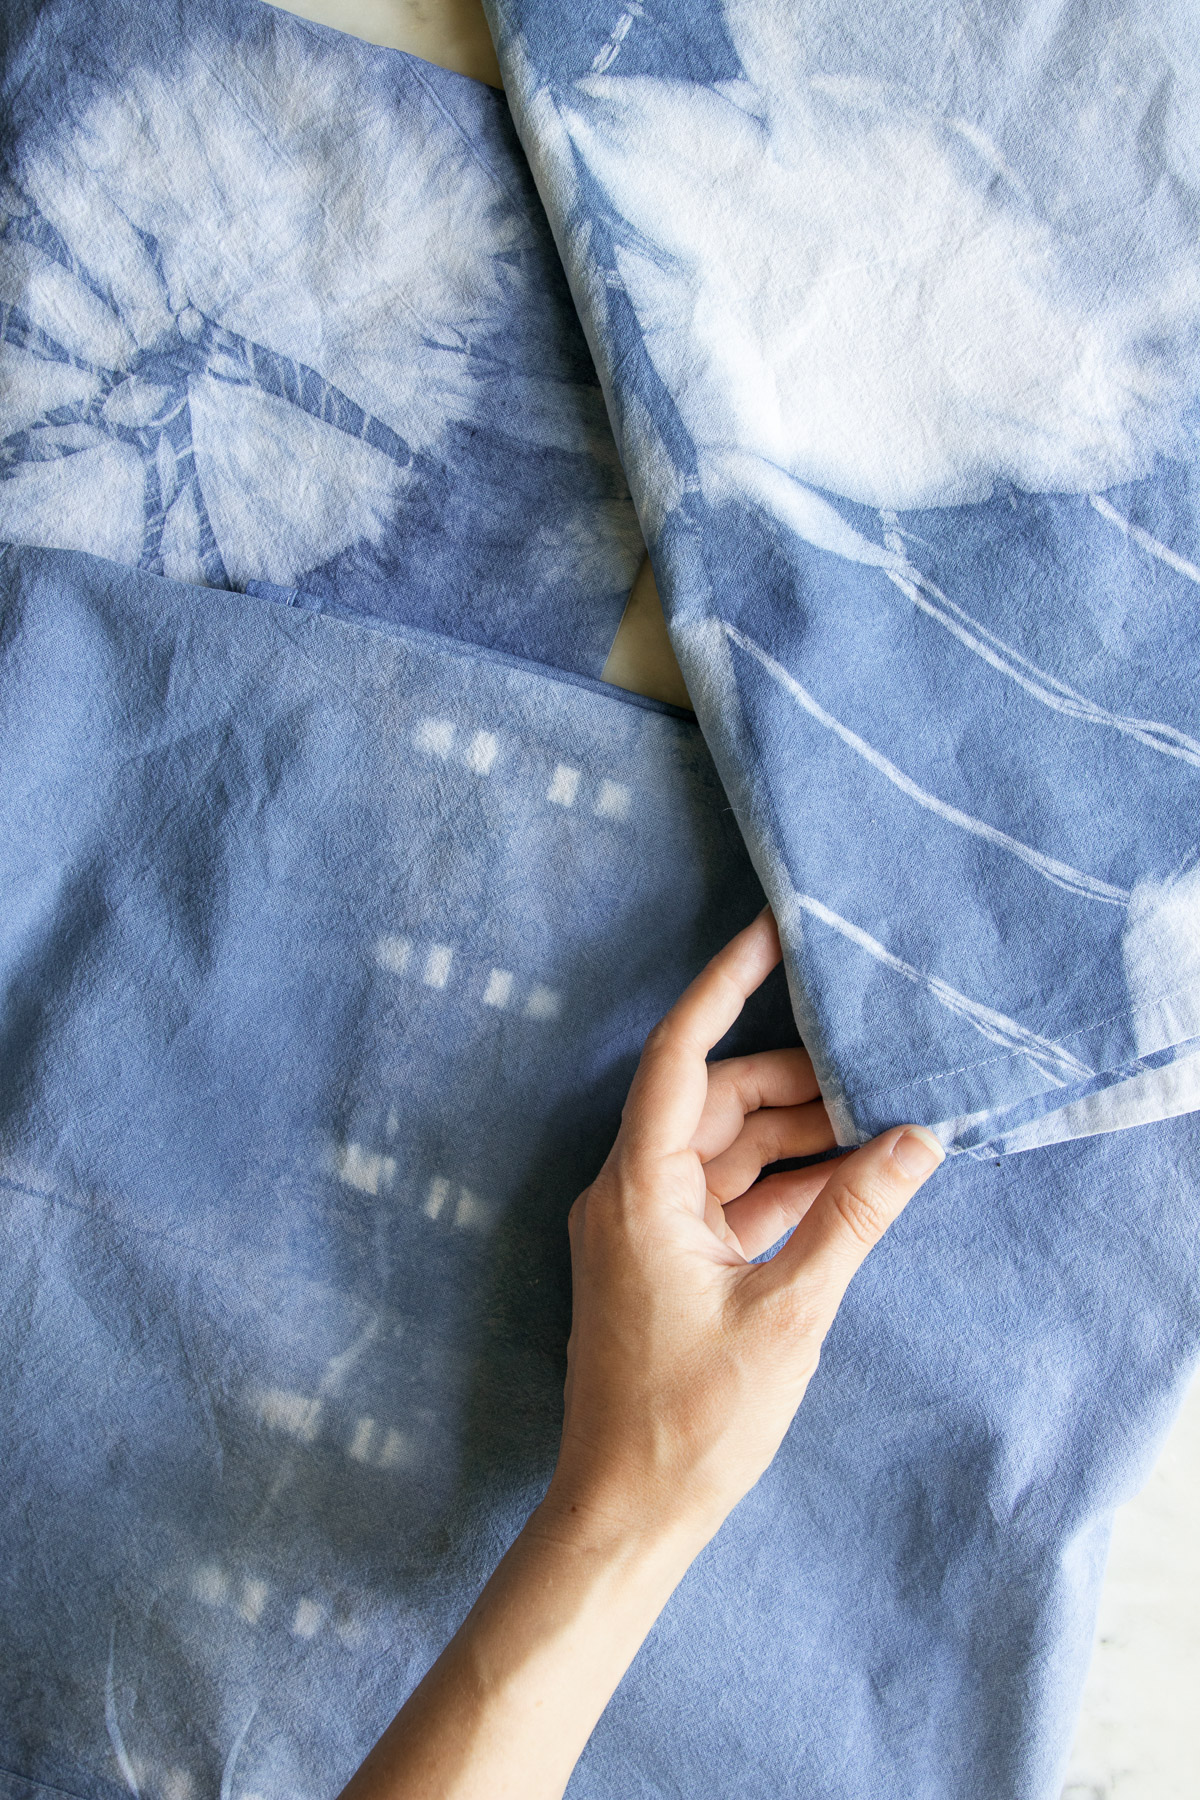
Leave a Reply