• Skip to primary navigation
  • Skip to main content
  • Skip to primary sidebar

Hello Nest

The Art of Making a Home

  • Green Cleaning
    • Air Fresheners
    • Bathroom
    • Bedroom
    • Kitchen
    • Laundry
  • Natural Living
    • Homemade Recipes
    • Essential Oils
    • Plants & Flowers
    • Zero Waste
    • Organizing & Simplifying
  • DIY & Decor
    • Candle Projects
    • Holiday Projects
    • Sewing Projects
  • About
    • Contact
    • Privacy Policy
  • Nav Social Menu

    • Facebook
    • Instagram
    • Pinterest
    • YouTube

How to Make a Hanging DIY Bud Vase

6 · Nov 16, 2019 · Stephanie Pollard · Leave a Comment

With crazy cold weather fast approaching, 
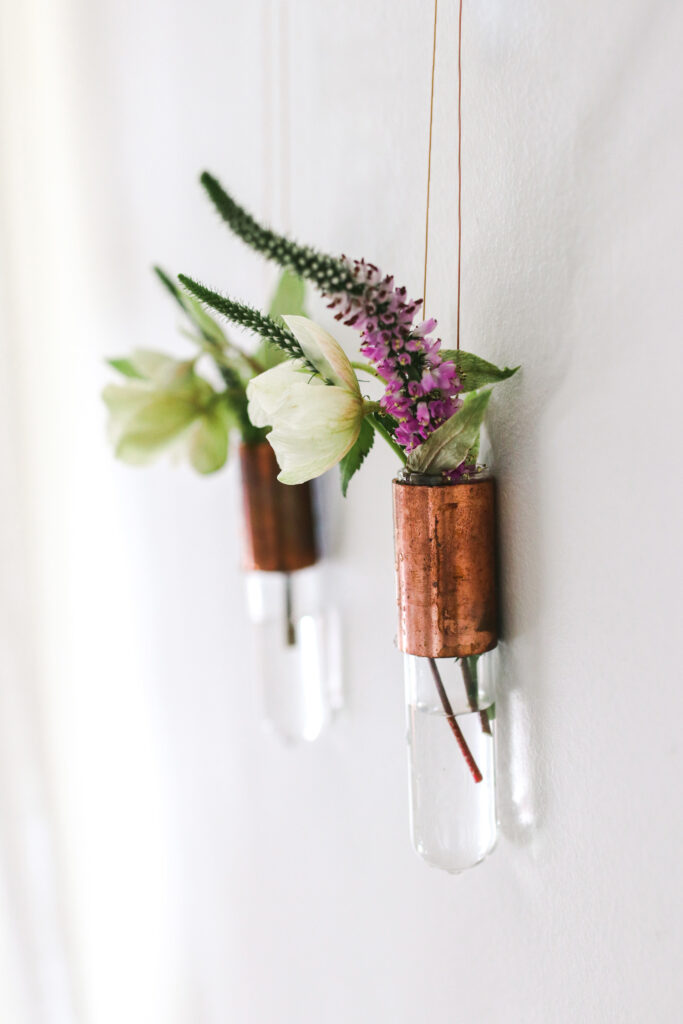
I’m always looking for tiny ways to brighten my home with fresh flowers and seasonal greenery to get me through the dead of winter. Lately I’ve been obsessed with hanging bud vases. They take up less real estate on tables and counter tops while also doubling as wall décor for those hard-to-decorate nooks most of us have scattered around our homes.

Mini bud vases are especially fun come spring when you’re surrounded by pretty flowering branches and quickly-fading flowers like tulips and helleborus that you want to enjoy.

DIY Bud vases

DIY Mini Hanging Bud Vases

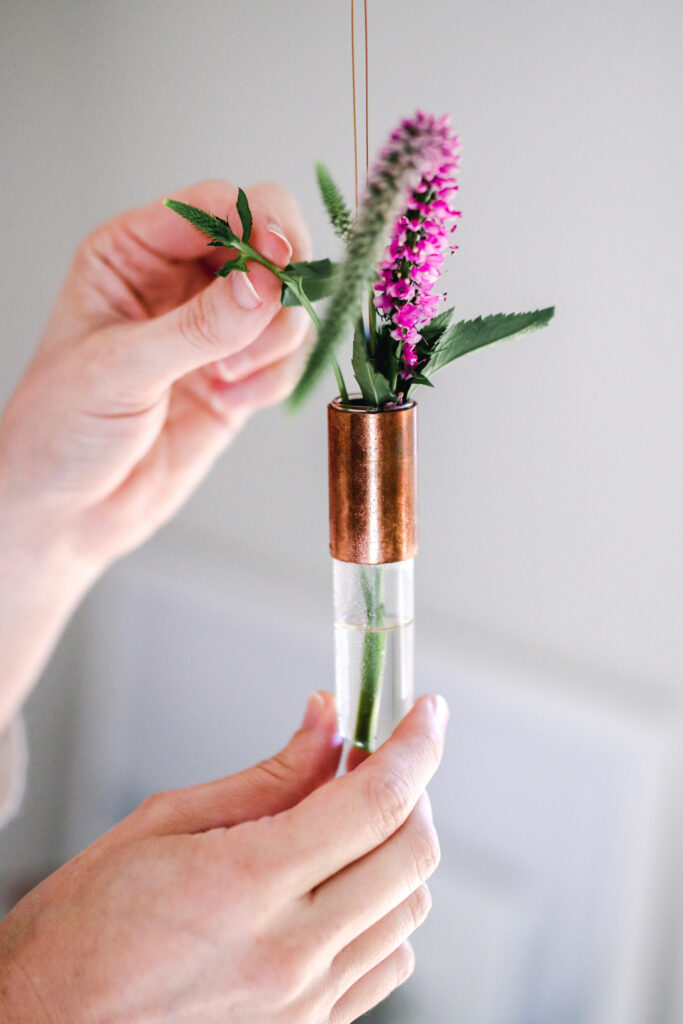
The trick to making hanging vases that don’t look too chintzy is choosing the right supplies. I started with some small test tubes I found at the craft store a year or two ago. Unlike the long test tubes we all know from high school biology, these babies were the same diameter (about 1-inch across) but a lot shorter and daintier looking, which made them perfect for holding a single blossom or flowering branch.

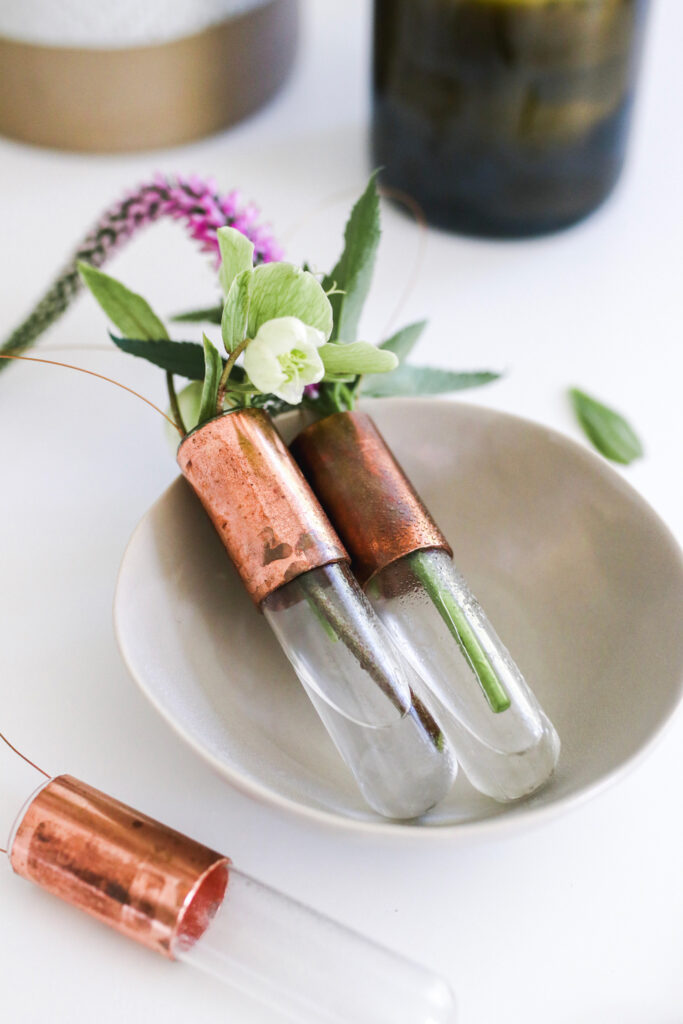
I added interest in the way of copper coupling from the hardware store. Copper slowly acquires a greenish patina as it ages, and I thought it would lend a bit of texture to my vases after a few months.

To hang them, I used matching copper jewelry wire (found at my local craft store) that I could loop over nails, small décor hooks or hang from invisible fishing line from the ceiling.

DIY Hanging Vase

To find the right size coupling, I recommend taking your test tube to the hardware store and trying on a bunch of different sizes. After looking online I was convinced I need 7/8-inch coupling for my almost 1-inch in diameter test tubes. But it was pretty impossible to find exactly what I was looking for without buying them in bulk from a plumbing supply company.

After a visit to Home Depot, it turns out that 3/4-inch coupling (without a stop) actually worked perfectly, and it was a lot cheaper than I saw online. Go figure. Had I not gone to the store and tried on a few different sizes, it would have been a total nightmare. So, lesson learned: try before you buy!

Read on to learn how to make your own.

Test Tube and Copper Vases

Supplies

  • Small glass test tubes
  • Copper coupling without a stop (mine was ¾)
  • Copper jewelry wire
  • Wire cutters
  • Strong glue like E6000 or Gorilla Super Glue Gel

Instructions

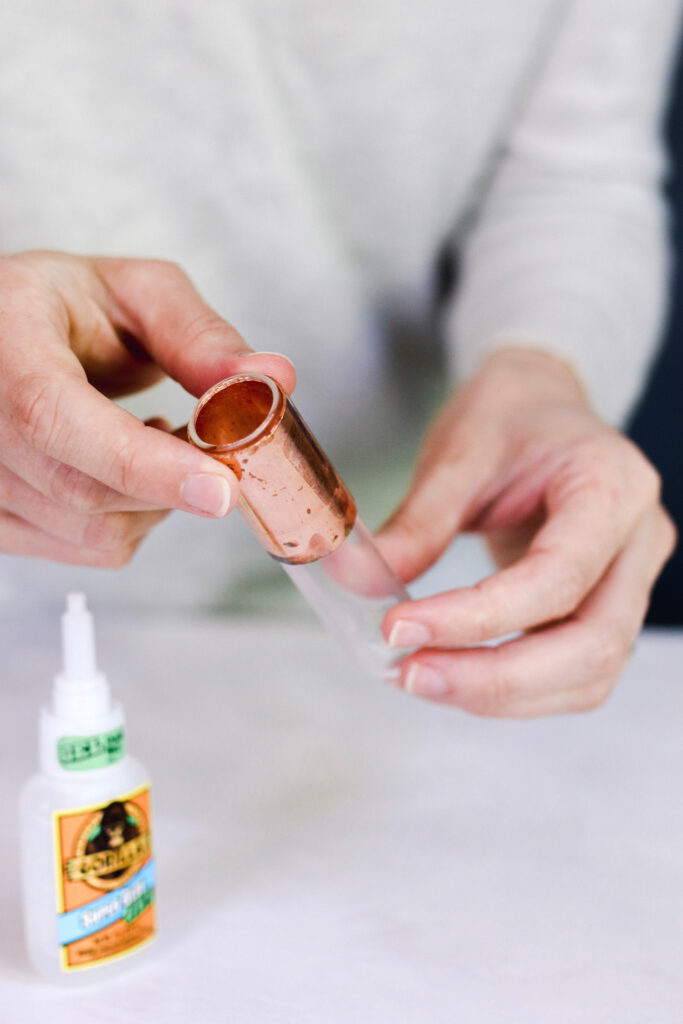
1. Apply a light layer of glue to the outside of your test tube (don’t put too much or it will gunk up the bottom of your coupling when you slide it onto your test tube.)

Adding glue to test tube vase

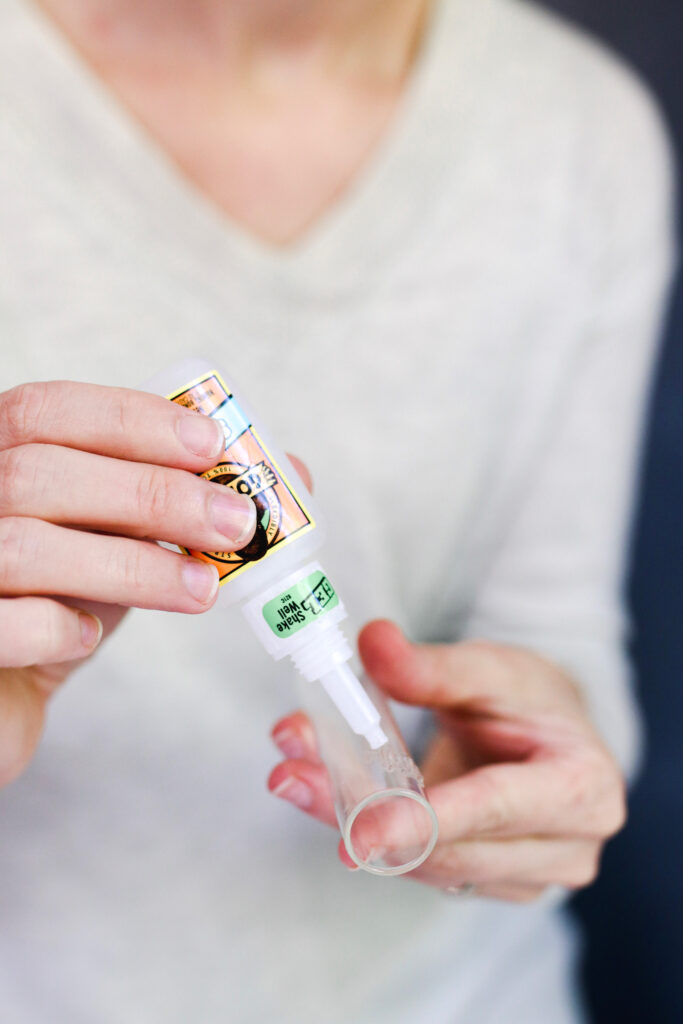
2. Slide your coupling over the top of your test tube and hold it in place until the glue dries.

Adding copper to diy bud vase

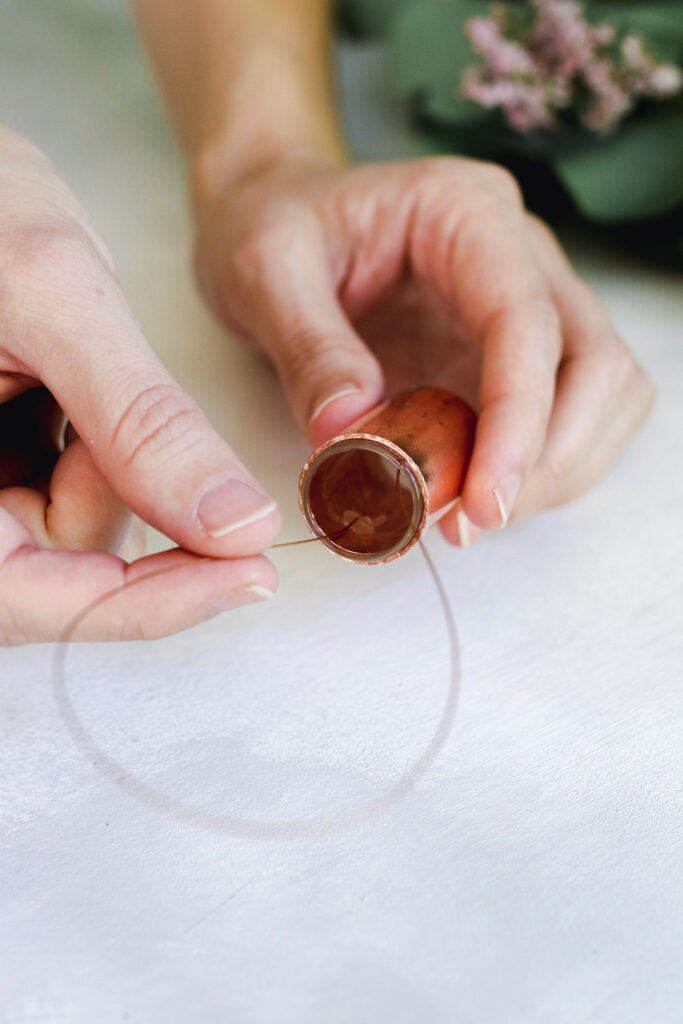
3. Cut an 8-inch piece of copper wire. Place a small blob of glue on the inside of the test tube near the top. Place an end of wire in the glue and hold it until the glue cures. Do the same on the other side of the test tube.

Adding Copper Wire to Hanging vase

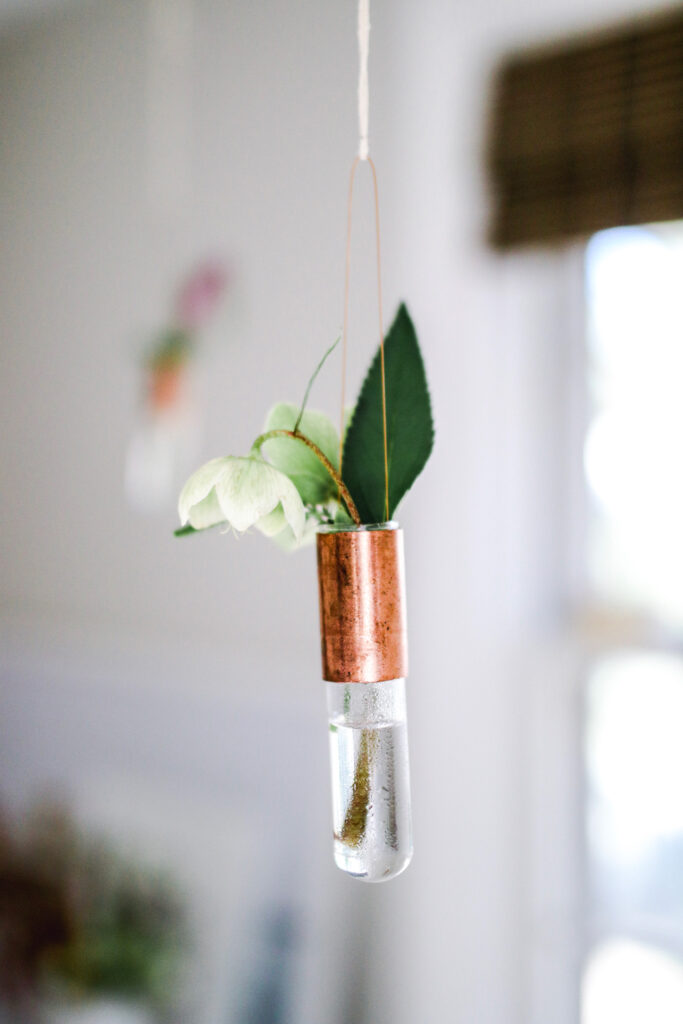
4. Pop a flower in, add a little water and hang near the window, in empty corners or anywhere you would like to add a pop of color to your home.

DIY Hanging Bud Vase

6

Share this:

  • Click to share on Facebook (Opens in new window)
  • Click to share on Twitter (Opens in new window)
  • Click to share on Pinterest (Opens in new window)
  • Click to email this to a friend (Opens in new window)

DIY Crafts & Decor, Plants & Flowers

More Posts from DIY Crafts & Decor

  • How to recycle a pallet into a hanging side table - Hello Nest

    How To Recycle a Pallet Into a Hanging Side Table

  • ake your own reusable DIY gift tags with 3-ingredient cornstarch clay and a cookie cutter, and never worry about running out of gift tags again.

    How to Make DIY Gift Tags with Cornstarch Clay

  • How To Make An Oversize Eucalyptus Wreath

  • 20-Minute DIY Holiday Wreath - HelloNest.co

    A 20-Minute DIY Holiday Wreath

  • DIY Stocking Garland Advent Calendar - HelloNest.co

    DIY Stocking Garland Advent Calendar

  • 15 Adorable Thanksgiving Crafts for Kids - HelloNest.co

    15 Adorable Thanksgiving Crafts for Kids


Reader Interactions

Leave a Reply Cancel reply

This site uses Akismet to reduce spam. Learn how your comment data is processed.

Primary Sidebar

Get updates + more!

Get the exclusive content you crave straight to your inbox.

Featured DIY

10 DIY Natural Bathroom Cleaners You Can Make Yourself - Hello Glow

10 DIY Natural Bathroom Cleaners You Can Make Yourself

Green Tea, Lemongrass + Ginger Liquid Hand Soap

17 household uses for vinegar - Hello Nest

17 Household Uses For Vinegar

How to orgaHow to organize your fridge - HelloNest.conize your fridge - HelloNest.co

Guide to Refrigerator Storage (Graphic)

DIY Palo Santo Smudge Spray + 5 More Ways To Cleanse Negative Energy

More

We are a participant in the Amazon Services LLC Associates Program, an affiliate advertising program designed to provide a means for us to earn fees by linking to Amazon.com and affiliated sites.
  • Contact
  • Privacy Policy
  • Hello Glow
  • Hello Veggie

Copyright © 2021 · Seasoned Pro

loading Cancel
Post was not sent - check your email addresses!
Email check failed, please try again
Sorry, your blog cannot share posts by email.