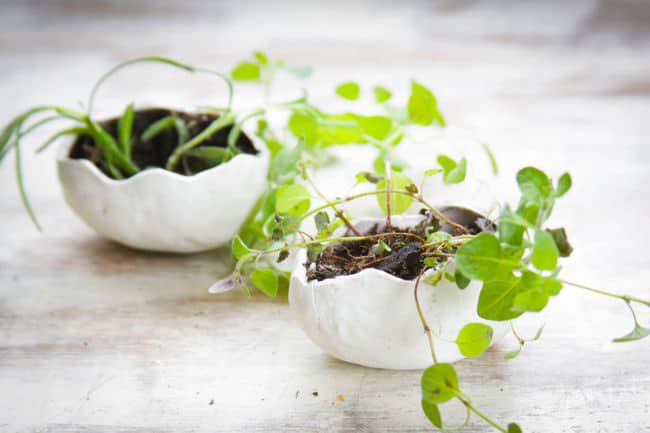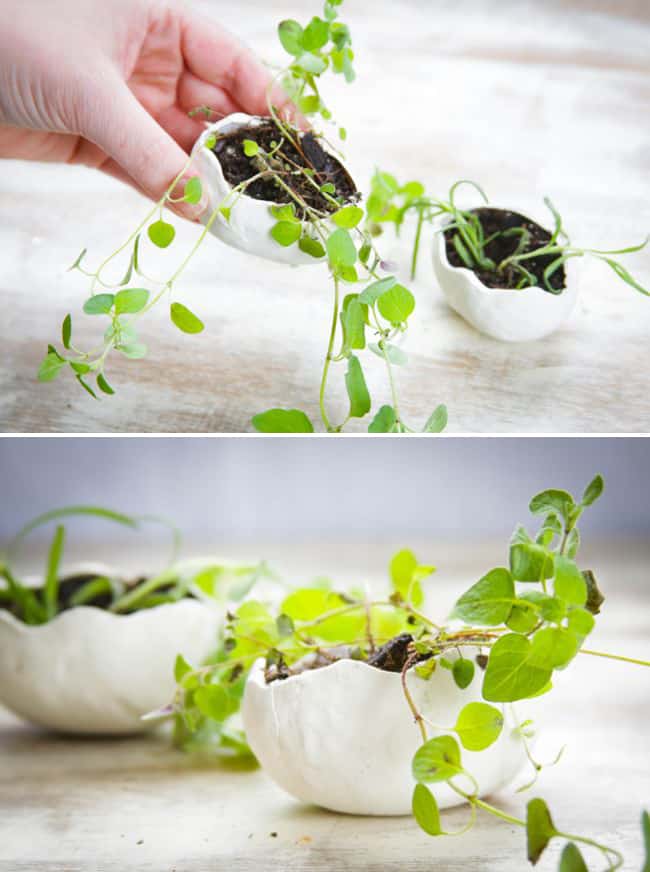
Have you started a garden yet this year? I made these clay egg planters to grow wheat grass in my kitchen windowsill. My green thumb only extends to herbs but I still want to grow something green. And nothing says spring to me like the bright green of wheat grass. But since my seeds were far from sprouting I transplanted some parsley and rosemary to give you an idea of how these look as little planters. I love them!
The clay eggs double as candy holders for Easter baskets. Or tiny place settings! I’m going to use them for my Easter brunch to hold colorful jelly beans. Here’s how to make your own:
How to make clay eggs for Easter
To make your own clay eggs, you will need:
- oven bake clay
- plastic Easter eggs
- knife and oven
Instructions:
1. Roll out a piece of clay to about a 1/4 inch thickness. You want it big enough to just about cover a plastic egg.
2. Fold the clay over a plastic egg and let it sit for 10-15 minutes to harden up a bit. If it’s too soft, it’s hard to shape.
3. Take a knife and carve the open edge of the egg. Bake – with the plastic egg still inside – according to package directions. Yep, I baked a plastic egg. And it was fine. No melting at all!
4. When the clay is cool, cut into the plastic egg and gently pull it out. You’ll need to gently twist and turn until it loosens from the clay.
5. If you make any cracks in the clay when removing the egg, you can patch it over with a thin piece of clay and bake again.
All crafts lately seem to come down to clay or embroidery thread – so if you have those you’ll be a happy crafter! What would you plant in these little eggs? But then again I may keep them full of jelly beans all year round. You can’t go wrong with colorful candies, right?

Rebecca Burns says
SUPER cute for small herbs/plants…but I would definately use only as small planters unless you make sure you use food safe clay or sealers. The basic type you buy at craft stores while stating they are non-toxic, are not recommended for use as food serving.
Pam Williams says
How long to you bake them and at what temp.?
lorene says
tried and failed at these…after baking and trying to remove the eggs, everything fell apart. Must be more to this.
gerbermom says
Oh no Lorene! How long did you bake them? Did you let them cool before taking out the egg? Yes, you definitely have to be gentle with it but I’m wondering if maybe you had a different type of clay?
jeanine says
hey there, just wondering which type of oven bake clay you used? i LOVE these and making today if time!? we only have polymer clay sculpey 111 ?? will that do???
thanks for sharing these theyre best ive seen yet!
gerbermom says
Hi Jeanine, I don’t remember the brand offhand but Sculpey will definitely work!
Audrey - This Little Street says
Super cute idea, Stephanie!!! Totally have to try these, they are awesome!
Sarah says
That’s so clever! I think I’ll make some and give them away with little seedlings in them as Easter presents.
Laicie says
SO CUTE!!! Love this DIY.
Liz says
This is so simple and adorable! Love seeing them as planters! I’m definitely going to have to make these! Thanks for the tutorial!
Alison @ Get Your Pretty On says
Adorable! I love how minimalistic these look with the bright green herbs. So cute on a kitchen ledge.
Angie@Angie's Recipes says
Have I mentioned that you are a genius?? Seriously, you are AMAZING!
Claire @ Claire K Creations says
They’re so cute Stephanie! I’m going to blame you when my ever-growing crafting collection is discovered!
Erica says
Gosh, these are so stinkin’ cute! Such a fabulous idea!
Silvergirl says
so cute
i don’t if i like the planter or place holder better
brett
Jolleen The Graffitied Gardenia says
LOVE! So cute and with wheatgrass!!! Love love love, totally doing this! I want to share this and your list of DIY necklaces this weekend on my blog. Can’t wait to have a house and start making all your cute stuff!
xoxojolleen
P.S. Do you like wheatgrass shots? I love them!
Tonia@thegunnysack says
Oh my goodness, girl! These are outstanding!!
Jen @ Cuddles and Chaos says
Oh my gosh, this is such an awesome idea! I’m totally doing it with my little lady this weekend!
Seriously Sassy Mama says
What a great idea. I am starting my herb garden next week! It is my first time to have one.
Elisa @ Fancyfreeme.com says
So cute! My daughter is not quite old enough to appreciate these but next year we are making them!!
Kate says
So cute! Such a good idea.
Susanna says
These are probably the cutest things I’ve ever seen! Love the idea of using them as place holders 🙂
lafeechampote says
Véry good idea !
Thinks
Kiersten @ Oh My Veggies says
I love these! These would be so perfect on my kitchen windowsill (well, if the cats don’t get them!). You need to write a book with all your clay DIYs.
michelle says
Oh my, you are the coolest! I would “plant” jellybeans and when those were out of season I would grow skittles 🙂 I just love your blog and all your diy’s, your keeping me busy! Michelle
Savanah says
I adore this idea! How fantastic would it be to use the eggs as planters/ party gifts/ seat markers for an Easter dinner party? 🙂
Alyssa says
These are genius…I love them as little planters!
Gloria says
This is such a genius idea, Stephanie! Absolutely love it!