I have been looking for the perfect wall hanging for a little nook in the corner of our dining room for ages. Truth be told, I was dreaming of one of those woven wall hangings that have been showing up everywhere these days. A puffy wool beauty with tassels and fringe to be exact. But after a lot of research and some cost comparisons, I sadly moved on. Those babies are pretty pricey. And a giant loom and some wool roving won’t save you much if you’re a more cost-conscious DIYer. Womp womp.
So, on to the next best thing: macramé.
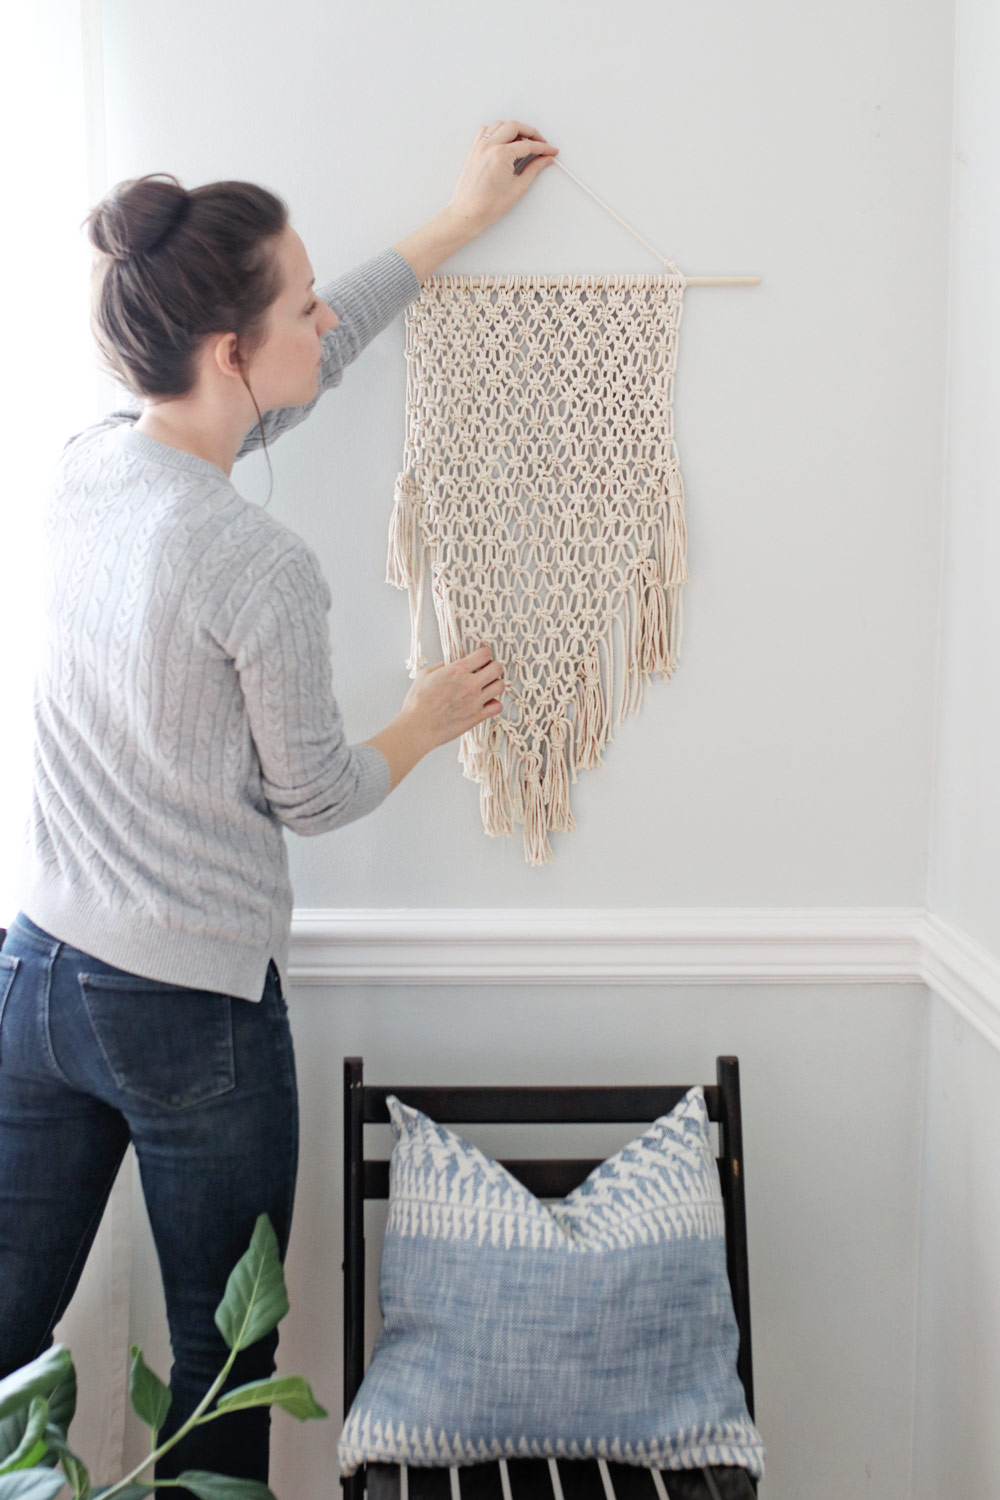
How to Make a DIY Macrame Wall Hanging
Unlike a lot of the DIY macramé wall hangings you see, this one actually is simple. It doesn’t require a ton of different knots, counting rows, or measuring spaces. You can always add those things if you want to make it more interesting (a quick Google search will land you a ton of tutorials) but you don’t have to. And, honestly, a lot of the “simple” tutorials on the internet scare me. The instructions are long and super complicated, and they make my head hurt just trying to decipher ‘em.
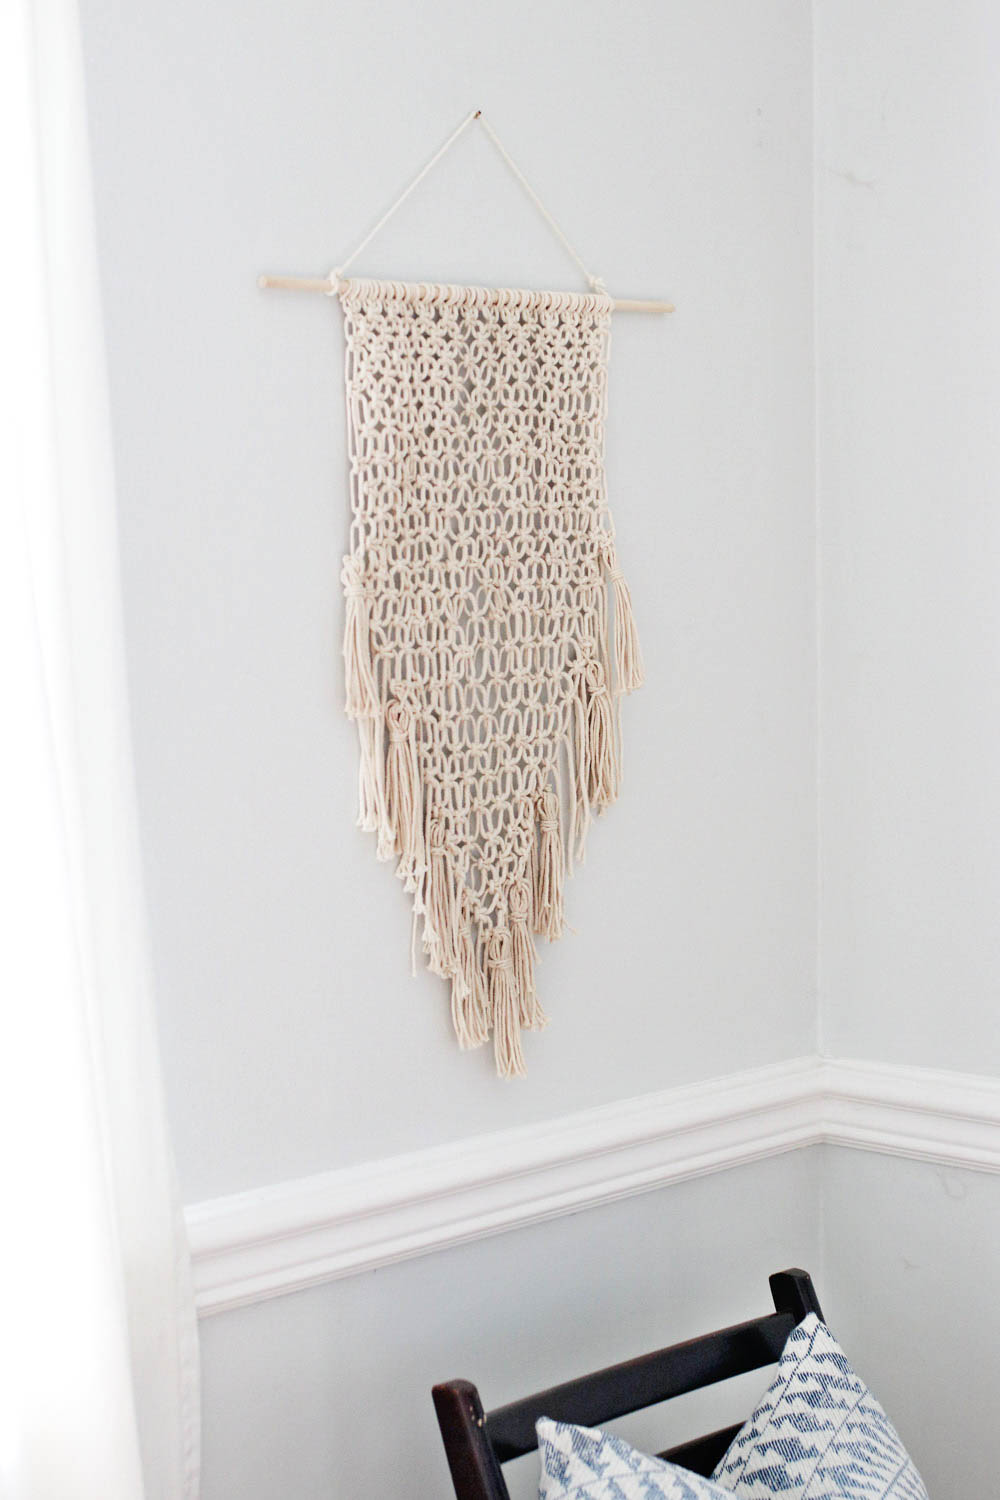
I prefer the simplicity of a single knot pattern with subtle tassels at the bottom. I wanted to mimic the look of those woven wall hangings I love so much, only with cotton cord instead of wool and a loom. And I didn’t want it to take forever and a day to finish.
Because this one’s so simple, it’s perfect for gifting this holiday season! Seriously, you can make yours as small or as large as you want, just by adjusting the length of the cord and the number of rows. The large one I made took me about 3 hours start to finish, but a smaller one could take less than an hour. If you plan to make a few for holiday gifts, I recommend sticking with the smaller ones or you might tire out partway through.
On the other hand, if you’re a fan of knitting, you know how meditative the process can be. Just set up shop with a cup of tea and a good TV show and zone out for a bit. It might even help you unwind after a long day at the office.
Supplies
- Wooden dowel
- 1 – 2 skeins 3mm macramé cord
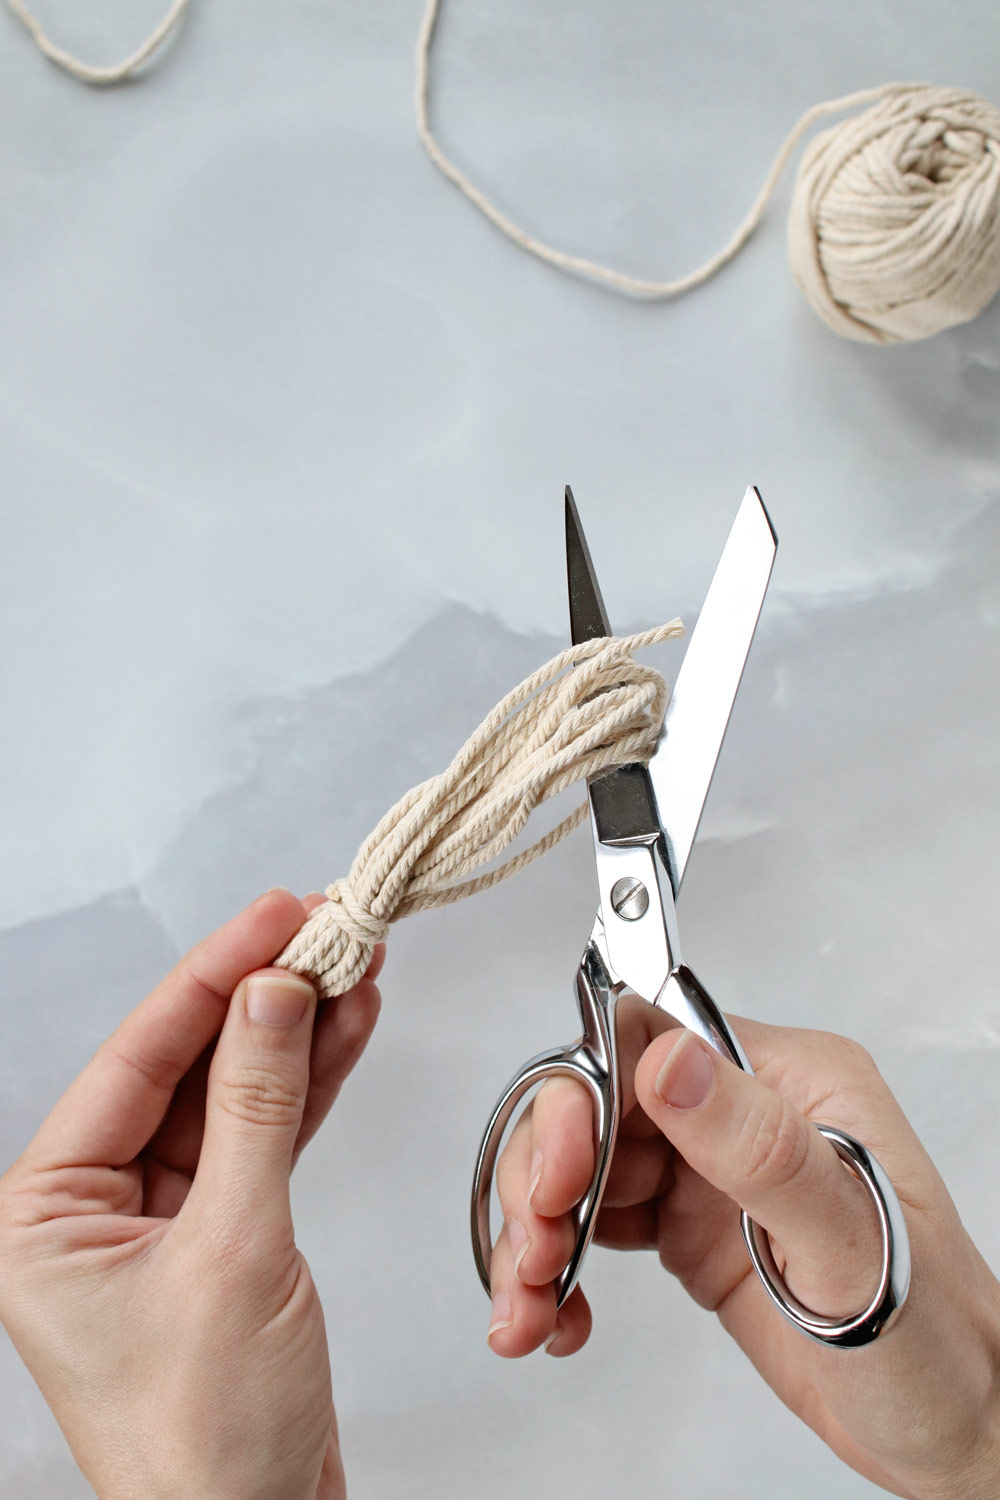
- Scissors
Instructions
1. First, cut a piece of rope about 1-2 inches longer than your dowel and tie a knot on each end. This will be the string to hang your piece when you’re done.
2. Next, measure the cord for your wall hanging. For a large hanging, cut 24 pieces of macramé cord about 120 inches each. The length will depend on the overall size of your piece, so for a smaller piece, cut shorter pieces of string.
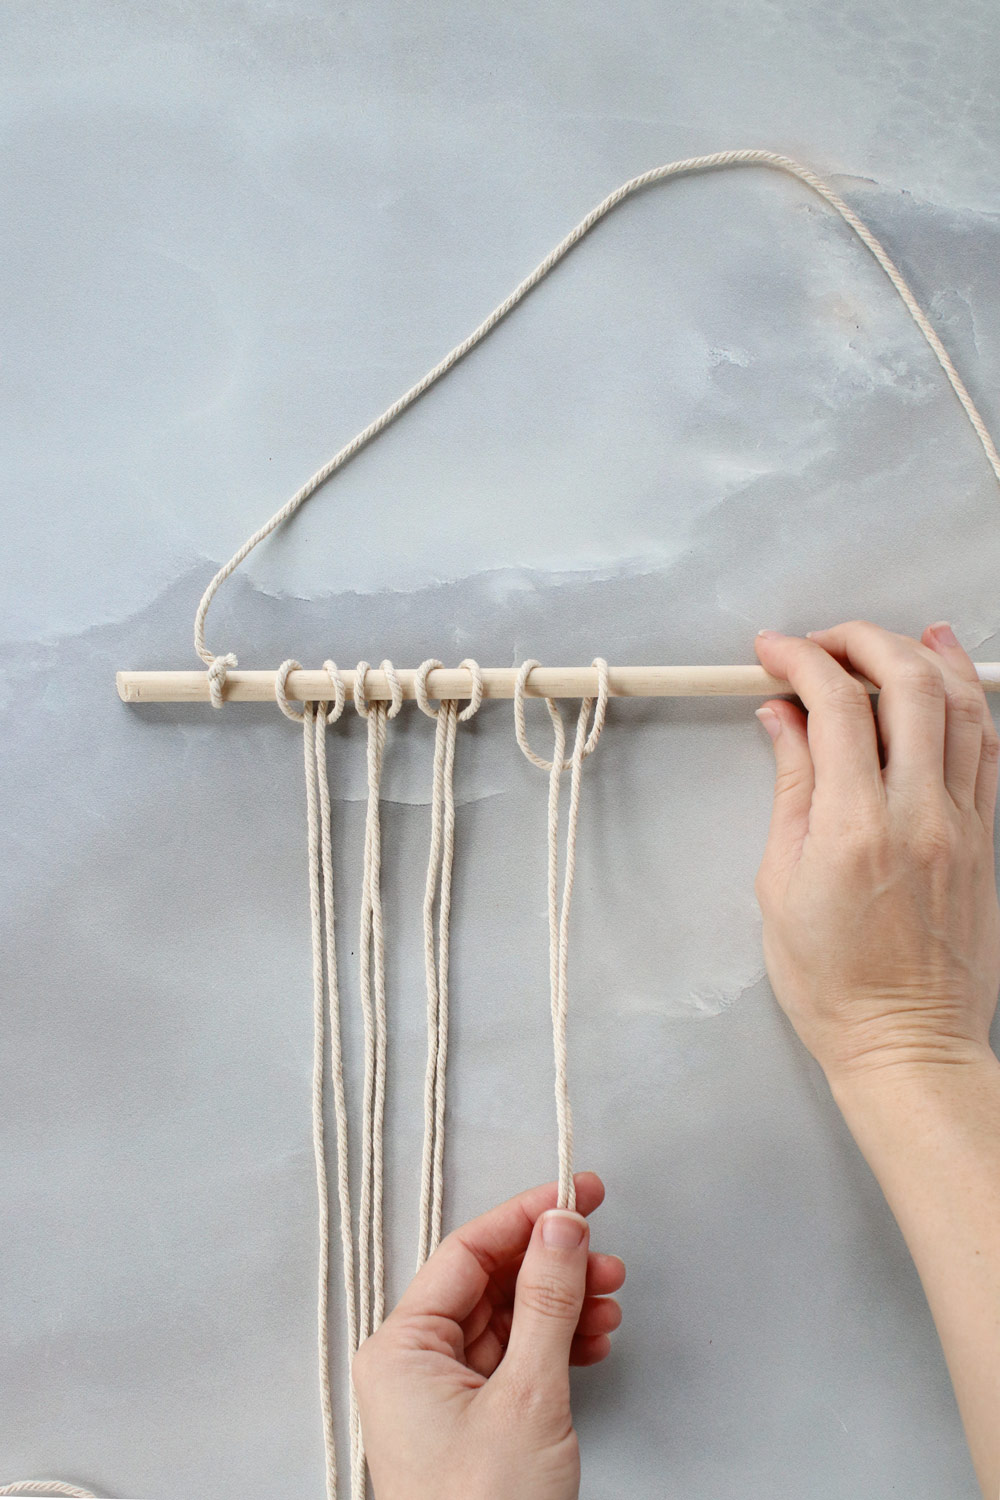
3. To attach the cord to your dowel, fold each piece of string in half. Place this folded loop underneath your dowel. Then feed the cut ends of string over the dowel and through the loop (this is called a Larkshead Knot). Pull tightly. Do this for all remaining pieces of string.
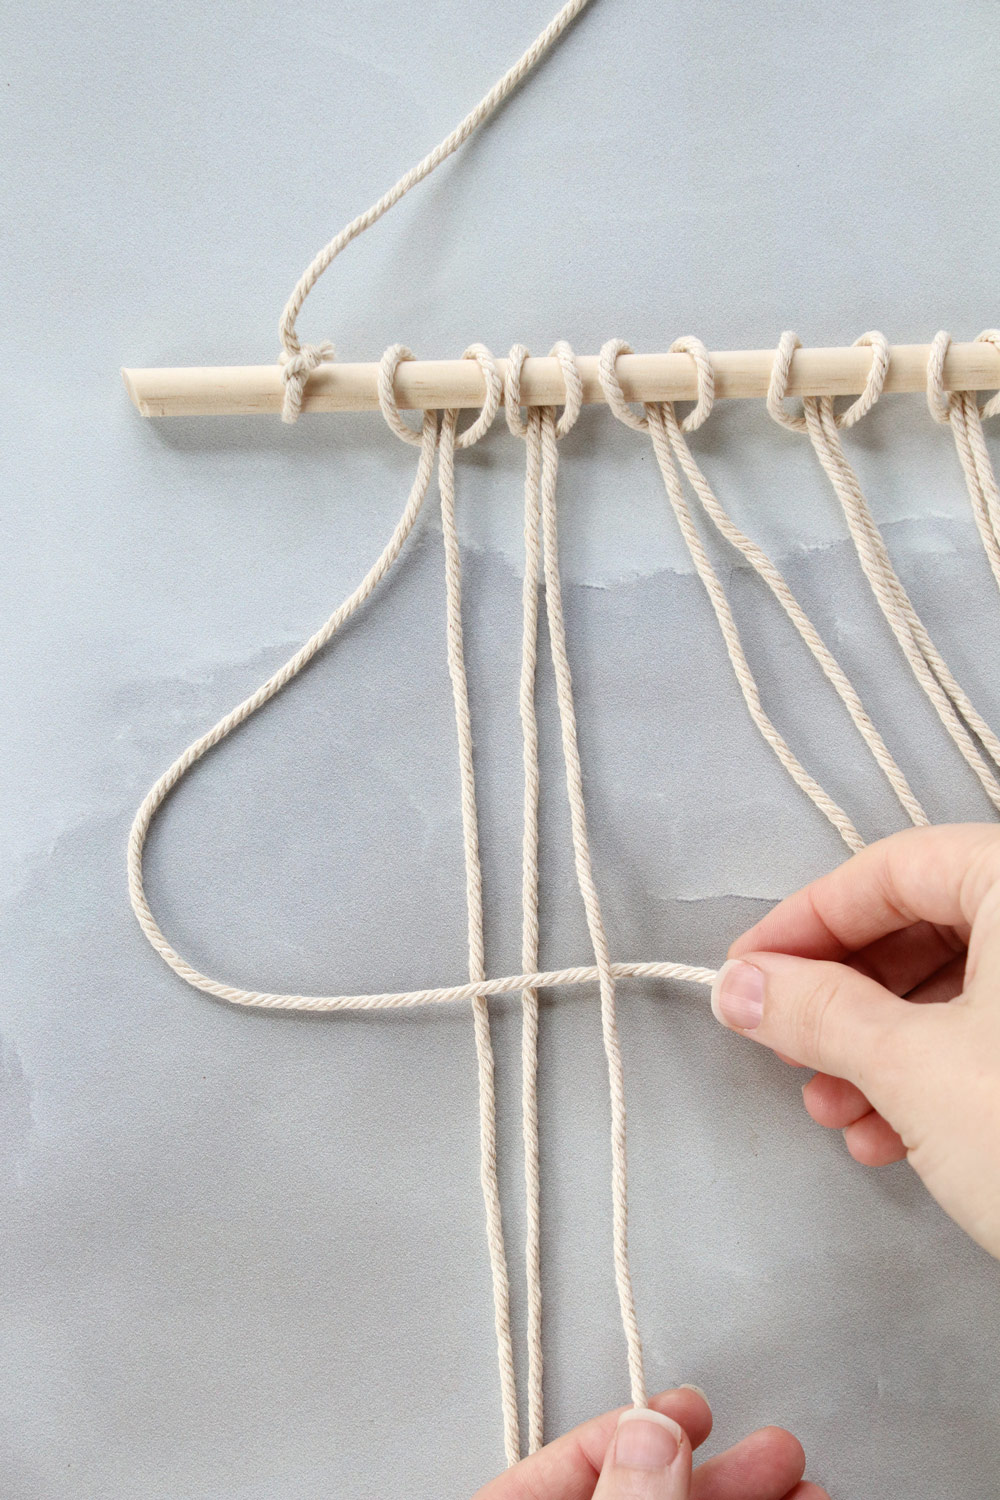
4. To make the hanging we’ll use square knots to form a sort of mesh pattern. Starting on the far left side, take the first four pieces of string and separate them so you have one string on the left, two in the middle, and one on the right.
5. Take the string on the left and bend it so it makes a ‘4’ over the two cords in the middle and underneath the cord on the right. Bring the right cord under the two center cords and over the left cord. Pull tightly.
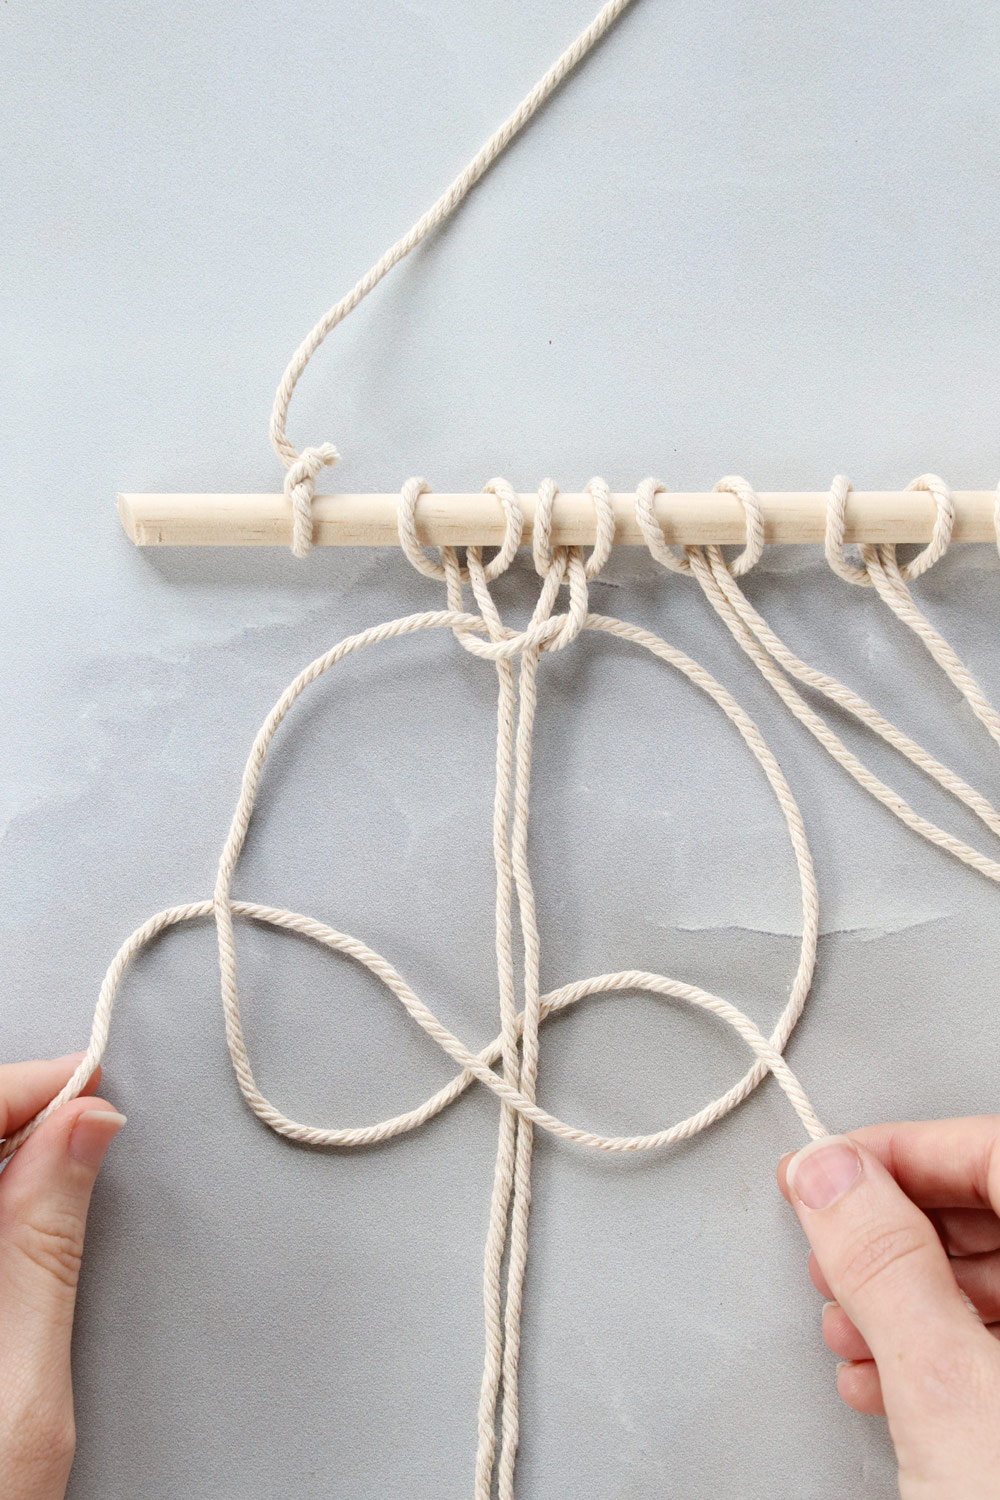
6. Now using the same four strings, make the same knot again, starting with the cord on the far right. Take the string on the right and bend it so it makes a ‘4’ over the two cords in the middle and underneath the cord on the left. Bring the left cord under the two middle cords and over the right cord. Pull tightly. This makes one square knot.
Continue tying knots all the way across the top row.
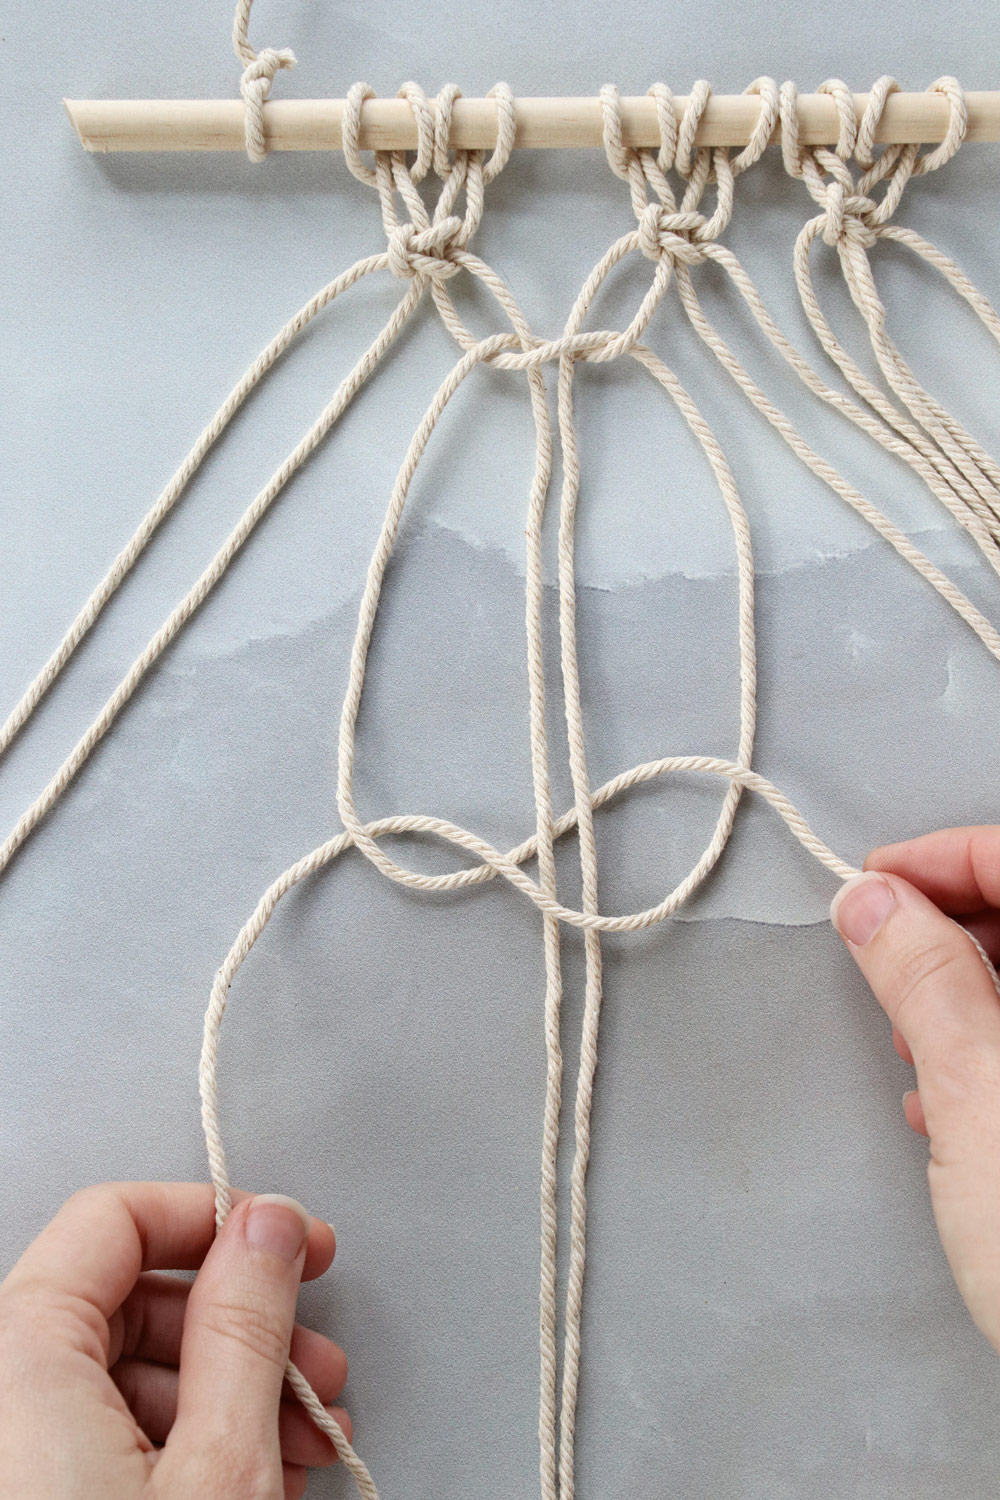
7. Move to the second row. This time, you want to skip the first two strings on the far left when tying your knots. Tie knots all the way across. When you reach the end, you’ll be left with two untied strings on the right as well.
8. Move to the third row and tie your knots using the first four strings again (like you did with the first row). Continue this alternating pattern until you reach about halfway down the length of your piece.
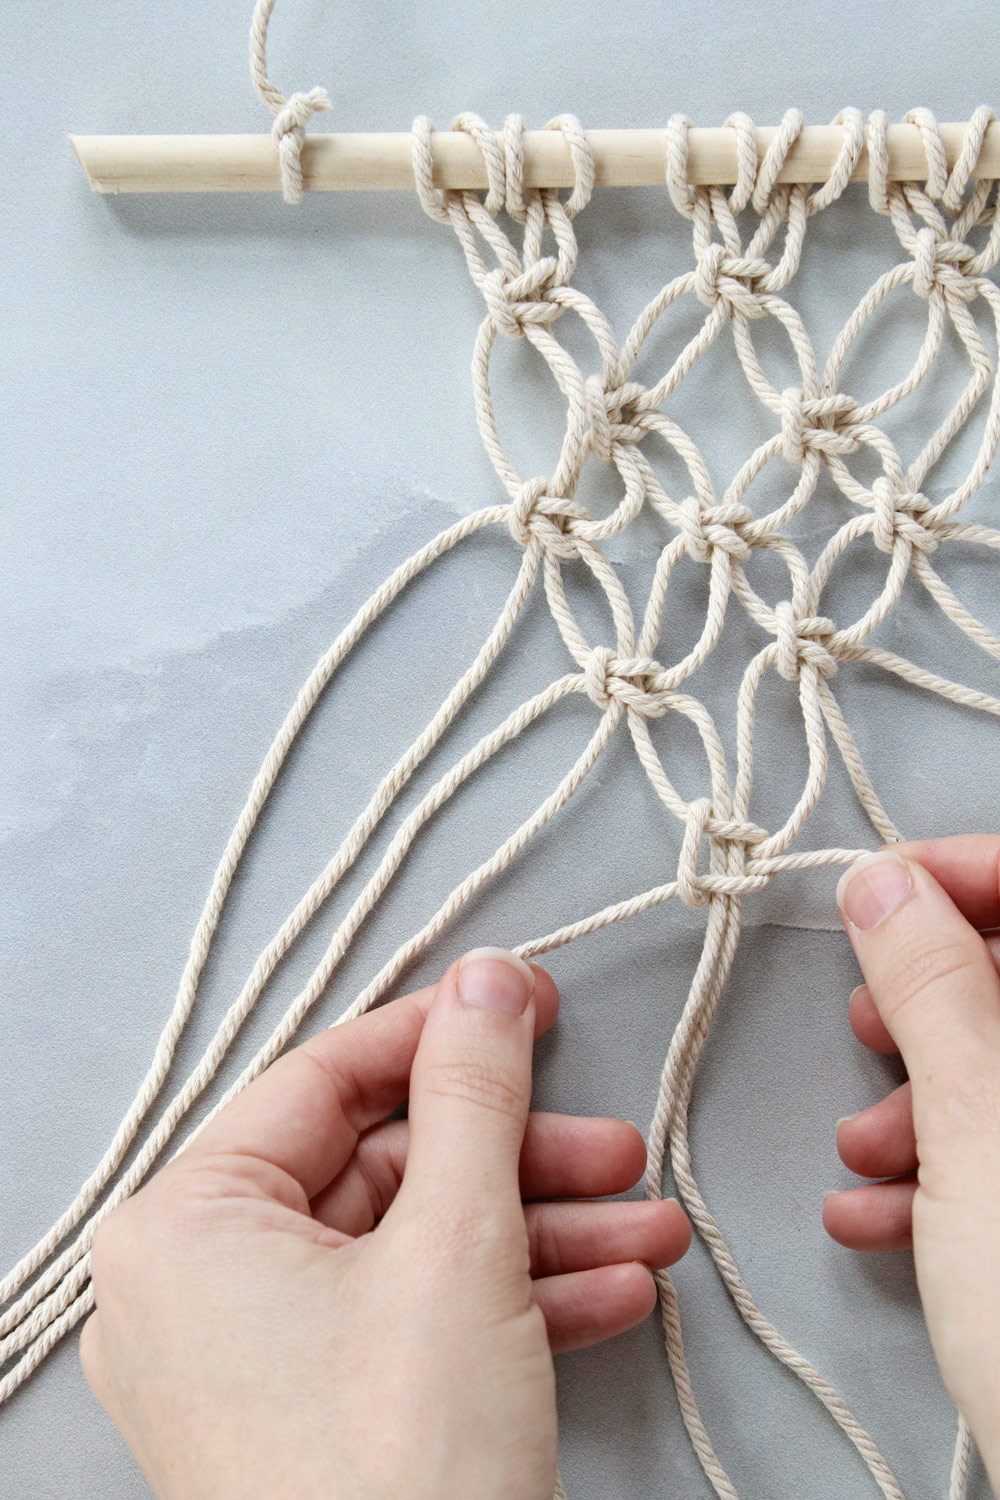
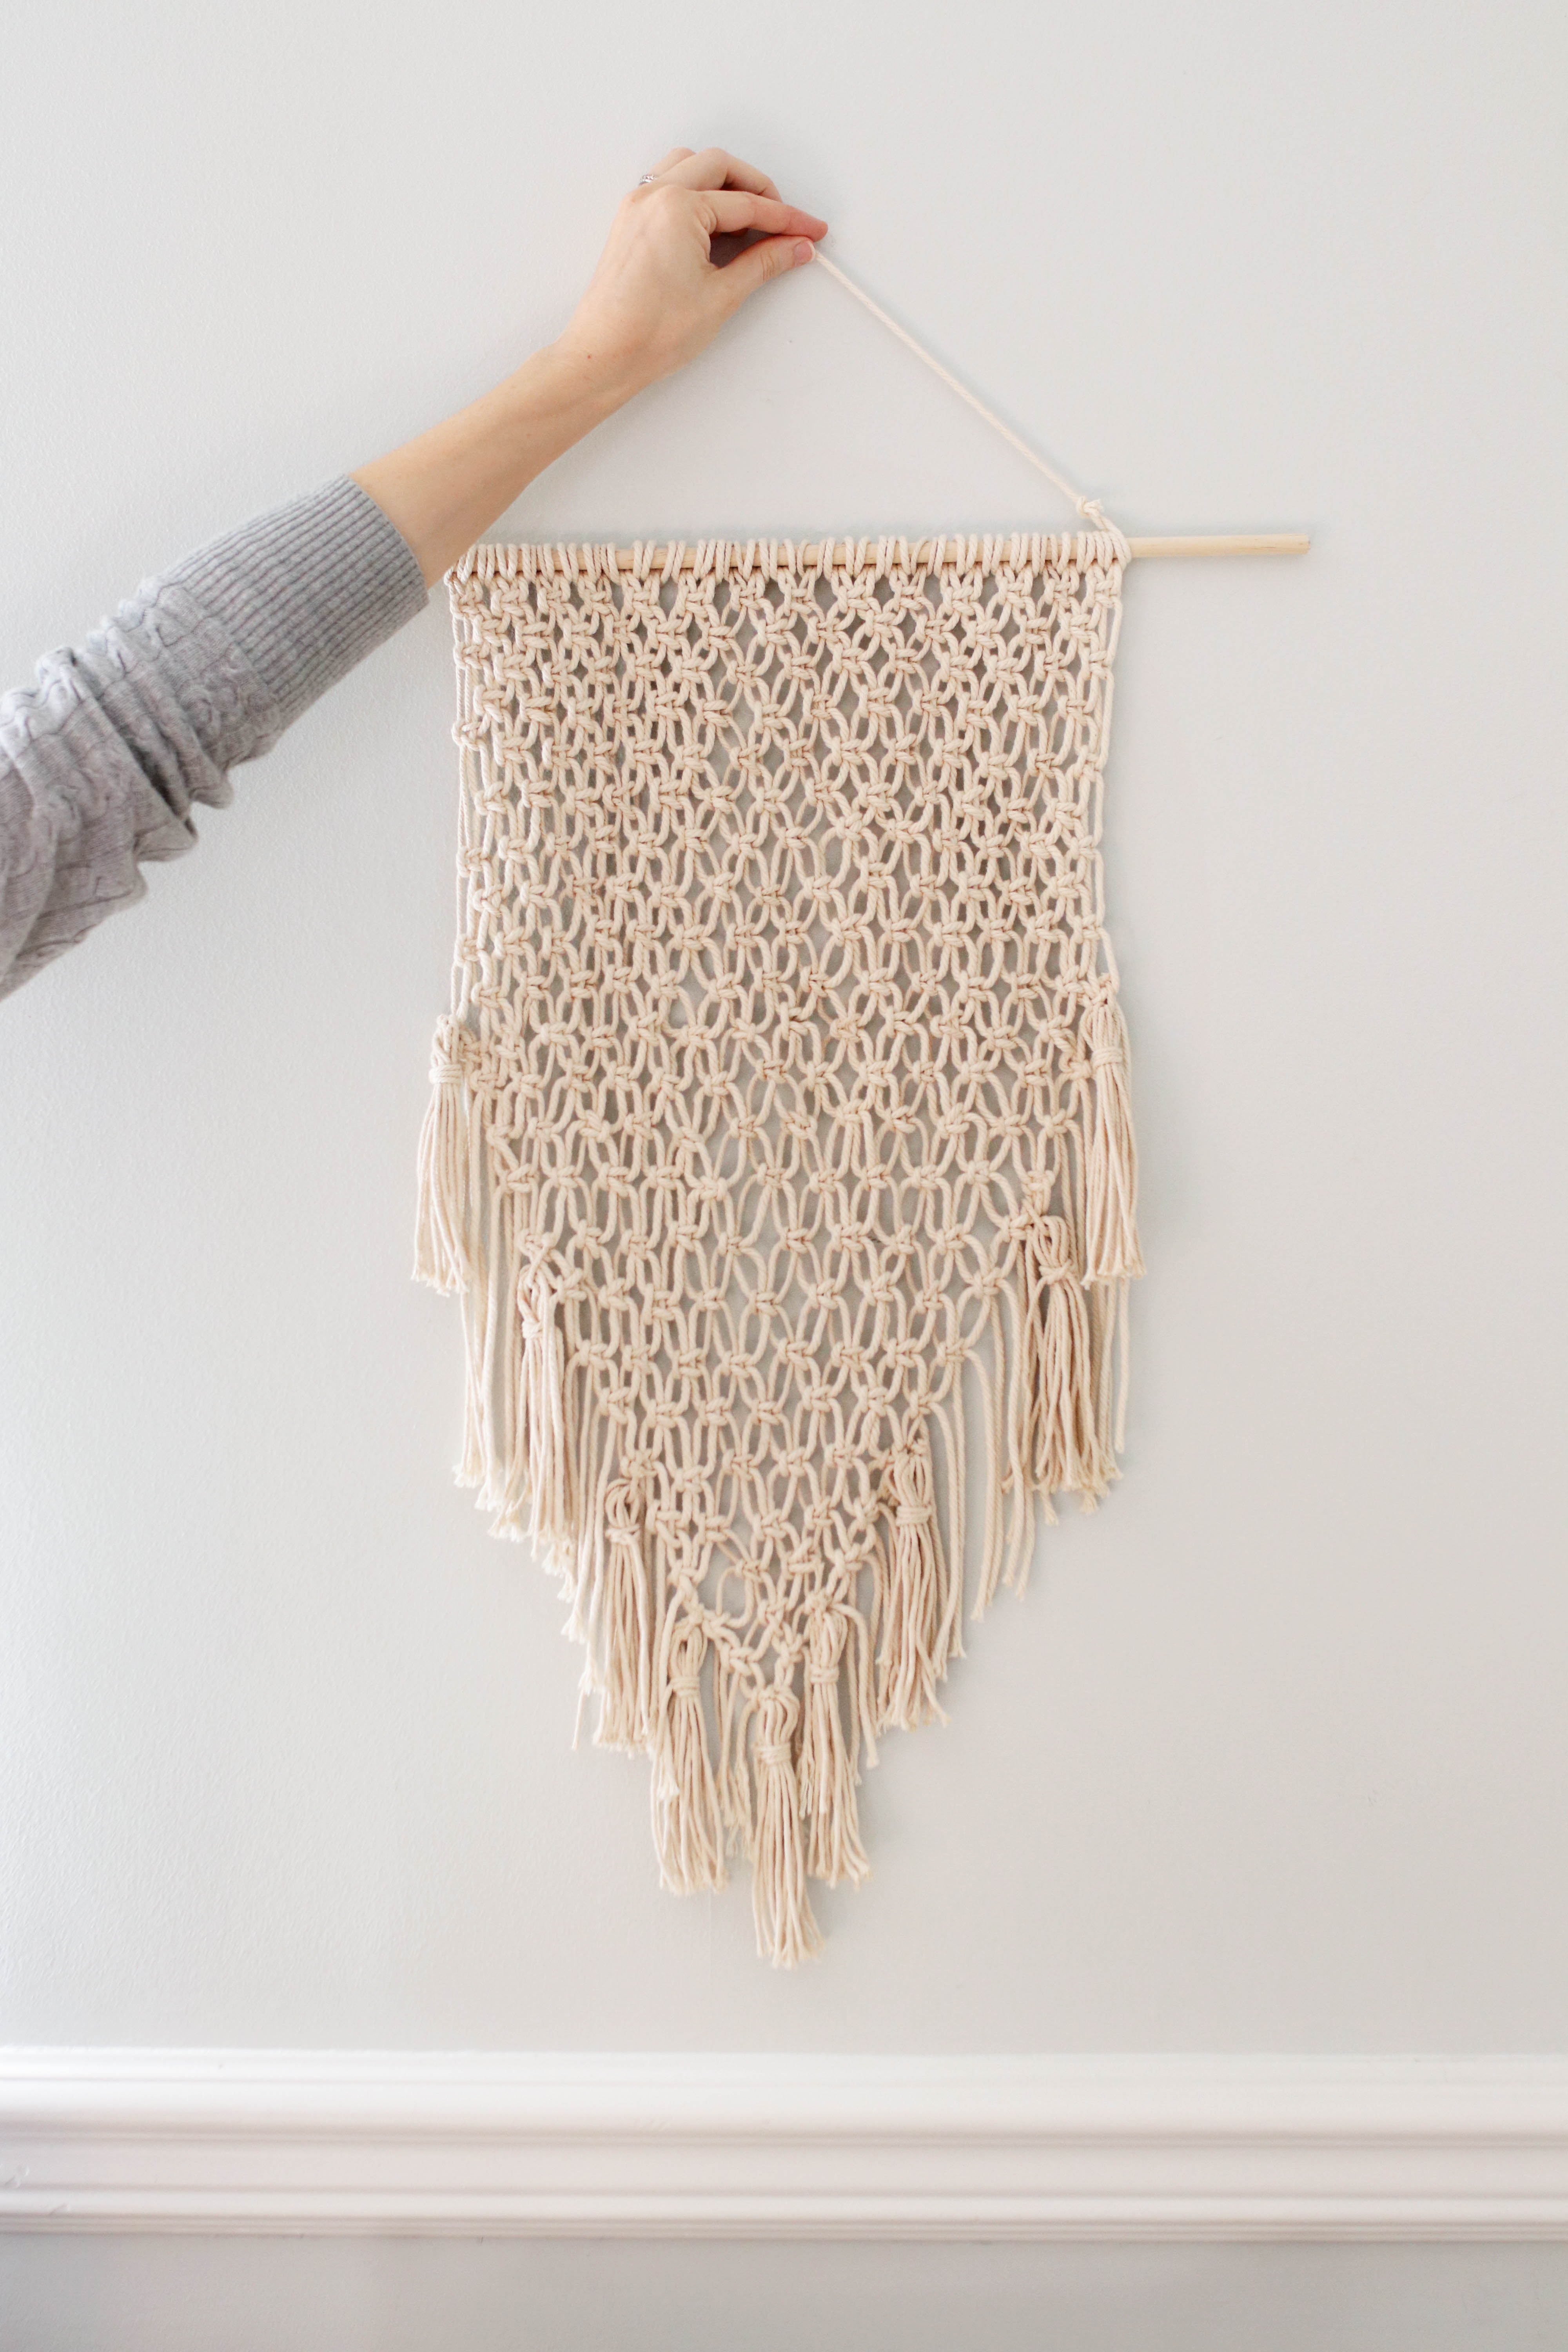
9. Now you’ll start tapering your wall hanging into a point. Skip the first two strings on the left and tie square knots all the way across. Move to the next row. Skip the first four strings on the left, tie your square knots, and skip the last four strings on the right.
10. Continue row by row, skipping six, eight, ten strings (on both the left and right) until you’re left with just one square knot in the center. Trim the fringe at the bottom so it forms a V.
11. I added tassels to mine for some added interest, but this is optional. To make them, wrap cord around your hand or a piece of cardboard about 20 times. Remove the looped cord, and tie the top tightly with a piece of string. Trim the ends to your liking.
12. Tie tassels to the bottom of your wall hanging using macramé cord. Trim the excess.
Your DIY macrame wall hanging is done.
Deborah Johnson says
I havnt done macrame in 20 yrs, but seeing your wall hanging idea and the simple instructions, gets me excited to go for it again. Thank you