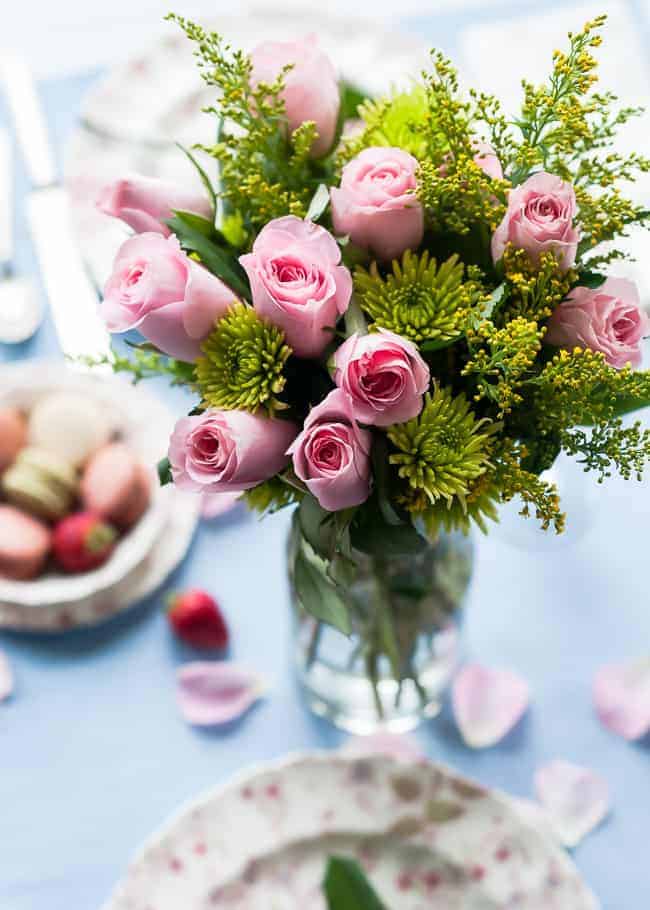
If you’re planning a Valentine’s dinner or party, we’ve got a simple, yummy menu covered, which you can pair with a simple, romantic table setting. Now the flowers! The good news is there’s no need to spend a fortune at the florist. You can create an amazing arrangement from grocery store flowers. Here’s how!
How to Make a Grocery Store Flower Arrangement
1. Plan your table before your flowers
Plan out your table setting before you go grocery flower shopping. Then your dishes and overall theme can help guide what kind of flowers and colors to look for. For my pretty feminine table I wanted pinks and greens. Pink and green might not be the most traditional Valentine’s Day color combo, but I was craving a break from typical red. Plus, around Valentine’s Day, colors and flowers other than red roses will definitely be cheaper!
2. Don’t feel stuck by pre-made bouquets
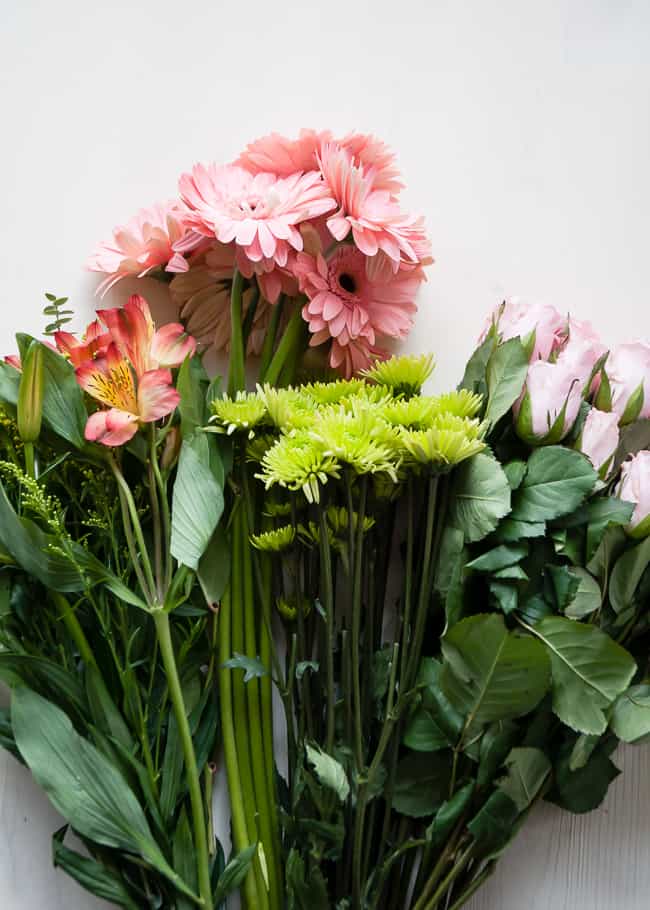
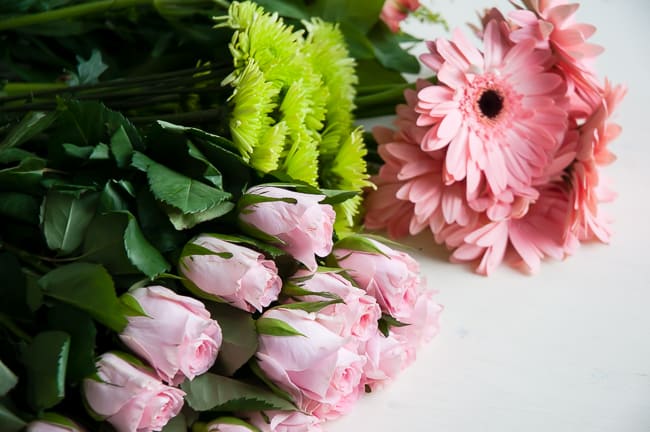
One of my tricks is to buy pre-made bouquets and pick them apart. I almost always mix and match from these bouquets when I can’t find one that matches exactly what I’m looking for. In one bunch I found amazing light green mums and had to have them. I love their spindly petals! The gerbera daisies were great too, but I later decided they didn’t fit in so well. And that’s okay! You can make smaller arrangement to place around the house with what you don’t use in the main arrangement.
3. Think about the meaning
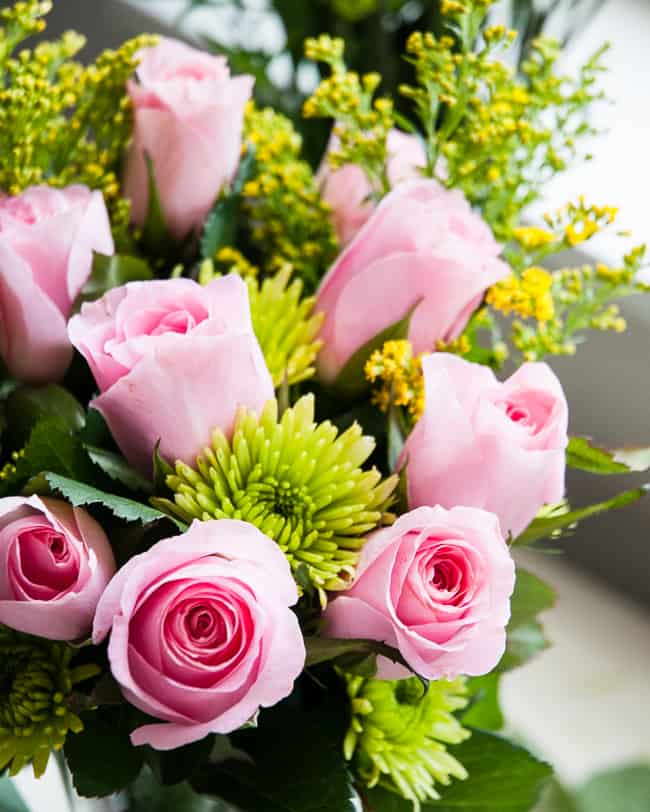
Whether you plan it or not, they color and type of flowers you use send a message. For Valentine’s Day I wanted to use roses as the main focus of my arrangement. I chose pink roses because they stand for love, gratitude, appreciation and admiration. And in Japan, chrysanthemums are a symbol of the sun and represent joy, perfection and optimism. Those are all messages I wanted to convey with this bouquet.
4. Choose the right container
Factor in things like personal style, height, width, etc. when picking your container. I love the look of a basic straight-sided glass vase. It works for almost any application, but don’t be afraid to change things up and use something different. Anything from glass canning jars to pitchers to a drinking glass make great “vases.” But if you’re a little cautious, vases with a narrow neck are good for beginners.
5. Strip ’em down
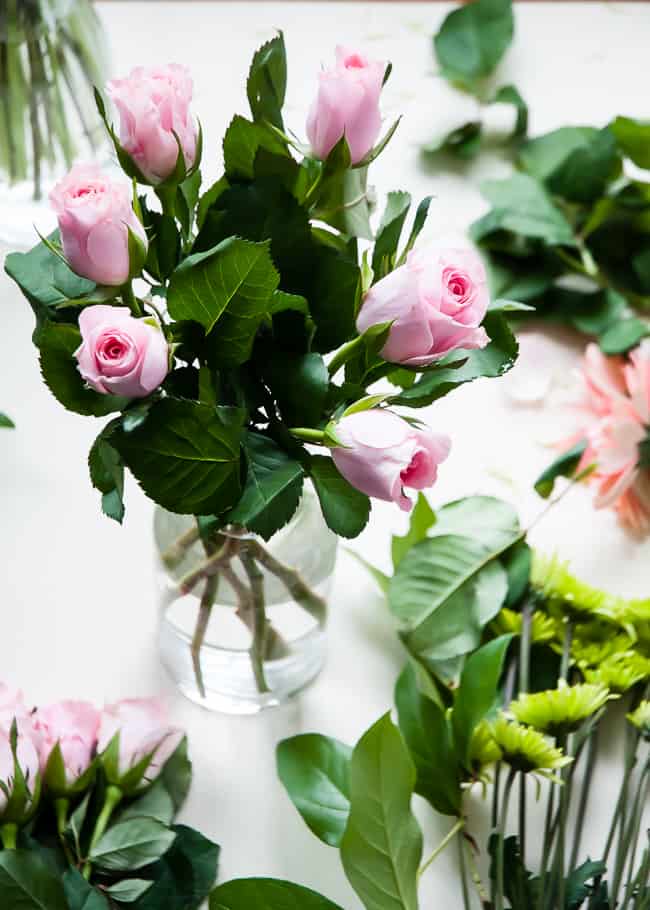
Before you start making an arrangement, be sure to strip all of the leaves from the bottom of the stems. It gets bulky in the vase, plus they make the water murky. Be sure to trim the stems to the correct length with a very sharp knife.
6. Just food + water
Add the floral food packet to clean cool water and your grocery store flower arrangement will look nice for several days. To make it last even longer, change the water every day and add fresh food.
7. Build around the base flowers
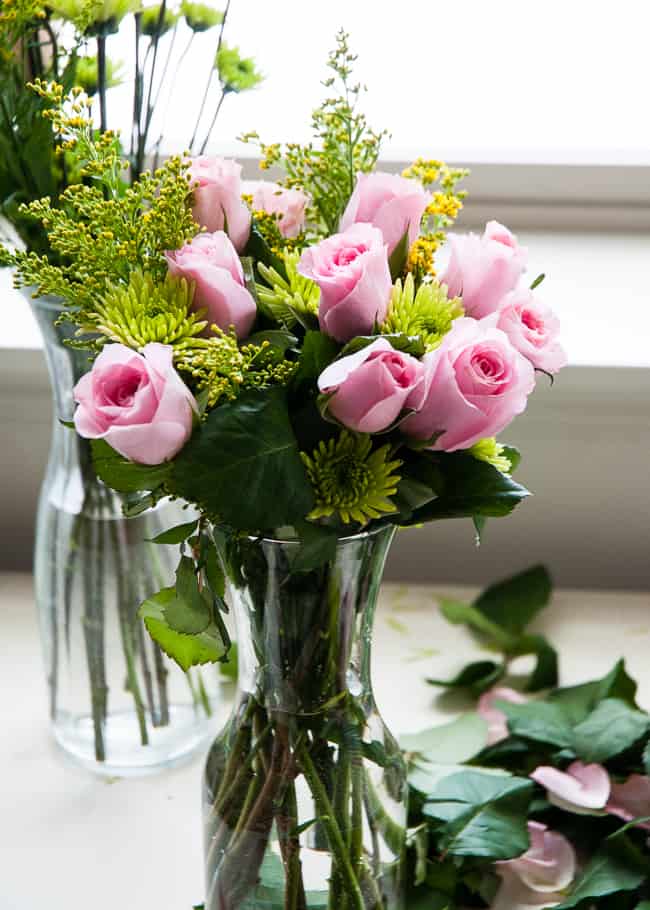
Start with your focus flower (pink roses here) and place those into the vase first. Then build around that, tucking in the other stems and blossoms. Work in a circle and don’t be afraid to take flowers out. Using odd numbers is a little more pleasing to the eye but go with what looks best. Again, don’t be afraid to rearrange as you go.
 8. Take a final look
Look around the bouquet and rearrange as needed until you’re satisfied. Check to see if any leaves are dangling where they aren’t supposed to (like in the picture above). Also don’t be afraid to let some blooms be taller than others – it adds visual interest. You can always cut more off the stems if they end up being too tall.
9. Refrigerate if needed
Bouquets can be made several days in advance, just remember to keep the flowers in a cool place with plenty of indirect light so they’ll last longer. It’s not a problem in the winter, but in the summer, you can even refrigerate the bouquet like they do at the florist.
Once your flowers dry up, you don’t need to throw them away! Here are 9 giftable DIY projects you can make with dried flowers.
3
 8. Take a final look
Leave a Reply