If spring is giving you a green thumb and you’ve found yourself with a shopping cart full of plants, then you’re probably in need of some planters! But pretty ones can get pretty expensive, especially when you’re a plant hoarder, so making your own is the way to go. From painting simple pots to making them from scratch using clay, we’re sure there’s a DIY you’ll want to try around here.
9 DIY Planters for Your Spring Garden

1. DIY Terazzo Planter from Persia Lou // Terazzo is one of the biggest trends of the past years, and it’s not hard to bring it into your home with the aid of oven bake clay! It’s also a chance to play with your favorite color combinations!
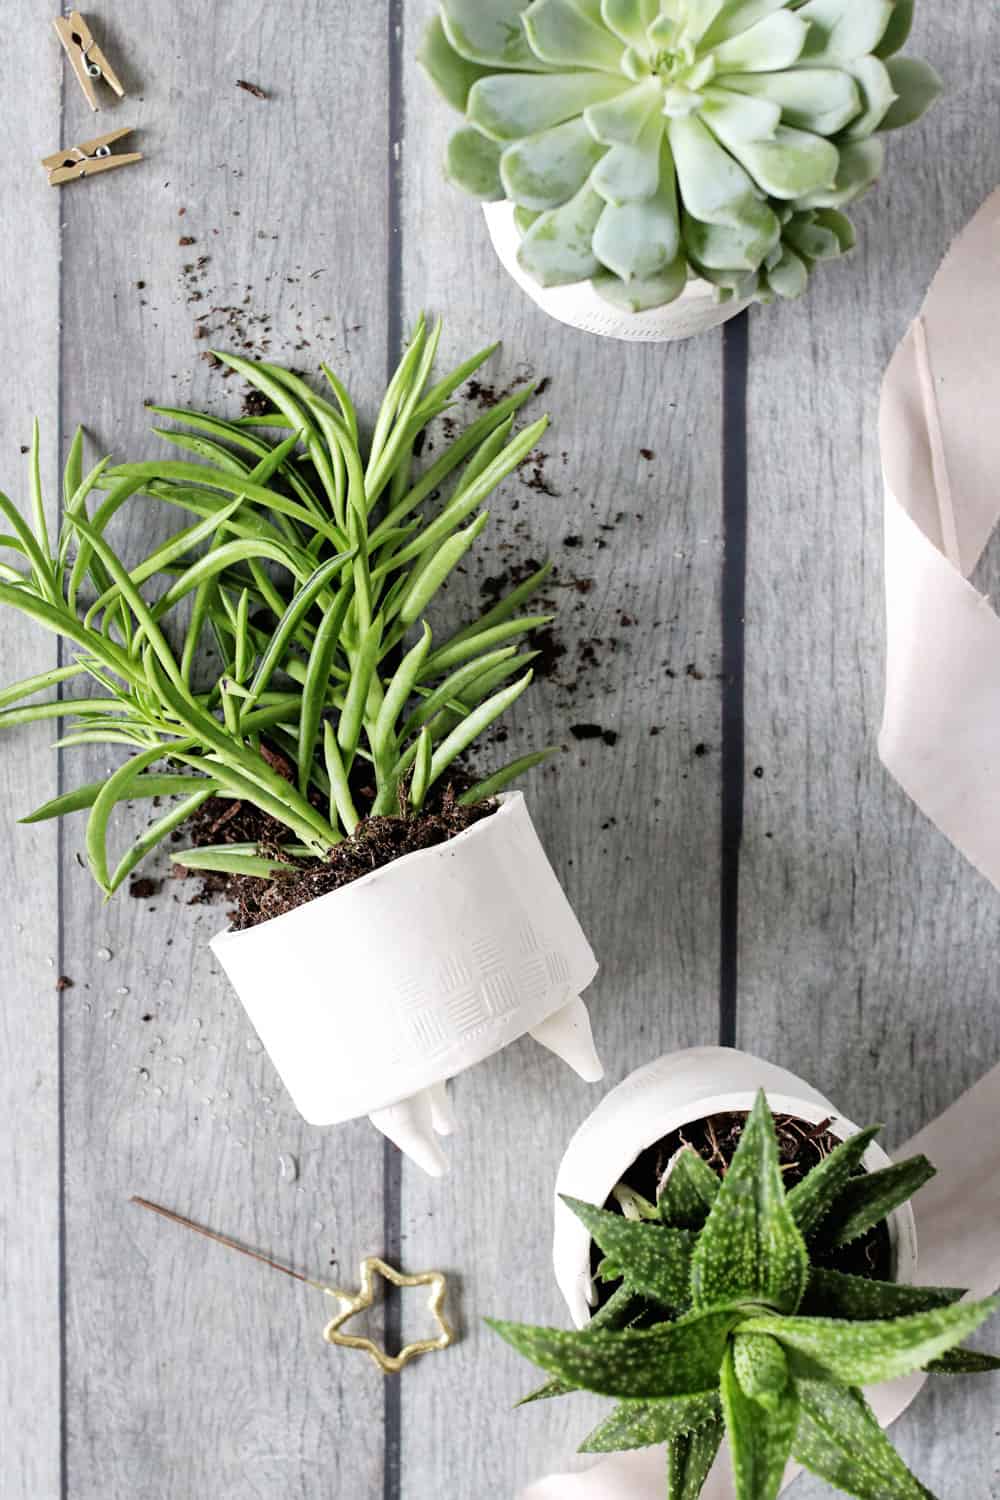
2. Succulent Planters from Hello Glow // Polymer clay is still one our favorite ways to make small objects! Tiny succulents don’t need a lot to do well, and they thrive in mid century modern inspired DIY pots.
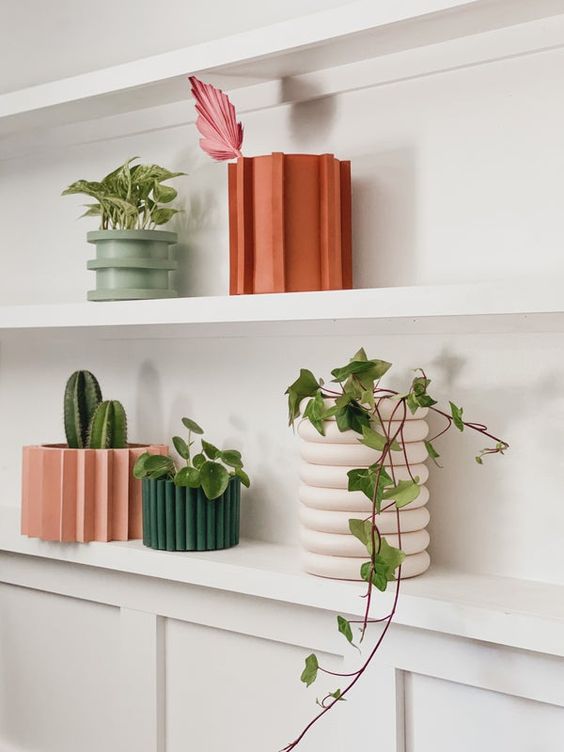
3. DIY Architectural Planters from Lone Fox // These stylish planters add interest to any shelf! Who would have guessed they’re made with inexpensive materials such as foam dowels and spray paint?
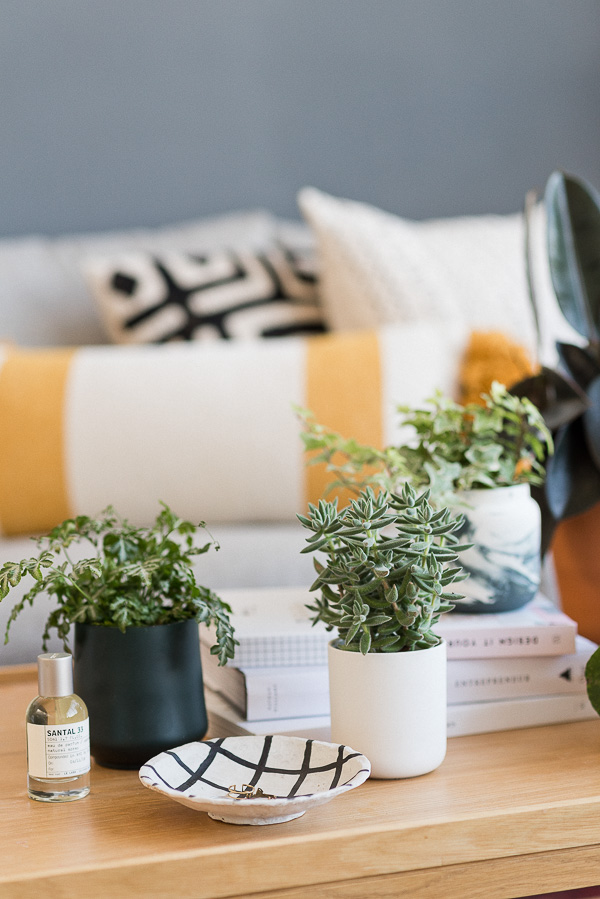
4. How to Convert Used Candle Containers to Cool Planters in Minutes from Paper & Stitch // Upcycle and reuse! Pretty candle containers need not go to waste, you can still enjoy them as planters.
5. DIY Modern Caged Planters from A Kailo Chic Life // Concrete and copper wire pair so well! They look even better painted in a color that pops against succulents’ soft green.
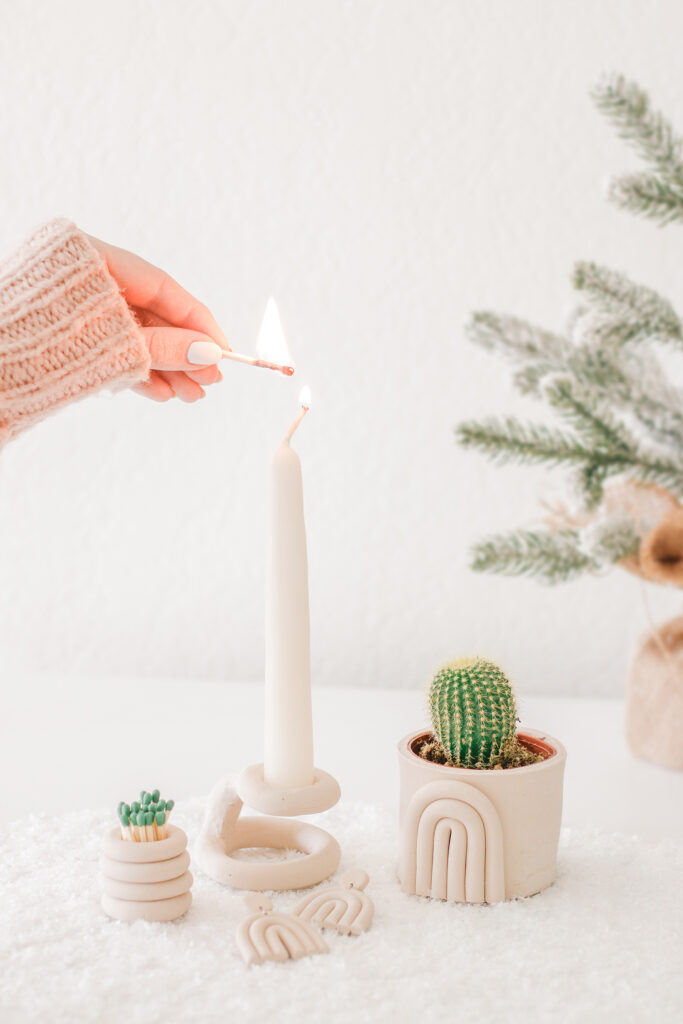
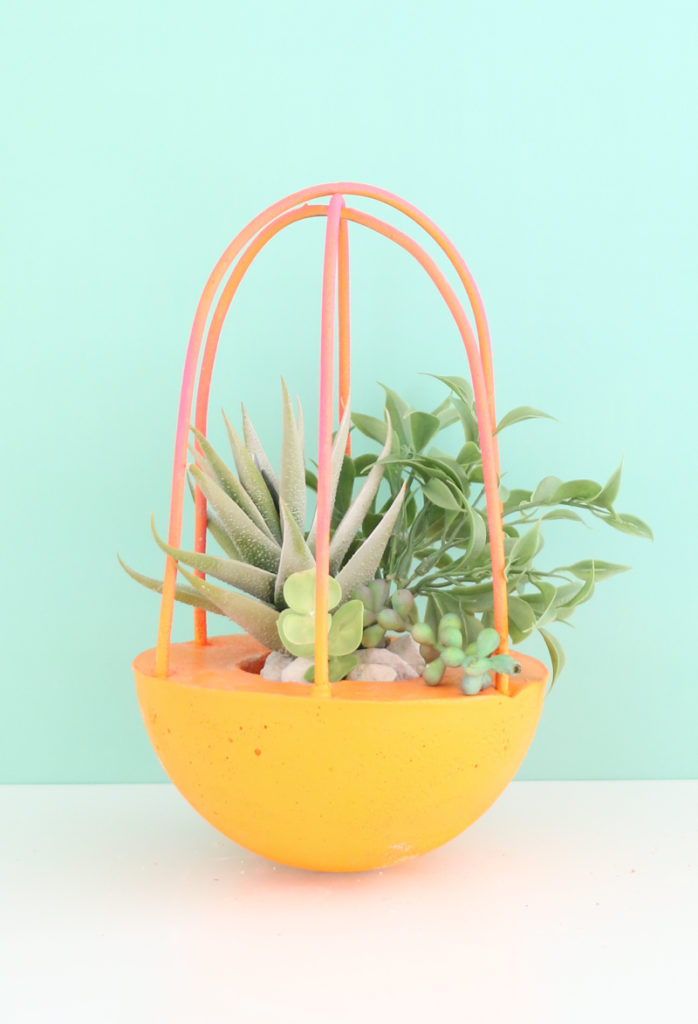
6. Rainbow Planter Pot from Mikyla Creates // Cacti and other small succulents would look super cute in a small, minimalist, rainbow-clad pot, don’t you think?
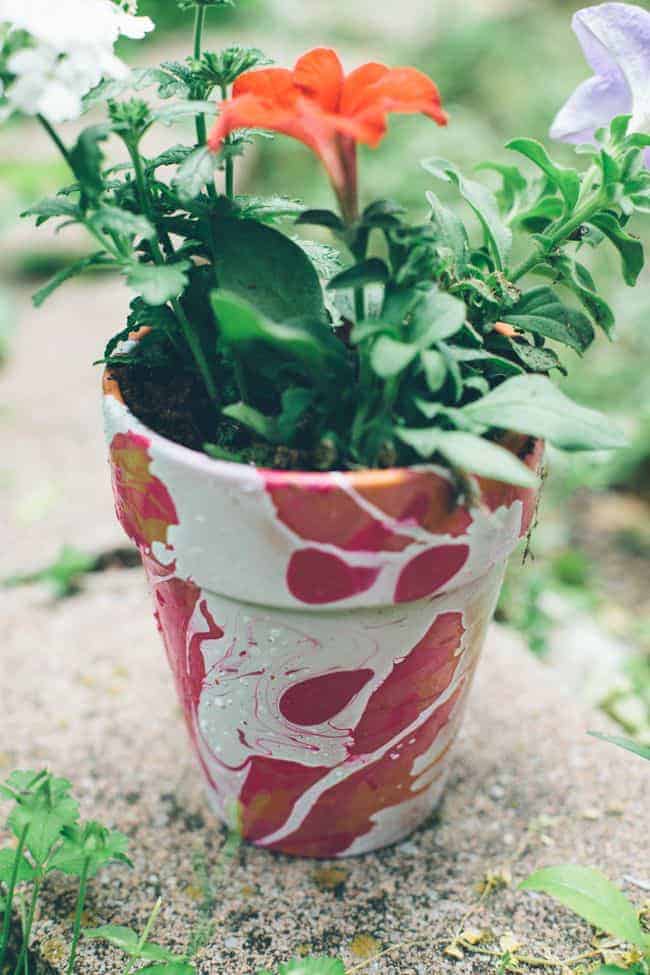
7. Nail Polish Marbled DIY Planters from Hello Glow // Upgrade terracotta planters to a marbled look with something every girl has on hand: nail polish!
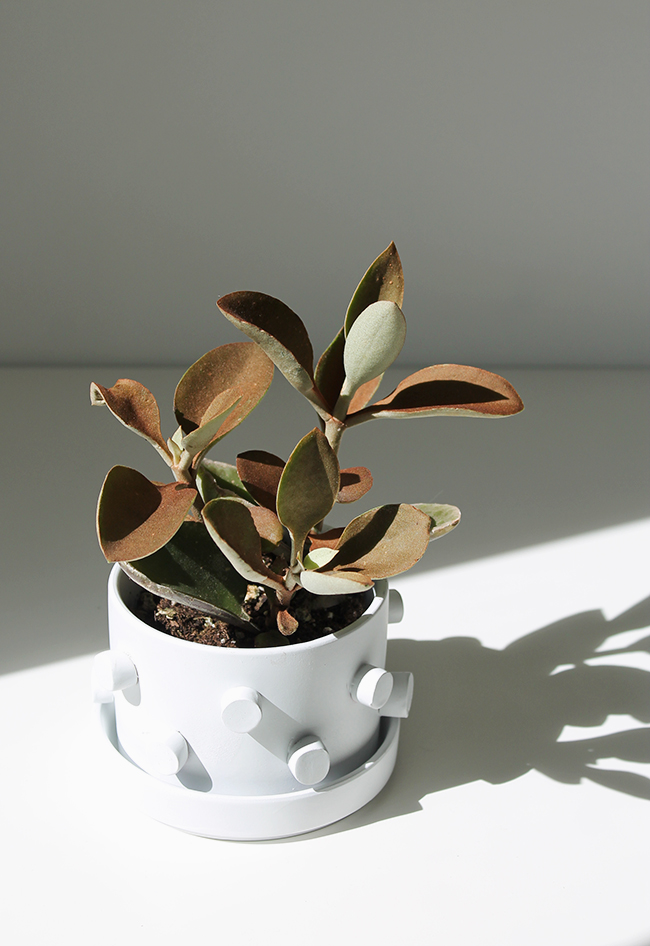
8. DIY 3D Planter from Almost Makes Perfect // Basically no skills necessary to make this super stylish, modern 3D planter with polymer clay.
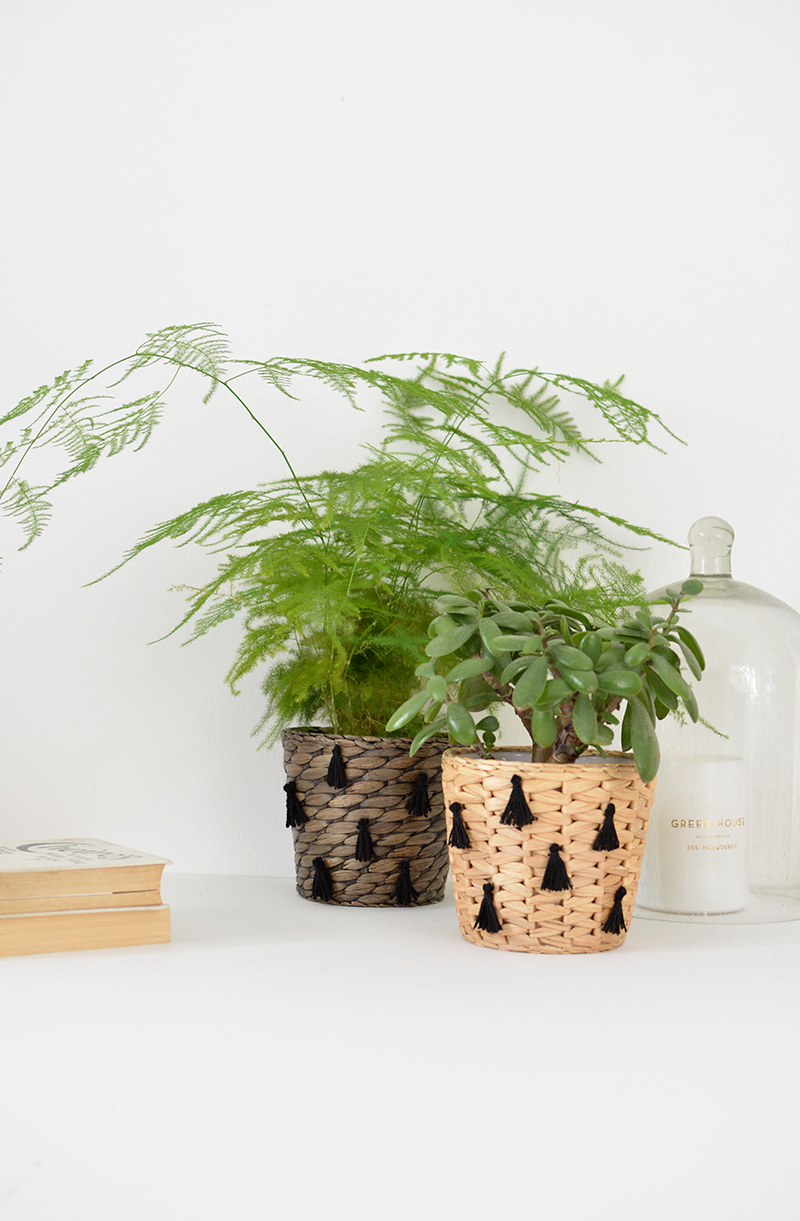
9. DIY Tasseled Planter from Burkatron // Wicker planters are super cute, but you can give them a boho upgrade just by glueing tassels to them!
Can’t get enough cute planters? Here are 12 more DIY planters to make this spring.
28
Leave a Reply