I’ll be the first to admit that I usually balk at rules. The second someone says there’s a “right” way to do something, I’ll turn around and do the exact opposite just to make a point. But when it comes to dusting, there’s good reason to follow the rules.
You know those big ol’ dust bunnies you’ve got floating around? Turns out they aren’t just dirt, hair, skin and other harmless-but-gross substances, like we’ve all come to believe. You’ll actually find a variety of toxins in dust, like lead, mercury, mold, flame retardants and asbestos, that wreak havoc on your health. And rather than getting rid of dust, dusting the wrong way simply stirs it up and launches it back into the air, so you breathe it again and again and again
Effectively tackling dust helps reduce allergies and illness, helping you put an end to allergy-induced sneezing, coughing, eye irritation, asthma and other health issues.
So, if you’re ready to embrace the rules and tackle dust once and for all, here’s how to dust the right way.
How to Dust the Right Way
Choose the Right Tools
When dusting, your goal is to capture dust, not move it around. And sometimes that requires special tools for those hard-to-reach corners or fancy fabrics. If you don’t have all of this equipment, it couldn’t hurt to invest in pieces slowly over time to help fill out your cleaning toolkit.
Lampshades and other delicate furnishings — Lint roller
Curtains — Vacuum dust attachment
Upholstery — Vacuum upholstery attachment
Blinds — Blind cleaner
Flat surfaces — Microfiber cleaning cloth
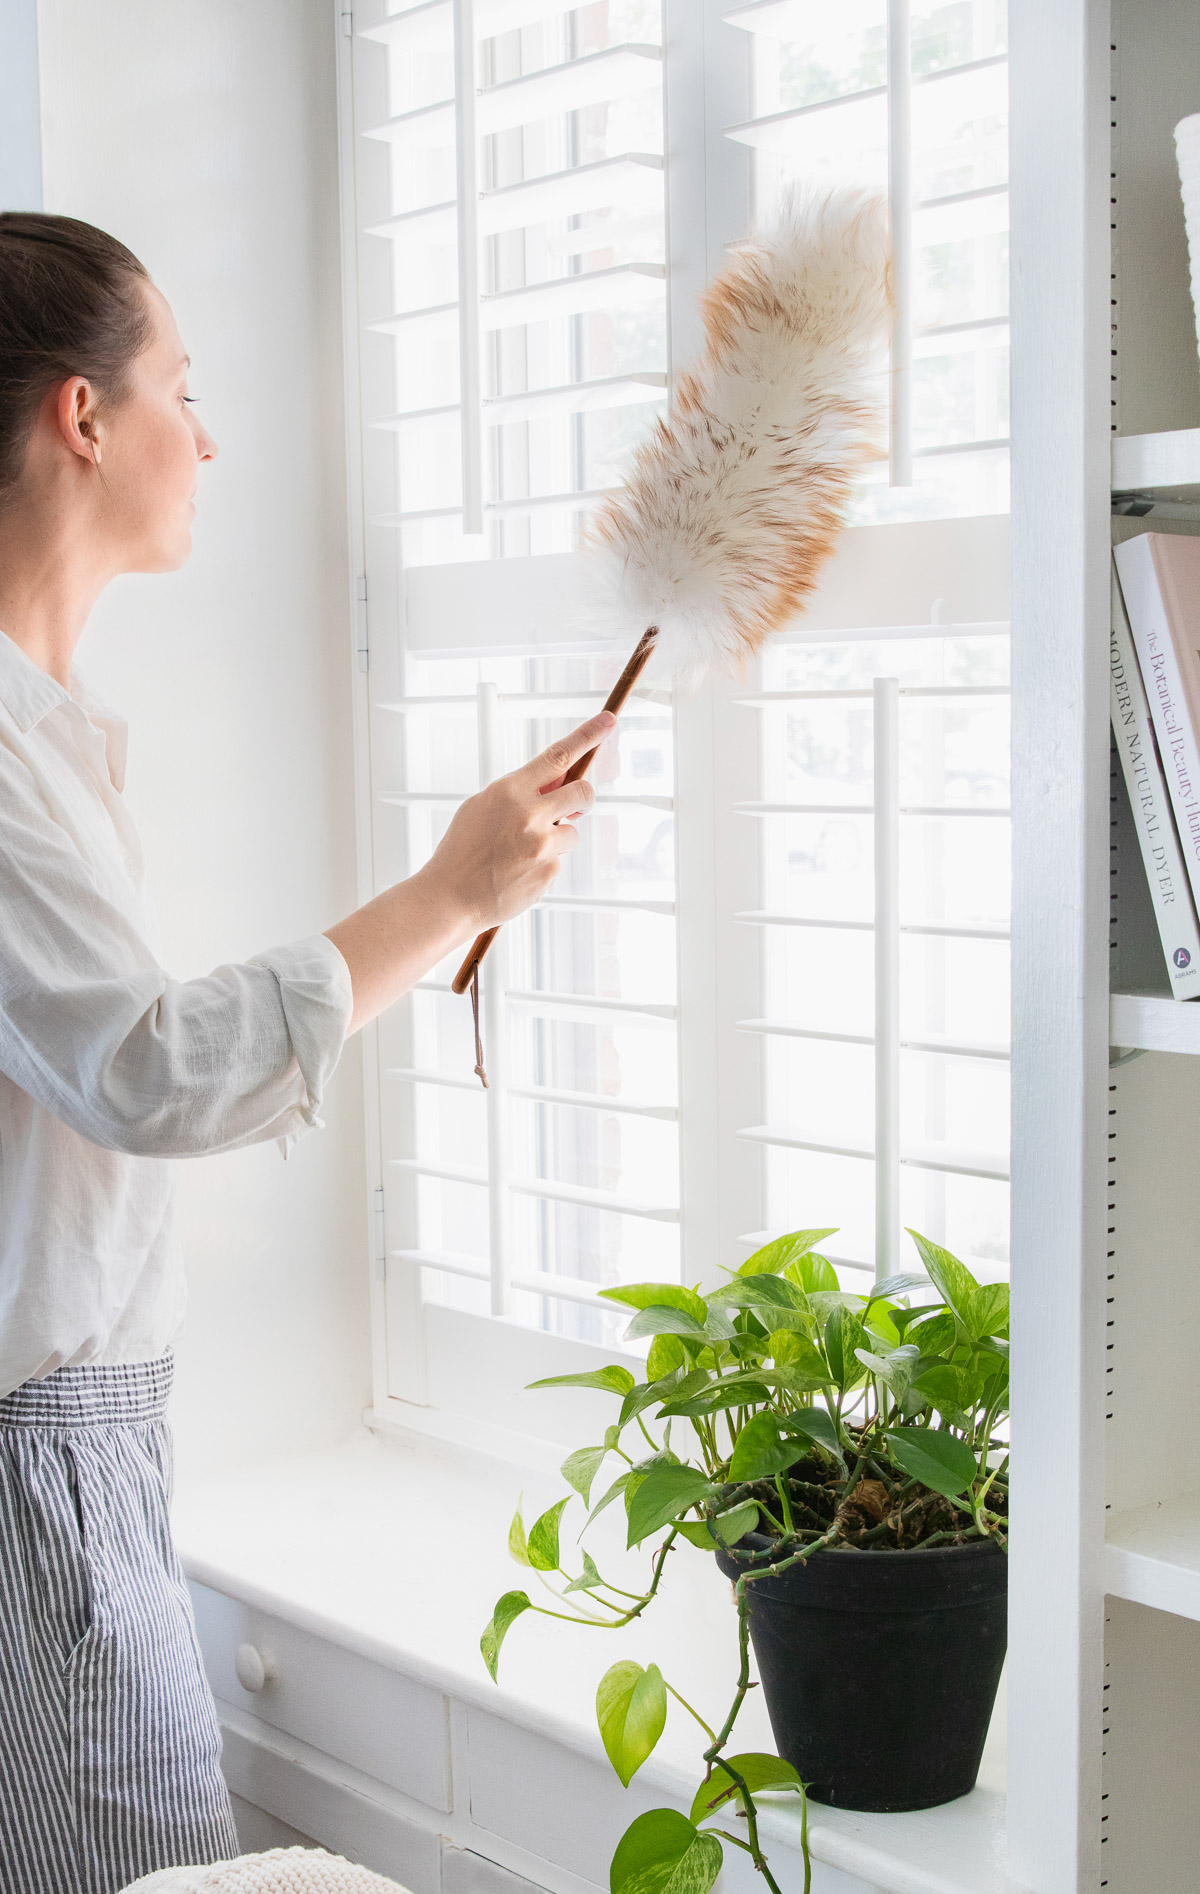
High spots, corners or fans — Long-handled duster
Start High and Work Your Way Down
It probably comes as no surprise, but dust settles on the lowest available surface. In order to capture dust, it’s best to start cleaning up high (ceiling fans, chandeliers, recessed lighting, mirrors and window coverings) and work your way down to lower surfaces (rugs, floors, stairs, under beds).
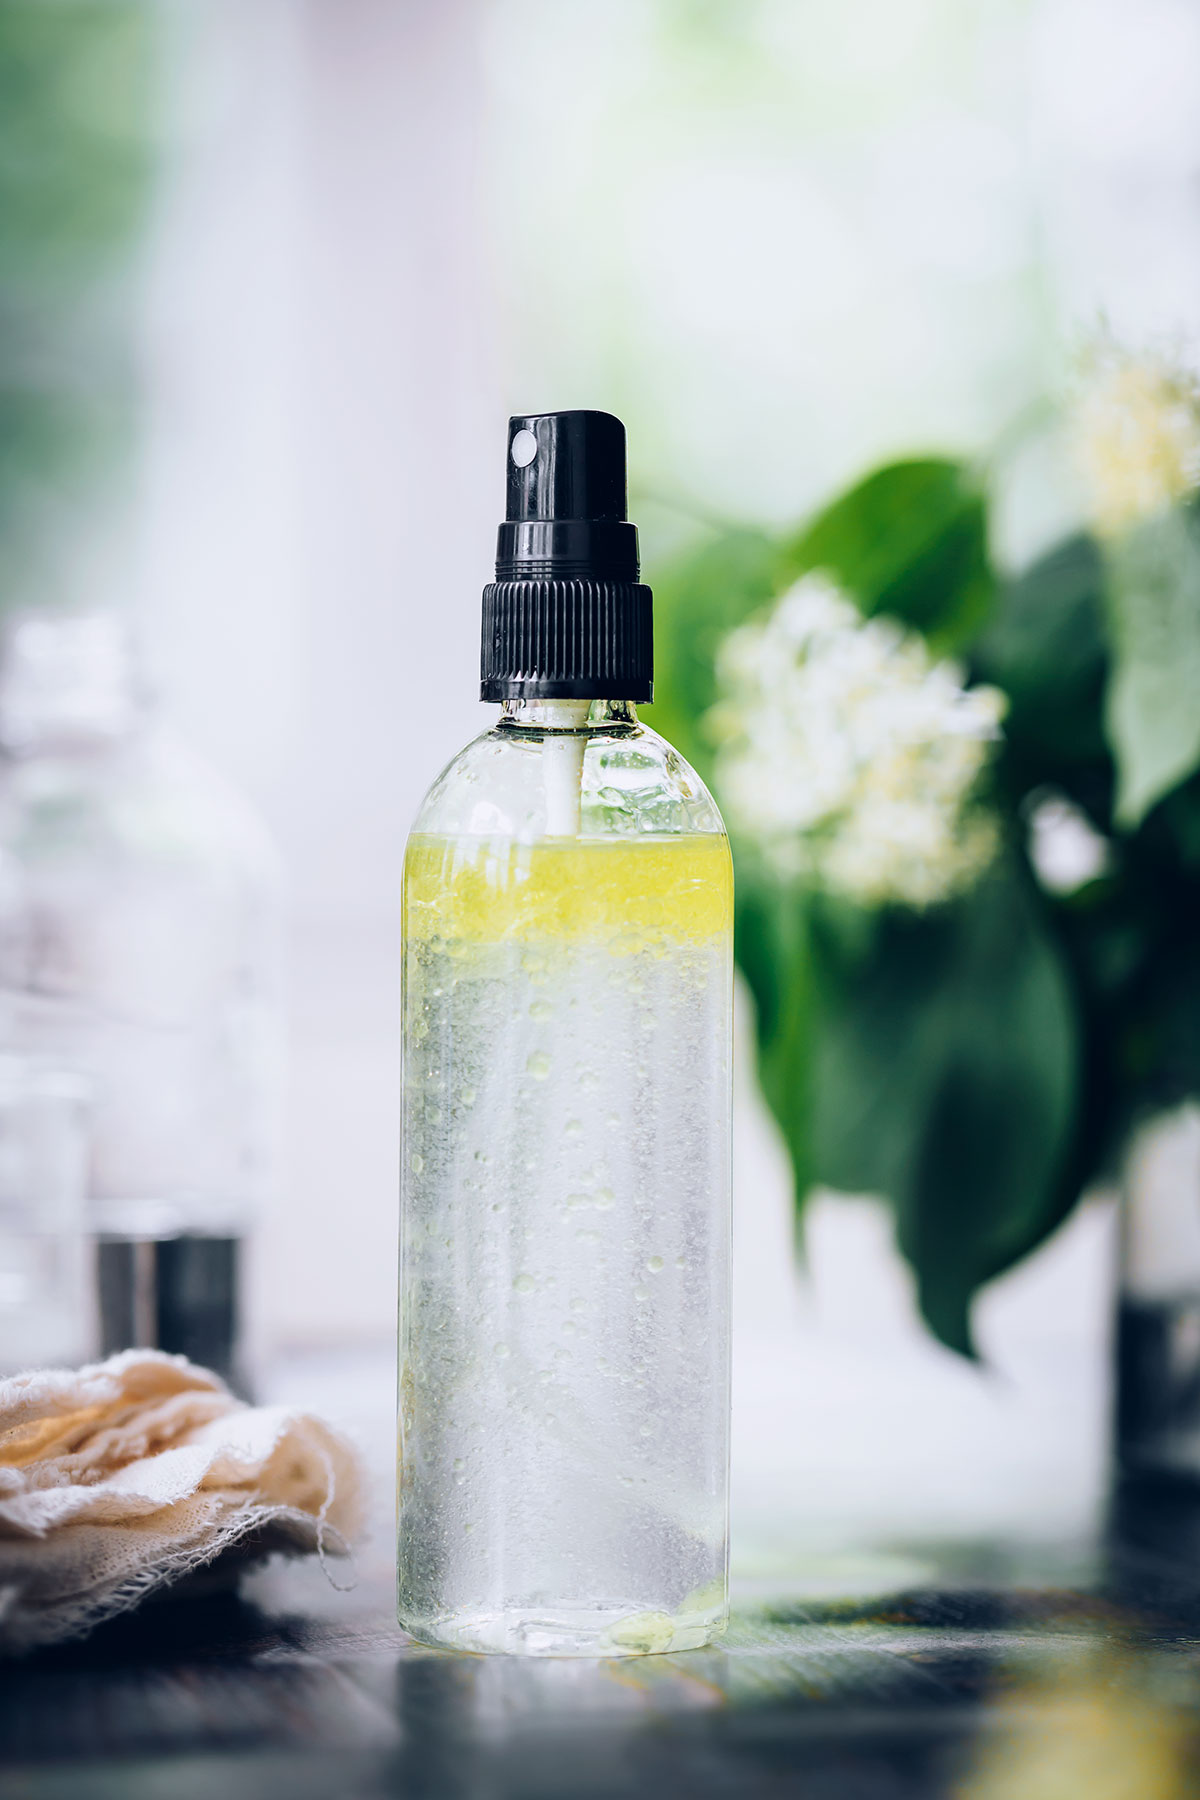
Use a Dusting Spray
Damp dusting is more efficient than dry dusting because moisture helps attract dust particles and lift them from surfaces instead of just pushing them around.
But a dusting spray doesn’t just tackle dust, it also sanitizes surfaces and cuts through grease and grime, so surfaces don’t attract as much dust in the first place.
To keep particles from scattering, don’t spray the surface itself. Instead, lightly mist your microfiber cloth then wipe down furniture. Once the microfiber cloth has become filthy, fold it to help trap the dirt inside and continue dusting with a clean, dust-free portion of microfiber cloth.
Make your own dusting solution:
DIY Natural Cloth Dusters
DIY Dusting Spray
Clean + Nourish Wood
While dusting spray may be helpful for most surfaces, wood surfaces need a little extra love.
Start by spraying wood cleaner on a microfiber cloth to wipe away dust (don’t forget the legs, arms and edges!). Unlike standard dusting spray, wood cleaner helps keep wood clean without drying it out, which is a must for long-lasting wood furniture.
Follow up by drying it with a soft, dry cloth to prevent water damage
Lastly, use wood polish to buff away fingerprints, rings, and other blemishes that can otherwise make your furniture look older than it is.
Make your own wood cleaner and conditioner:
Beeswax Wood Polish
DIY Wood Cleaner
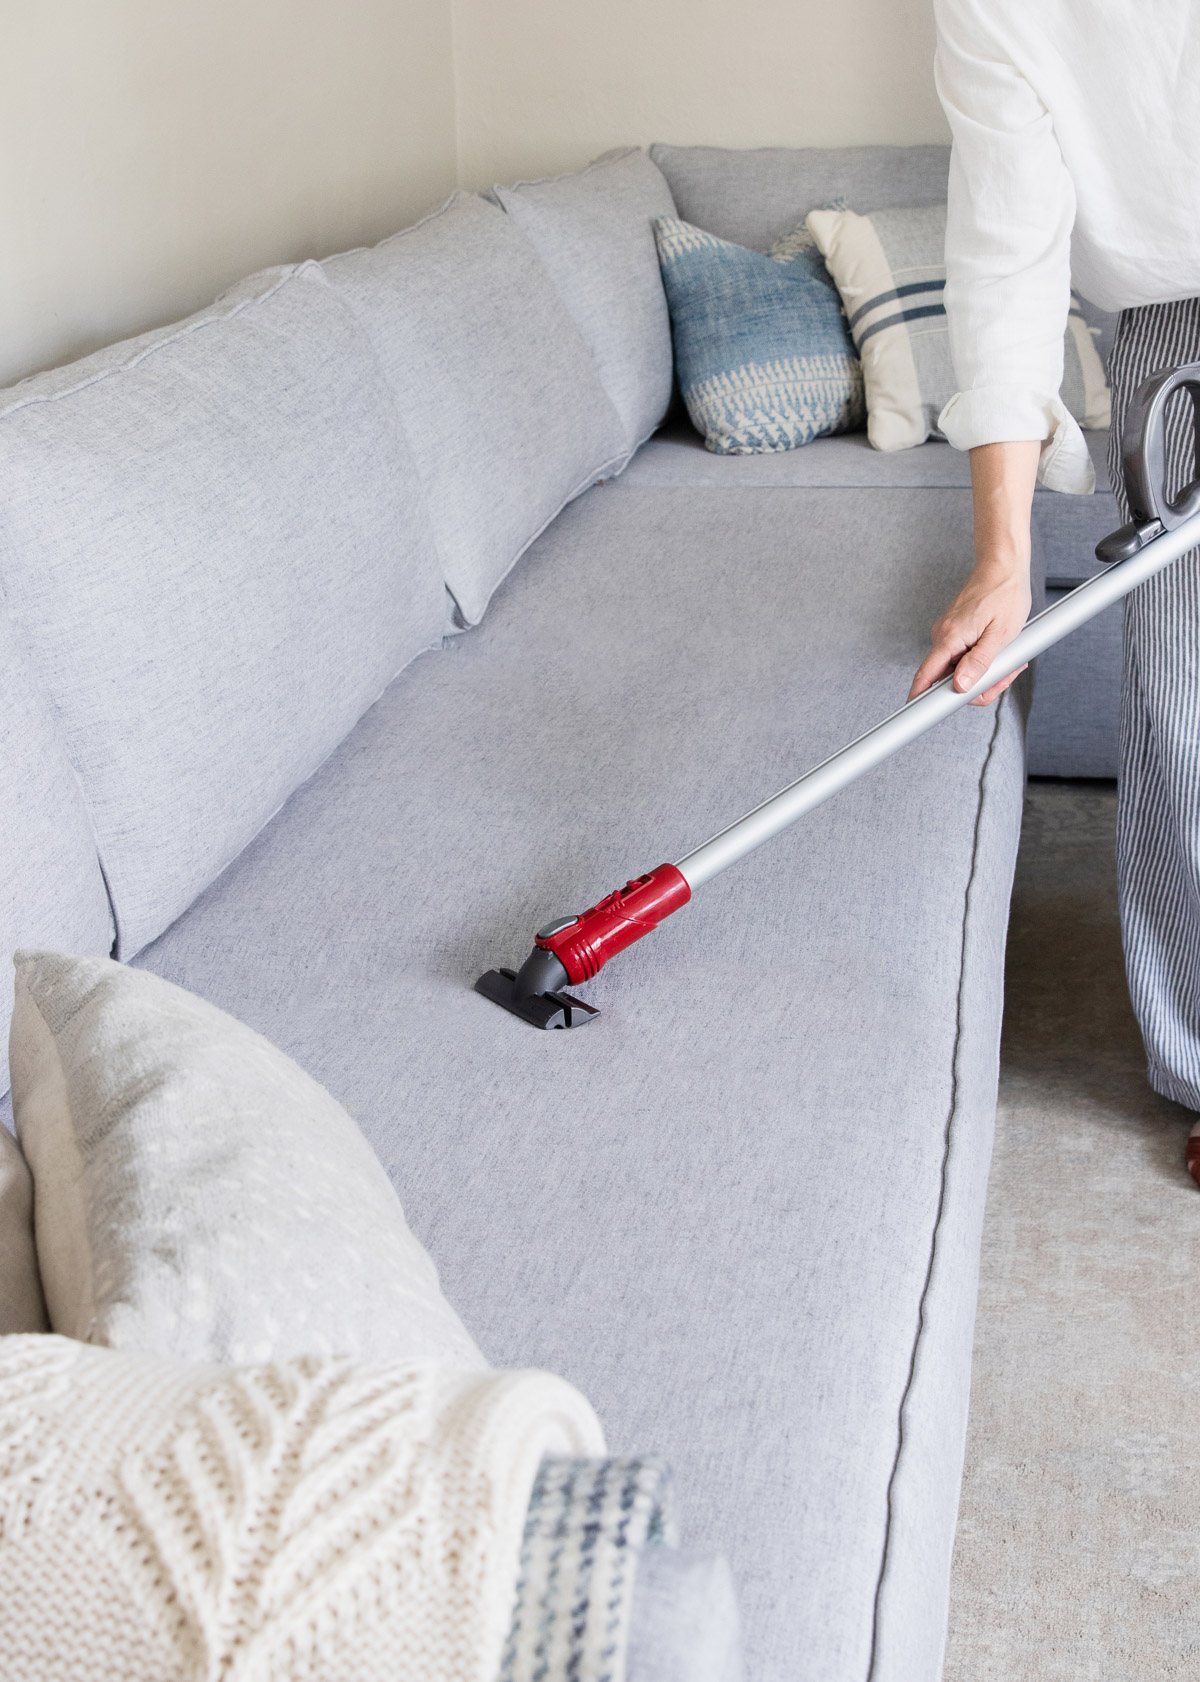
Vacuum Upholstery, Rugs and Underneath Furniture
Back in the day it was recommended that we vacuum first and dust second. That’s because vacuuming tends to release dust trapped in carpet fibers into the air, only to have them settle on higher surfaces and undo all your hard work.
But now that vacuums come with HEPA filters that effectively trap dust in the air, it’s better to vacuum at the very end. (If you want to be extra thorough, you can vacuum both before and after dusting.)
To tackle lint, fur and dirt on furniture, use your vacuum’s upholstery attachment. If your vacuum didn’t come with one, put on a pair of rubber gloves or a Pick-Up Mitt and gently rub them over your furniture. The rubber will generate static electricity, which attracts pet hair and dust. Rinse off and dry the gloves, then repeat as needed until furniture is grime-free.
Don’t forget to vacuum hardwoods, linoleum and other flooring while you’re at it.
Finish by Mopping the Floors
As soon as you’re done vacuuming, mop floors to trap any lingering grime. Just be forewarned: never mop without vacuuming first, otherwise you may turn any leftover dirt into mud, which will leave gross streaks behind.
To learn more about cleaning every type of floor here.
Lightly Dust Every 7 Days
Dust easy to reach surfaces, such as tabletops, upholstery and floors, every week or so. Obviously, these collect the most dust, so regular dusting will do wonders for your allergies.
Deep Dust Every 3-4 Months
Harder to reach areas and items, like electronics, computers, books, open shelves, house plants, top of fridge, baseboards, railings, air vents, don’t need to be dusted quite as often. Instead, set a reminder to dust these every 3-4 months.
Helpful Hints
—To keep dust particles from flying about, make sure to close all windows and turn off fans before you start dusting.
—Those dusting tools of yours can do more harm than good if you don’t take care of them. Clean your microfiber cloths, dusters and vacuum tools at the end of each cleaning session so they’re ready to go for next time.
—Use a good air purifier to keep dust out of the air. This air purifier is my personal favorite.
—Change the filters on your HVAC system and/or air purifier at least every 6 months.
—Tackle clutter regularly. The more tchotchkes you’ve got lying around, the more grime they’ll collect.

Leave a Reply